
If you’re having trouble with your iPhone SE and troubleshooting just isn’t cutting it, it may be time to consider a reset. Resetting your iPhone SE can resolve various software issues and help restore it to its optimal performance. Whether you’re dealing with a frozen screen, unresponsive apps, or a general sluggishness, a reset can often be the solution. In this article, we will guide you through the process of resetting your iPhone SE, step by step. By following our instructions, you’ll be able to perform a reset and get your iPhone SE back up and running in no time. So, if you’re ready to learn how to reset your iPhone SE, let’s dive in!
Inside This Article
- Step 1: Backing Up Your Data
- Step 2: Resetting Your iPhone SE
- Step 3: Setting Up Your iPhone SE Again
- Additional Tips and Considerations
- Conclusion
- FAQs
Step 1: Backing Up Your Data
Before proceeding with resetting your iPhone SE, it is crucial to back up your data to prevent any loss of important information. Here’s how you can do it:
1. Connect your iPhone SE to a stable Wi-Fi network or cellular data network.
2. Launch the Settings app on your iPhone and tap on your name at the top of the screen. This will take you to the Apple ID settings.
3. In the Apple ID settings, tap on “iCloud”.
4. Scroll down and tap on “iCloud Backup”. If you haven’t enabled iCloud backup before, you will need to toggle the switch to turn it on. If it’s already enabled, proceed to the next step.
5. Tap on “Back Up Now” to initiate an immediate backup of your iPhone SE. Make sure you have enough storage available in your iCloud account to accommodate the backup.
6. Wait for the backup process to complete. The time it takes will depend on the size of your data and the speed of your internet connection.
7. Once the backup is finished, you can verify it by going back to the Apple ID settings and tapping on “iCloud” and then “iCloud Storage” to view the backup details.
8. To ensure that your data is securely backed up, consider enabling automatic iCloud backups in the future. You can do this by going back to the “iCloud Backup” section and toggling on the “iCloud Backup” switch.
By following these steps, you can effectively back up all your important data, including photos, contacts, messages, and application data. It is essential to have a recent backup to restore your data after resetting your iPhone SE.
Step 2: Resetting Your iPhone SE
Resetting your iPhone SE can be done in a few simple steps and is a useful solution for troubleshooting issues or preparing your device for resale. Before you proceed with the reset, it’s important to note that resetting will erase all data and settings on your iPhone SE, so it’s crucial to back up your important files and information.
To reset your iPhone SE, follow these steps:
- Go to the “Settings” app on your iPhone SE. It can be easily identified by the gear icon.
- Scroll down and tap on “General.” It is located below the “Display & Brightness” option.
- In the “General” menu, scroll down and select “Reset.” It is near the bottom of the list.
- Within the “Reset” menu, you will find various reset options. To perform a full reset, tap on “Erase All Content and Settings.”
- A warning prompt will appear, informing you that all data will be erased. If you have already backed up your iPhone SE, you can proceed by entering your device’s passcode.
- Once you have entered your passcode, a confirmation screen will appear. To proceed with the erase, tap on “Erase iPhone.”
- Another confirmation prompt will appear. To finalize the reset process, tap on “Erase iPhone” once again.
Your iPhone SE will now begin the reset process, which may take a few minutes to complete. During this time, it is recommended that you keep your device connected to a stable Wi-Fi network and ensure that it has sufficient battery life or is plugged into a power source.
Once the reset is complete, your iPhone SE will restart and prompt you to set it up as a new device. You can follow the on-screen instructions to personalize your settings, sign in with your Apple ID, and restore your data from a backup if you made one previously.
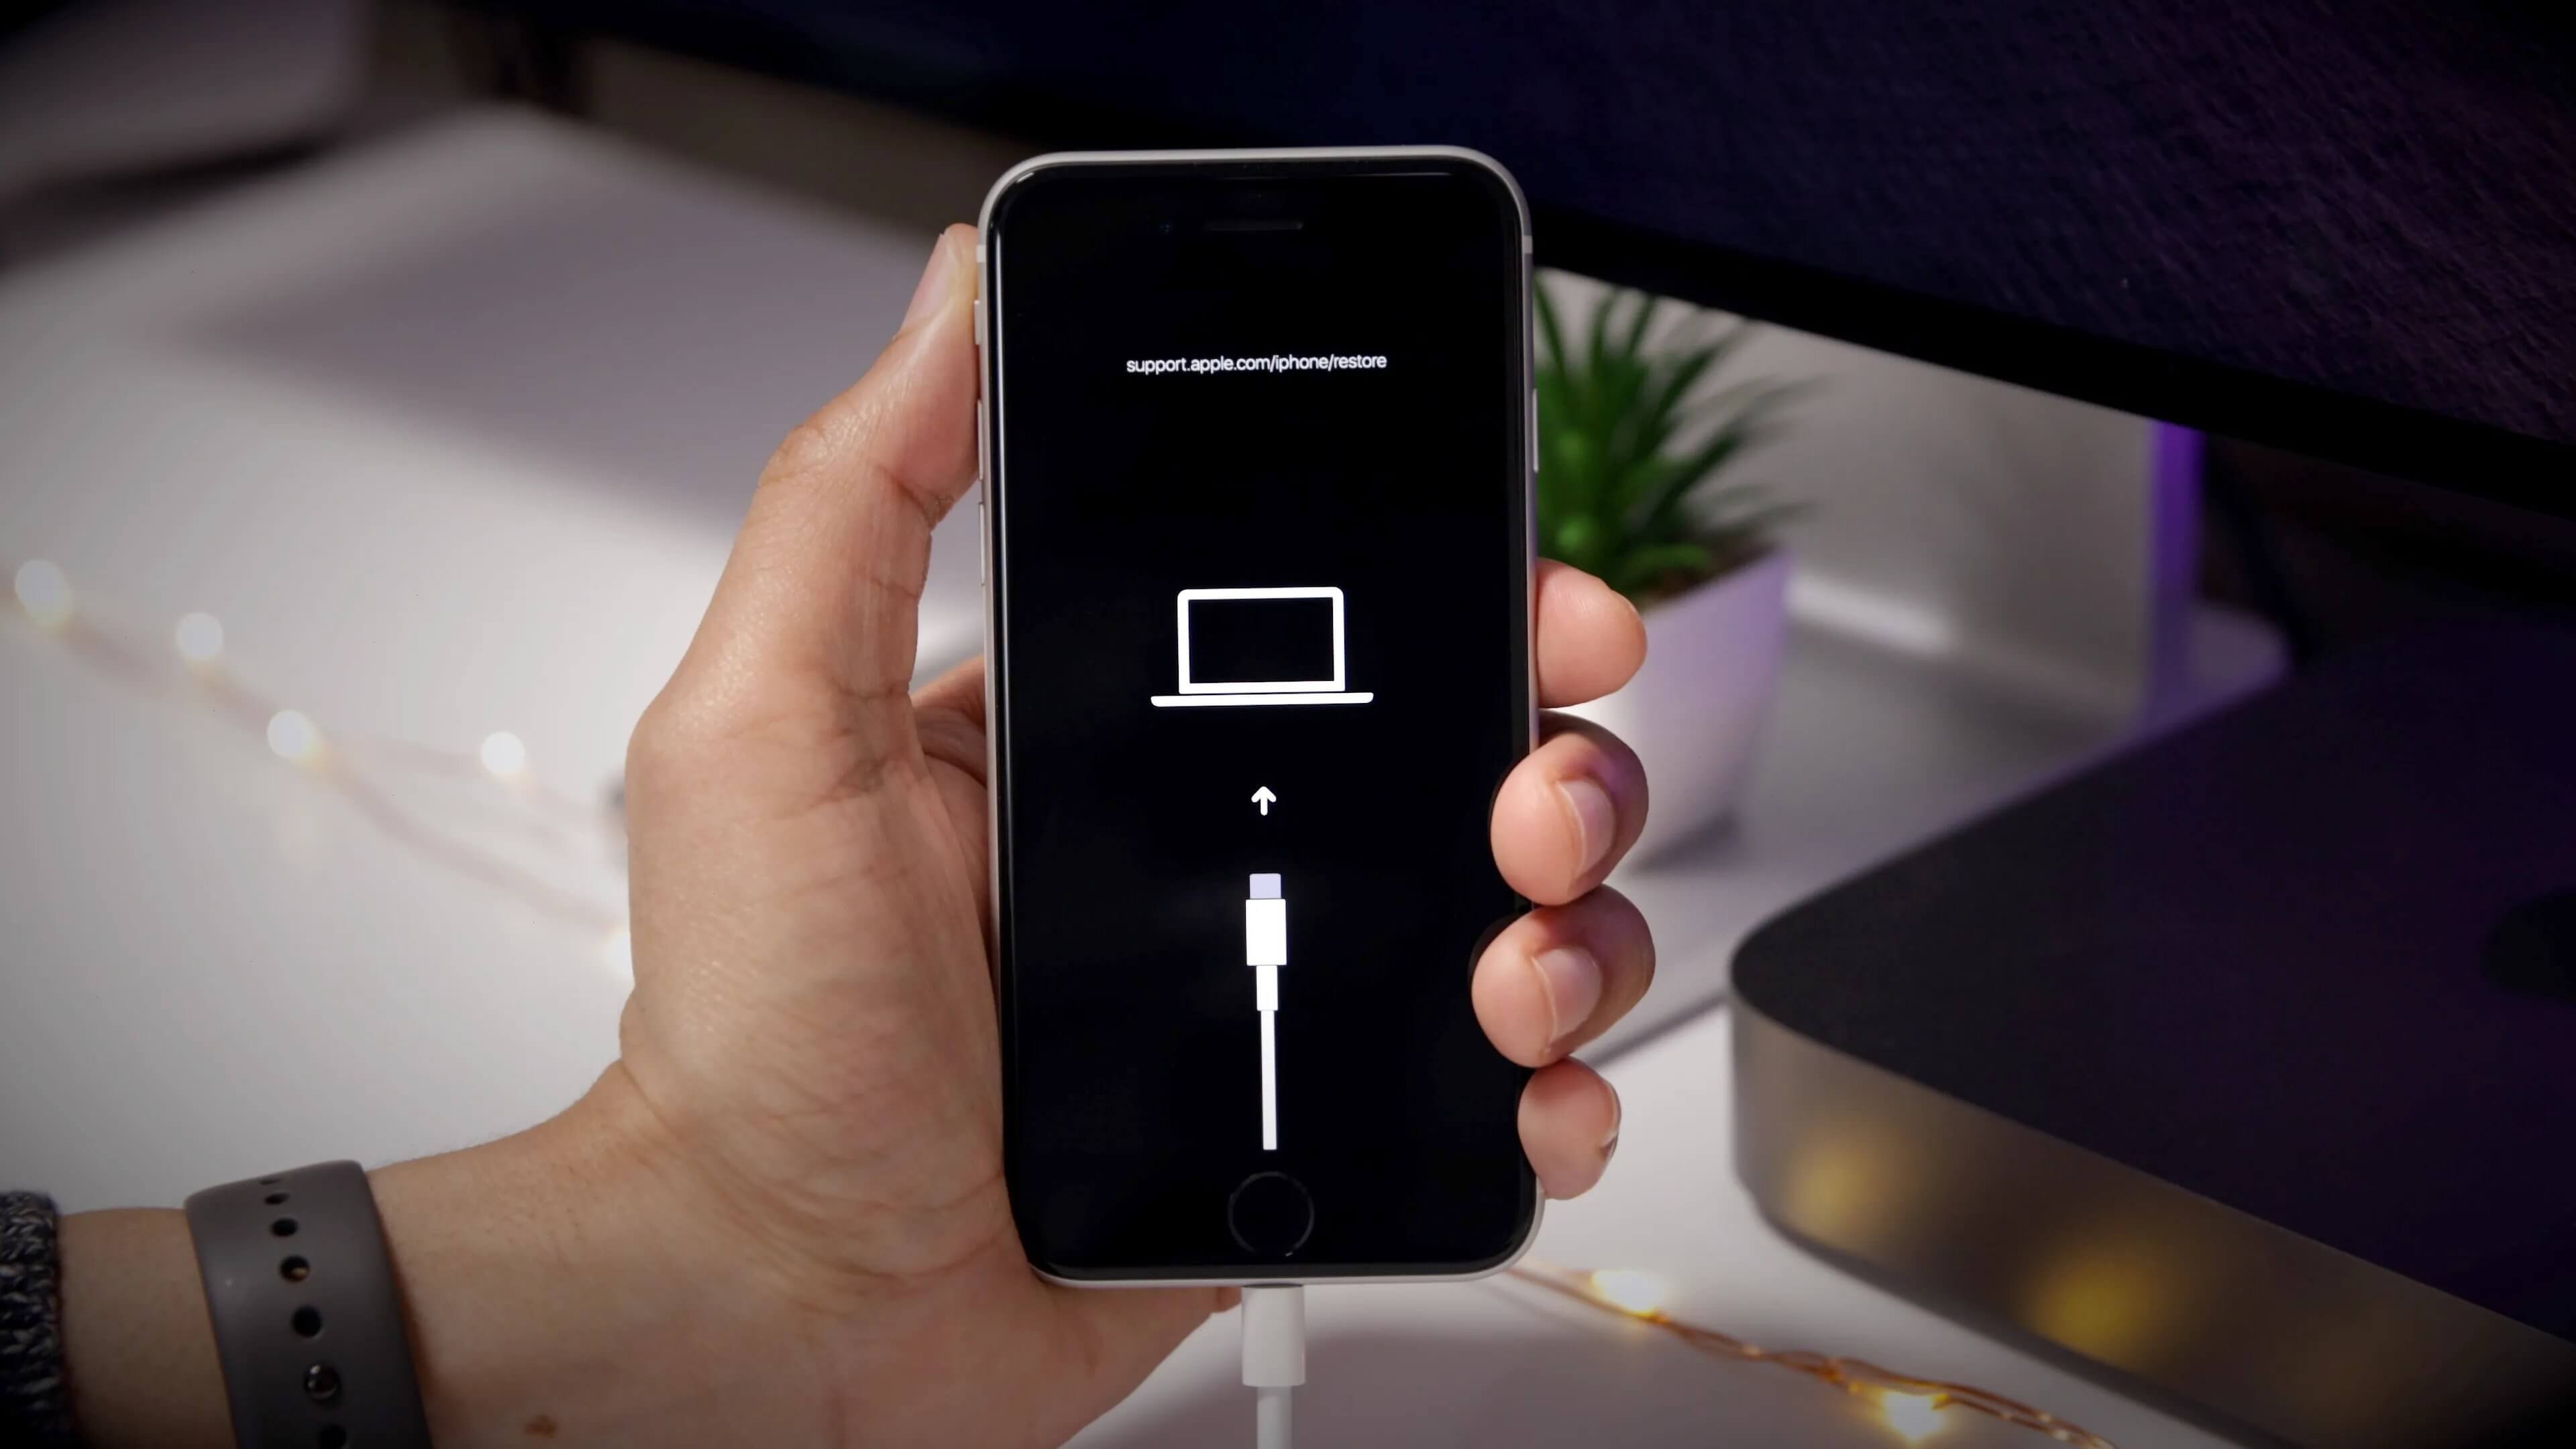
It’s worth noting that resetting your iPhone SE can also be done through iTunes on a computer. This method may be useful if your device is not accessible or responsive. Simply connect your iPhone SE to your computer, open iTunes, and select the option to restore your device.
However, it’s essential to remember that resetting your iPhone SE will erase all data, including contacts, photos, apps, and settings. To avoid any data loss, it is crucial to create a backup before proceeding with the reset process.
Step 3: Setting Up Your iPhone SE Again
After successfully resetting your iPhone SE, it’s time to set it up again. Follow the steps below to get your device back up and running:
- Select Language and Region: Start by selecting your preferred language and region. This will determine the language used for the device interface and the region for various settings.
- Connect to Wi-Fi or Cellular Network: To proceed with the setup, connect your iPhone SE to a Wi-Fi network or use a cellular data connection if available.
- Set up Touch ID or Face ID: If your iPhone SE supports Touch ID or Face ID, you can set it up now. This feature allows you to securely unlock your device and authorize transactions with your fingerprint or face.
- Restore from iCloud or iTunes Backup: If you previously backed up your data using iCloud or iTunes, you’ll have the option to restore your iPhone SE from that backup. This will bring back your settings, apps, and data to your device.
- Sign in with your Apple ID: Sign in with your Apple ID or create a new one if you don’t have an existing account. Your Apple ID will be used to access the App Store, iCloud, and other Apple services.
- Set up Siri: Configure Siri settings according to your preferences. Siri is Apple’s virtual assistant that can perform various tasks and provide information using voice commands.
- Set up Apple Pay: If you use Apple Pay, add your credit or debit card information to enable quick and secure payments from your iPhone SE.
- Customize Display and Accessibility Options: Adjust the display settings and accessibility features to suit your needs. This includes adjusting the brightness, text size, and enabling features like Smart Invert and VoiceOver.
- Install Apps: Visit the App Store to download and install your favorite apps. You can also restore apps from your previous iCloud or iTunes backup.
- Sync Data: If you have enabled iCloud sync for various services like Contacts, Calendars, and Notes, make sure the sync settings are enabled to start syncing your data to your iPhone SE.
Congratulations! You have successfully set up your iPhone SE again. Take your time to explore the device and customize it to your liking. In case you encounter any issues during setup, refer to the official Apple support documentation or contact Apple Support for assistance.
Additional Tips and Considerations
When resetting your iPhone SE, there are a few additional tips and considerations that you should keep in mind to ensure a smooth and successful process.
1. Battery Life: It is recommended to have your iPhone SE connected to a power source during the reset process to avoid any interruptions due to low battery.
2. Network Connection: Ensure that you have a stable and reliable network connection, preferably Wi-Fi, to download any necessary software updates during the setup process.
3. Apple ID: Make sure you have your Apple ID credentials handy as you will need them during the setup process to sign in to your iCloud account and access your personal data.
4. Disable Find My iPhone: Before resetting your device, it is important to disable the “Find My iPhone” feature. To do this, go to “Settings” > “Your Name” > “Find My” > “Find My iPhone” and toggle it off.
5. Remove SIM Card and SD Card: If your iPhone SE has a SIM card or an SD card inserted, it is recommended to remove them before initiating the reset process to avoid any data loss or complications.
6. Verify Backup: Double-check that your iPhone SE has been properly backed up before proceeding with the reset. This will ensure that you can restore your data and settings after the reset is complete.
7. Factory Reset vs. Reset All Settings: Keep in mind that a factory reset will erase all data and settings on your iPhone SE, while a reset all settings will only revert the device back to its default settings while retaining your data.
8. Unlink Accounts and Services: If your iPhone SE is linked to any third-party accounts or services, such as email accounts, social media accounts, or streaming services, make sure to unlink them before the reset to avoid any complications.
9. Test the Device: After the reset process is complete, take some time to test the functionality of your iPhone SE. Ensure that all features, apps, and settings are working properly before continuing to use your device.
10. Seek Professional Help if Needed: If you encounter any issues or have questions during the reset process, don’t hesitate to reach out to Apple Support or visit an authorized service provider for assistance.
By following these additional tips and considerations, you can ensure a successful reset of your iPhone SE and have it ready for a fresh start.
Conclusion
In conclusion, knowing how to reset an iPhone can be incredibly useful in a variety of situations. Whether you are experiencing software issues, want to erase your personal data before selling or giving away your device, or simply want to start fresh, the reset process can help solve these problems. By following the steps outlined in this article, you can easily perform a reset and have your iPhone back to its default settings.
Remember to always back up your important data before resetting your device as it will erase all the files and settings. Additionally, it is essential to keep your iPhone updated with the latest software to prevent any potential issues. Resetting an iPhone is a simple and effective way to troubleshoot problems and ensure optimal performance.
If you have any further questions or need assistance with resetting your iPhone, feel free to consult the official Apple support website or reach out to a professional technician. Happy resetting!
FAQs
Q: How do I reset an iPhone?
A: To reset an iPhone, go to the Settings app, tap on General, scroll down to the bottom, and select Reset. From there, you can choose to reset different aspects of your iPhone, such as network settings, privacy, or even erase all content and settings.
Q: Will resetting my iPhone delete all my data?
A: Yes, when you choose to erase all content and settings, it will delete all data from your iPhone. It is crucial to back up your data before initiating the reset process to avoid permanent data loss.
Q: How long does it take to reset an iPhone?
A: The time it takes to reset an iPhone can vary depending on the model and the amount of data stored on the device. Generally, the process takes a few minutes to complete, but it can take longer if you have a lot of data or if your iPhone is older.
Q: Will resetting my iPhone remove the Apple ID?
A: No, resetting your iPhone does not remove the Apple ID associated with the device. If you want to remove the Apple ID, you need to sign out of iCloud and iTunes & App Store before initiating the reset. This ensures that your iPhone is no longer linked to your Apple ID.
Q: Can I reset my iPhone without a computer?
A: Yes, you can reset your iPhone without a computer. The reset process can be done directly on your iPhone through the Settings app. However, if you are experiencing issues with your iPhone or forgot your Apple ID password, you may need to connect to a computer and use iTunes to reset your device.