
In this digital age, our mobile devices have become an integral part of our lives, storing precious memories, important documents, and personal data. And one such device that holds great significance is the iPad. Whether you use it for work, entertainment, or communication, the data on your iPad is valuable and needs to be protected.
However, accidents happen, and sometimes you may find yourself in a situation where you need to restore your iPad from a backup. This could be due to a software glitch, accidental data loss, or upgrading to a new device. Regardless of the reason, knowing how to restore your iPad from a backup can be a lifesaver.
In this article, we will guide you step-by-step on how to restore your iPad from a backup, ensuring that all your valuable files, settings, and preferences are retained. So, let’s dive in and learn how to bring back your iPad to its former glory!
Inside This Article
- Preparing for iPad Restoration
- Restoring iPad from iCloud Backup
- Restoring iPad from iTunes Backup
- Troubleshooting Common Issues
- Conclusion
- FAQs
Preparing for iPad Restoration
Before proceeding with the restoration process on your iPad, it is crucial to properly prepare your device. This involves two essential steps: backing up the iPad and checking for available storage space.
Backing up your iPad is essential to protect your data and ensure that you don’t lose any important information during the restoration process. It allows you to save a snapshot of your device’s settings, apps, and data, which you can easily restore later.
To back up your iPad, you have two options: iCloud backup or iTunes backup. iCloud backup is a convenient and wireless method that automatically backups your device to your iCloud storage. It ensures that your data is securely stored and easily accessible whenever you need it.
On the other hand, iTunes backup requires connecting your iPad to a computer with iTunes installed. It allows you to create a local backup on your computer’s hard drive, providing a more tangible and easily restorable copy of your data.
Regardless of the method you choose, ensure that you have a recent backup of your iPad before proceeding with the restoration process.
Additionally, it’s important to check for available storage space on your iPad before initiating the restoration. This is particularly crucial if you opt for an iCloud backup, as iCloud storage is finite and can become full if you have large amounts of data.
To check your storage space on the iPad, go to Settings, then tap on General, and finally, select iPad Storage. Here, you will be able to see a breakdown of your storage usage, including how much space is available and how much is being occupied by apps, photos, and other data.
If you find that your storage space is insufficient, you may need to delete unnecessary apps, photos, or files to free up space. Alternatively, consider purchasing additional iCloud storage or transferring some of your data to your computer to free up space on your iPad.
By properly backing up your iPad and ensuring you have enough storage space, you will be well-prepared for the restoration process and minimize the risk of data loss or complications during the restoration.
Restoring iPad from iCloud Backup
Restoring your iPad from an iCloud backup is a convenient way to recover your data and settings. Here’s a step-by-step guide on how to do it:
1. Accessing the iCloud settings:
The first step is to ensure you have a stable internet connection. Go to the Settings app on your iPad and tap on your Apple ID at the top of the screen. From there, select “iCloud” and scroll down until you find “Backup”. Tap on it to access the iCloud backup options.
2. Selecting the desired backup:
In the iCloud backup settings, you’ll see a list of available backups. Choose the backup that you want to restore your iPad from. It’s important to choose the most recent backup to ensure you have the latest data and settings saved.
3. Initiating the restoration process:
Once you’ve selected the desired backup, tap on “Restore from iCloud Backup”. You’ll be prompted to sign in with your Apple ID if you haven’t already. After signing in, your iPad will start the restoration process.
During the restoration, your iPad will download the selected backup from iCloud and apply it to your device. This may take some time depending on the size of the backup and your internet connection speed.
Once the restoration is completed, your iPad will restart, and you’ll be prompted to set up your device. Follow the on-screen instructions to complete the setup process and regain access to your data and settings.
It’s important to note that restoring from an iCloud backup will replace all the existing data on your iPad with the data from the backup. Make sure you have a recent backup and double-check that you’re selecting the correct backup before initiating the restoration process.
After the restoration is complete, you can start using your iPad with all your previously saved data and settings restored.
Restoring iPad from iTunes Backup
Restoring your iPad from an iTunes backup is another effective way to recover your device and retrieve all your data. Follow the steps below to restore your iPad using iTunes:
- Connecting the iPad to a computer: Start by connecting your iPad to a computer using a USB cable. Make sure to use a reliable and functioning cable to establish a secure connection between your iPad and the computer.
- Launching iTunes and selecting the device: Once your iPad is connected, launch the iTunes application on your computer. In the iTunes interface, you will see a small device icon near the top left corner. Click on this icon to select your iPad.
- Choosing the appropriate backup and restoring: After selecting your iPad, navigate to the “Summary” tab in the iTunes interface. This tab provides an overview of your device and various options related to backup and restore. Look for the “Restore Backup” button and click on it.
At this point, iTunes will display a list of available backups for your iPad. Choose the backup you want to restore from and click “Restore.” Keep in mind that the backups are organized by date and time, so select the most recent backup to ensure you recover the latest data.
It’s important to note that the restoration process may take some time, depending on the size of the backup and the speed of your computer. Avoid disconnecting your iPad or interrupting the process to prevent any data loss or potential software issues.
Once the restoration is complete, your iPad will reboot and start loading the recovered data from the selected iTunes backup. Make sure to keep your iPad connected to the computer during this stage to ensure a smooth and successful recovery.
After the recovery process is finished, you can safely disconnect your iPad from the computer. Your device will be restored to the state it was in when the selected backup was created, including all your apps, settings, and personal data.
It’s worth mentioning that restoring your iPad from an iTunes backup is an excellent solution when you don’t have enough iCloud storage or your internet connection is limited. Additionally, iTunes backups provide a complete and comprehensive backup solution that includes app data, settings, and other important information.
If you encounter any issues during the restoration process, such as an incomplete restore or encountering errors, make sure to check your internet connection, update your iTunes software, and try again. If the problem persists, you can seek further assistance from Apple Support or visit an authorized service center for professional help.
Troubleshooting Common Issues
Restoring your iPad from a backup can sometimes encounter issues that may cause the process to fail or experience connectivity problems. In this section, we will discuss how to deal with failed backup restorations and handle connectivity issues during the restoration process.
Dealing with Failed Backup Restorations
1. Check your backup: Ensure that the backup you are trying to restore from is valid and up to date. Verify this by going to the Settings app on your iPad, tapping on your Apple ID, selecting iCloud, and then tapping on Manage Storage. Look for the latest backup of your iPad and confirm its date and size.
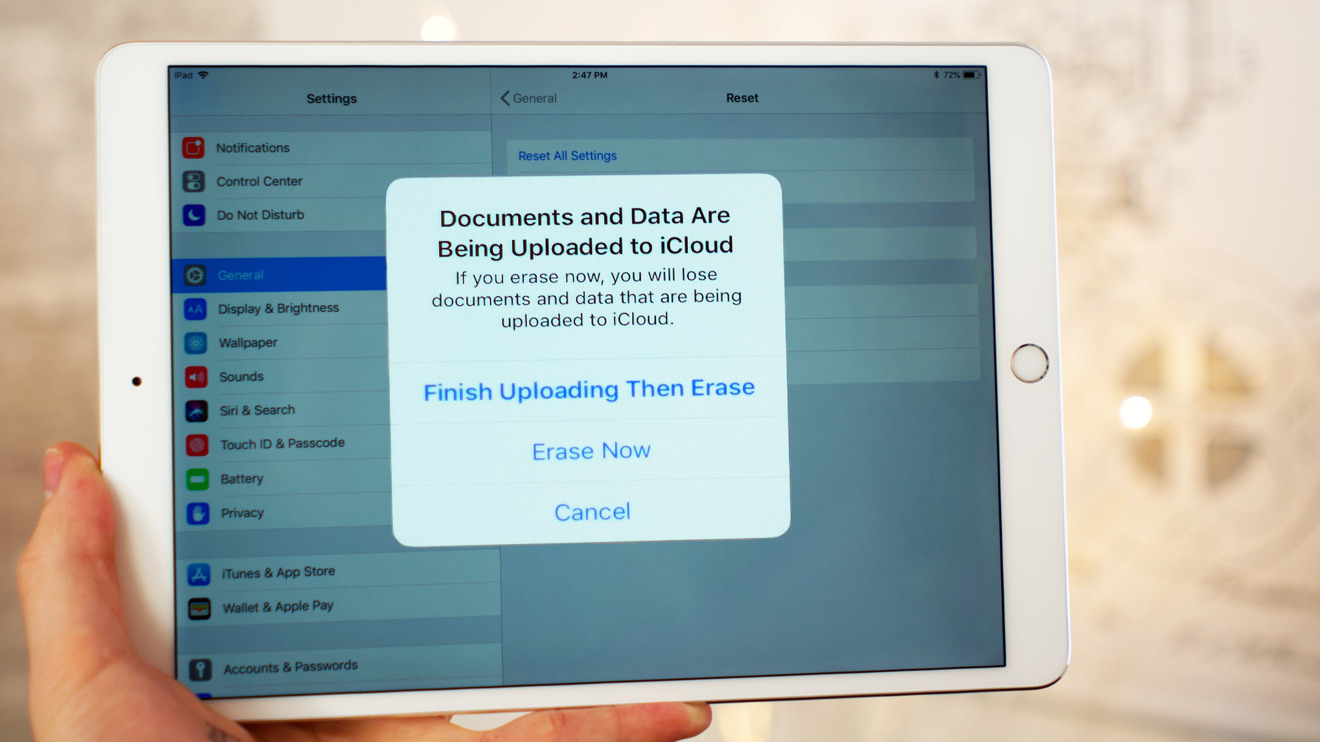
2. Restart the process: If the backup restoration fails, try restarting the process by going to Settings > General > Reset > Erase All Content and Settings. After your iPad restarts, follow the steps to restore from the backup again.
3. Check your network connection: A stable and strong internet connection is vital for a successful backup restoration. Ensure that you have a good Wi-Fi signal or a stable cellular data connection. Weak or interrupted network signals can cause the restoration process to fail.
4. Update your iOS software: Outdated iOS software on your iPad can sometimes interfere with the backup restoration process. Go to Settings > General > Software Update to check if there are any available updates. If there are, make sure to install them before attempting the restoration again.
Handling Connectivity Issues during Restoration
1. Check your cables: The cables you are using to connect your iPad to your computer or charger can sometimes be the culprit behind connectivity issues. Ensure that the cables are securely connected and in good condition. Try using a different cable or connector to rule out any cable-related problems.
2. Update iTunes: If you are restoring your iPad using iTunes on your computer, make sure that you have the latest version of iTunes installed. Outdated versions of iTunes may not be compatible with your iPad’s software, leading to connectivity issues during the restoration process.
3. Disable security software: Sometimes, security software installed on your computer can interfere with the connection between your iPad and iTunes. Temporarily disable any antivirus or firewall software and try the restoration process again.
4. Restart your computer: A simple restart of your computer can often resolve connectivity issues. Close iTunes, shut down your computer, wait for a few minutes, and then turn it back on. Launch iTunes and try the restoration process once again.
In case the troubleshooting steps provided above do not resolve the issues with failed backup restorations or connectivity problems during restoration, it is recommended to seek assistance from Apple Support or visit an authorized service provider.
Conclusion
Restoring your iPad from a backup is a simple and effective way to recover your data and settings. With the help of iTunes or iCloud, you can easily restore your iPad to a previous state, ensuring that all of your important files, contacts, and settings are preserved.
By following the step-by-step instructions outlined in this guide, you can confidently perform an iPad restore and enjoy the convenience of having your device back to its previous state. Whether you’re upgrading to a new iPad, experiencing software issues, or simply wanting to revert to a previous backup, the restore process is reliable and user-friendly.
Remember to regularly perform backups of your iPad to ensure that your data is always protected. With backups, you can rest easy knowing that you have a safety net in case anything goes wrong with your device. So, don’t hesitate to restore your iPad from a backup and get back to enjoying all the features and functionality it has to offer!
FAQs
1. Can I restore my iPad from a backup?
Yes, you can restore your iPad from a backup. When setting up your iPad, you will be given the option to restore from an iCloud or iTunes backup. Simply choose the backup you want to restore from, and your iPad will be restored to its previous state, including your apps, settings, and data.
2. Is it necessary to back up my iPad regularly?
Backing up your iPad regularly is highly recommended. It ensures that your data is safely stored in case of any unforeseen events, such as accidental deletion, device damage, or loss. Regular backups not only provide peace of mind but also make it easier to restore your iPad to its previous state when needed.
3. Can I choose which files and data to restore from a backup?
Yes, when restoring from a backup, you have the option to select which files and data you want to restore. For example, if you only want to restore specific apps or certain types of content, such as photos or contacts, you can customize the restore process to suit your needs.
4. How long does it take to restore an iPad from a backup?
The time it takes to restore an iPad from a backup depends on various factors, such as the size of the backup and the speed of your internet connection. On average, it can take anywhere from a few minutes to several hours. It is recommended to connect your iPad to a Wi-Fi network and ensure that it is fully charged during the restore process.
5. Can I restore my iPad from a backup without Wi-Fi?
Yes, you can restore your iPad from a backup without Wi-Fi. If you don’t have access to a Wi-Fi network, you can connect your iPad to a computer with iTunes installed and restore the backup using a USB cable. This method allows you to restore your iPad even if you are not connected to the internet.