
Sony Xperia Z1S is a popular Android smartphone known for its stunning design and powerful performance. However, many users seek to optimize the device’s capabilities by rooting it. Rooting allows users to gain privileged access to the operating system, enabling them to customize the device, install unsupported apps, and unlock its full potential.
In this article, we will guide you through the process of rooting your Sony Xperia Z1S, step-by-step. Whether you are a tech-savvy individual looking to explore the depths of your device or simply want to enhance its functionality, we have got you covered. We will provide easy-to-follow instructions, address any concerns you may have, and ensure a smooth rooting experience.
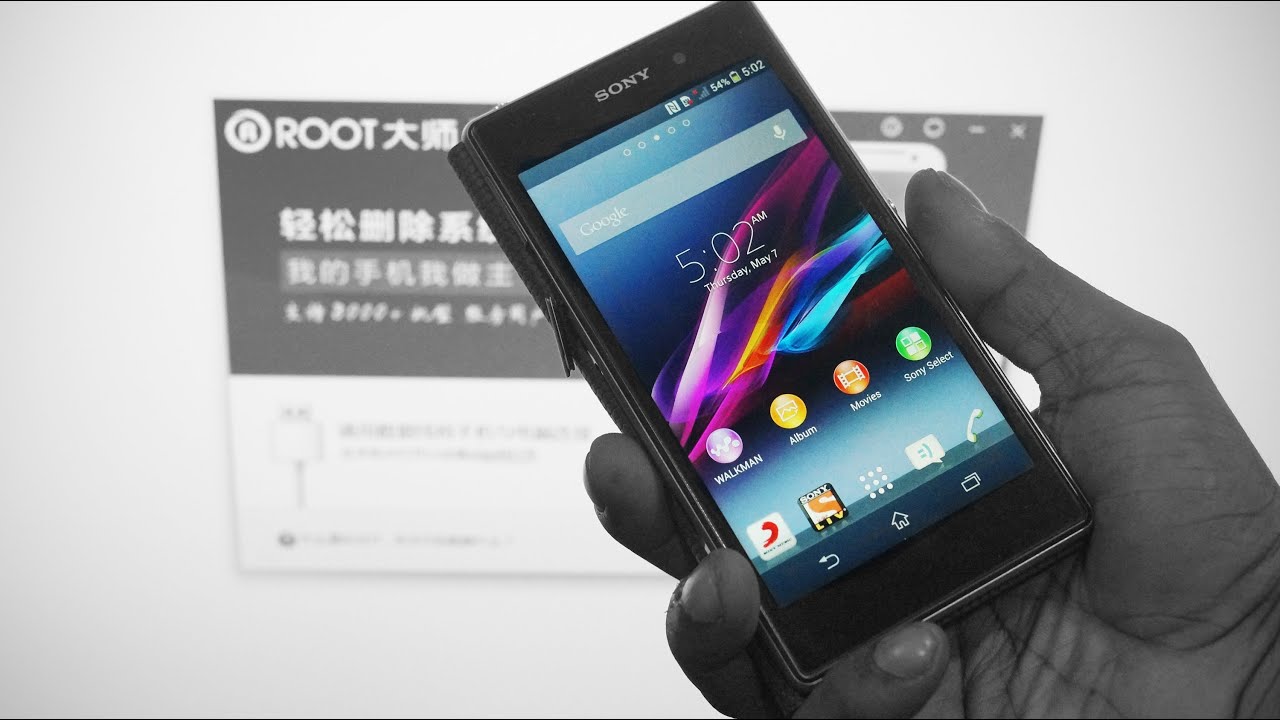
So, grab your Sony Xperia Z1S and get ready to embark on a journey that will unleash the true power of your smartphone!
Inside This Article
- Preparations before rooting
- Steps to root Sony Xperia Z1S
- Common Troubleshooting and Tips
- Conclusion
- FAQs
Preparations before rooting
Rooting your Sony Xperia Z1S can give you greater control over your device and access to advanced features. However, before you proceed with the rooting process, it is important to make certain preparations to ensure a smooth and successful rooting experience. Here are a few key steps to follow:
1. Backup your data: Before rooting your device, it is crucial to backup all your important data. Rooting may involve unlocking the bootloader and making system-level changes, which can potentially result in data loss. By backing up your data, you can safeguard your contacts, messages, multimedia files, and app data.
2. Check the device compatibility: Ensure that your Sony Xperia Z1S model is compatible with the rooting method you are planning to use. Different rooting methods are available for different device models and software versions. Check online forums, XDA Developers, or manufacturer websites to find the most appropriate rooting method for your specific device.
3. Charge your device: Make sure your device has sufficient battery charge before you begin the rooting process. A low battery can interrupt the process and potentially cause damage to your device. It is recommended to have at least 50% battery level to avoid any unforeseen issues.
4. Enable USB debugging: USB debugging allows your device to communicate with the computer when connected via USB. To enable USB debugging, go to Settings > About Phone > Build Number, and tap on it multiple times until it says “You are now a developer. Then, go to Settings > Developer options and toggle on USB debugging.
5. Install necessary drivers: To establish a connection between your Sony Xperia Z1S and the computer, it is essential to have the appropriate USB drivers installed. Sony provides official drivers on their official support website. Alternatively, you can use third-party tools like Android Debug Bridge (ADB) to install the necessary drivers.
By following these preparations, you can ensure a smooth and hassle-free rooting process for your Sony Xperia Z1S. Taking the time to backup your data, check compatibility, charge your device, enable USB debugging, and install the necessary drivers will help protect your data and maximize the chances of a successful rooting experience.
Steps to root Sony Xperia Z1S
Rooting your Sony Xperia Z1S can provide you with a whole new level of control and customization over your device. It allows you to access system files and make changes that are otherwise not possible on a non-rooted phone. If you’re ready to unleash the full potential of your Xperia Z1S, here are the steps to root it:
- Backup your data: Before proceeding with the rooting process, it is essential to back up all your data, including contacts, photos, videos, and any other important files. This step ensures that you won’t lose any valuable information during the rooting process.
- Enable USB Debugging: Go to the “Settings” menu on your Xperia Z1S and scroll down to find the “Developer options.” If you don’t see this option, go to “About phone” and tap on the “Build number” multiple times until you see the message “You are now a developer.” Once you have enabled the developer options, go back to the main settings and open “Developer options.” Enable USB debugging.
- Unlock the bootloader: To root your Xperia Z1S, you need to unlock the bootloader. This step is necessary as it allows you to install custom recoveries and custom ROMs on your device. Sony provides an official tool called “Xperia Bootloader Unlock” that you can download from their website. Follow the instructions provided by Sony to unlock the bootloader of your Xperia Z1S.
- Download and install a custom recovery: After unlocking the bootloader, you need to install a custom recovery on your Xperia Z1S. TWRP (Team Win Recovery Project) is one of the most popular custom recoveries available for Android devices. Visit the TWRP website and download the appropriate recovery image for your Xperia Z1S. Once downloaded, you can use the “Flash Tool” provided by Sony to install the custom recovery on your device.
- Download the rooting package: Now it’s time to download the rooting package for your Xperia Z1S. There are several options available, but one of the most popular is SuperSU. Download the SuperSU zip file from a trusted source and transfer it to the internal storage of your device.
- Boot into custom recovery: Power off your Xperia Z1S and then press and hold the Volume Up button while connecting it to your computer via USB cable. This will boot your device into the custom recovery mode.
- Flash the rooting package: In the custom recovery mode, select the “Install” option and navigate to the location where you transferred the SuperSU zip file. Select the file and confirm the installation. Once the installation is complete, you can reboot your Xperia Z1S.
- Verify root access: After rebooting your Xperia Z1S, you can verify if the rooting process was successful by installing a root checker app from the Play Store. Open the app and follow the instructions to check if your device has root access.
Now that you have successfully rooted your Sony Xperia Z1S, you can enjoy the benefits of customization and control over your device. However, it is important to note that rooting your device may void its warranty, and there are potential risks involved. Make sure to research and understand the process before proceeding. Happy rooting!
Common Troubleshooting and Tips
Even though rooting your Sony Xperia Z1S can bring many advantages, there are always potential complications that may arise during the process. Here are some common troubleshooting tips to help you overcome any issues:
1. Backup your data: Before rooting your phone, it’s crucial to back up all your important data. This includes contacts, messages, media files, and any other valuable information. In case anything goes wrong during the rooting process, you can restore your device and avoid losing any important data.
2. Ensure proper battery level: Make sure your Sony Xperia Z1S has a sufficient battery level before starting the rooting process. It is recommended to have at least 50% battery power to avoid any disruption during the procedure. If your device runs out of battery during the root, it can cause complications or even damage to the phone.
3. Use trusted rooting software: When it comes to rooting your phone, it is crucial to use trusted and reliable rooting software. There are several rooting tools available, such as KingoRoot, Magisk, and SuperSU. Do thorough research and choose the one that is compatible with your Sony Xperia Z1S model and has positive reviews from users.
4. Follow the instructions carefully: Rooting your phone involves a series of steps that need to be followed meticulously. Make sure to read and understand the instructions provided by the rooting software or the tutorial you are following. Skipping or misunderstanding any steps can lead to errors or even brick your phone.
5. Be aware of risks: Rooting your Sony Xperia Z1S will void its warranty. It also opens your device to potential security risks, as the root access can be exploited by malicious apps. Only install apps from trusted sources and be cautious when granting root access to any app.
6. Stay updated: After rooting your phone, you may find that certain apps or functions are no longer compatible or functioning properly. It is essential to stay updated on forums, communities, or websites dedicated to rooting and custom ROMs for your Sony Xperia Z1S. This way, you can find solutions or workarounds for any compatibility issues that may arise.
7. Unroot if needed: If you decide later on that you no longer wish to have root access on your Sony Xperia Z1S, you can unroot your device. There are several methods and tools available to help you remove the root access and restore your phone to its original state. Just make sure to follow the instructions carefully and back up your data before proceeding.
By keeping these common troubleshooting tips in mind, you can have a smoother and more successful rooting experience with your Sony Xperia Z1S. Remember to always exercise caution, follow the instructions carefully, and stay updated on the latest developments in the rooting community.
Conclusion
In conclusion, rooting your Sony Xperia Z1S can unlock a world of possibilities and customization options for your device. By gaining administrative access, you can remove bloatware, install custom ROMs, and optimize the performance of your phone. However, it is important to proceed with caution and follow the rooting process carefully to avoid any potential risks or damage to your device.
Rooting your Sony Xperia Z1S gives you the freedom to take full control of your device and enhance its functionality. From installing system-wide ad blockers to customizing the interface, the possibilities are endless. Just remember to research and understand the risks involved before attempting to root your device, and always backup your data to prevent any loss. Enjoy the benefits of a rooted Sony Xperia Z1S and make the most out of your smartphone experience!
FAQs
Q: What does it mean to root a Sony Xperia Z1S?
A: Rooting a Sony Xperia Z1S refers to the process of gaining privileged control, also known as root access, over the Android operating system installed on the device. It allows users to access and modify system files and settings that are typically restricted, enabling them to customize their device, install custom ROMs, and use apps that require root access.
Q: Why would I want to root my Sony Xperia Z1S?
A: Rooting your Sony Xperia Z1S offers various benefits, such as the ability to remove bloatware (pre-installed apps), enhance device performance, extend battery life, and customize the look and feel of your device through custom ROMs and themes. It also enables you to use powerful apps and tools that require root access to perform advanced tasks.
Q: Can rooting my Sony Xperia Z1S void the warranty?
A: Yes, rooting your Sony Xperia Z1S typically voids the manufacturer’s warranty. When you root your device, you are altering the original software and system files, which may result in the manufacturer denying any warranty claims. However, there are ways to unroot or restore the device to its original state before sending it for repairs, which could potentially reinstate the warranty.
Q: Is rooting my Sony Xperia Z1S safe?
A: Rooting your Sony Xperia Z1S entails some risks, as it involves modifying system files and settings. If not done properly, it could potentially lead to bricking your device or causing unexpected issues. It is essential to follow reliable and trusted rooting methods, using reputable tools and resources, and proceed with caution. It is recommended to backup your data before rooting your device to avoid any potential loss.
Q: How can I root my Sony Xperia Z1S?
A: Rooting methods may vary depending on the device and the Android version it runs. To root your Sony Xperia Z1S, you can start by researching trusted rooting methods and tools specific to your device model and Android version. Popular methods include using one-click rooting apps, custom recoveries like TWRP, or flashing custom ROMs. It is crucial to follow detailed step-by-step instructions and ensure compatibility before proceeding with the rooting process.