
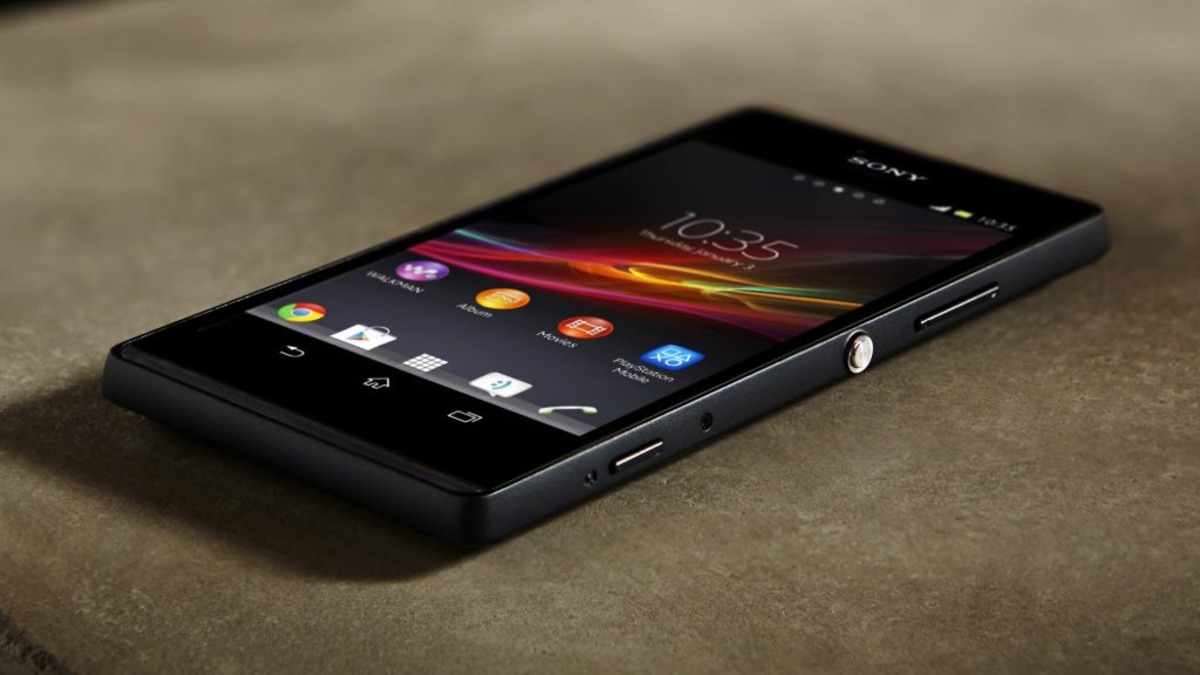
The Sony Xperia Z Ultra is a powerful and feature-packed smartphone that has gained a loyal following among tech enthusiasts. One common task that users may need to perform is loading into the bootloader, a mode that allows for advanced troubleshooting and customization options. In this article, we will guide you through the steps to load into the bootloader on the Sony Xperia Z Ultra. Whether you are looking to install custom ROMs, recover from a bricked device, or unlock the bootloader for the purpose of rooting, this guide will provide you with the necessary instructions to navigate the process successfully. So, let’s dive in and learn how to access the bootloader on your Sony Xperia Z Ultra.
Inside This Article
- How To Load Into Bootloader Sony Xperia Z Ultra
- Unlocking the Bootloader
- Installing Fastboot and ADB Tools
- Connecting Sony Xperia Z Ultra to the Computer
- Booting Sony Xperia Z Ultra into Bootloader Mode
- Conclusion
- FAQs
How To Load Into Bootloader Sony Xperia Z Ultra
If you own a Sony Xperia Z Ultra and want to unlock its full potential by installing custom ROMs or performing other system-level modifications, you’ll need to first load into the bootloader. The bootloader is a low-level software that allows you to modify the device’s firmware, and it acts as a gateway to advanced customization options. In this article, we will guide you through the process of loading into the bootloader of the Sony Xperia Z Ultra.
To start, you will need to unlock the bootloader of your Sony Xperia Z Ultra. It’s important to note that unlocking the bootloader will void your device’s warranty and may also result in data loss. Make sure to back up all your important data before proceeding with the unlocking process. To unlock the bootloader, follow these steps:
- Go to the Sony developer website and create an account or log in if you already have one.
- Enable developer options on your Sony Xperia Z Ultra by going to Settings > About Phone > Tap on Build Number 7 times.
- Enable USB debugging by going to Settings > Developer Options > USB Debugging.
- Connect your Sony Xperia Z Ultra to the computer using a USB cable.
- Open the command prompt or terminal on your computer and navigate to the folder where you have installed the fastboot and ADB tools.
- Enter the following command to confirm that your device is detected:
adb devices
Now that you have unlocked the bootloader and set up the necessary tools, you can proceed with loading into the bootloader. Follow these steps:
- Turn off your Sony Xperia Z Ultra completely.
- Press and hold the Volume Up button on your device.
- While holding the Volume Up button, connect your Sony Xperia Z Ultra to the computer using a USB cable.
- Keep holding the Volume Up button until you see the bootloader screen on your device.
That’s it! You have successfully loaded into the bootloader of your Sony Xperia Z Ultra. From here, you can proceed with flashing custom ROMs, rooting your device, or performing other advanced system modifications. Just remember to proceed with caution and follow instructions carefully to avoid any potential risks or issues.
Unlocking the Bootloader
Unlocking the bootloader of your Sony Xperia Z Ultra is a crucial step if you want to customize and optimize your device to its full potential. By unlocking the bootloader, you gain access to the system’s core files and functionalities, allowing you to install custom ROMs, kernels, and other modifications.
Before proceeding with the bootloader unlocking process, it’s important to note that this action will void your device’s warranty, as it completely alters the original software setup. Additionally, unlocking the bootloader may also result in the loss of your device’s data, so it’s recommended to backup your important files and settings beforehand.
To begin the process of unlocking the bootloader on your Sony Xperia Z Ultra, you will need to have the necessary tools and drivers installed on your computer. This includes the Fastboot and ADB (Android Debug Bridge) tools, which will enable you to communicate with your device while it’s in bootloader mode.
Once you have the Fastboot and ADB tools set up, the next step is to connect your Sony Xperia Z Ultra to your computer using a USB cable. Make sure that you have enabled USB debugging on your device and that it is recognized by your computer.
With the connection established, it’s time to boot your Sony Xperia Z Ultra into bootloader mode. This can be done by turning off the device completely and then pressing and holding the volume up button while connecting it to the computer via USB. Keep holding the volume up button until you see the bootloader screen.
Once your device is in bootloader mode, you can proceed with unlocking the bootloader. This can be done using the Fastboot command line tool on your computer. Open the command prompt or terminal and navigate to the directory where you have the Fastboot and ADB tools installed.
In the command prompt or terminal, type the following command to check if your device is recognized by Fastboot:
fastboot devices
If your device is listed, it means it’s successfully connected and recognized by Fastboot. Now, proceed with unlocking the bootloader by entering the following command:
fastboot oem unlock
Once you enter the command, a confirmation screen will appear on your device. Use the volume buttons to navigate and the power button to select “Yes” to unlock the bootloader.
Wait for the process to complete, and once it’s done, your Sony Xperia Z Ultra’s bootloader will be successfully unlocked. You can then proceed with installing custom ROMs, kernels, and other modifications to further personalize and enhance your device’s performance.
Remember, unlocking the bootloader is an advanced process that should be done with caution. Make sure to follow the instructions carefully and backup your data before proceeding. Also, keep in mind that unlocking the bootloader may void your warranty and can have certain risks associated with it. Proceed at your own discretion.
With the bootloader unlocked, you now have the freedom to explore the endless possibilities of customization on your Sony Xperia Z Ultra!
Installing Fastboot and ADB Tools
Before you can proceed with loading into the bootloader on your Sony Xperia Z Ultra, you need to ensure that Fastboot and ADB tools are installed on your computer. These tools allow you to communicate with your device and execute commands.
To install Fastboot and ADB tools, you can follow these steps:
-
Download the appropriate package for your operating system from the official Android Developer website. Make sure to select the version that is compatible with your computer.
-
Extract the downloaded package to a location on your computer. It is recommended to choose a location that is easily accessible.
-
Open a command prompt or terminal window on your computer.
-
Navigate to the location where you extracted the Fastboot and ADB tools.
-
Connect your Sony Xperia Z Ultra to the computer using a USB cable.
-
Enable USB Debugging on your device. To do so, go to Settings, then About Phone, and tap on Build number multiple times until you see a message indicating that you are now a developer. Then, go back to Settings, select Developer options, and enable USB Debugging.
-
In the command prompt or terminal window, enter the following command:
adb devices. This command will display a list of devices connected to your computer, including your Sony Xperia Z Ultra. -
If your device is listed, you have successfully installed the Fastboot and ADB tools.
With Fastboot and ADB tools installed, you are now ready to proceed with loading into the bootloader on your Sony Xperia Z Ultra.
Connecting Sony Xperia Z Ultra to the Computer
Connecting your Sony Xperia Z Ultra to the computer is an essential step in the process of loading into the bootloader. It allows you to establish a connection between your device and the computer, enabling data transfer and control over your smartphone from your computer.
To connect your Sony Xperia Z Ultra to the computer, you will need a USB cable. Make sure you have a compatible USB cable that fits the charging port of your smartphone. Once you have the cable ready, follow these steps:
- Turn off your Sony Xperia Z Ultra. Press and hold the power button until the power options menu appears, then select “Power off” to turn off the device completely.
- Locate the USB port on your Sony Xperia Z Ultra. It is usually located at the bottom of the device, near the charging port. Connect one end of the USB cable to the USB port on your smartphone.
- Connect the other end of the USB cable to an available USB port on your computer. Ensure that the connection is secure.
- Turn on your Sony Xperia Z Ultra by pressing and holding the power button until you see the Sony logo appear on the screen.
- Your computer should recognize the Sony Xperia Z Ultra as a connected device. Wait for the drivers to install automatically if prompted. If the drivers do not install automatically, you may need to download and install them manually from the Sony support website.
- Once the connection is established, you can transfer files between your smartphone and the computer, and also perform various operations using software tools like Fastboot and ADB.
It is important to ensure that the USB cable you are using is of good quality and capable of data transfer. Using a damaged or low-quality cable may result in connection issues or slow data transfer speeds. If you encounter any connectivity problems, try using a different USB cable or connecting to a different USB port on your computer.
By following these steps, you can easily connect your Sony Xperia Z Ultra to the computer and proceed with the bootloader loading process.
Booting Sony Xperia Z Ultra into Bootloader Mode
If you wish to unlock the full potential of your Sony Xperia Z Ultra, you’ll need to boot it into the bootloader mode. This mode allows you to make advanced modifications to your device’s software and firmware. Here’s a step-by-step guide on how to boot your Sony Xperia Z Ultra into bootloader mode.
1. Power off your Sony Xperia Z Ultra by holding down the power button and selecting “Power off” from the options that appear on the screen. Ensure that the device is completely powered off before proceeding to the next step.
2. Once your device is powered off, connect it to your computer using a USB cable. Make sure the other end of the cable is securely plugged into a USB port on your computer.
3. Next, press and hold the Volume Up button on your Sony Xperia Z Ultra. While holding the Volume Up button, also hold down the Power button. Continue holding both buttons until you see the Sony logo appear on the screen.
4. As soon as the Sony logo appears, release the Power button but continue holding the Volume Up button. This will boot your device into the bootloader mode, also known as the fastboot mode.
5. In bootloader mode, you will see a list of options on your Sony Xperia Z Ultra’s screen. To navigate through these options, use the Volume Up and Volume Down buttons. Highlight the “Bootloader” or “Fastboot” option and press the Power button to select it.
6. After selecting the bootloader option, your Sony Xperia Z Ultra will now be in bootloader mode. You can proceed to unlock the bootloader, flash custom recoveries, or install custom ROMs to customize your device as per your preferences.
7. To exit the bootloader mode, simply select the “Reboot” option from the bootloader menu using the Volume buttons to navigate and the Power button to select. This will restart your Sony Xperia Z Ultra and it will boot into the regular Android OS.
It is important to note that booting your Sony Xperia Z Ultra into bootloader mode may void your device’s warranty, and any modifications made in this mode can potentially brick your device if not done correctly. Make sure to research and follow reliable guides and proceed with caution.
With the ability to access the bootloader mode, you can unlock the true potential of your Sony Xperia Z Ultra and explore a world of customization options.
Conclusion
In conclusion, loading into the bootloader of your Sony Xperia Z Ultra is a relatively simple process that can be done in just a few steps. By following the instructions outlined in this guide, you can access the bootloader and make necessary modifications or repairs to your device.
The bootloader serves as a gateway to advanced features and functionalities of your Sony Xperia Z Ultra, enabling you to install custom ROMs, root your device, or recover from software issues. It is recommended to exercise caution while making any changes in the bootloader, as improper modifications can lead to device instability or even permanent damage.
Always remember to back up your data before attempting any bootloader-related operations, and if you’re unsure about any step, it’s best to seek assistance from official support channels or online communities.
With a clear understanding of how to load into the bootloader of your Sony Xperia Z Ultra, you can unlock new possibilities and take full control of your device’s software. So, don’t hesitate to explore the exciting world of bootloader customization and enjoy a more personalized mobile experience.
FAQs
1. How do I enter the bootloader mode on my Sony Xperia Z Ultra?
To enter the bootloader mode on your Sony Xperia Z Ultra, follow these steps:
- Power off your device completely.
- Press and hold the Volume Up button.
- While holding the Volume Up button, connect your device to a computer using a USB cable.
- Your device should now boot into the bootloader mode.
2. Why would I need to enter the bootloader mode?
The bootloader mode allows you to perform various advanced functions on your Sony Xperia Z Ultra, such as unlocking the bootloader, installing custom recovery, and flashing custom ROMs. It is essential for advanced users who want to customize their device and have more control over its software.
3. Can I enter the bootloader mode without a computer?
No, you cannot enter the bootloader mode on your Sony Xperia Z Ultra without a computer. The process requires a USB connection to a computer to initiate the bootloader mode.
4. Does entering the bootloader mode void my warranty?
Yes, entering the bootloader mode on your Sony Xperia Z Ultra typically voids the warranty provided by the manufacturer. It is important to note that any modifications made to the system software may result in the loss of warranty. However, you can usually restore the device to its factory settings to regain the warranty coverage.
5. Are there any risks involved in entering the bootloader mode?
Yes, there are risks involved in entering the bootloader mode on your Sony Xperia Z Ultra. Modifying the system software or flashing custom ROMs can potentially lead to device instability, data loss, or even bricking the device if not done correctly. It is crucial to have a good understanding of the process and follow reliable instructions to minimize the risks.