
Are you tired of constantly checking your phone for notifications while wearing your Quest 2 virtual reality headset? Well, worry no more! In this article, we will explore how to seamlessly see phone notifications on your Quest 2. With the growing popularity of virtual reality and the increasing need for staying connected, being able to receive and view phone notifications without having to remove your headset can greatly enhance your VR experience. Whether you’re waiting for an important message, a social media update, or simply want to stay in the loop while immersed in the virtual world, we’ve got you covered. So, let’s dive in and discover how you can effortlessly stay connected while enjoying the wonders of virtual reality!
Inside This Article
- Setting up the Oculus Quest 2
- Configuring Notification Settings
- Testing Phone Notifications on Oculus Quest 2
- Troubleshooting and Tips – Common issues and troubleshooting steps – Tips for optimizing the notification experience
- Conclusion
- FAQs
Setting up the Oculus Quest 2
When you first get your hands on the Oculus Quest 2, there are a few steps you need to follow to get it up and running. This includes enabling developer mode, connecting the Oculus Quest 2 to your phone, and installing the required apps.
The first step is to enable Developer Mode on your Oculus Quest 2. This allows you to access advanced features and install apps that are not available on the Oculus Store. To enable Developer Mode, you need to register as a developer on the Oculus website and enable the Developer Mode option in your Oculus app.
Next, you need to connect your Oculus Quest 2 to your phone. This allows you to receive notifications, control certain aspects of the VR experience, and access other features. To do this, you’ll need to download the Oculus app on your phone and follow the on-screen instructions to pair it with your Oculus Quest 2.
Once your Oculus Quest 2 is connected to your phone, you’ll need to install the required apps. These may include the Oculus mobile app, which allows you to browse and download VR games and experiences, as well as any additional apps or games you want to use with your Oculus Quest 2. Simply search for the apps in the Oculus app store and follow the installation instructions.
With these steps completed, your Oculus Quest 2 is now set up and ready to use. You can start exploring the world of virtual reality, downloading and playing games, and enjoying immersive experiences right at your fingertips.
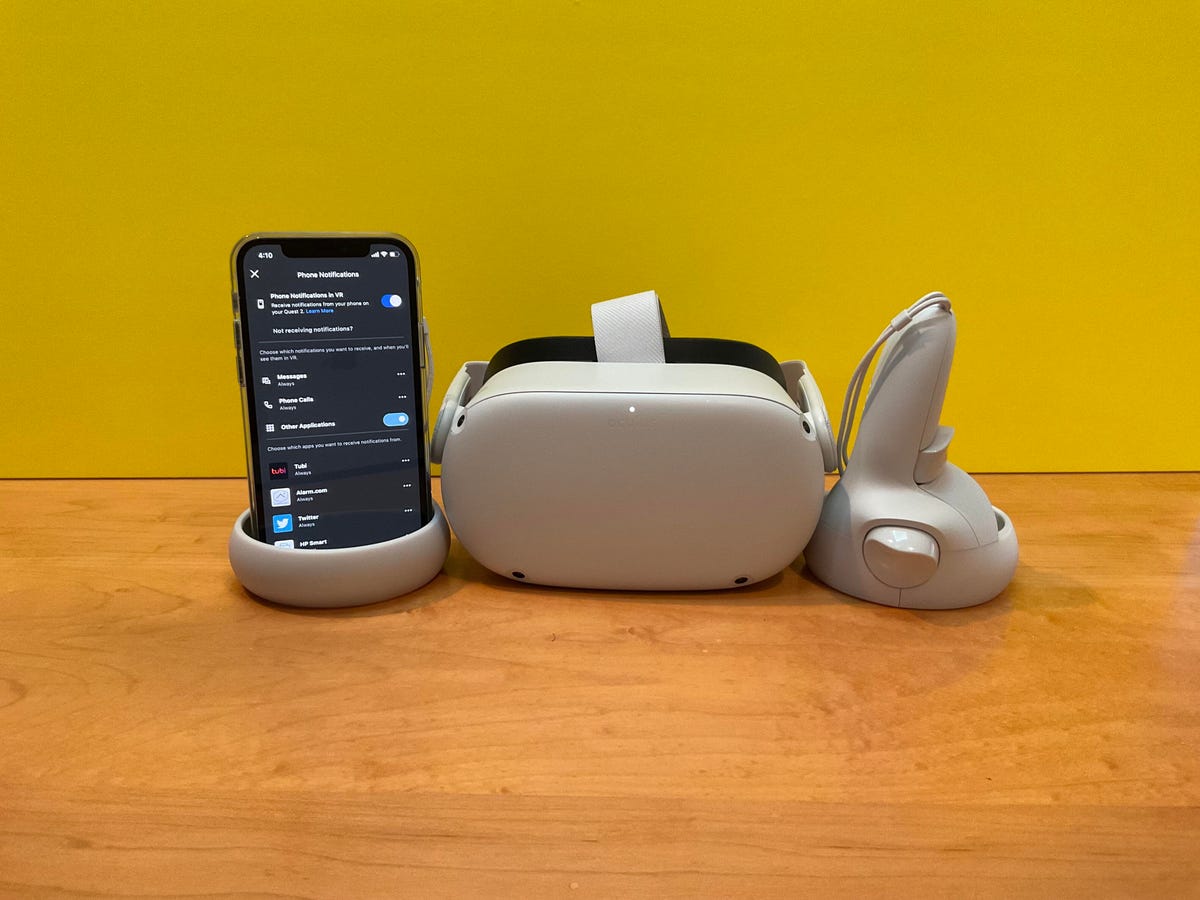
Configuring Notification Settings
Configuring Notification Settings on your Quest 2 allows you to conveniently receive phone notifications while immersed in virtual reality. Follow the steps below to set up and enable notification mirroring on your device.
1. Accessing the Oculus App on Your Phone: To configure notification settings on your Quest 2, you’ll need to access the Oculus app on your mobile phone. Ensure that you have the app installed on your phone and open it.
2. Granting Necessary Permissions: Once you’ve opened the Oculus app, navigate to the settings menu. Look for the notification settings option and tap on it. On some phones, you might need to grant certain permissions to enable notification mirroring. Follow the prompts and allow the necessary permissions for the app to mirror your phone notifications.
3. Enabling Notification Mirroring: After granting the required permissions, locate the toggle switch for notification mirroring in the settings menu. This switch enables the Oculus app to mirror notifications from your phone to your Quest 2. Toggle it on to activate notification mirroring.
4. Testing the Notification Setup: To ensure that the configuration is successful, you can send a test notification from your phone to your Quest 2. Once the notification is sent, it should appear in your virtual reality environment. You can modify the notification settings further to customize the types of notifications you want to receive.
By configuring the notification settings on your Quest 2, you can stay connected with your phone while enjoying virtual reality experiences. Whether it’s receiving important messages, notifications from social media, or even phone calls, you’ll be able to stay informed without needing to remove your headset. Remember to adjust the settings to suit your preferences and make the most out of your VR experience.
Testing Phone Notifications on Oculus Quest 2
Sending a test notification to your Oculus Quest 2 and checking if the notification appears in the headset is a simple process. Follow these steps to ensure that your phone notifications are properly synced with your Quest 2:
- Make sure your phone is connected to the same Wi-Fi network as your Quest 2.
- Open the Oculus app on your phone and navigate to the settings menu.
- Select the option to enable phone notifications for Quest 2.
- In the app settings, find the notification test feature.
- Enter a test message or choose a pre-set notification to send to your Quest 2.
- Tap on the “Send” button and wait for a few seconds.
Once you have sent the test notification to your Quest 2, it’s time to check if it appears in the headset:
- Put on your Oculus Quest 2 headset.
- From the home screen, navigate to the notification panel by either tapping on the virtual menu button or swiping down on the Oculus Home screen.
- Look for the newly sent notification in the panel. It should appear at the top or within the list of notifications.
- If the notification appears as expected, congratulations! Your phone notifications are successfully synced with your Oculus Quest 2.
- If the notification doesn’t appear or there are any issues, make sure that both your phone and Quest 2 are properly connected to the same Wi-Fi network. You may need to troubleshoot the connection or settings on both devices.
Testing phone notifications on Oculus Quest 2 is a vital step to ensure that you receive important alerts and updates while immersed in VR. By following these steps, you can easily send and check test notifications in your Quest 2 headset, making sure that your immersive experiences are not interrupted by missed messages or notifications.
Troubleshooting and Tips – Common issues and troubleshooting steps – Tips for optimizing the notification experience
While the process of seeing phone notifications on Quest 2 is usually seamless, there may be instances where you encounter some common issues. Here are a few troubleshooting steps you can take to resolve them:
1. Make sure that both your Quest 2 and your phone are connected to the same Wi-Fi network. Sometimes, a mismatched network connection can prevent notifications from appearing on your headset.
2. Restart your Quest 2 and your phone. This simple step can often resolve any temporary glitches or connection issues that may be affecting the notification feature.
3. Check that the Oculus app on your phone is up to date. Keeping your app updated ensures compatibility and can fix any bugs or issues that may be causing problems with notifications.
4. Ensure that your phone’s settings allow for notifications to be displayed on your VR headset. Go to your phone’s settings, find the notification settings for the Oculus app, and make sure that notifications are enabled.
5. If you are still not receiving notifications on your Quest 2, try unpairing and then re-pairing your phone with the headset. This can refresh the connection and resolve any underlying issues.
Here are some tips for optimizing your overall notification experience on Quest 2:
1. Customize your notification settings. Within the Oculus app on your phone, you can specify which apps or types of notifications you want to receive in VR. This allows you to filter out unnecessary or distracting notifications.
2. Be mindful of your VR environment. If you are in a busy or crowded space, you may find that notifications become overwhelming or difficult to keep track of. Consider adjusting your VR usage to quieter environments for a more focused notification experience.
3. Take advantage of Oculus’ notification management features. You can dismiss individual notifications or clear all notifications with a single action. This helps keep your virtual space clutter-free and organized.
4. Regularly check for software updates on your Quest 2. As new updates and features are released, they may include improvements or enhancements to the notification system, ensuring a smoother and more efficient experience.
By following these troubleshooting steps and implementing these tips, you can optimize your ability to see phone notifications on Quest 2 and ensure a seamless and enjoyable VR experience.
Conclusion
In conclusion, being able to see phone notifications on your Quest 2 can greatly enhance your virtual reality experience. By connecting your phone to your headset and enabling notification access, you can stay connected and informed, even while immersed in virtual worlds. Whether you want to receive calls, messages, or app notifications, the process is simple and can be done within a few minutes.
Having your phone notifications displayed on the Quest 2 allows for seamless multitasking and ensures that you never miss an important update. Whether you’re expecting an important message, need to answer a call, or want to keep up to date with your favorite social media apps, being able to see phone notifications on your Quest 2 is a game-changer in terms of convenience and immersion.
So go ahead, follow the steps outlined in this article, and start enjoying the benefits of having your phone notifications visible on your Quest 2. Stay connected and informed, all while exploring the limitless possibilities of virtual reality.
FAQs
Q: Can I see phone notifications on my Quest 2?
A: Yes, you can see phone notifications on your Quest 2. It allows you to receive notifications for incoming calls, messages, and other app updates directly on your virtual reality headset.
Q: How do I set up phone notifications on Quest 2?
A: To set up phone notifications on your Quest 2, you need to ensure that you have the Oculus app installed on your smartphone. Connect your Quest 2 to your phone via the Oculus app, and enable notification access. This process may vary slightly depending on your phone’s operating system, but the Oculus app will guide you through the steps.
Q: What types of phone notifications can I receive on Quest 2?
A: You can receive various types of phone notifications on your Quest 2. This includes notifications for incoming calls, text messages, email alerts, and notifications from other supported apps on your smartphone. The Quest 2 is designed to provide a seamless integration between your VR experience and your phone’s notifications, keeping you connected even while immersed in virtual reality.
Q: Can I respond to phone notifications on Quest 2?
A: While you can view phone notifications on your Quest 2, the ability to respond directly from the headset may depend on the specific app or feature. Some apps may allow you to respond to text messages or dismiss notifications using voice commands or pre-set responses, while others may require you to use your phone to respond. It’s always a good idea to check the compatibility and functionality of the apps you use to ensure a seamless experience with phone notifications on your Quest 2.
Q: Are there any privacy concerns with phone notifications on Quest 2?
A: The privacy of your phone notifications on Quest 2 depends on the settings you have enabled on your smartphone. The notifications are mirrored onto your VR headset, so it’s important to be mindful of the content that may be visible to others in your VR environment. Ensure that you have appropriate privacy settings within both the Oculus app and your smartphone to maintain the level of privacy you desire.