
Are you tired of constantly being interrupted by incoming calls on your iPhone? Whether you’re in an important meeting, trying to enjoy some downtime, or simply want a break from the incessant ringing, there are ways to stop incoming calls and regain control over your phone. In this article, we will explore various methods and settings you can utilize to prevent incoming calls from disrupting your day. From enabling “Do Not Disturb” mode to creating a custom blocked contacts list, we’ll walk you through the steps to ensure uninterrupted peace and tranquility. So, if you’re ready to reclaim your iPhone and put an end to unwanted interruptions, let’s dive in!
Inside This Article
- Enabling Do Not Disturb Mode:
- Blocking Specific Contacts
- Using Call Forwarding
- Adjusting Notification Settings
- Conclusion
- FAQs
Enabling Do Not Disturb Mode:
If you want to put your iPhone on silent and block incoming calls without completely turning off your device, the Do Not Disturb (DND) mode is the perfect solution. This feature allows you to customize your settings and decide which calls and notifications should be muted during specific time periods or indefinitely. Here’s how you can enable and configure Do Not Disturb mode on your iPhone:
Step 1: Unlock your iPhone and go to the Settings app. It’s typically represented by the gear icon on your home screen.
Step 2: Scroll down until you find the “Do Not Disturb” option and tap on it. It should be located in the Control Center section.
Step 3: Toggle the “Do Not Disturb” button to the right to enable the feature. The moon icon will appear in the status bar, indicating that Do Not Disturb mode is active.
Step 4: By default, Do Not Disturb mode is set to silence all incoming calls and notifications. However, you can customize these settings to allow calls from your favorites or specific contacts. To do this, tap on “Allow Calls From” and select your preferred option.
Step 5: You can also schedule Do Not Disturb mode to automatically activate during specific times. Tap on “Scheduled” and set the desired start and end times. This is particularly useful if you want to ensure uninterrupted sleep or focus during work or meetings.
Step 6: To further customize Do Not Disturb mode, go back to the main Do Not Disturb settings page. Here, you can choose whether to allow repeated calls to bypass the feature, enable Bedtime Mode to dim your screen and reduce distractions during nighttime hours, and manage other options like Emergency Bypass and Silence.
Step 7: Once you have configured your settings, simply press the home button or swipe up from the bottom of the screen (on iPhone X or later models) to exit the Settings app. Your iPhone will now adhere to the Do Not Disturb mode parameters you have set.
Enabling Do Not Disturb mode on your iPhone is a convenient way to block incoming calls and maintain peace and focus in your daily life. Whether you need uninterrupted sleep, concentration during important tasks, or simply some peace and quiet, Do Not Disturb mode has got you covered.
Blocking Specific Contacts
If you find yourself constantly receiving unwanted calls from specific contacts, there is an easy solution: blocking them. By blocking specific contacts on your iPhone, you can effectively stop their incoming calls from ringing your device. This feature is particularly helpful in avoiding calls from telemarketers, spammers, or even individuals you no longer wish to communicate with.
To block a contact on your iPhone, follow these simple steps:
- Open the “Phone” app on your iPhone.
- Navigate to the “Recents” tab or the “Contacts” tab, depending on where the contact’s information is stored.
- Locate the contact you want to block and tap on their name to enter their details.
- Scroll down and tap on “Block this Caller”.
- Confirm your decision by selecting “Block Contact”.
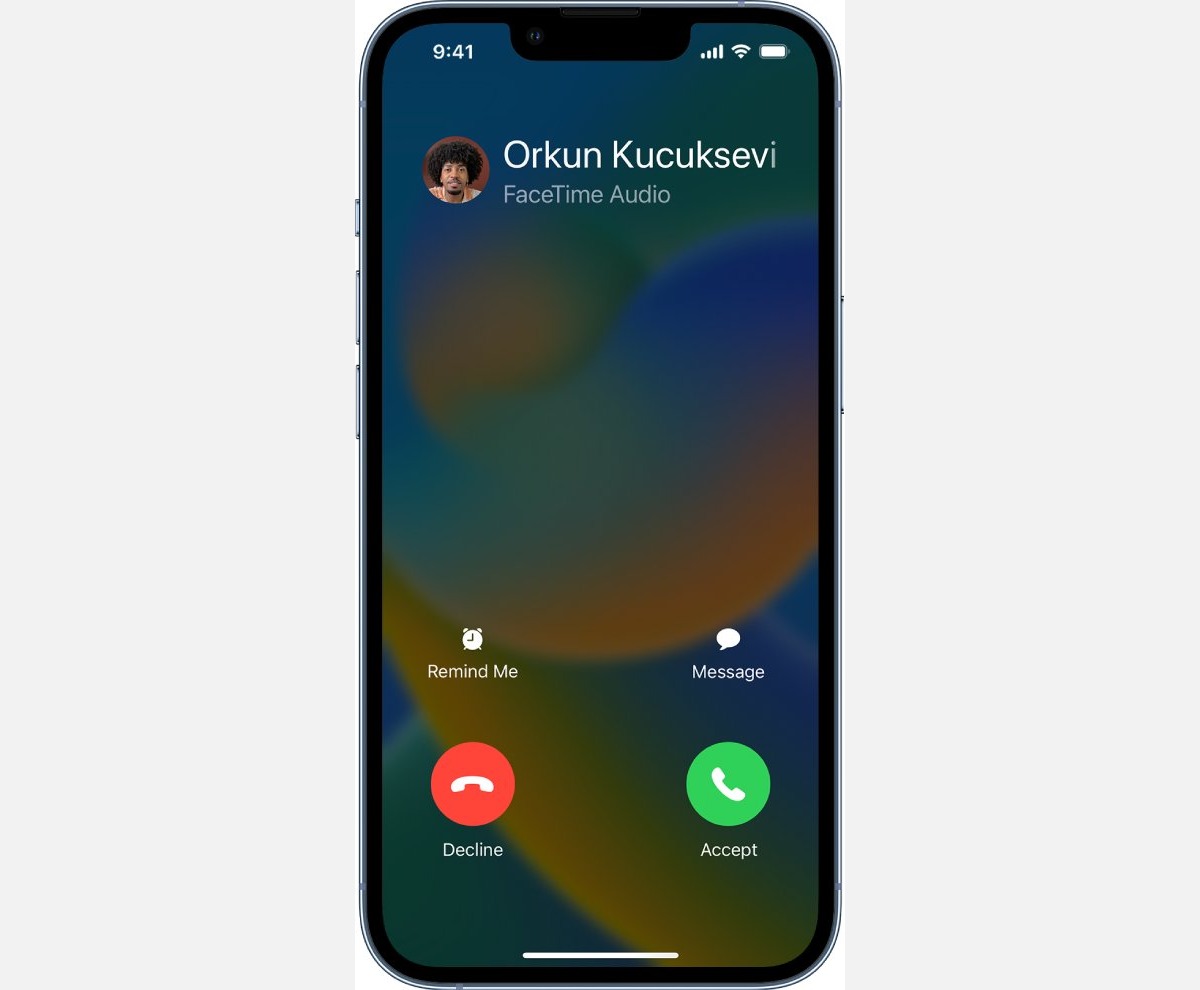
Once you have successfully blocked a contact, their calls will no longer ring your iPhone. Instead, they will be sent directly to voicemail without notifying you. Furthermore, blocked contacts will not be able to send you text messages or FaceTime requests.
If you ever change your mind and want to unblock a contact, follow these steps:
- Go to the “Settings” app on your iPhone.
- Scroll down and tap on “Phone”.
- Select “Blocked Contacts”.
- Locate the contact you want to unblock and swipe left on their name.
- Tap on “Unblock” to allow their calls and messages to come through again.
Blocking specific contacts is a powerful tool to take control over unwanted calls and messages on your iPhone. It provides you with the ability to filter out unwanted communications and maintain a more peaceful and focused mobile experience.
Using Call Forwarding
Call forwarding is a useful feature that allows you to redirect incoming calls from your iPhone to another phone number. Whether you want to forward calls to another mobile device, landline, or even a voicemail, call forwarding can help you manage your calls more effectively.
Here’s how you can use call forwarding on your iPhone:
- Step 1: Open the Settings app on your iPhone and tap on “Phone.”
- Step 2: Scroll down and select “Call Forwarding.”
- Step 3: Toggle the switch next to “Call Forwarding” to enable the feature.
- Step 4: Enter the phone number you want your calls to be forwarded to.
- Step 5: Once you’ve entered the number, tap on the back arrow on the top left corner to save the settings.
After following these steps, any incoming calls to your iPhone will be automatically redirected to the designated phone number you set in the call forwarding settings.
Keep in mind that call forwarding is a network-dependent feature, and charges may apply depending on your carrier and calling plan. It’s important to check with your service provider regarding any associated costs before enabling call forwarding.
Additionally, it’s worth noting that call forwarding is a temporary setting and can be turned off or modified at any time. Simply revisit the “Call Forwarding” menu in your iPhone’s settings and toggle the switch to disable or change the forwarding number.
With call forwarding, you can seamlessly redirect incoming calls to another number, ensuring that you never miss important calls even if you’re away from your iPhone.
Adjusting Notification Settings
One of the most effective ways to stop incoming calls on your iPhone is by adjusting the notification settings. By customizing how your iPhone alerts you to incoming calls, you can have more control over when and how you receive them.
To adjust the notification settings, follow these steps:
- Go to the “Settings” app on your iPhone.
- Scroll down and tap on “Notifications”.
- Select “Phone” from the list of apps.
- Here, you have several options to customize the notification settings for incoming calls:
- Allow Notifications: Toggle this option off to completely stop all notifications for incoming calls.
- Lock Screen: Choose whether you want to see notifications for incoming calls on the lock screen.
- Banners: Decide whether you want banners to appear at the top of the screen when receiving calls.
- Notification Center: Choose whether you want incoming call notifications to appear in the Notification Center.
By adjusting these settings, you can tailor the way your iPhone notifies you of incoming calls. For example, if you want to completely stop all notifications for incoming calls, you can simply turn off the “Allow Notifications” option. On the other hand, if you prefer to see notifications on the lock screen or receive banners for incoming calls, you can customize those settings accordingly.
Keep in mind that adjusting notification settings will not block specific callers or numbers. If you want to block specific contacts or numbers from calling you altogether, you will need to explore other methods, such as blocking contacts or using third-party call blocking apps.
Once you have customized the notification settings to your preferences, you can enjoy a more personalized and streamlined experience when it comes to incoming calls on your iPhone.
Conclusion
In conclusion, knowing how to stop incoming calls on your iPhone can be incredibly useful in various situations. Whether you’re in an important meeting, trying to focus on a task, or simply need some uninterrupted time, the ability to manage incoming calls can greatly enhance your productivity. By utilizing the Do Not Disturb feature, enabling call blocking, or using third-party apps, you can take control of your incoming calls and decide when and how you want to be reached on your iPhone.
Remember, it’s important to find a balance that works for you. While it’s helpful to filter out unwanted calls or silence notifications temporarily, it’s also crucial to remain accessible to important contacts and emergency calls.
With the powerful features and options available on the iPhone, you can customize your call management experience to suit your needs. So, take advantage of these tools and enjoy the convenience and peace of mind that comes with managing incoming calls on your iPhone.
FAQs
1. How do I stop incoming calls on my iPhone?
To stop incoming calls on your iPhone, you can enable the Do Not Disturb mode. Open the Settings app on your iPhone, select “Do Not Disturb,” and toggle the switch to turn it on. This will silence all incoming calls and notifications. You can also customize the settings to allow calls from specific contacts or enable repeated calls to come through.
2. Can I stop incoming calls from specific numbers?
Unfortunately, the native iPhone settings do not provide a built-in feature to block specific phone numbers. However, you can use third-party apps or contact your network provider to explore options for blocking calls from specific numbers.
3. How can I still receive important calls while blocking others?
To receive important calls while blocking others, you can utilize the “Allow Calls From” feature in the Do Not Disturb settings. Here, you can select “Favorites” to allow calls from people in your favorites list or choose “All Contacts” to allow calls from everyone in your contact list. Additionally, you can enable the “Repeated Calls” option to allow a call through if the same number calls within three minutes.
4. Can I block incoming calls temporarily without enabling Do Not Disturb mode?
Yes, you can temporarily block incoming calls without enabling the Do Not Disturb mode by turning on the “Airplane Mode.” This mode disables all cellular and wireless communications on your iPhone, including calls, messages, and notifications. To activate Airplane Mode, swipe down from the top right corner of your iPhone screen to access the Control Center, and tap on the airplane icon. Remember to deactivate Airplane Mode when you want to resume receiving calls.
5. How can I block telemarketing and spam calls?
To block telemarketing and spam calls on your iPhone, you can use the built-in feature called “Silence Unknown Callers.” When this feature is enabled, calls from numbers not in your contacts, recent calls, or Siri suggestions will be automatically sent to voicemail. To turn on this feature, go to Settings, select “Phone,” and toggle the “Silence Unknown Callers” switch.