
If you’re a MetroPCS customer looking to switch your service to another phone, you’ve come to the right place. Switching to a new phone doesn’t have to be a complicated process, and with a few simple steps, you can seamlessly transfer your MetroPCS service to your desired device. Whether you’re upgrading to a new model or switching to a different brand, this article will guide you through the process, ensuring a smooth transition and uninterrupted service. From transferring your contacts and data to ensuring compatibility and activating your new phone, we’ve got you covered. So, let’s dive in and learn how to switch your MetroPCS service to another phone.
Inside This Article
- Background Information
- Steps to Switch Your Metro PCS Service to Another Phone
- Troubleshooting and Common Issues
- Conclusion
- FAQs
Background Information
Before diving into the steps of switching your Metro PCS service to another phone, it’s important to have a solid understanding of the background information. Metro PCS, also known as Metro by T-Mobile, is a prepaid wireless service provider in the United States. It offers affordable plans and a wide selection of smartphones, catering to various budget needs.
Metro PCS operates on the T-Mobile network, providing reliable coverage and fast data speeds. With its affordable pricing and flexible plans, it has gained popularity among budget-conscious individuals and those looking for prepaid options.
One of the advantages of Metro PCS is the ability to bring your own phone or switch to a new device without any hassle. This flexibility allows you to keep your existing phone or upgrade to a new one while retaining your Metro PCS service.
Now that you have a basic understanding of Metro PCS and its offerings, let’s move on to the steps involved in switching your Metro PCS service to another phone.
Steps to Switch Your Metro PCS Service to Another Phone
Switching your Metro PCS service to another phone is a straightforward process that allows you to upgrade, replace a lost or damaged device, or simply switch to a new phone of your choice. Whether you are looking to make the switch online or through a physical store, this guide will walk you through the steps to ensure a smooth and hassle-free transition.
- Check device compatibility: Before proceeding with the switch, ensure that the new phone you wish to switch to is compatible with Metro PCS. Check whether the phone is unlocked or locked to another carrier and confirm that it supports Metro PCS’s network bands.
- Backup your data: Before making any changes, it is crucial to create a backup of your data, including contacts, photos, videos, and any other important files. This can be done by syncing your current phone with a cloud service or by manually transferring the data to your computer.
- Visit a Metro PCS store or website: Depending on your preference, you can either visit a Metro PCS store near you or navigate to their official website to initiate the switch. If visiting a store, bring along your current phone and the new phone you wish to switch to. If opting for the online method, ensure you have access to a computer or mobile device with an internet connection.
- Speak with a Metro PCS representative: At the store or online, approach a Metro PCS representative and inform them about your intention to switch your service to a new phone. They will guide you through the process and provide the necessary assistance to ensure a seamless switch.
- Provide necessary information: During the switch, you will be required to provide certain information, such as your Metro PCS phone number, account details, and any additional information specific to the new phone. Ensure you have this information readily available for a smoother and more efficient transition.
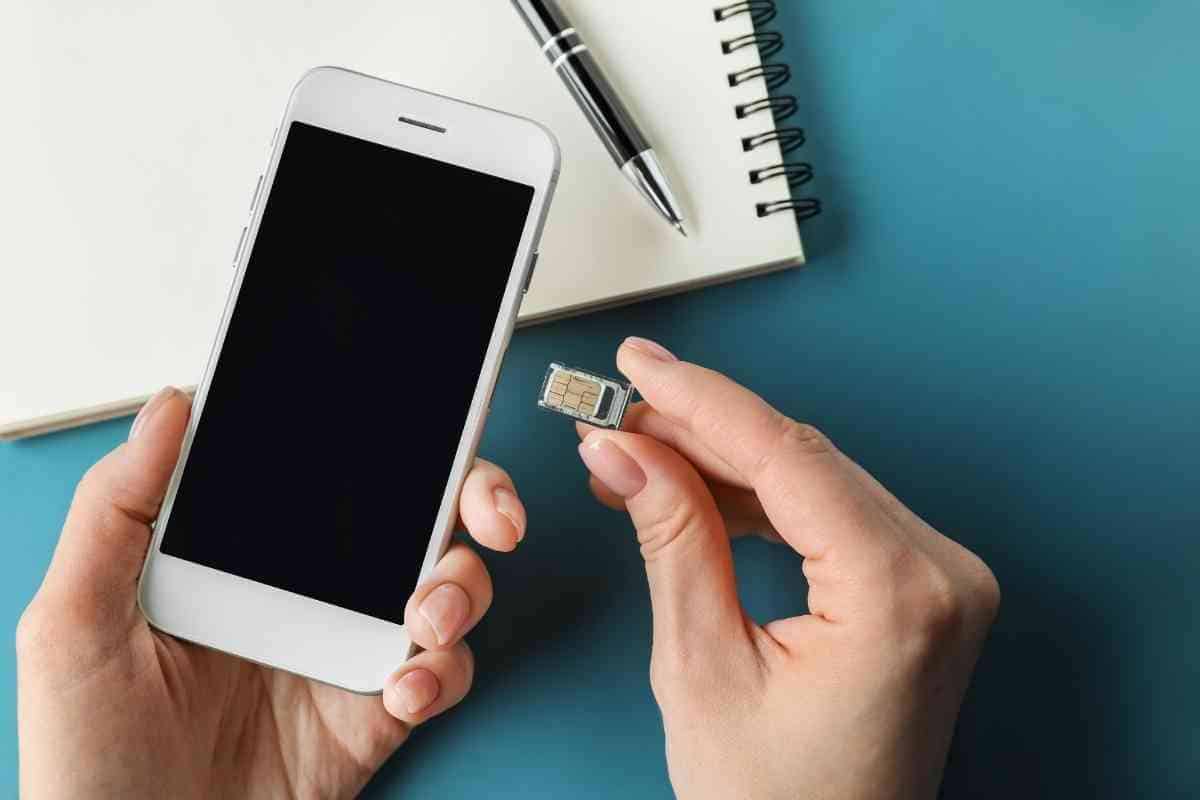
- Activate the new phone: Once you have provided the necessary information, the Metro PCS representative will assist you in activating the new phone. This may involve inserting a new SIM card, transferring your existing plan and phone number to the new device, and configuring any necessary settings.
- Test the new phone: After the activation process is complete, it is essential to test the new phone to ensure that all features, including calls, texts, and data, are working correctly. Make a test call, send a text message, and browse the internet to ensure everything is functioning as expected.
- Transfer your data: If you have previously backed up your data, you can now transfer it to the new phone. This can be done through various methods, including restoring from a cloud backup, transferring via a computer, or utilizing wireless transfer options available on the devices.
- Update your apps and settings: Once your data is transferred, take the time to update and reinstall any necessary applications on the new phone. Additionally, review and configure settings according to your preferences, making the new phone feel personalized and ready for use.
- Dispose of your old phone: Finally, if you no longer need your old phone, ensure proper disposal. Consider recycling options offered by Metro PCS or other electronic waste recycling programs in your area.
By following these steps, you can seamlessly switch your Metro PCS service to another phone. Remember to double-check the compatibility of your new device, backup your data, and seek assistance from a Metro PCS representative for a smooth transition. Enjoy your new phone and all the features it has to offer!
Troubleshooting and Common Issues
Switching your Metro PCS service to another phone can be a smooth and straightforward process. However, like any technology, there may be some common issues that you may encounter during the transition. In this section, we will address some of the troubleshooting steps you can take and common issues you may come across.
1. Device Compatibility: One of the primary concerns when switching phones is ensuring device compatibility. Make sure that the new phone you are switching to is compatible with Metro PCS service. Check if the phone supports the necessary network bands and technologies for Metro PCS coverage. You can consult Metro PCS customer service or check their website for a list of compatible devices.
2. Activation Issues: If you are having trouble activating your new phone, double-check that you have followed the correct activation process. Ensure that the new device is properly powered on, and the SIM card is correctly inserted. If you are still encountering issues, contact Metro PCS customer service for assistance.
3. Metro PCS Network Coverage: In some cases, you may experience issues with network coverage after switching to a new phone. If you notice a decrease in signal strength or network connectivity, try restarting the device or toggling airplane mode on and off. If the problem persists, contact Metro PCS customer service to verify the network coverage in your area.
4. Data Transfer: When switching phones, it is crucial to transfer your data, including contacts, messages, photos, and applications. If you are having trouble transferring your data, consider using cloud-based services, such as Google Drive or Apple iCloud, to back up your data on the old device and restore it on the new device. Additionally, you can use third-party apps or software to transfer specific types of data between devices.
5. Voicemail Setup: After switching to a new phone, you may need to set up your voicemail again. Follow the instructions provided by Metro PCS to set up your voicemail on the new device. If you encounter any issues or error messages during setup, reach out to Metro PCS customer service for assistance.
6. Device Malfunctions: If you experience any hardware or software malfunctions with your new phone, such as freezing, crashes, or unresponsiveness, try restarting the device first. If the problem persists, perform a factory reset or contact the manufacturer for further troubleshooting steps.
7. Transfer of Service Fees: During the switching process, ensure that any outstanding service fees or payments are resolved. Check your account balance and contact Metro PCS customer service to resolve any billing or payment issues you may encounter.
By addressing these common issues and following the troubleshooting steps outlined above, you can ensure a smoother transition when switching your Metro PCS service to another phone. If you are still experiencing difficulties, do not hesitate to reach out to Metro PCS customer service for further assistance.
Switching your MetroPCS service to another phone is a fairly straightforward process that allows you to upgrade your device or use a different phone altogether. By following the steps outlined in this article, you can easily transfer your MetroPCS service to a new phone and continue enjoying all the benefits of their network.
Remember to backup your data, ensure that the new phone is compatible with MetroPCS, and activate the new device with your existing service. Whether you are upgrading to a newer model or switching to a different device, MetroPCS makes it simple to make the switch without any hassle.
With the ability to keep your phone number, contacts, and settings intact, you can seamlessly transition to the new phone and stay connected with ease. So go ahead and make the switch, experience the latest technology, and enjoy the convenience of MetroPCS’s reliable network.
FAQs
1. Can I switch my Metro PCS service to another phone?
Yes, you can switch your Metro PCS service to another phone. Metro PCS offers flexibility when it comes to switching devices. Whether you want to upgrade to a new phone or simply switch to a different device, Metro PCS makes it easy to transfer your service.
2. How do I transfer my Metro PCS service to a new phone?
To transfer your Metro PCS service to a new phone, you can follow these steps:
- Contact Metro PCS customer service or visit a Metro PCS store to inform them about your intention to switch phones.
- Provide the necessary details and information to the representative, such as your current phone number and the IMEI number of the new phone.
- Follow the instructions provided by the representative to complete the phone switch process. This may involve inserting a new SIM card or activating the new phone on your Metro PCS account.
3. Are there any fees or charges for switching my Metro PCS service to another phone?
Metro PCS may charge a fee for switching your service to another phone. The exact fees may vary depending on factors such as the type of phone you are switching to and your current plan. It is recommended to contact Metro PCS customer service or visit their website to inquire about any applicable fees before initiating the switch.
4. Can I keep my current phone number when switching my Metro PCS service?
Yes, you can keep your current phone number when switching your Metro PCS service to another phone. This process is known as porting your number. During the phone switch process, you will be asked if you want to keep your existing number. Simply provide the necessary information and Metro PCS will handle the rest.
5. Is there a waiting period for the phone switch to take effect?
In most cases, the phone switch takes effect immediately after completing the necessary steps. However, there may be instances where the phone switch may take a short period of time to activate. It is recommended to confirm the activation time frame with Metro PCS customer service or the representative assisting with the switch.