
Gone are the days of tangled cords and limited mobility while gaming. With the advent of wireless controllers, players can now enjoy a seamless and unrestricted gaming experience. One such popular wireless controller is the PS4 controller, which offers convenience and comfort during gameplay. However, like any device, it requires regular charging to ensure uninterrupted gaming sessions. In this article, we will delve into the various methods and tips on how to charge a wireless PS4 controller. Whether you’re a seasoned gamer or new to the world of wireless gaming, we’ve got you covered with step-by-step instructions and FAQs to help you keep your PS4 controller powered up and ready for action. So, grab your controller and let’s dive in.
Inside This Article
- Check the Controller’s Battery Level
- Connect the Controller to the PS4 Console
- Use a Charging Dock for Wireless Controllers
- Utilize a USB Cable for Direct Charging
- Conclusion
- FAQs
Check the Controller’s Battery Level
Before proceeding with charging your wireless PS4 controller, it is important to check the battery level to determine whether it needs to be charged or not. By checking the battery level beforehand, you can avoid any interruptions during your gaming session.
To check the controller’s battery level, simply follow these steps:
- Press and hold the PlayStation button located in the middle of the controller. This will bring up the Quick Menu on your PS4 console.
- Navigate to the “Sound/Devices” tab using the directional buttons on the controller.
- Select the “Controller Battery” option and you will see the current battery level displayed on the screen.
If the battery level is low, it is recommended to charge your controller to ensure uninterrupted gameplay. Now that you have checked the battery level, it’s time to proceed with charging your wireless PS4 controller.
Connect the Controller to the PS4 Console
Once you’ve determined that your wireless PS4 controller needs charging, the next step is to connect it to the PS4 console. This can be done using either a USB cable or by utilizing the console’s built-in wireless functionality.
If you prefer to use a USB cable, simply locate the micro USB port on the top of the controller. Insert one end of the USB cable into the micro USB port and the other end into one of the available USB ports on the front of the PS4 console. The console should automatically detect the controller and start charging it.
Alternatively, you can connect the controller wirelessly by using the Bluetooth functionality of the PS4 console. To do this, make sure your console is powered on and navigate to the “Settings” menu. From there, select “Devices” and then “Bluetooth Devices.”
In the Bluetooth Devices menu, press and hold the PlayStation button on the controller until the light on the front begins to flash. This indicates that the controller is in pairing mode. On the PS4 console, select the option to “Add a Device,” and the console will search for available Bluetooth devices.
Once the console detects the wireless controller, select it from the list of available devices. The controller will then pair with the console, and you can use it wirelessly as long as it has sufficient battery life remaining.
It’s worth noting that some games or applications may require the controller to be directly connected via USB even if it is fully charged. This is often the case for firmware updates or specific game requirements. In such instances, simply connect the controller using the USB cable as described earlier.
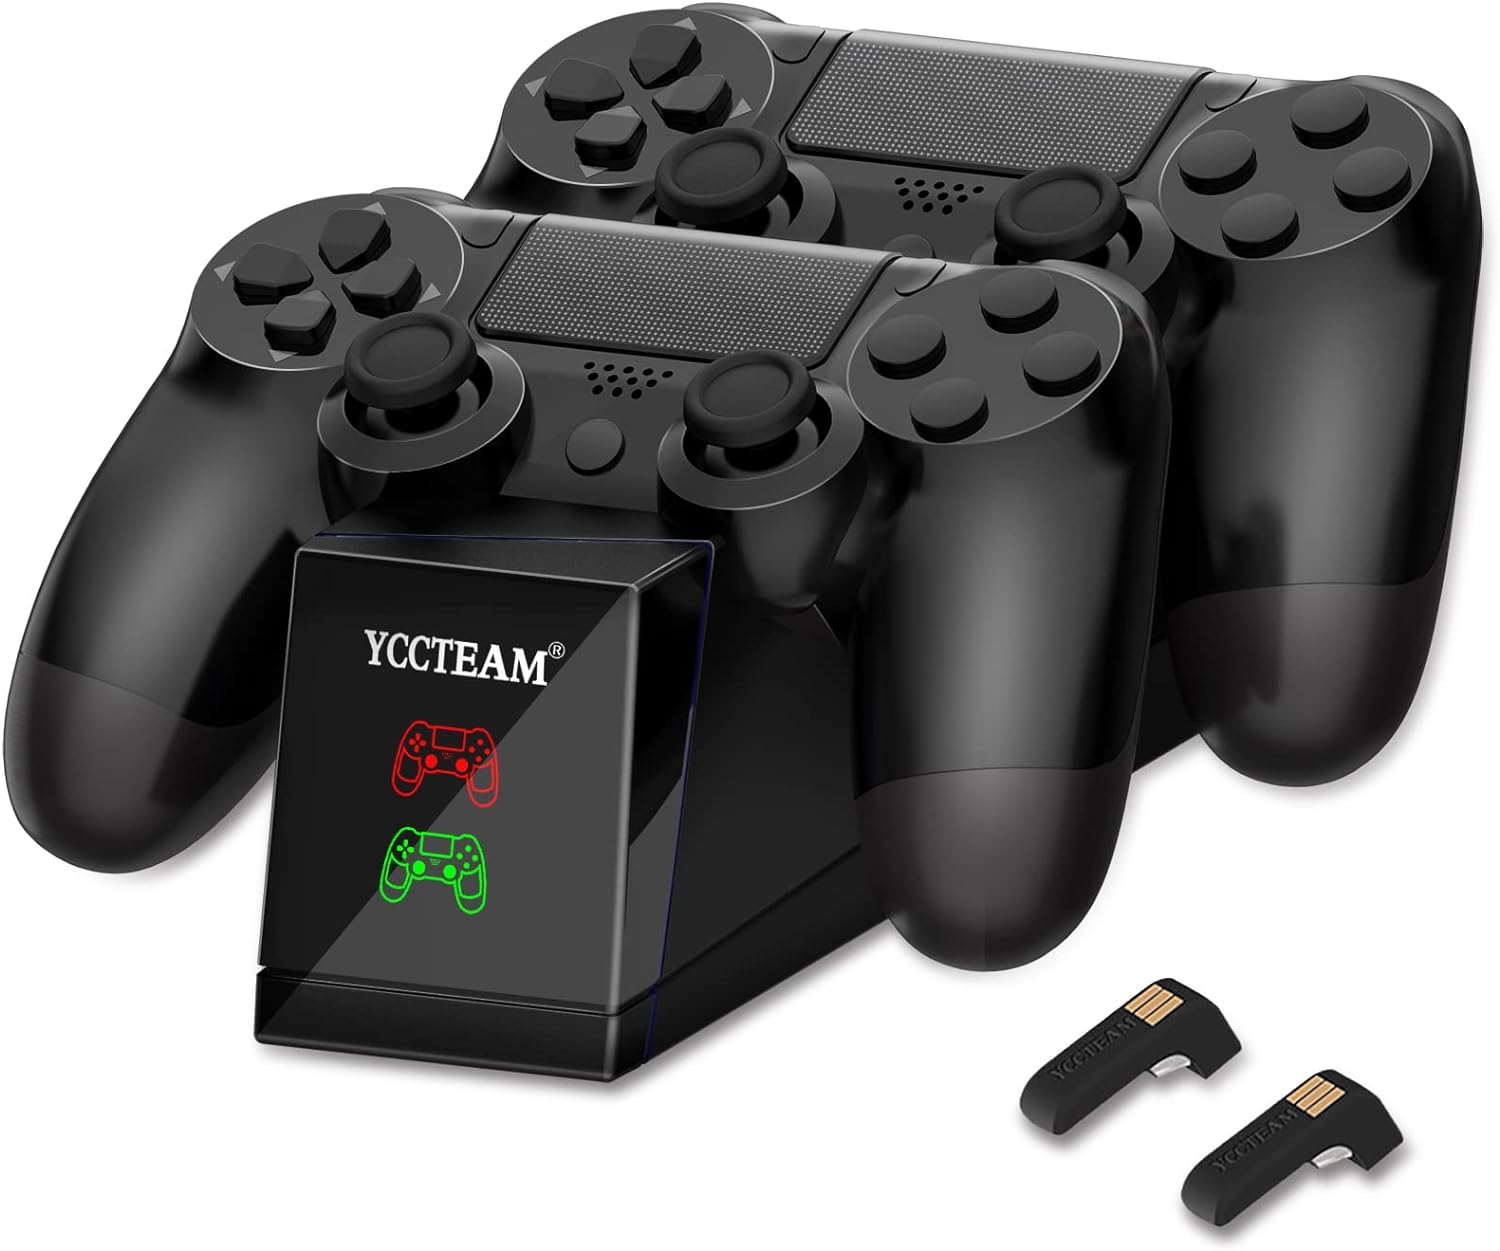
Use a Charging Dock for Wireless Controllers
If you’re looking for a convenient and stylish way to charge your wireless PS4 controller, using a charging dock is a fantastic option. A charging dock is a dedicated stand that holds your controller securely while charging it simultaneously. It offers a hassle-free and clutter-free solution, keeping your gaming area neat and organized.
Charging docks come in various designs and configurations, but they all function in a similar manner. Most charging docks have a base which connects to a power source, and they usually have slots or connectors to hold your controllers in place. Some charging docks even have LED indicators to show the charging status of each controller.
Using a charging dock is simple and straightforward. Follow these steps to charge your wireless PS4 controller using a charging dock:
- Ensure that your charging dock is properly connected to a power source.
- Place your wireless PS4 controller on the designated slot or connector on the dock.
- Make sure the controller is securely connected and aligned with the charging pins or connectors on the dock.
- Once the controller is placed on the dock, it will start charging automatically.
- Some charging docks have LED indicators that show the charging status. Green usually indicates a full charge, while red means the controller is still charging.
A charging dock is an efficient way to keep your wireless PS4 controller ready for your gaming sessions. By using a charging dock, you can avoid the inconvenience of searching for USB cables and plugging them into your console. Additionally, a charging dock provides a dedicated spot to store your controller when not in use, ensuring it is always charged and within reach when you’re ready to play.
It’s important to note that not all charging docks are created equal. Some may provide faster charging speeds or additional features such as built-in cooling fans. When choosing a charging dock, consider your specific needs and preferences to find the one that suits you best.
Utilize a USB Cable for Direct Charging
If you don’t have a charging dock or prefer a more direct method of charging your wireless PS4 controller, you can easily use a USB cable. The USB cable is designed to connect the controller directly to the PS4 console or any other compatible device.
To utilize a USB cable for direct charging, follow these simple steps:
- First, locate the USB port on your wireless PS4 controller. It is typically located at the top of the controller, near the light bar.
- Next, connect one end of the USB cable to the USB port on your controller. Make sure it is securely plugged in.
- Now, take the other end of the USB cable and plug it into one of the USB ports on your PS4 console. The USB ports are usually located on the front or back of the console.
- Once the cable is connected to both the controller and the console, the charging process will begin automatically. You can check the progress by looking at the battery indicator on your controller. The light will start flashing, indicating that the controller is charging.
- Allow the controller to charge for a sufficient amount of time. The charging time may vary depending on the battery level of the controller. It is recommended to charge the controller for at least 2-3 hours to ensure a full charge.
- Once the controller is fully charged, you can disconnect it from the USB cable and start using it wirelessly again. Make sure to unplug the USB cable from both the controller and the console.
Using a USB cable for direct charging is a convenient option, especially if you don’t have a charging dock. It allows you to continue playing while your controller charges, ensuring you won’t have any interruptions during your gaming sessions.
Conclusion
In conclusion, charging a wireless PS4 controller is a simple process that can be done through various methods. Whether you choose to charge it using a USB cable, a charging dock, or a wall adapter, the key is to ensure that you have a reliable power source and follow the manufacturer’s guidelines.
By taking proper care of your wireless PS4 controller’s battery and charging it regularly, you can ensure that it stays powered up and ready for your gaming sessions. So, next time you need to charge your wireless PS4 controller, remember these tips and keep the power flowing!
FAQs
1. How do I charge a wireless PS4 controller?
To charge a wireless PS4 controller, you can use either a USB cable or a charging dock. Simply connect one end of the USB cable to the controller and the other end to the USB port on your gaming console or any compatible power source. If you have a charging dock, place the controller onto the dock to initiate the charging process.
2. Can I charge a wireless PS4 controller using my phone charger?
Yes, you can charge your wireless PS4 controller using a phone charger as long as it has a USB connection. Simply connect one end of the USB cable to the controller and the other end to the USB port on your phone charger. However, it is important to note that using a phone charger may result in slower charging compared to using the official USB cable or charging dock provided with the controller.
3. How long does it take to fully charge a PS4 controller?
The time required to fully charge a PS4 controller can vary depending on the charging method and the remaining battery level. On average, it takes approximately 2 to 3 hours to fully charge a PS4 controller using the USB cable or charging dock. It is recommended to leave the controller connected for a few extra minutes after it reaches 100% to ensure a complete charge.
4. Can I play games while charging a wireless PS4 controller?
Yes, you can play games while charging a wireless PS4 controller. The USB cable allows for simultaneous charging and gameplay. However, keep in mind that the length of the cable may limit your mobility, so make sure you have enough slack to comfortably play while connected to the power source.
5. How long does a fully charged wireless PS4 controller last?
A fully charged wireless PS4 controller can last for approximately 4 to 8 hours, depending on usage. Factors such as vibration, speaker volume, and the type of game being played can affect battery life. If you find that your controller’s battery is depleting quickly, consider reducing vibration or adjusting the audio settings to help conserve power.