
Are you a pet owner looking for a reliable and convenient way to ensure the safety of your furry friend? Look no further than the Petsafe Wireless Collar. This innovative device allows you to connect your pet’s collar to the Petsafe wireless system, providing a secure boundary for your pet to roam freely within. Whether you have a large backyard or live in an apartment, this system is a game-changer when it comes to keeping your pet safe and secure. In this article, we will guide you through the process of connecting the collar to the Petsafe wireless system, so you can give your pet the freedom they deserve without worrying about them straying too far. So, let’s dive in and get your furry friend all set up with the Petsafe Wireless Collar!
Inside This Article
- Getting Started with the PetSafe Wireless
- Steps to Connect the Collar to the PetSafe Wireless System
- Troubleshooting Tips for Connecting the Collar to the PetSafe Wireless System
- Conclusion
- FAQs
Getting Started with the PetSafe Wireless
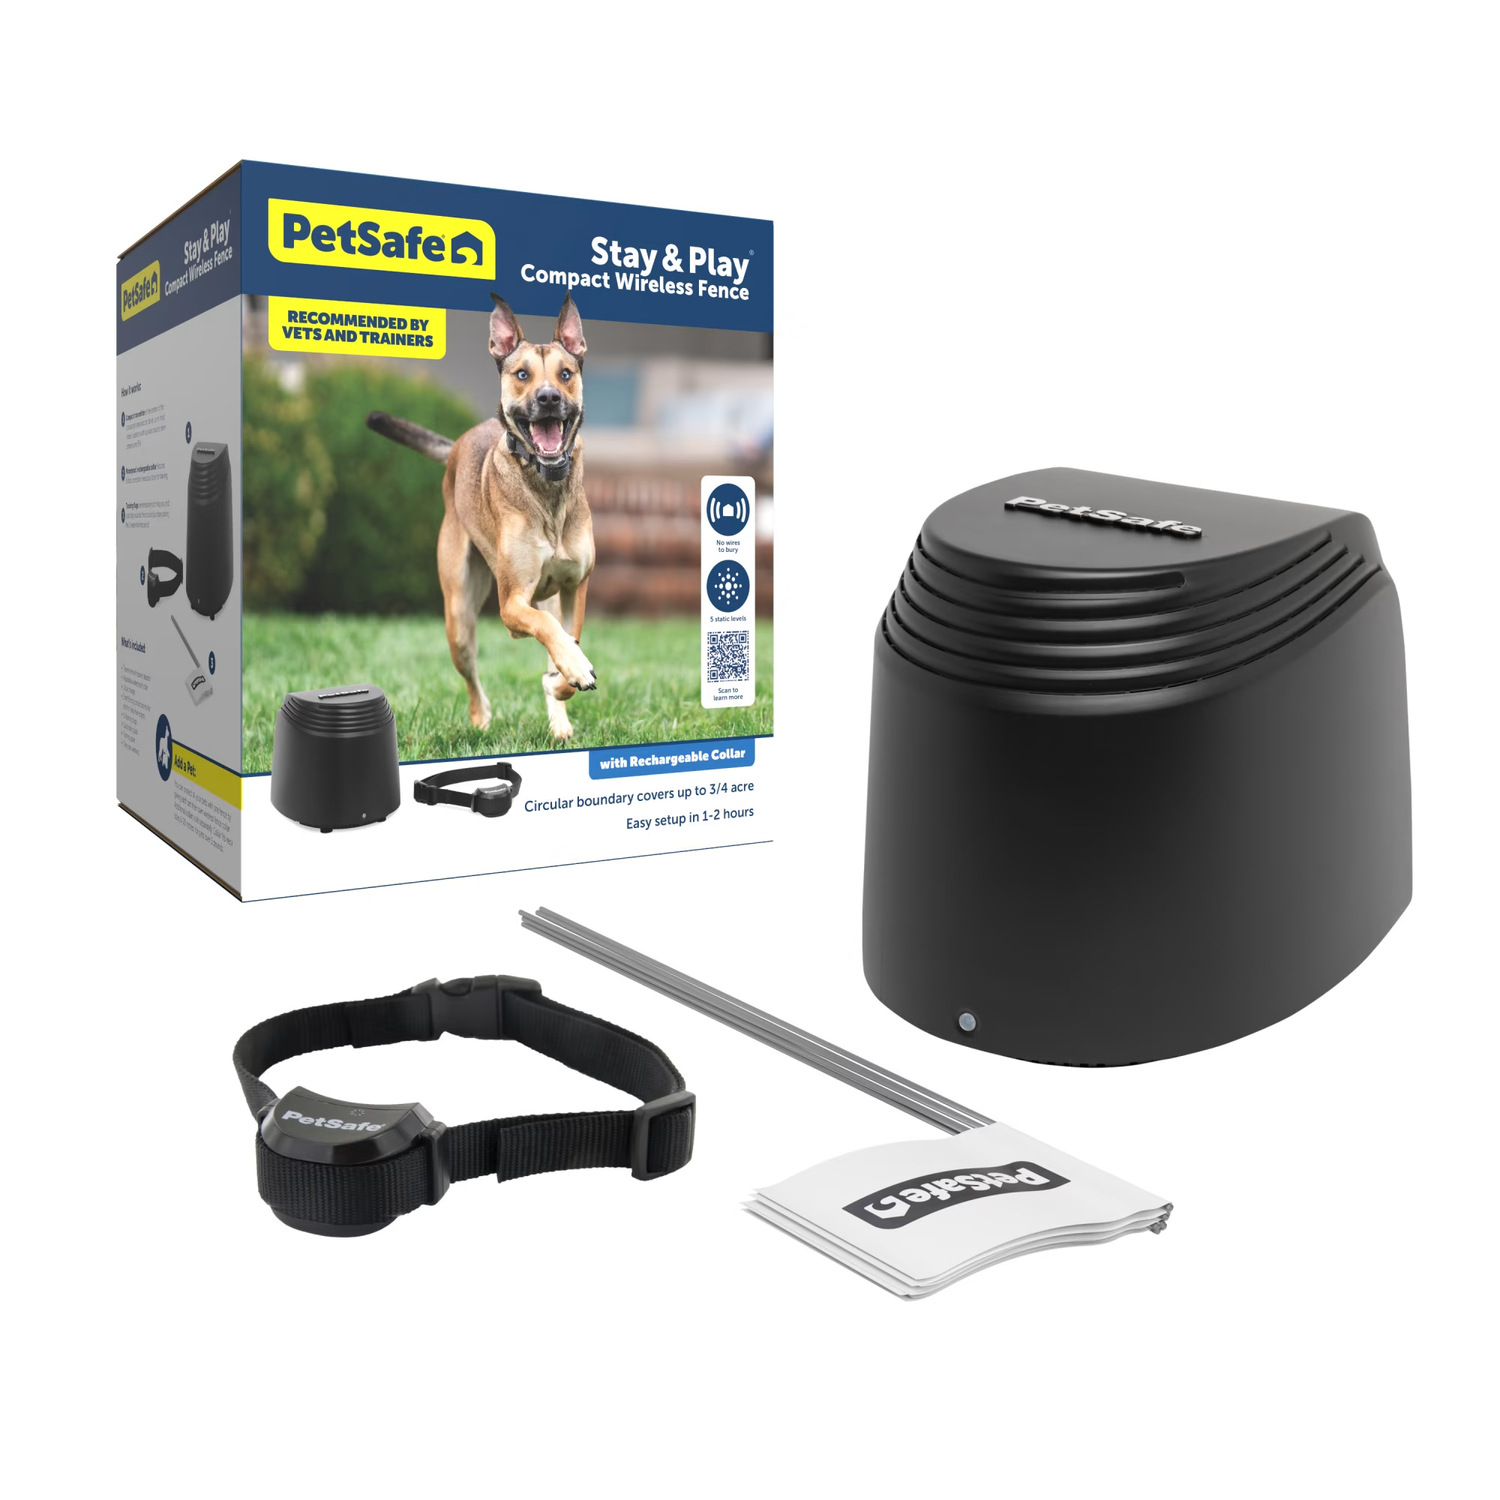
If you’ve recently purchased the PetSafe Wireless system for your pet, congratulations! This wireless system is a convenient and effective solution for keeping your furry friend safe and secure within your yard. To ensure a successful setup, it’s important to familiarize yourself with the initial steps involved in getting started with the PetSafe Wireless system. In this guide, we will walk you through the key components and basic setup process to get you and your pet on the path to a worry-free outdoor experience.
The PetSafe Wireless system consists of two main components: the transmitter and the collar. The transmitter is a small device that you will need to place inside your home, ideally in a central location. It creates a wireless boundary for your pet and sends signals to their collar when they approach the designated perimeter.
Prior to setting up the system, make sure your transmitter is placed on a flat surface, away from metal objects or appliances that may interfere with its signal. It is recommended to position the transmitter at least 3 feet above the ground for optimal performance.
Once you have positioned the transmitter, it’s time to prepare the collar. Each PetSafe Wireless collar is equipped with contact points that will touch your pet’s neck. Before putting the collar on your pet, make sure to adjust the strap to fit snugly but comfortably. You should be able to fit two fingers between the strap and your pet’s neck to ensure it is not too tight.
The PetSafe Wireless system offers different levels of static correction to suit your pet’s needs. Before putting the collar on your pet, it’s important to familiarize yourself with the correction levels and select the appropriate one for your pet’s size and temperament. Remember, the goal is to create a safe and controlled outdoor space for your pet, not to cause them discomfort.
Once you have adjusted the collar and selected the appropriate correction level, it’s time to put the collar on your pet. Position the contact points against your pet’s neck and fasten the collar securely. Make sure the collar is snug enough so that it doesn’t slide around, but not too tight that it causes discomfort.
Now that you have set up the transmitter and put the collar on your pet, it’s time to test the system. Begin by walking your pet around the perimeter to ensure that the collar is receiving signals from the transmitter. If your pet gets too close to the boundary, they should receive a warning tone or vibration followed by a static correction if they continue to approach the boundary.
Remember, training your pet to understand and respect the wireless boundaries will take time and consistency. Be patient and provide positive reinforcement when your pet stays within the designated area. With proper training and the PetSafe Wireless system, you can give your pet the freedom to roam within a safe and secure space.
Steps to Connect the Collar to the PetSafe Wireless System
Connecting the collar to the PetSafe Wireless system is a straightforward process that ensures your pet’s safety and security. By following these steps, you can ensure a seamless connection and have peace of mind knowing that your furry friend is protected.
1. Prepare the collar and receiver: Start by removing the collar receiver from its packaging and ensuring that it is fully charged. It’s important to read the product manual to understand the specific requirements for charging and preparing the collar.
2. Turn on the PetSafe Wireless system: Make sure the PetSafe Wireless system is turned on and functioning properly. Position the transmitter in a central location within your home, ensuring that it is away from any obstructions or interference.
3. Pair the collar receiver and transmitter: On the collar receiver, locate the pairing or sync button. Press and hold the button until the indicator light starts flashing. At the same time, on the transmitter, find the pairing or sync button and press and hold it as well.
4. Wait for the connection: After the buttons have been pressed and held, wait for the collar receiver and the transmitter to establish a connection. This process may take a few seconds, and the indicator lights on both the collar receiver and transmitter will confirm a successful connection.
5. Test the connection: Once the connection has been established, it’s important to test whether the collar receiver is properly linked to the PetSafe Wireless system. To do this, walk with your pet around the boundary area. If the collar receiver beeps or emits a correction signal when your pet approaches the boundary, the connection is successful.
6. Adjust the collar fit: Proper fit is essential for the collar receiver to work effectively. Ensure that the collar is snug but not too tight around your pet’s neck. You should be able to fit two fingers between the collar and your pet’s skin.
7. Regularly check the collar and system: It’s important to regularly check the collar receiver and the PetSafe Wireless system for any signs of damage or malfunction. Replace any worn-out parts or batteries, and ensure that the system is functioning correctly.
By following these simple steps, you can connect the collar to the PetSafe Wireless system and provide your furry friend with a safe and secure environment. Ensure that you read the product manual thoroughly and contact customer support if you encounter any difficulties during the connection process.
Troubleshooting Tips for Connecting the Collar to the PetSafe Wireless System
If you’re facing issues while connecting the collar to your PetSafe Wireless system, don’t worry. We’ve got you covered! Here are some troubleshooting tips to help you get that collar connected in no time:
1. Check the Battery
The first thing you should do is make sure the battery in the collar is properly installed and fully charged. A low battery can cause connection issues, so try replacing it with a fresh one if necessary.
2. Position the Collar Correctly
Ensure that the collar is positioned correctly on your pet’s neck. It should be snug but not too tight. If it’s too loose, it may not make proper contact with the receiver, leading to connection problems.
3. Verify the Signal Strength
Check the signal strength of your PetSafe Wireless system. If the signal is weak or if there are obstructions such as walls, metal objects, or other electronic devices interfering with the signal, it can affect the collar’s ability to connect. Try moving the system to a different location or repositioning it for better signal reception.
4. Reset the Collar and System
If the connection issues persist, try resetting both the collar and the PetSafe Wireless system. Follow the manufacturer’s instructions on how to perform a reset. This can often resolve any temporary glitches or conflicts that may be causing the problem.
5. Ensure Proper Pairing
Make sure that the collar and the PetSafe Wireless system are properly paired. Follow the instructions provided by the manufacturer to pair the devices correctly. Double-check that the collar and system are on the same frequency channel and that they are synced together.
6. Consult the User Manual
If all else fails, refer to the user manual that came with your PetSafe Wireless system. It will provide detailed troubleshooting instructions specific to your model. Additionally, you can contact the manufacturer’s customer support for further assistance.
By following these troubleshooting tips, you should be able to connect your collar to the PetSafe Wireless system successfully. Remember, patience and attention to detail are key. Soon enough, your furry friend will be happily protected by their PetSafe collar!
Connecting a collar to the PetSafe Wireless system is a simple and essential step in ensuring the safety and well-being of your furry friend. By following the easy steps outlined in this guide, you can provide your pet with the freedom to explore while maintaining control and peace of mind.
Remember to always familiarize yourself with the specific instructions and guidelines provided by PetSafe for your particular collar model. Each collar may have slight variations in the connection process, so it’s important to consult the user manual or contact PetSafe’s customer support if you encounter any difficulties.
And there you have it! Now you have all the information you need to connect your collar to the PetSafe Wireless system. Enjoy the convenience of a wireless pet containment system and rest easy knowing that your pet can roam safely within the boundaries you set. Happy connecting!
FAQs
Q: How do I connect the collar to the Petsafe wireless system?
A: Connecting the collar to the Petsafe wireless system is a simple process. First, ensure that the collar is powered on and has fresh batteries. Then, follow the instructions provided in the Petsafe wireless system manual to pair the collar with the base unit. This usually involves pressing a button on the base unit and then activating the collar by pressing another button or holding it near the base unit. Once the collar is successfully connected, it will be ready to use.
Q: Can I use the Petsafe collar with multiple pets?
A: Yes, the Petsafe collar is designed to be used with multiple pets. It is recommended to purchase additional collars if you have more than one pet. Each collar can be connected to the same base unit, allowing you to control and monitor multiple pets using the Petsafe wireless system.
Q: How do I adjust the settings on the Petsafe collar?
A: The Petsafe collar comes with various adjustable settings to suit your pet’s needs. To adjust the settings, locate the buttons or switches on the collar. These may include buttons for adjusting the static correction level, tone settings, or vibration options. Refer to the collar’s manual for specific instructions on how to adjust the settings based on your pet’s size, behavior, and training requirements.
Q: Can I use the Petsafe wireless system indoors?
A: Yes, the Petsafe wireless system can be used both indoors and outdoors, depending on your needs. The wireless system creates a boundary within which your pet can safely roam. This allows you to give your pet freedom indoors or to set boundaries for certain areas of your home. However, it’s important to ensure that the wireless signal can travel through walls and obstacles effectively for optimal performance indoors.
Q: How long does the Petsafe collar’s battery last?
A: The battery life of the Petsafe collar depends on various factors, including usage and the specific model you own. Generally, the collar’s battery can last anywhere from a few weeks to several months, depending on usage and the power-saving features of the collar. It’s recommended to monitor the battery level regularly and replace the batteries when necessary to ensure consistent functionality and reliability of the collar.