
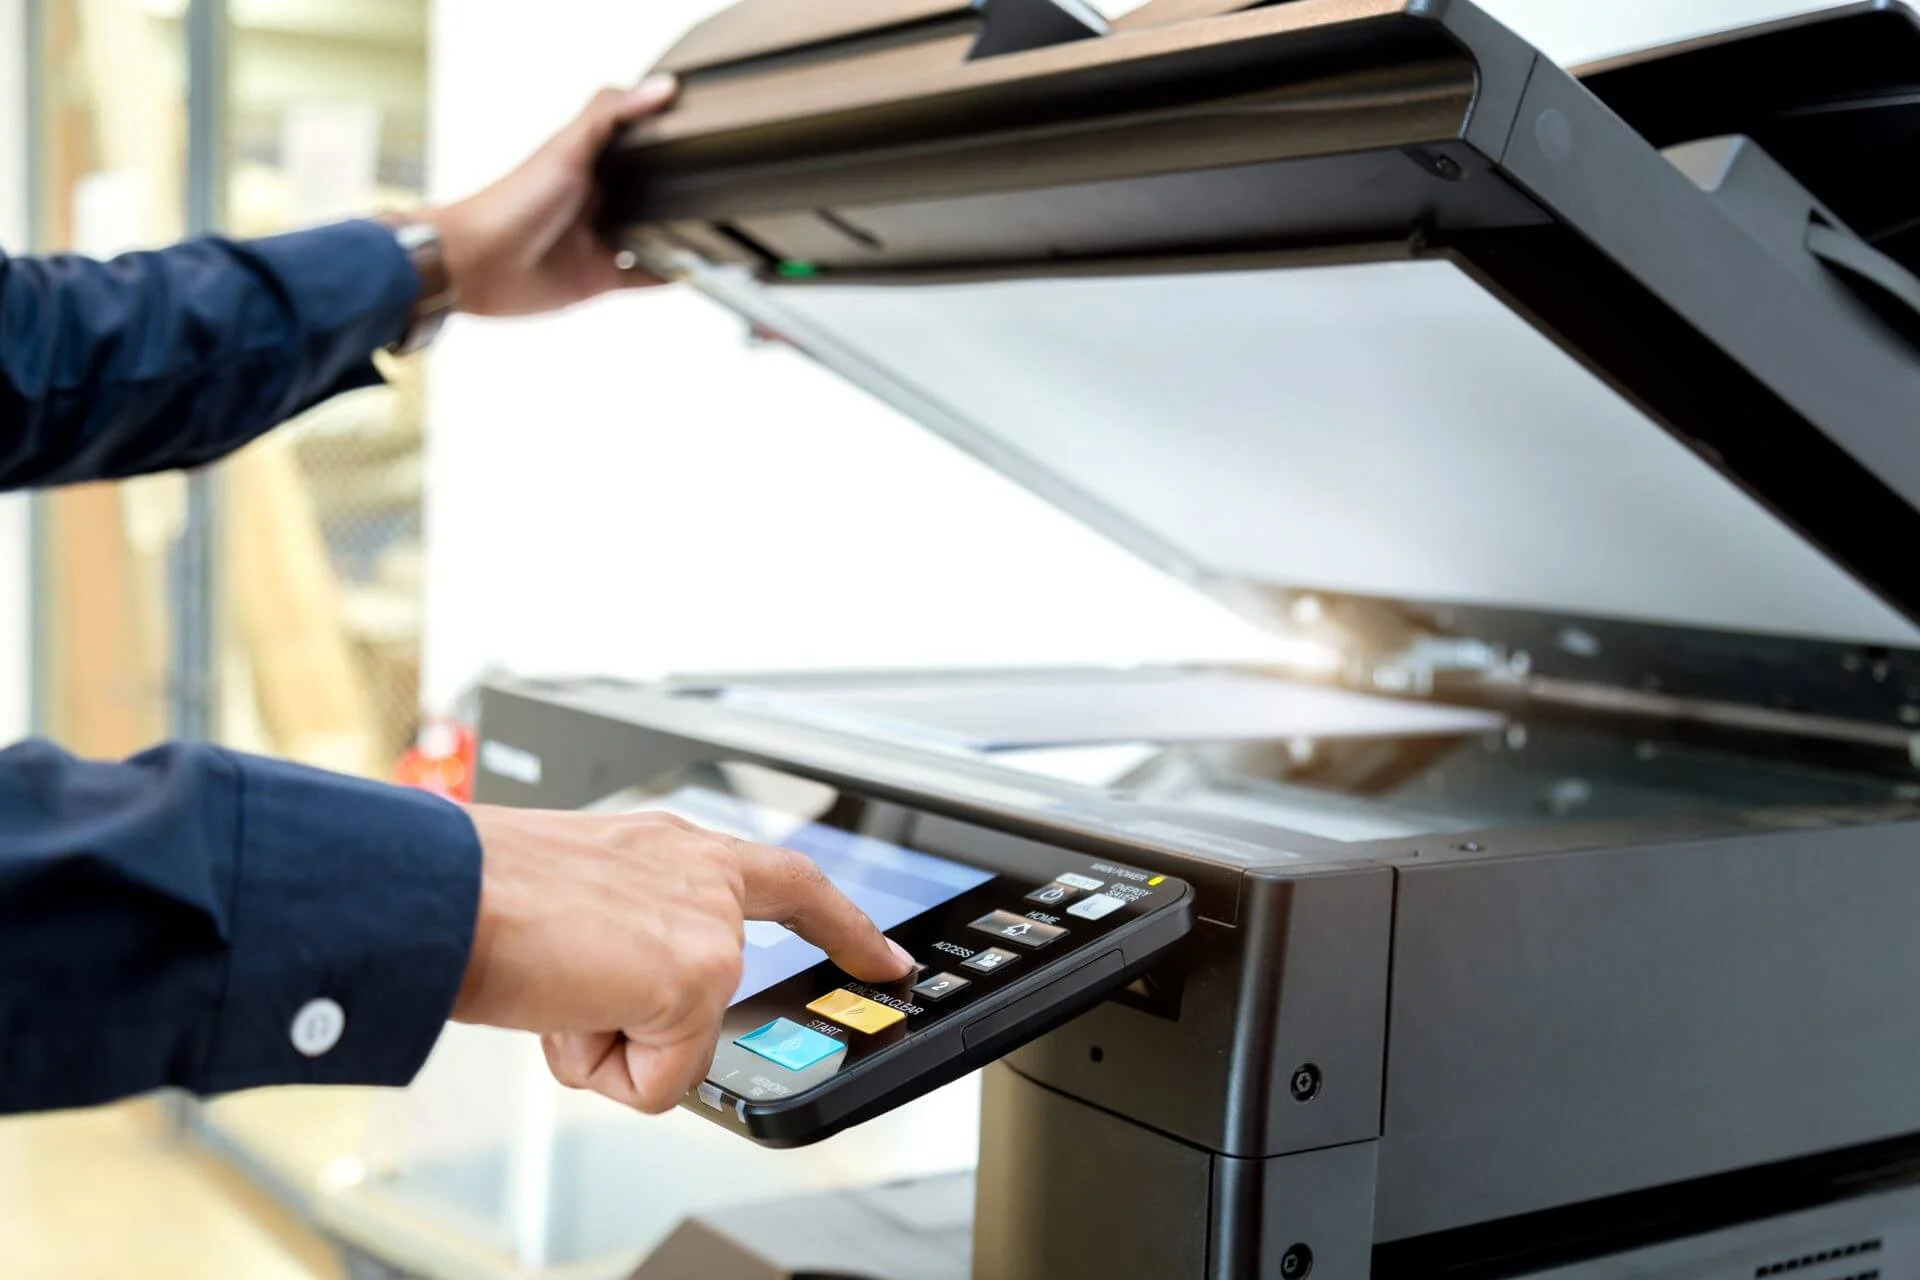
Are you struggling to connect your HP 1102W printer to a wireless network? Don’t worry, we’ve got you covered! In today’s tech-savvy world, wireless connectivity is essential for convenience and efficiency. Being able to connect your printer to a wireless network allows you to print documents from anywhere in your home or office, without the hassle of connecting cables. In this comprehensive guide, we will walk you through the step-by-step process of connecting your HP 1102W printer to a wireless network. Whether you’re a tech novice or an experienced user, we will provide you with all the information you need to successfully establish a wireless connection. So, grab your HP 1102W printer and let’s get started!
Inside This Article
- Step 1: Prepare the Printer
- Step 2: Connect Printer to Power
- Step 3: Set Up Wireless Connection
- Step 4: Install Printer Drivers
- Conclusion
- FAQs
Step 1: Prepare the Printer
Before you can connect your HP 1102W printer to a wireless network, it is important to properly prepare the printer for the setup process. By ensuring that everything is in order, you can maximize the chances of a successful connection.
The first step in preparing the printer is to make sure that it is in close proximity to your wireless router or access point. This will ensure a strong and stable wireless signal, allowing for seamless connectivity. Position the printer within range of your network to avoid any potential connection issues.
Next, check if the printer has any existing network connections. If the printer is currently connected via a USB cable or Ethernet cable, it is important to disconnect them before proceeding with the wireless setup. This will prevent any conflicts or errors during the process.
Additionally, ensure that the printer is powered on and in a ready state. Make sure it has paper loaded in the paper tray and enough ink or toner to complete the setup process. Having all the necessary supplies ready will save you time in case any test prints are required during the setup.
Finally, gather all the required information for the wireless network setup. This includes the network name (SSID) and password. If you are unsure about the network details, you can usually find them on your wireless router or access point. Alternatively, you can contact your internet service provider for assistance.
By following these steps to prepare your HP 1102W printer, you will be well on your way to connecting it to a wireless network. Taking the time to properly set up the printer beforehand will make the overall installation process smoother and more efficient.
Step 2: Connect Printer to Power
Now that you have prepared your HP 1102W printer, it’s time to connect it to a power source. Follow these simple steps to ensure a proper power connection:
1. Locate the power cord that came with your printer. It should be a two-pronged plug on one end.
2. Find an electrical outlet near your printer. Make sure the outlet is easily accessible and within a reasonable distance from the printer.
3. Insert the power cord into the back of the printer. Look for the power input port and align the plug accordingly. Firmly push the plug into the port until it is securely connected.
4. Plug the other end of the power cord into the electrical outlet. Ensure a snug fit to guarantee a stable power supply.
5. Once the power cord is securely connected at both ends, you can turn on the printer. Locate the power button, usually located on the front or top panel of the printer, and press it to turn on the device.
6. Wait for the printer to power up completely. This process may take a few moments, so be patient while the printer initializes its system.
7. Check the printer’s display panel or indicator lights to ensure that it is powered on and ready for use. Depending on the printer model, you may see a welcome message or a solid indicator light to indicate that it is properly powered on.
By following these steps, you have successfully connected your HP 1102W printer to a power source. Now you can proceed to the next step to set up the wireless connection.
Step 3: Set Up Wireless Connection
Now that you have prepared the printer and connected it to a power source, it’s time to set up the wireless connection for your HP 1102W printer. Connecting your printer wirelessly allows you to print documents from any device on the same network, making it convenient and efficient.
Follow these simple steps to set up the wireless connection for your HP 1102W printer:
- Press the power button on the printer to turn it on, if it’s not already.
- Use the control panel on the printer to navigate to the wireless settings. Look for the wireless icon or menu option.
- Select the option to set up a wireless connection.
- The printer will search for available wireless networks in the vicinity. This may take a few moments.
- Once the list of available networks is displayed, select your preferred network from the list.
- If prompted, enter the password for your wireless network using the printer’s control panel or the keyboard if it has one.
- After entering the password, the printer will attempt to connect to the wireless network. This process may take a few minutes.
- Once the connection is established, the printer will display a confirmation message on the control panel.
It’s worth noting that the steps mentioned above may vary slightly depending on the specific model of the HP 1102W printer. However, the general process should remain the same.
By following these steps, you can easily set up a wireless connection for your HP 1102W printer. Once connected, you’ll be able to enjoy the convenience and flexibility of wirelessly printing from any device on the same network.
Step 4: Install Printer Drivers
Once you have made the necessary preparations and connected your HP 1102W printer to a wireless network, the next step is to install the printer drivers on your computer. Printer drivers are essential software that allow your computer and printer to communicate effectively. Here’s how you can install the printer drivers:
1. Visit the official HP website.
2. Go to the Support section and search for your printer model, HP 1102W.
3. Choose the operating system of your computer (e.g., Windows or Mac) and select the correct version.
4. Scroll through the available drivers and software until you find the printer driver that corresponds to your operating system. Click on the download button to start the download.
5. Once the download is complete, locate the downloaded file and double-click on it to run the installation wizard.
6. Follow the on-screen instructions to complete the installation process. Make sure to read any additional information or prompts that may appear during the installation.
7. Once the installation is finished, restart your computer to ensure that the changes take effect.
8. After restarting, check if your computer has recognized the printer. You can do this by going to the Control Panel or System Preferences and looking for the printer under the “Devices” or “Printers” section.
9. If the printer is listed, you have successfully installed the printer drivers. You can now start printing wirelessly from your computer.
It’s important to note that the installation process may vary slightly depending on the operating system and specific printer model you are using. However, the general steps outlined above should guide you through the process.
By installing the printer drivers, you enable your computer to communicate with the HP 1102W printer and take advantage of all its features. It’s crucial to keep the printer drivers up to date to ensure optimal performance and compatibility with your operating system.
Remember to regularly check for driver updates on the official HP website to stay current with any improvements or bug fixes released by the manufacturer.
Conclusion
Connecting your HP 1102W printer to a wireless network is a straightforward process that allows you to conveniently print from any device within range. By following the step-by-step instructions provided in this guide, you can easily set up a wireless connection and enjoy the benefits of wireless printing.
Remember to ensure that your printer is within range of the wireless network and that you have the necessary network details and credentials on hand. Once connected, you can print documents, photos, and more without the need for any physical connection between your printer and your device.
Wireless printing provides flexibility and convenience, allowing you to print from anywhere in your home or office. Whether you need to print important documents for work or school, or simply want to print out memorable photos, the wireless connectivity of the HP 1102W simplifies the process.
Now that you know how to connect your HP 1102W printer to a wireless network, you can enjoy hassle-free printing and make the most of your printer’s capabilities. Embrace the convenience and freedom that wireless printing offers and make your printing experience more efficient and enjoyable.
FAQs
Q: How do I connect my HP 1102W printer to a wireless network?
A: Connecting your HP 1102W printer to a wireless network is a straightforward process. Start by ensuring that your printer and wireless router are turned on and within range. Then, press the Wireless button on the printer until the Wireless light starts blinking. Use the WPS method or the Wireless Setup Wizard to establish the connection with your wireless network. Follow the on-screen instructions and enter your network’s password when prompted. Once the connection is established, the Wireless light on your printer will be solid, indicating a successful connection.
Q: What is the WPS method for connecting my HP 1102W printer to a wireless network?
A: WPS stands for Wi-Fi Protected Setup and provides a quick and secure way to connect your devices to a wireless network. To use this method with your HP 1102W printer, first, make sure your wireless router supports WPS. Next, press the WPS button on your printer, usually located on the control panel or underside of the device. Within 2 minutes, press the WPS button on your wireless router. The printer will then automatically connect to your wireless network, indicated by a solid Wireless light.
Q: Can I connect my HP 1102W printer to a wireless network without using WPS?
A: Yes, if your wireless router does not support WPS or you prefer an alternative connection method, you can use the Wireless Setup Wizard on your HP 1102W printer. To do this, press the Wireless button on the printer until the Wireless light starts blinking. Then, go to the Control Panel or LCD display on your printer and navigate to the Wireless Setup Wizard option. Follow the on-screen prompts to select your network and enter the network password when prompted. Once completed, your printer will be connected to the wireless network.
Q: Do I need to install any software to connect my HP 1102W printer to a wireless network?
A: No, you do not need to install any additional software to connect your HP 1102W printer to a wireless network. The necessary drivers and software are typically included with the printer. However, it is recommended to ensure that you have the latest printer drivers installed on your computer to ensure optimal performance and compatibility.
Q: How can I check if my HP 1102W printer is connected to the wireless network?
A: To verify the connection status of your HP 1102W printer, you can print a network configuration page. On the printer’s control panel, press and hold the Resume button until the Ready light starts blinking. Release the button, and the printer will print a network configuration page. The configuration page will display various details about the printer’s network settings, including the wireless connection status and IP address. If the wireless connection is successful, the Wireless Status should show as “Connected.”