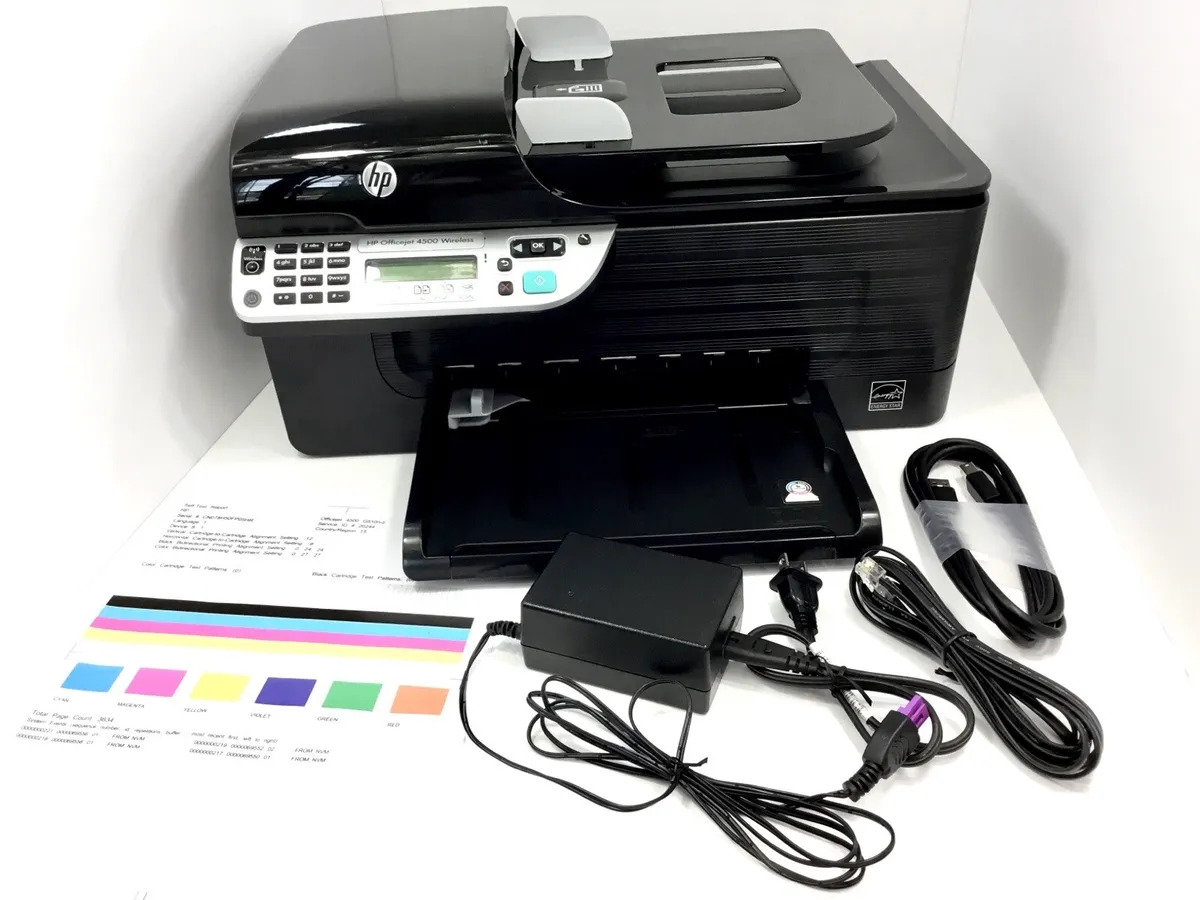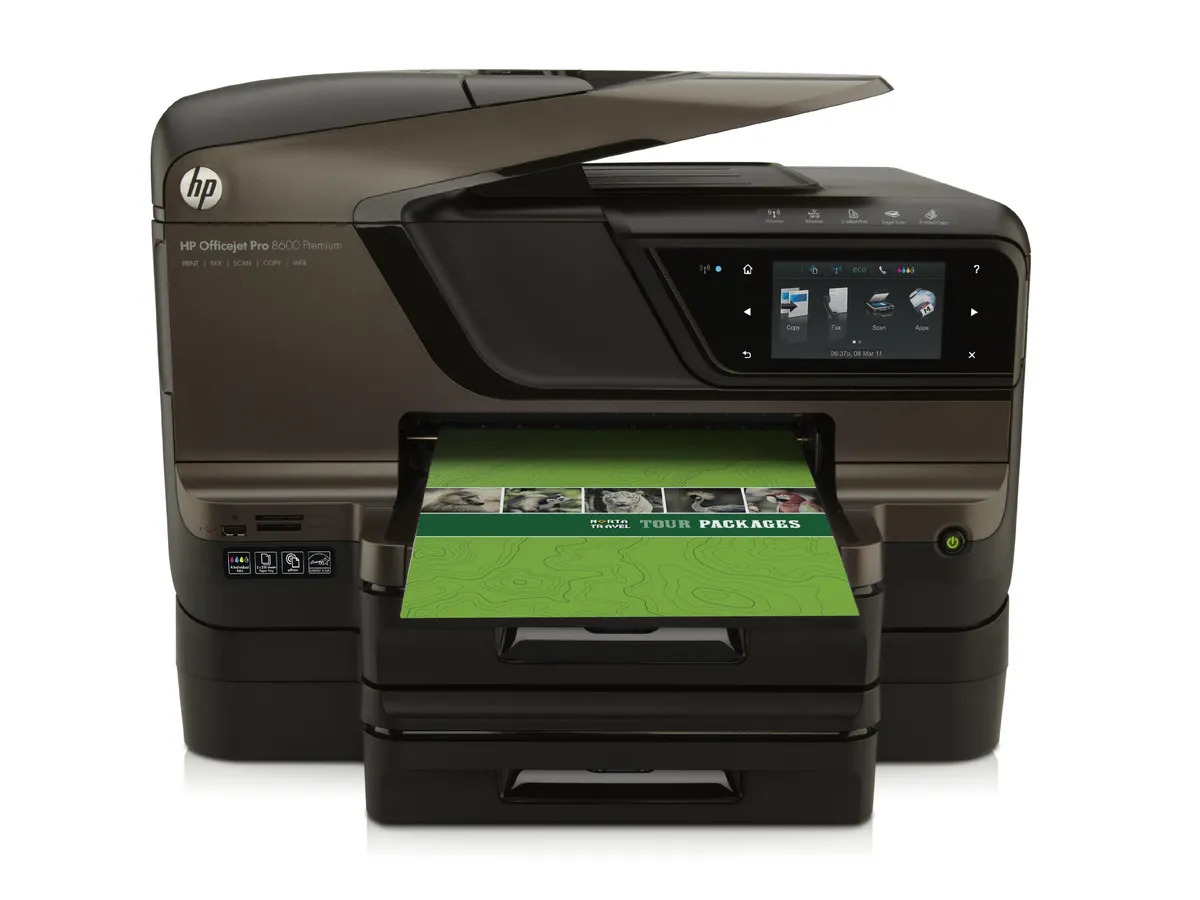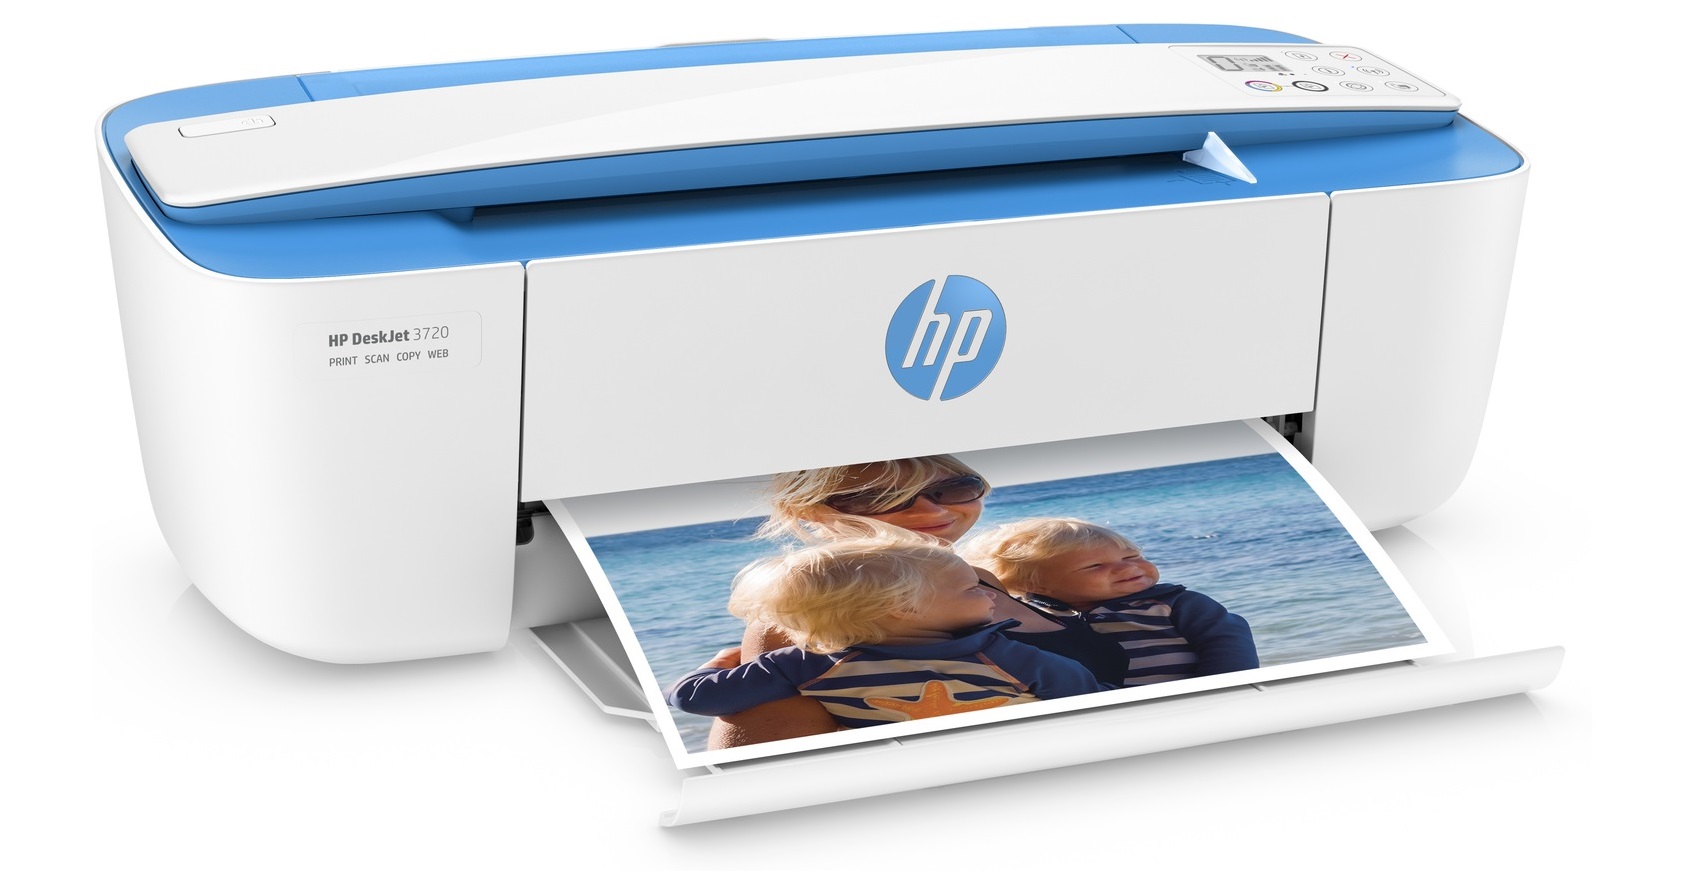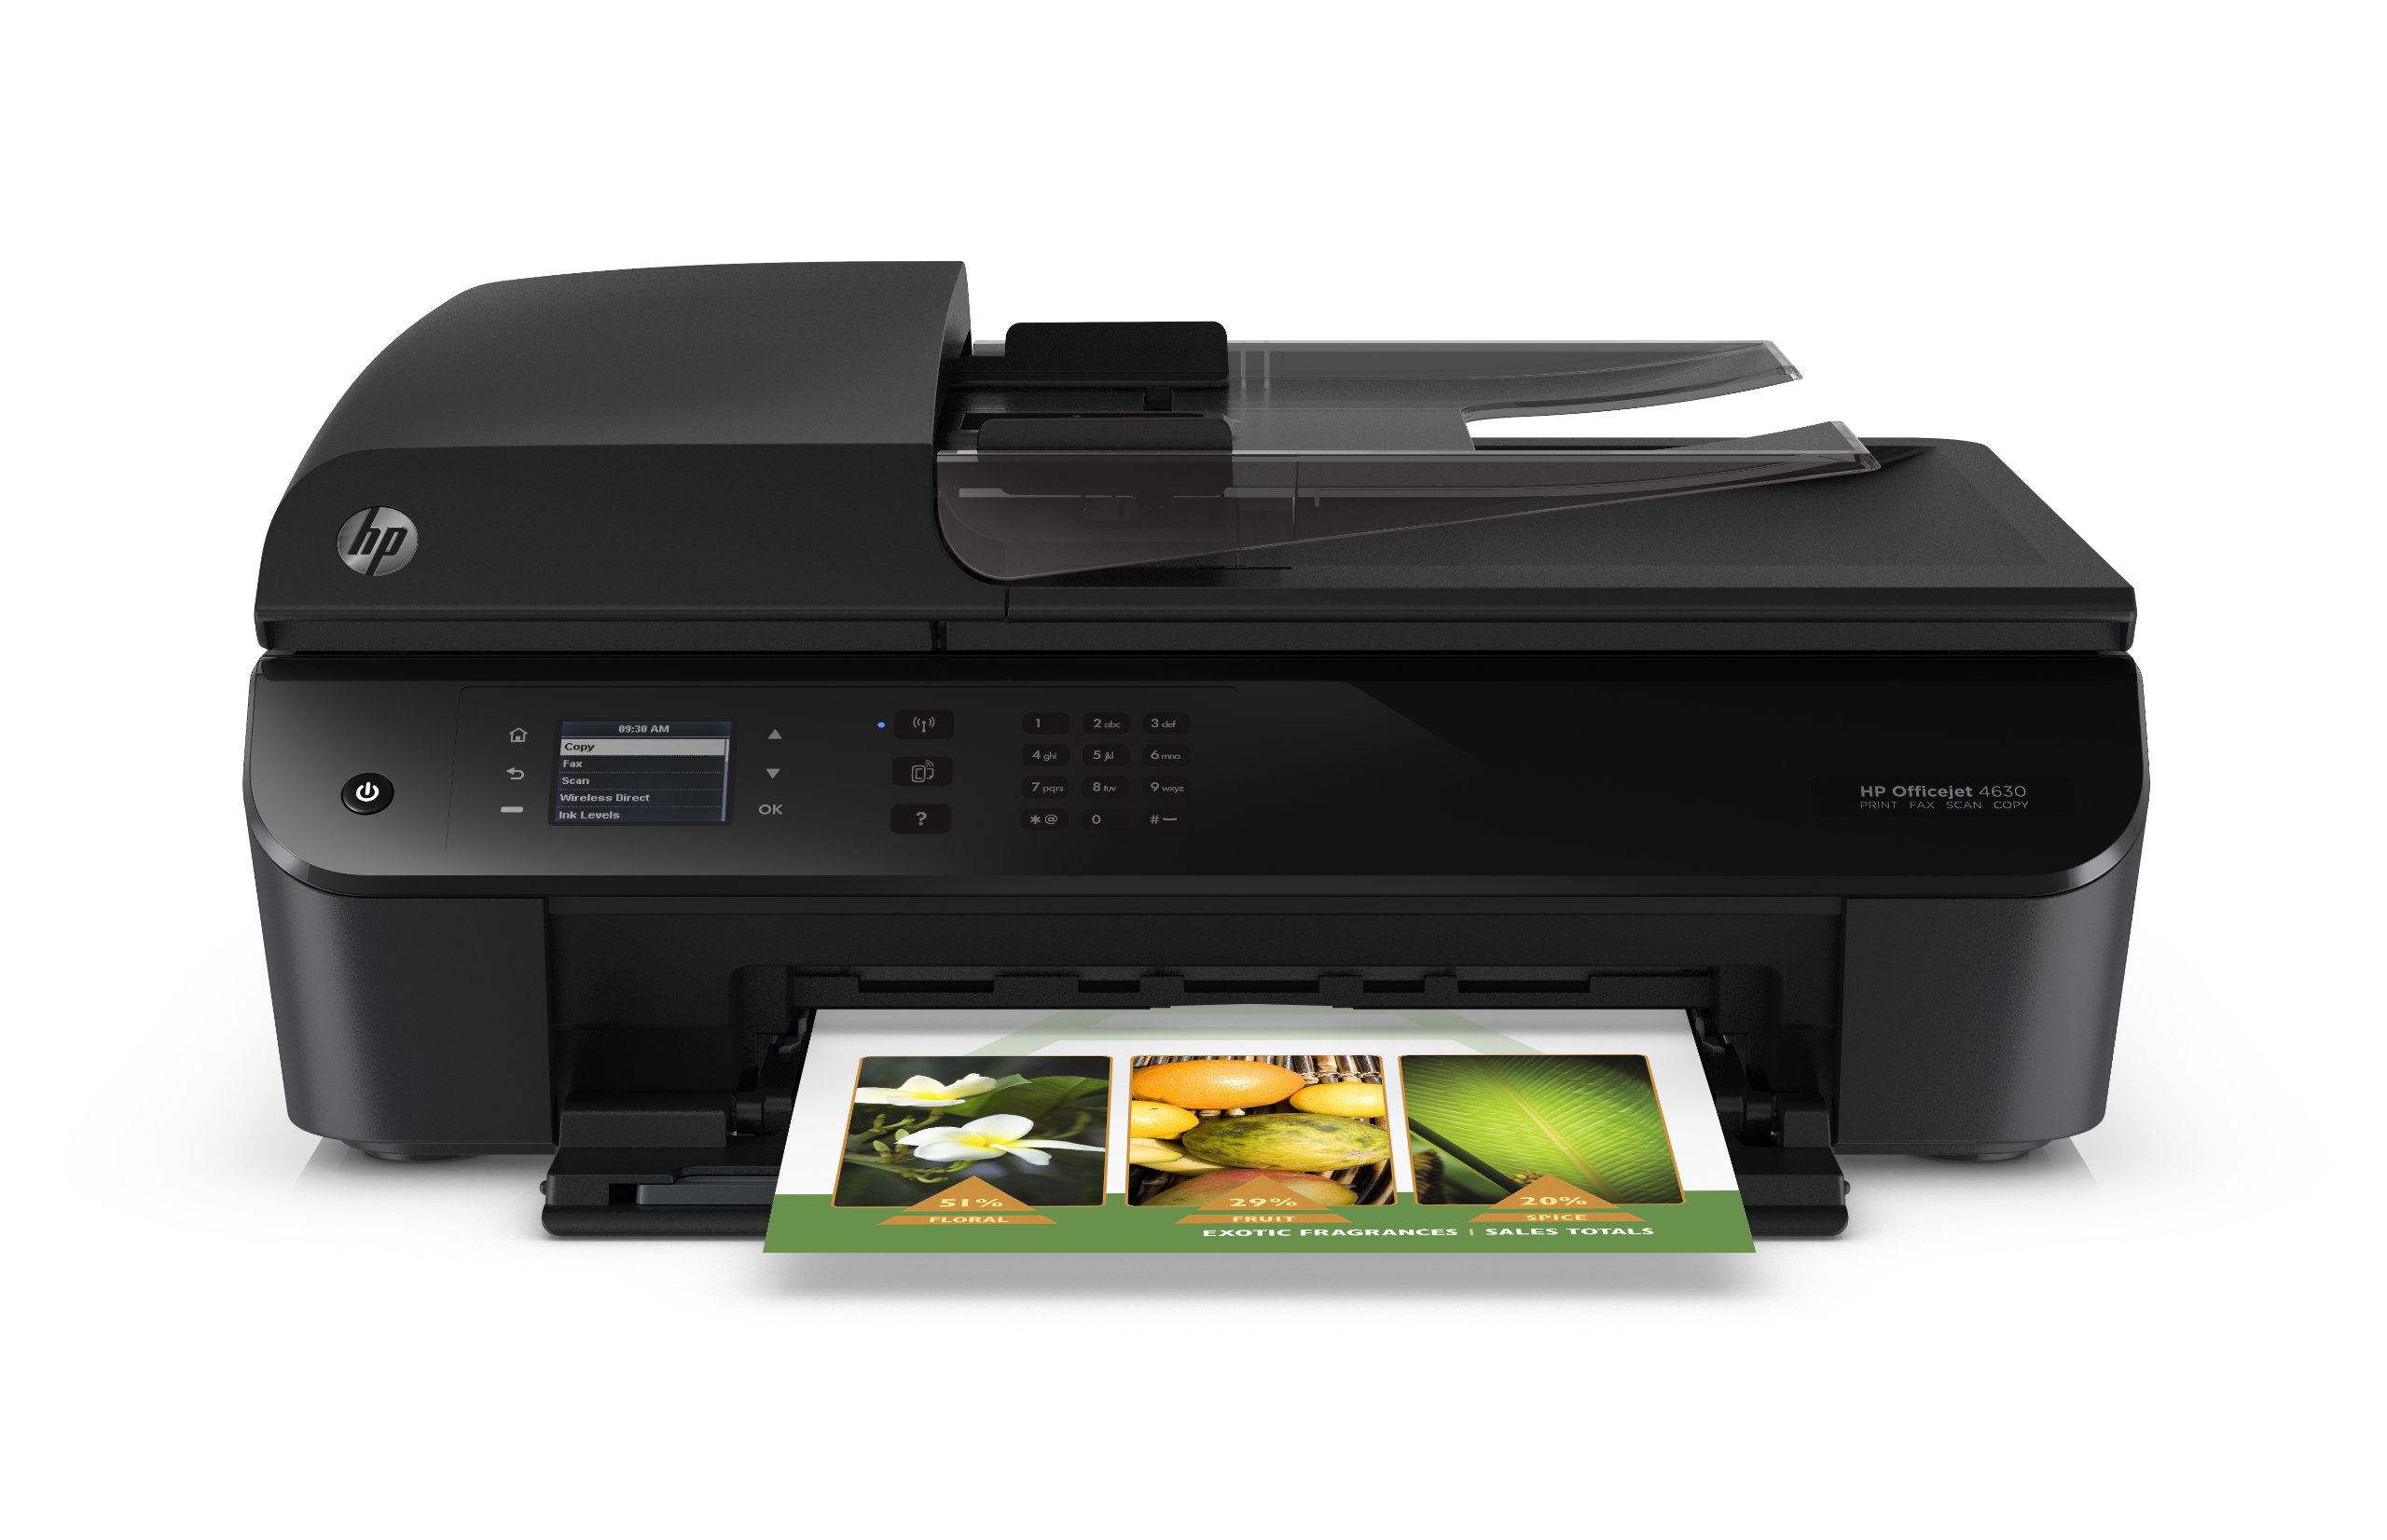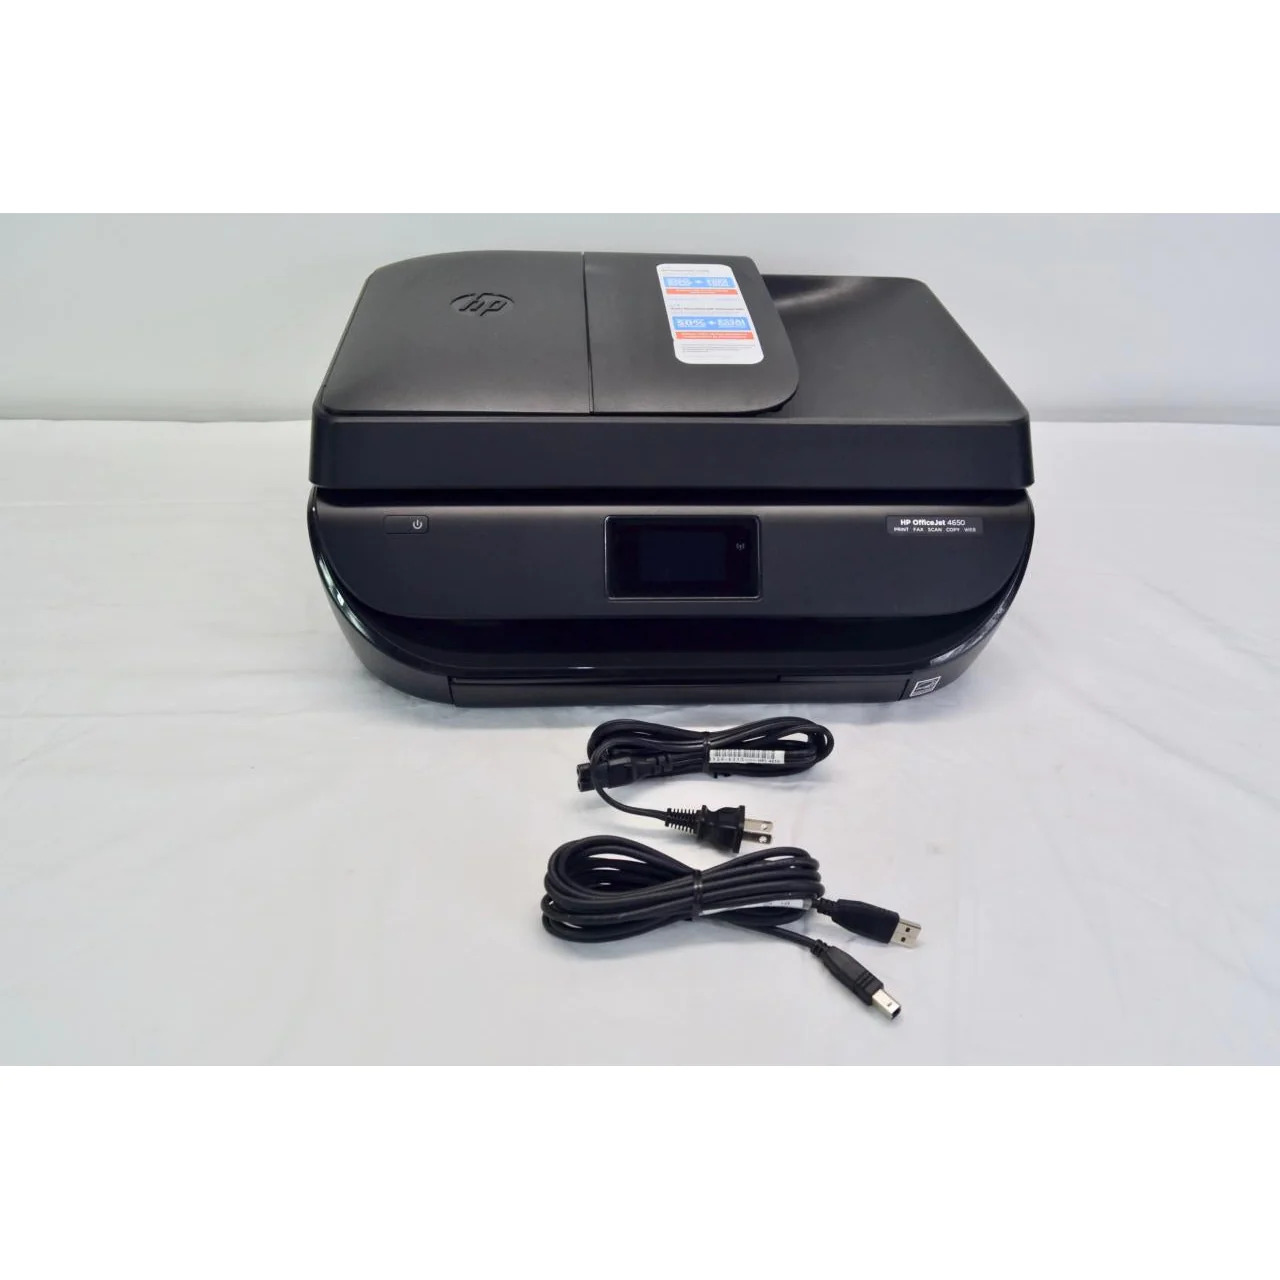
To set up your HP OfficeJet 4650 wireless printer, you connect it to your Wi-Fi network using the printer's control panel and then install the software on your computer or mobile device. This guide covers the complete wireless printer setup and mobile printing process, from gathering your network details to troubleshooting common connection issues.
Before you set up your HP OfficeJet 4650 wireless printer
Before starting, have your Wi-Fi network name (SSID) and password ready. The HP OfficeJet 4650 only supports 2.4 GHz wireless networks, so confirm your router broadcasts on that frequency. You will need these details to complete the Wireless Setup Wizard on the printer.
Connect the HP OfficeJet 4650 to your Wi-Fi network
- Power on the printer. The printer's control panel is usually located on the front or top of the printer.
- On the printer control panel, touch the Wireless icon.
- Touch Settings.
- Touch Wireless Setup Wizard. Use the arrow keys on the control panel to navigate to the Wireless Setup Wizard.
- Select your Wi-Fi network name from the list of available networks. Press the OK or Enter button to confirm your Wi-Fi network selection.
- Enter your Wi-Fi password when prompted. Use the control panel's keypad to enter the Wi-Fi password.
- Follow the on-screen instructions to complete the setup. The connection process may take a few moments. The printer will confirm when the connection is successful.
To configure wireless settings, open the HP printer software on your computer, navigate to Settings or Preferences, and look for Wireless or Network settings. In the wireless settings menu, you can adjust options such as Wi-Fi Direct, network name, and security settings. You may need to restart the printer software on your computer after connecting the printer to the Wi-Fi network for changes to take effect.
Alternative: connect using WPS
If your router supports Wi-Fi Protected Setup (WPS), you can use the PIN or Push Button method. On the printer control panel, go to Setup, then Network Setup, then Wireless Settings, then Wi‑Fi Protected Setup. Follow the prompts to complete the connection. This is not the primary setup path documented in the manual.
Install the HP OfficeJet 4650 software on your computer
Visit 123.hp.com/oj4650 to download and run the setup software or app. During software installation, you may be prompted to select the connection type; choose the wireless connection option. The software will guide you through connecting the printer to your computer over the network. Follow the on-screen instructions to complete the installation. Once finished, your computer will recognize the printer for wireless printing. Restart your computer after the software installation is finished to ensure proper configuration.
Print from your phone or tablet
After the printer is on your Wi-Fi network, download the HP Smart app from your device's app store. Open the app and follow the prompts to connect to your OfficeJet 4650. You can then print documents and photos wirelessly from your mobile device without needing a computer.
Troubleshooting: printer won't connect to Wi-Fi
If the printer fails to connect, try these common fixes:
- Confirm your network is broadcasting on 2.4 GHz. The OfficeJet 4650 does not support 5 GHz networks.
- Restart the printer and your router. Power both off, wait 30 seconds, then turn them back on.
- Move the printer closer to the router to improve signal strength. Keep your Wi-Fi network and printer in close proximity to ensure a stable and strong connection. If the printer shows no Wi-Fi signal bars or a weak signal, move the printer closer to the router.
- Re-run the Wireless Setup Wizard from the printer's control panel, making sure you enter the correct network name and password.
Frequently Asked Questions
How do I check the ink levels on my HP OfficeJet 4650?
From the printer control panel, navigate to the Ink icon or Tools icon and select the option to check ink levels. You can also check from your computer by opening the HP printer software and viewing the ink level section.
How do I clean the printhead on my HP OfficeJet 4650?
From the printer control panel, go to Settings or Tools, then select the cleaning option. The printer will run a printhead cleaning cycle. Only perform this when print quality issues like streaks appear, as excessive cleaning uses ink.
What should I do if my HP OfficeJet 4650 shows offline?
Ensure the printer is powered on and connected to the same Wi-Fi network as your computer. On your computer, right-click the printer icon and select "Set as default printer." Restart both devices and update the printer driver from the HP website if needed.
Related reading: How To Set Up Wireless HP Officejet 4500, How To Set Up HP Officejet Pro 8600 For Wireless Printing, and How To Connect To An HP Wireless Printer From A Laptop.