
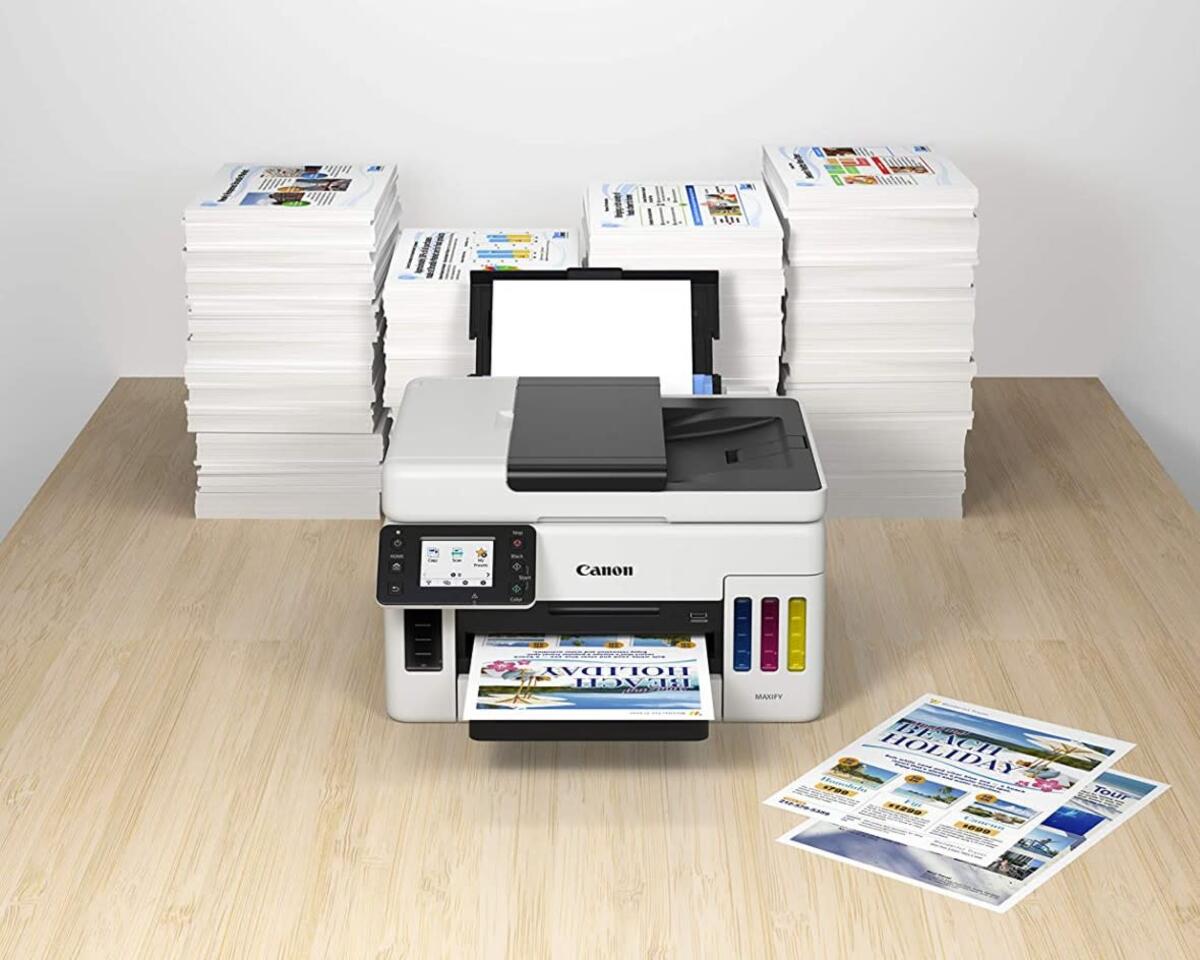
Are you struggling to connect your wireless printer to your device? Don’t worry, we’ve got you covered! In this article, we will guide you through the step-by-step process of connecting your wireless printer to ensure smooth and hassle-free printing. Whether you are using a Windows PC, Mac, or a smartphone, we will provide you with clear instructions and valuable tips to help you establish a seamless connection between your device and printer. Say goodbye to those frustrating moments of not being able to print wirelessly. By the end of this article, you’ll have all the knowledge and confidence you need to connect to your wireless printer effortlessly. So, let’s dive in and get your printing tasks back on track!
Inside This Article
- Step 1: Check your printer and Wi-Fi connection
- Step 2: Install necessary printer drivers
- Step 3: Connect the printer to your Wi-Fi network
- Step 4: Add the printer to your computer or mobile device
- Troubleshooting Common Issues
- Conclusion
- FAQs
Step 1: Check your printer and Wi-Fi connection
Before attempting to connect your wireless printer, it’s important to ensure that both your printer and Wi-Fi network are in proper working order. Follow these steps to check your printer and Wi-Fi connection:
1. Power on your printer: Make sure your printer is powered on and has no error messages displayed. If there are any issues with your printer, address them before proceeding further.
2. Check the Wi-Fi connection status: Verify that your Wi-Fi network is functioning properly. You can do this by connecting another device, such as a laptop or smartphone, to the same Wi-Fi network and ensuring it has internet connectivity.
3. Ensure your printer supports wireless printing: Not all printers have built-in Wi-Fi capabilities. Check your printer’s specifications or user manual to confirm if it supports wireless printing. If it doesn’t, you may need to use a USB cable to connect your printer to your computer.
4. Position your printer within range: Ensure that your printer is within range of your Wi-Fi router. If the printer is too far away, the signal strength might be weak, leading to connectivity issues.
5. Restart your printer and Wi-Fi router: Sometimes, restarting your printer and Wi-Fi router can resolve any temporary glitches. Turn off both devices, wait for a few seconds, and then turn them back on.
6. Check for firmware updates: Visit the manufacturer’s website to see if there are any firmware updates available for your printer. Updating the firmware can often improve performance and compatibility with wireless networks.
7. Update your printer’s Wi-Fi settings: If you have recently changed your Wi-Fi network name (SSID) or password, you need to update these settings on your printer as well. Consult your printer’s user manual for instructions on how to change the Wi-Fi settings.
By ensuring that your printer is in good working condition and that your Wi-Fi network is functioning properly, you set a solid foundation for successfully connecting your wireless printer.
Step 2: Install necessary printer drivers
Installing the necessary printer drivers is an essential step in connecting your wireless printer to your computer or mobile device. Printer drivers serve as the software interface that allows your device to communicate with the printer, enabling you to send print commands and control various printing settings.
Here are the steps to install the required printer drivers:
- Check the manufacturer’s website: Start by visiting the official website of the printer manufacturer. Look for a “Support” or “Downloads” section where you can find the appropriate drivers for your printer model.
- Choose the correct driver: Once you’re on the manufacturer’s website, locate the section where you can search for drivers based on your printer model. Enter the model number of your printer and select the operating system you’re using on your computer or mobile device.
- Download and run the driver installer: After selecting the correct driver, click on the download link and save the driver installer file to your computer or mobile device. Locate the downloaded file and double-click on it to run the installer.
- Follow the installation prompts: The driver installer will guide you through the installation process. Follow the on-screen prompts, read the license agreement if required, and click “Next” or “Install” to proceed.
- Complete the installation: Once the installation is complete, you may be prompted to restart your computer or device. Make sure to save any open work before proceeding with the restart.
By installing the necessary printer drivers, you ensure that your device can establish a smooth and reliable connection with the wireless printer. These drivers also enable you to access advanced printing features and optimize the printing experience based on your preferences.
If you’re facing difficulties finding the correct drivers or encountering any issues during the installation process, refer to the manufacturer’s support documentation or contact their customer support for assistance. They will be able to provide you with the necessary guidance to overcome any obstacles and successfully install the printer drivers.
Step 3: Connect the printer to your Wi-Fi network
Now that you have checked your printer and ensured that it is compatible with wireless connectivity, it’s time to connect it to your Wi-Fi network. This step will allow you to print wirelessly from any device connected to the same network.
Follow these straightforward instructions to connect your printer to the Wi-Fi network:
- Access the printer’s menu or settings: Depending on the printer model, you can usually access the menu or settings by pressing a button on the printer itself or through its interface on a connected computer or mobile device.
- Navigate to the Wi-Fi settings: Look for an option like “Network Setup,” “Wireless Settings,” or “Wi-Fi Setup” in the printer’s menu.
- Select your Wi-Fi network: Once you are in the Wi-Fi settings, you will see a list of available networks. Locate your Wi-Fi network from the list and select it.
- Enter the Wi-Fi password: If your network is password-protected, you will be prompted to enter the password. Use the printer’s interface or connected computer/ mobile device to input the password accurately.
- Connect to the network: After entering the password, the printer will attempt to connect to the Wi-Fi network. This process may take a few moments. Once the printer successfully connects, you will see a confirmation message on the printer’s interface.
Congratulations! You have successfully connected your printer to your Wi-Fi network. Now, any device connected to the same network will be able to detect and send print jobs to the printer wirelessly.
It is important to note that the process may vary slightly depending on the make and model of your printer. Therefore, refer to the printer’s user manual for specific instructions if necessary.
Step 4: Add the printer to your computer or mobile device
Once you have connected your wireless printer to your Wi-Fi network, the next step is to add it to your computer or mobile device. By doing so, you will be able to send print jobs directly to the printer without the need for any physical connections.
The process of adding a printer to your computer or mobile device may vary depending on the operating system you are using. Here, we will provide general instructions for adding a printer on both Windows and macOS platforms, as well as on Android and iOS devices.
Adding a Printer on Windows:
- Open the Control Panel on your Windows computer.
- Click on “Devices and Printers” or “Printers and Scanners.”
- Click on the “Add a printer” option.
- Windows will automatically search for available printers. Select your wireless printer from the list.
- Follow the on-screen prompts to complete the installation of the printer drivers.
Adding a Printer on macOS:
- Go to the Apple menu and select “System Preferences.”
- Click on “Printers & Scanners.”
- Click on the “+” button to add a new printer.
- macOS will search for available printers. Select your wireless printer from the list.
- Follow the on-screen instructions to install the necessary printer drivers.
Adding a Printer on Android:
- Open the Settings app on your Android device.
- Scroll down and tap on “Print” or “Connected devices.”
- Tap on “Printing” or “Print services.”
- Select your printer from the available options.
- Install any necessary printer drivers if prompted.
Adding a Printer on iOS:
- Open the Settings app on your iOS device.
- Tap on “Bluetooth & Wi-Fi” or “Wi-Fi.”
- Tap on your Wi-Fi network name.
- Scroll down and tap on “Printers.”
- Select your printer from the list of available printers.
- Install any required printer drivers if prompted.
Once you have successfully added the printer to your computer or mobile device, you can start printing documents, photos, or any other files wirelessly. Make sure that both the device and the printer are connected to the same Wi-Fi network for seamless printing.
If you encounter any issues while adding the printer or printing wirelessly, refer to the troubleshooting section for possible solutions.
Troubleshooting Common Issues
While connecting to a wireless printer, you may encounter a few common issues. Below are some troubleshooting steps to help you resolve them:
1. Printer not found: If your printer is not being detected by your computer or mobile device, first ensure that the printer is turned on and properly connected to the Wi-Fi network. Check if the printer’s Wi-Fi indicator is solid or blinking, indicating a successful connection. If not, try resetting the printer’s network settings and reconnecting it to the Wi-Fi network.
2. Connection drops: If the printer intermittently loses connection to the Wi-Fi network, ensure that the printer and the Wi-Fi router are within range. Avoid placing the printer in areas with signal interference, such as near large metal objects or other electronic devices. Additionally, check for any firmware updates for both the printer and the router, as these updates often include performance enhancements and bug fixes.
3. Incorrect printer drivers: If you have installed the printer drivers but are still experiencing issues, make sure you have installed the correct drivers for your specific printer model and operating system. Visit the printer manufacturer’s website to download the latest drivers and follow the provided installation instructions. Restart your computer or mobile device after installing the drivers to ensure they are properly recognized.
4. Print queue issues: If your print jobs are getting stuck or not being processed, try clearing the print queue. On your computer, go to the printer settings or control panel and locate the print queue. Delete any pending print jobs and restart both the computer and the printer. This can resolve any temporary conflicts or errors in the print queue that may be preventing the printer from functioning properly.
5. Firewall or security settings: Sometimes, firewall or security settings on your computer or network can block the communication between the printer and the device. Check your firewall settings and make sure that the necessary ports and protocols used by the printer are not blocked. Temporarily disable the firewall or adjust the settings accordingly to allow the printer to communicate with your computer or mobile device.
6. Outdated firmware: If your printer is still experiencing issues, consider checking for firmware updates. Outdated firmware can sometimes cause connectivity problems or other issues. Visit the printer manufacturer’s website and download any available firmware updates for your printer model. Follow the provided instructions to update the printer’s firmware, which can improve performance and resolve compatibility issues.
7. Network configuration issues: If none of the above solutions work, there may be network configuration issues that are preventing the printer from connecting properly. Contact your network administrator or Internet service provider for assistance in troubleshooting and resolving any network-related issues that may be interfering with the printer’s connectivity.
By following these troubleshooting steps, you should be able to address common issues that may arise when connecting to a wireless printer. Remember to consult the printer’s user manual or the manufacturer’s website for specific troubleshooting tips and further assistance.
Conclusion
Connecting to a wireless printer doesn’t have to be a daunting task. With the right knowledge and steps, you can easily set up and connect to your wireless printer without any hassle. By following the instructions provided by the printer manufacturer, you can ensure a smooth and seamless printing experience.
Remember to check the compatibility of your devices and network settings, and keep your printer firmware updated to avoid any connectivity issues. Additionally, make sure to secure your wireless network with a strong password to prevent unauthorized access.
By successfully connecting to your wireless printer, you can enjoy the convenience of printing documents and photos from anywhere within your network range. No more tangled cables or being tied down to a specific location. Embrace the freedom of wireless printing and unleash your productivity to a whole new level.
FAQs
1. How do I connect my wireless printer to my network?
To connect your wireless printer to your network, first, ensure that your printer is compatible with Wi-Fi. Then, follow the provided instructions in your printer’s manual to connect it to your Wi-Fi network. Typically, this involves accessing the printer’s settings through the control panel, navigating to the network settings, and selecting your Wi-Fi network from the available options. Enter your network’s password when prompted, and your printer should successfully connect to your network.
2. Can I connect my wireless printer to multiple devices?
Yes, wireless printers can usually be connected to multiple devices on the same network. Once the printer is connected to the Wi-Fi network, you can add it as a printer on any device connected to the same network. This allows you to print from different computers, laptops, smartphones, or tablets without the need for any additional setup.
3. What if my wireless printer isn’t showing up on my network?
If your wireless printer isn’t appearing on your network, there could be a few possible reasons. First, ensure that both your printer and the device you are trying to connect from are on the same Wi-Fi network. If they are on different networks, they may not be able to communicate. Additionally, make sure that your printer’s Wi-Fi is enabled and functioning properly. You may need to restart your printer or check for any software updates that could resolve the issue.
4. How do I find the IP address of my wireless printer?
To find the IP address of your wireless printer, access the printer’s settings through the control panel or the printer’s web interface if available. Look for a network or connectivity section and navigate to the network settings. Within the settings, you should find the IP address of your printer listed. Alternatively, you can print a test page or network configuration page from the printer, which usually includes the IP address.
5. What should I do if I’m unable to print from my wireless printer?
If you are unable to print from your wireless printer, check the following troubleshooting steps:
– Ensure that your printer is powered on and connected to the Wi-Fi network.
– Verify that your device is connected to the same Wi-Fi network as your printer.
– Check the printer’s ink or toner levels and replace them if necessary.
– Restart both your printer and the device you are trying to print from.
– Update the printer’s drivers and firmware to the latest versions.
– Clear any print queue or pending print jobs on your device.
– If the issue persists, consult the printer’s manual or contact the manufacturer’s support for further assistance.