
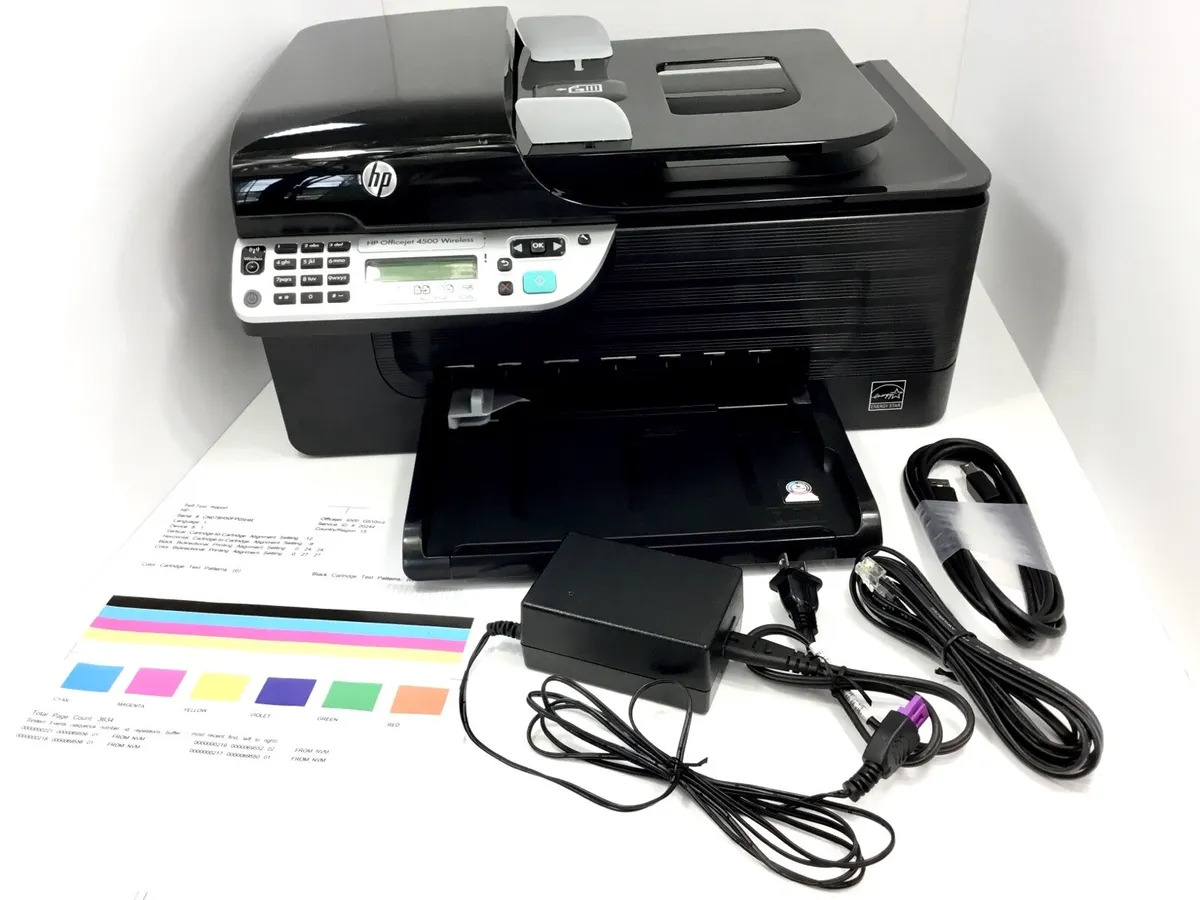
The HP Officejet 4500 Wireless Printer is a versatile and reliable printer that offers convenient wireless connectivity. Whether you want to print documents, photos, or other files, this printer can meet all your printing needs. With its sleek and compact design, it can easily fit into any office or home setting.
Connecting the HP Officejet 4500 Wireless Printer to your device is a simple process that allows you to print wirelessly from your computer, smartphone, or tablet. In this article, we will guide you through the step-by-step process of connecting your printer to a wireless network, enabling you to enjoy the convenience of wireless printing.
Whether you’re a novice or an experienced user, this article will provide you with the necessary information to set up and connect your HP Officejet 4500 Wireless Printer with ease. So let’s dive in and get started on the path to hassle-free wireless printing!
Inside This Article
- Preparing for Setup
- Connecting the Printer to Wi-Fi
- Installing Printer Software
- Testing the Wireless Connection
- Conclusion
- FAQs
Preparing for Setup
Before you begin setting up your HP Officejet 4500 wireless printer, there are a few important steps you should take to ensure a smooth installation process. By following these preparation steps, you can save time and avoid potential issues later on.
1.1 Check Compatibility: Firstly, make sure that your computer or mobile device is compatible with the HP Officejet 4500 wireless printer. Check the system requirements and ensure that your operating system is supported.
1.2 Gather the Necessary Information: Gather all the necessary information for the setup, such as your Wi-Fi network name (SSID) and password. These details will be required during the installation process to connect the printer to your wireless network.
1.3 Clear Workspace: Clear a workspace near your computer or device where you plan to set up the printer. Ensure that there is enough room for the printer, power cord, and any other accessories that may come with it.
1.4 Connect Power Supply: Connect the power supply to your printer and plug it into a power outlet. Ensure that the printer is placed in a location where it can receive a steady power supply and is easily accessible.
1.5 Remove Packaging: Remove all the packaging materials from the printer, including any tape or protective covers. It’s important to carefully remove these materials to avoid any damage to the printer during setup.
1.6 Load Paper: Load the paper into the paper tray, ensuring that it is aligned properly and not overfilled. Refer to the printer’s manual for specific instructions on how to load the paper correctly.
1.7 Install Ink Cartridges: Install the ink cartridges into their respective slots. Make sure to follow the instructions provided with the printer to ensure proper installation.
1.8 Connect USB Cable (Optional): If you prefer to set up the printer using a USB cable connection, now is the time to connect it. However, if you plan to connect the printer wirelessly, skip this step.
By following these preparation steps, you will be ready to proceed with the setup process of your HP Officejet 4500 wireless printer. Taking the time to prepare in advance can help ensure a seamless installation experience and make it easier for you to start using your printer wirelessly.
Connecting the Printer to Wi-Fi
Connecting your HP Officejet 4500 wireless printer to Wi-Fi is a straightforward process that allows you to print documents wirelessly from your mobile devices or computers. Follow the steps below to connect your printer to Wi-Fi:
Step 1: Prepare
Before you begin the setup process, make sure that your wireless network is up and running. Ensure that your printer is powered on and in a location where it can receive a strong Wi-Fi signal.
Step 2: Access the Printer’s Control Panel
To connect your printer to Wi-Fi, you will need to access the printer’s control panel. Open the control panel by lifting the scanner lid, or by locating the control panel buttons on the printer’s front or side.
Step 3: Select Network Setup
Once you have accessed the control panel, navigate to the “Network Setup” or “Wireless Setup” option. Depending on your model, this option may be labeled differently. Use the arrow keys or touch screen, if available, to select the desired option.
Step 4: Choose Wireless Network
After selecting the network setup option, your printer will present you with a list of available wireless networks. Choose your Wi-Fi network from the list. If your network is not displayed, select “Enter New Network Name” or a similar option, and manually enter your network’s name (SSID).
Step 5: Enter Wi-Fi Password
If prompted, enter the password for your Wi-Fi network. Use the alphanumeric keys on the printer’s control panel to enter your password. Take care to enter the password correctly, as case-sensitive characters and special characters may be included.
Step 6: Confirm Settings
Once you have entered your Wi-Fi password, review the settings displayed on the printer’s control panel. Double-check that the network name (SSID) and password are correct. If everything looks accurate, select “Confirm” or a similar option to save the settings.
Step 7: Complete the Setup
After confirming the settings, your printer will attempt to connect to the Wi-Fi network. This process may take a few moments. Once the connection is established, a confirmation message will appear on the printer’s control panel.
Congratulations! You have successfully connected your HP Officejet 4500 wireless printer to Wi-Fi. You can now enjoy the convenience of wirelessly printing from your devices.
Installing Printer Software
Once you have successfully connected your HP Officejet 4500 wireless printer to Wi-Fi, the next step is to install the printer software on your computer. This software is essential for the printer to function properly and communicate with your device. Follow the steps below to install the printer software:
Step 1: Locate the Installation CD
Start by locating the installation CD that came with your HP Officejet 4500 printer. If you don’t have the CD, don’t worry. You can also download the software from the official HP website.
Step 2: Insert the Installation CD
Insert the installation CD into your computer’s CD/DVD drive. If the installation doesn’t start automatically, you can manually launch it by navigating to “My Computer” or “This PC” and double-clicking on the CD drive.
Step 3: Follow the On-Screen Instructions
Once the installation process begins, follow the on-screen instructions to proceed with the software installation. Make sure to carefully read the prompts and select the appropriate options as required.
Step 4: Connect Printer to Computer
During the installation process, you will be prompted to connect your HP Officejet 4500 printer to your computer using a USB cable. Make sure the printer is powered on and connect one end of the USB cable to the printer and the other end to an available USB port on your computer.
Step 5: Complete Installation
Once the USB connection is established, the software installation will continue. Follow any additional on-screen prompts to complete the installation process. This may include accepting the license agreement, choosing the installation location, and selecting any additional software or drivers that come with your printer.
Step 6: Restart Your Computer
After the installation is complete, it’s a good idea to restart your computer. This will ensure that all the necessary drivers and software are properly installed and ready to use.
Now that you have successfully installed the printer software, you can start printing wirelessly from your computer to your HP Officejet 4500 wireless printer. Enjoy the convenience and flexibility of wireless printing!
Testing the Wireless Connection
Once you have successfully connected your HP Officejet 4500 wireless printer to your Wi-Fi network and installed the necessary software, the next step is to test the wireless connection. This will ensure that your printer can communicate with your computer or mobile device over the network, allowing you to print wirelessly.
Here are a few simple steps to test the wireless connection of your HP Officejet 4500:
- Ensure that both your printer and computer or mobile device are connected to the same Wi-Fi network.
- Open a document or photo that you would like to print.
- From the application’s Print menu, select your HP Officejet 4500 wireless printer as the desired printer.
- Adjust any print settings, such as paper size or print quality, as needed.
- Click or tap the “Print” button to initiate the print job.
- Observe the status of the print job on your computer or mobile device. If the job is successfully sent to the printer and starts printing, it indicates that the wireless connection is working properly.
If, however, the print job remains in a queued or pending state, there may be an issue with the wireless connection. In such cases, you can try the following troubleshooting steps:
- Verify that your printer is turned on and properly connected to the Wi-Fi network.
- Restart your printer and computer or mobile device.
- Ensure that there are no error messages or notifications displayed on the printer’s control panel.
- Check for any firmware or software updates for your printer and install them if available.
- If the problem persists, consult the user manual or contact HP support for further assistance.
By following these steps, you can easily test the wireless connection of your HP Officejet 4500 wireless printer and troubleshoot any potential issues. Enjoy the convenience and flexibility of wireless printing!
In conclusion, connecting the HP Officejet 4500 wireless printer is a straightforward process that allows you to enjoy convenient printing from any device in your home or office. By following the steps outlined in this article, you’ll be able to establish a wireless connection swiftly and efficiently. Remember to ensure that your printer and wireless network are compatible, and double-check your settings to avoid any connectivity issues. With the wireless capabilities of the HP Officejet 4500, you’ll experience the freedom of printing from your smartphone, tablet, or laptop without the hassle of cables. Say goodbye to cumbersome connections and embrace the convenience of wireless printing with the HP Officejet 4500.
FAQs
1. How do I connect my HP Officejet 4500 wireless printer to my computer?
To connect your HP Officejet 4500 wireless printer to your computer, follow these steps:
- Make sure your printer and computer are both connected to the same Wi-Fi network.
- On your computer, go to the Start menu, select “Devices and Printers” or “Printers and Scanners”.
- Click on “Add a printer” or “Add a device” and follow the on-screen instructions.
- Choose the wireless printer option and select your HP Officejet 4500 from the list of available printers.
- Click “Next” and wait for the setup process to complete.
2. How do I set up my HP Officejet 4500 wireless printer without a CD?
If you don’t have the installation CD for your HP Officejet 4500 wireless printer, you can still set it up using alternate methods. Follow these steps:
- Make sure your printer is connected to a power source and turned on.
- Connect your printer to the same Wi-Fi network as your computer.
- On your computer, go to the official HP website and search for your printer model.
- Download and install the latest driver software for your printer.
- Once the software is installed, follow the on-screen instructions to connect your printer to your computer wirelessly.
3. How do I find the IP address of my HP Officejet 4500 wireless printer?
To find the IP address of your HP Officejet 4500 wireless printer, you can use the printer’s control panel:
- On the printer’s control panel, press the “Setup” or “Menu” button.
- Navigate to the “Network” or “Wireless” settings.
- Select “View IP Settings” or a similar option.
- The IP address should be displayed on the screen.
4. How do I troubleshoot a wireless connection issue with my HP Officejet 4500 printer?
If you are experiencing wireless connection issues with your HP Officejet 4500 printer, try the following troubleshooting steps:
- Restart your printer, computer, and Wi-Fi router.
- Make sure your printer and computer are connected to the same Wi-Fi network.
- Check for any obstructions or interference around the printer and router that may affect the signal.
- Update the driver software for your printer to the latest version.
- If all else fails, you can try resetting the printer’s Wi-Fi settings and reconfiguring the wireless connection.
5. Can I use my HP Officejet 4500 wireless printer with mobile devices?
Yes, you can use your HP Officejet 4500 wireless printer with mobile devices. Depending on your device’s operating system, there are different methods to connect and print from your smartphone or tablet:
- For iOS devices, you can use AirPrint to directly print from your device without any additional setup.
- For Android devices, you can use the HP Print Service Plugin app, which allows you to print wirelessly from your Android device.
- You can also download the HP Smart app, which provides additional features and allows you to print, scan, and manage your printer from your mobile device.