
Are you tired of dealing with tangled wires and limited movement while using your mouse? It’s time to go wireless! Connecting a wireless mouse to a dongle is a simple and hassle-free process that will give you the freedom to work or play without any restrictions. Whether you have just purchased a new wireless mouse or want to connect an existing one to a dongle, this article will guide you step-by-step through the process. Say goodbye to the limitations of traditional wired mouses and say hello to the convenience and flexibility of a wireless setup. Now, let’s dive in and learn how to connect a wireless mouse to a dongle!
Inside This Article
- Step 1: Check compatibility
- Step 2: Insert the dongle
- Step 3: Power on the mouse
- Step 4: Pair the mouse and dongle
- Troubleshooting common issues
- Conclusion
- FAQs
Step 1: Check compatibility
Before connecting your wireless mouse to the dongle, it’s crucial to ensure compatibility between the two devices. Different manufacturers may use different wireless technologies, so it’s essential to verify if your mouse and dongle are compatible.
Start by referring to the user manual or product specifications of your wireless mouse and dongle. Look for information about the wireless technology used, such as Bluetooth, RF, or 2.4GHz. Make sure that both devices use the same wireless technology to establish a seamless connection.
If you’re unsure about the wireless technology used by your mouse or dongle, there are a few ways to determine compatibility. One option is to visit the manufacturer’s website and search for information or compatibility guidelines related to your specific model.
Another method is to contact the manufacturer’s customer support. They will be able to provide you with accurate information regarding compatibility and guide you through the connection process.
Keep in mind that wireless mouse and dongle compatibility is not just about the wireless technology used. It’s also important to check if the operating system you’re using supports the devices. Most wireless mice are compatible with major operating systems like Windows, macOS, and Linux, but it’s always a good idea to double-check.
By ensuring compatibility between your wireless mouse and dongle, you can avoid any connectivity issues and enjoy a smooth and reliable wireless experience.
Step 2: Insert the dongle
Now that you have checked the compatibility of your wireless mouse and dongle, it’s time to move on to the next step: inserting the dongle. This step is crucial as it enables your wireless mouse to establish a connection with your computer or device.
To insert the dongle, locate an available USB port on your computer or device. USB ports are typically found on the sides or back of a laptop, or the back of a desktop computer. Once you have located the USB port, gently insert the dongle into the port until it is securely in place.
It’s important to ensure that the dongle is inserted correctly, as a loose or improperly inserted dongle may result in a weak or unstable connection. If the dongle does not fit snugly into the USB port, try inserting it into a different USB port to see if that resolves the issue.
Once the dongle is securely inserted, you may notice a small LED light on the dongle itself. This LED light indicates that the dongle is receiving power and is ready to establish a connection with your wireless mouse.
If you are using a laptop, you may also have the option to insert the dongle into a USB hub or docking station, depending on your setup. Just make sure that the hub or docking station is connected to your laptop and has an available USB port for the dongle.
Once the dongle is inserted and properly connected, you are one step closer to enjoying the freedom and convenience of a wireless mouse. In the next step, we will power on the mouse and proceed with pairing it to the dongle.
Step 3: Power on the mouse
Once you have successfully inserted the dongle into your computer, it’s time to power on the wireless mouse. Follow these simple steps to ensure a smooth connection:
1. Locate the power button on the mouse. It is usually located on the underside of the device or on the top near the scroll wheel.
2. Press and hold the power button for a few seconds. You may see a light or indicator on the mouse that signifies it is now powered on.
3. Wait for the mouse to establish a connection with the dongle. This may take a few seconds, so be patient and avoid clicking or moving the mouse during this time.
4. Once the connection is established, you should be able to use the wireless mouse with your computer. Move the mouse around to ensure that it is responding correctly on the screen.
5. If the mouse does not respond or connect after a few attempts, try turning off the mouse and then turning it back on again. This can sometimes help reset the connection.
Remember, different wireless mouse models may have slightly different power button locations or connection processes. Always refer to the user manual that came with your specific device for detailed instructions.
Now that your wireless mouse is powered on and connected to the dongle, you can enjoy the convenience of using it without any tangled wires. Whether you’re working, gaming, or browsing the web, a wireless mouse provides freedom of movement and enhances your overall computing experience.
Step 4: Pair the mouse and dongle
Once you have inserted the dongle and powered on the mouse, it’s time to pair them together. This process may vary slightly depending on the brand and model of your wireless mouse, so it’s important to consult the user manual for specific instructions. However, here are the general steps to follow:
1. Locate the pairing button on the wireless mouse. This button is usually located on the bottom or side of the mouse and may be labeled as “Pair” or have a Bluetooth symbol.
2. Press and hold the pairing button for a few seconds until the mouse’s LED indicator starts flashing. This indicates that the mouse is in pairing mode and ready to connect to the dongle.
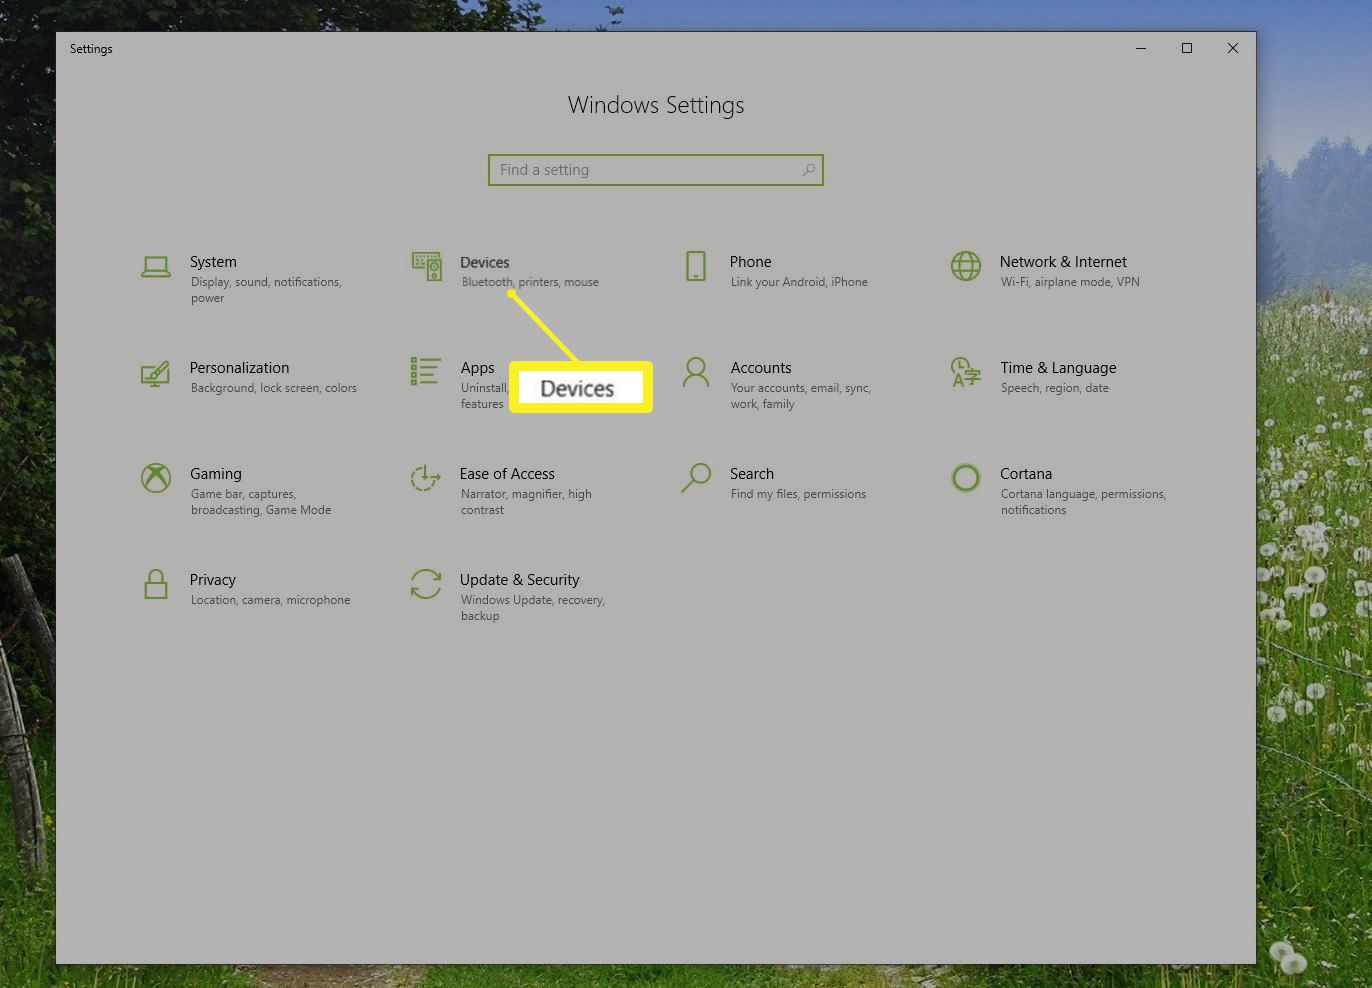
3. On your computer, locate the device settings or Bluetooth settings. This is usually found in the Control Panel or Settings menu, depending on your operating system.
4. In the device settings menu, look for the option to add a new Bluetooth device or search for nearby devices. Click on this option to start the scanning process.
5. After a few moments, your computer should detect the wireless mouse. Click on the mouse’s name or model number to initiate the pairing process.
6. Follow any on-screen instructions that may appear to complete the pairing process. This may include entering a passkey or confirming a code displayed on your screen.
7. Once the pairing is successful, you will see a confirmation message on your screen. The mouse’s LED indicator will also stop flashing and remain steady, indicating that it is now connected to the dongle.
8. Test the mouse by moving it around on your desktop. If the cursor moves in response to your movements, congratulations! You have successfully paired your wireless mouse to the dongle.
It’s important to note that some wireless mice and dongles may have additional software or drivers that need to be installed for optimal performance. Check the manufacturer’s website for any available updates or additional instructions.
Now that your mouse is paired, you can enjoy the freedom of wireless connectivity without the hassle of cords or cables. Happy computing!
Troubleshooting common issues
While connecting a wireless mouse to a dongle is generally a simple and straightforward process, there may be times when you encounter some common issues. Here are a few troubleshooting steps to help you resolve any problems you may face:
1. Check the batteries: If your wireless mouse is not connecting to the dongle, the first thing you should do is check the batteries. Ensure that they are properly inserted and fully charged. If the batteries are low on power, replace them with fresh ones and try connecting again.
2. Restart the devices: Sometimes, the connection between the mouse and dongle can be disrupted due to temporary issues. Try restarting both the mouse and the dongle. Turn off the mouse and remove the dongle from the USB port. Wait for a few seconds and then plug the dongle back in. Turn on the mouse and see if the connection is established.
3. Check the USB port: Ensure that the USB port you are using is functioning properly. Try plugging the dongle into a different USB port to rule out any issues with the original port. If the mouse connects successfully, the problem may lie with the initial USB port, and you may need to have it checked or replaced.
4. Remove obstacles: Wireless signals can be affected by physical obstacles such as walls or other electronics. Make sure there are no objects blocking the path between the mouse and the dongle. Try moving closer to the dongle and see if the connection improves.
5. Update drivers: Outdated or incompatible drivers can cause connectivity issues. Visit the manufacturer’s website and download the latest drivers for your mouse. Install them on your computer and restart the system. This should help establish a stable connection between the mouse and the dongle.
6. Reset the mouse and dongle: If none of the above troubleshooting steps work, you may need to reset both the mouse and the dongle. Refer to the user manual or the manufacturer’s website for instructions on how to perform a reset. After resetting, try pairing the mouse and the dongle again.
7. Contact customer support: If you have tried all the troubleshooting steps and are still unable to connect the wireless mouse to the dongle, it’s best to reach out to the manufacturer’s customer support for further assistance. They will be able to provide you with specific guidance tailored to your mouse model and troubleshoot the issue accordingly.
By following these troubleshooting tips, you should be able to resolve common issues that arise when connecting a wireless mouse to a dongle. Remember to check the batteries, restart the devices, ensure the USB port is working, remove obstacles, update drivers, and reset if necessary. In case of persistent connectivity problems, don’t hesitate to seek help from the manufacturer’s customer support. Now you can enjoy a seamless and hassle-free experience with your wireless mouse!
In conclusion, connecting a wireless mouse to a dongle is a simple and convenient process that adds flexibility and mobility to your computing experience. Whether you’re using a laptop, desktop, or any other device, having a wireless mouse provides freedom from tangled wires and allows for smooth, precise navigation.
By following the steps outlined in this article, you can easily pair your wireless mouse with its dongle and start enjoying the benefits of wireless connectivity. Remember to ensure that your mouse and dongle are compatible and follow any specific instructions provided by the manufacturer.
With the ability to connect wirelessly, you can work or play from a comfortable distance, eliminating the need to reach for the mouse or worry about limited cable length. So why not embrace the convenience and mobility that a wireless mouse and dongle offer? Upgrade your computing setup today and experience the freedom of wireless connectivity.
FAQs
1. How do I connect a wireless mouse to a dongle?
To connect a wireless mouse to a dongle, follow these steps:
– Insert the dongle into an available USB port on your computer.
– Make sure your wireless mouse has batteries and is turned on.
– Press and hold the connect button on the dongle for a few seconds.
– Press and hold the connect button on the wireless mouse for a few seconds.
– The mouse should now be connected to the dongle, and you can start using it.
2. Is it possible to connect multiple wireless mice to a single dongle?
In most cases, no. Each wireless mouse typically comes with its own dongle that is specifically paired with the mouse. However, some models of wireless mice and dongles do support connecting multiple mice to a single dongle. It’s best to check the manufacturer’s documentation or website for more information on the specific model you have.
3. Can I use a wireless mouse with a laptop?
Yes, wireless mice can be used with laptops. Most laptops have built-in USB ports that can be used to connect the wireless mouse’s dongle. Some laptops also have Bluetooth functionality, allowing you to connect a Bluetooth-enabled wireless mouse without the need for a dongle.
4. How far away can I use a wireless mouse from its dongle?
The range of a wireless mouse can vary depending on the model and the environment. In general, most wireless mice have a range of around 10 meters (33 feet) from the dongle. However, obstacles such as walls and other electronic devices can affect the range and signal strength.
5. Do wireless mice require a separate power source?
Yes, wireless mice require batteries or rechargeable power sources to function. The batteries power the mouse’s internal components, such as the sensor and the wireless transmitter. It’s important to regularly check and replace the batteries to ensure optimal performance of the wireless mouse.