
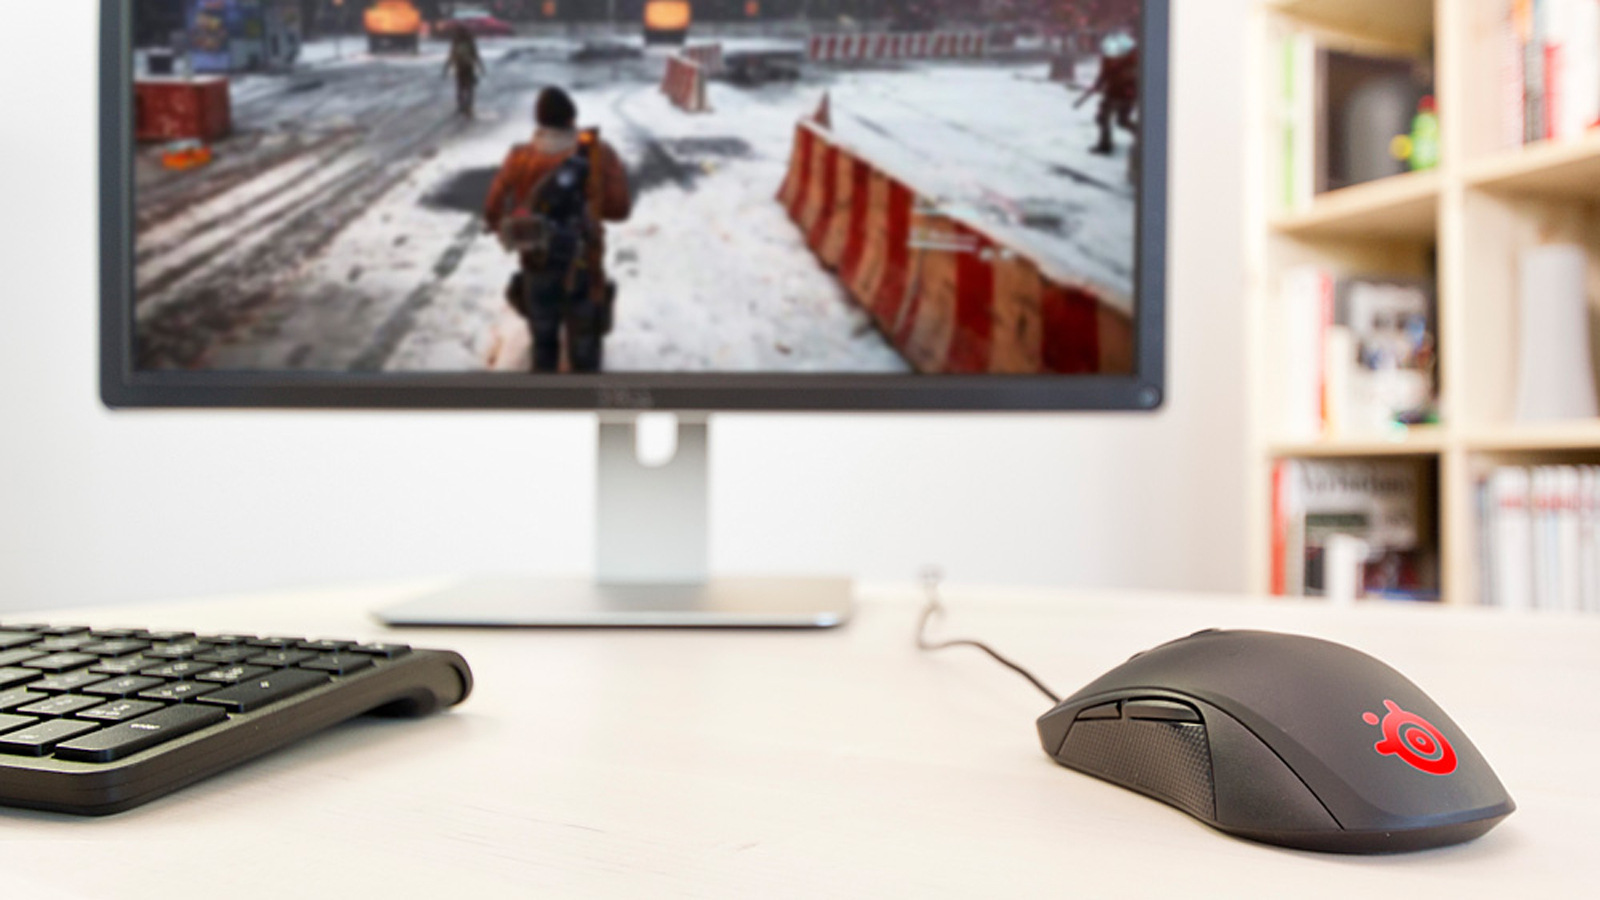
In today’s digital age, convenience and flexibility have become the norm. When it comes to using a computer, many people prefer the freedom of a wireless mouse and keyboard. These ergonomic devices not only reduce clutter on your desk but also allow for effortless movement and increased comfort during long hours of use.
If you’re wondering how to connect a wireless mouse and keyboard to your monitor, don’t worry, we’ve got you covered. In this comprehensive guide, we’ll walk you through the step-by-step process of setting up and connecting your wireless peripherals. Whether you’re a seasoned tech enthusiast or a novice user, our easy-to-follow instructions will ensure that you can seamlessly pair your wireless devices with your monitor and start enjoying a tangle-free computing experience in no time.
Inside This Article
- Step 1: Check compatibility of the devices
- Step 2: Connect the wireless receiver to the monitor
- Step 3: Put the wireless mouse and keyboard in pairing mode
- Step 4: Connect the mouse and keyboard to the wireless receiver
- Troubleshooting Common Connectivity Issues
- Conclusion
- FAQs
Step 1: Check compatibility of the devices
Before attempting to connect a wireless mouse and keyboard to your monitor, it is crucial to ensure that the devices are compatible with each other. This involves checking the specifications and requirements of both the mouse and keyboard, as well as the monitor.
First, check if the wireless mouse and keyboard are designed to be used with a monitor. Some wireless devices are specifically made for desktop computers or laptops and may not work with a monitor. Look for indications on the packaging or in the product description that mention compatibility with monitors.
In addition, check the connectivity options of the mouse and keyboard. Most wireless devices use either Bluetooth or a USB receiver to establish a connection. Ensure that the monitor has the necessary ports or features to support the chosen connectivity method. For example, if the devices use a USB receiver, the monitor should have a USB port available.
Furthermore, consider the operating system requirements. Verify if the wireless mouse and keyboard are compatible with the operating system used on your computer or the monitor itself. Some devices may only work with specific versions of Windows, macOS, or other operating systems. Check the manufacturer’s website or the user manual for this information.
Lastly, check for any additional compatibility requirements. Some wireless devices may require specific software or drivers to function properly. Ensure that you have the necessary tools or applications installed on your computer or monitor to support the mouse and keyboard.
By double-checking the compatibility of the devices, you can avoid any compatibility issues and ensure a smooth connection process. If any compatibility concerns arise, it may be necessary to find alternate wireless devices that are compatible with your monitor.
Step 2: Connect the wireless receiver to the monitor
Once you have confirmed the compatibility of your wireless mouse and keyboard with your monitor, it’s time to connect the wireless receiver to the monitor. The wireless receiver acts as a bridge between the monitor and the input devices, allowing them to communicate wirelessly.
Connecting the wireless receiver is a straightforward process. Most receivers have a USB interface, which makes it easy to connect to the monitor. Here are the steps to follow:
- Locate the USB port on your monitor. It is usually found on the side or back of the monitor.
- Insert the wireless receiver into the USB port. Make sure that it is securely connected.
- If your monitor has multiple USB ports, choose a port that is convenient for you or refer to the monitor’s manual for any specific recommendations.
Once the wireless receiver is plugged into the monitor, it will start communicating with the monitor and enable the connection of your wireless mouse and keyboard.
Some monitors offer the option of a built-in wireless receiver. In this case, you can skip this step and proceed to Step 3 to put your mouse and keyboard in pairing mode.
It’s important to note that the range of the wireless receiver may vary depending on the model and brand. Ensure that your mouse and keyboard are within a reasonable range of the monitor to maintain a stable connection.
Now that you have successfully connected the wireless receiver to your monitor, you are ready to move on to the next step and put your mouse and keyboard in pairing mode.
Step 3: Put the wireless mouse and keyboard in pairing mode
Before you can connect your wireless mouse and keyboard to your monitor, you need to put them in pairing mode. Pairing mode allows the devices to establish a secure connection with each other. Here are the steps to put your wireless mouse and keyboard in pairing mode:
1. For the wireless mouse: Look for the pairing button or switch on the bottom of the mouse. Press and hold the button or toggle the switch to activate pairing mode. The mouse may flash or blink to indicate it is in pairing mode.
2. For the wireless keyboard: Look for the pairing button or switch on the back of the keyboard. Press and hold the button or toggle the switch to enable pairing mode. Some keyboards may have an LED indicator that lights up when in pairing mode.
3. Make sure the monitor’s wireless receiver is plugged in and ready to receive signals. The receiver is usually connected to a USB port on the monitor or the computer itself. Refer to the monitor’s user manual for specific instructions on locating and connecting the receiver.
4. Once both the mouse and keyboard are in pairing mode and the receiver is ready, look for a button or switch on the receiver itself. Press the button or toggle the switch to enable pairing mode on the receiver.
5. The mouse and keyboard should now be searching for the receiver’s signal. Allow a few seconds for them to establish a connection. Once connected, the mouse cursor should move on the screen, and you should be able to type on the keyboard.
If the connection is not established, try restarting the pairing process or refer to the device’s user manual for troubleshooting steps. Remember to keep the devices within a reasonable range of the receiver for optimal connectivity.
Now that your wireless mouse and keyboard are in pairing mode and connected to the monitor, you can enjoy the freedom of wire-free computing and navigate your screen with ease.
Step 4: Connect the mouse and keyboard to the wireless receiver
Now that you have successfully connected the wireless receiver to your monitor, it’s time to pair your wireless mouse and keyboard with the receiver. Here’s how you can do it:
1. Locate the sync button on your wireless mouse and keyboard. The exact location of the sync button may vary depending on the make and model of your devices. Refer to the user manual for precise instructions.
2. Press and hold the sync button on the wireless receiver. This will put the receiver into pairing mode, indicated by a blinking LED light or a specific color pattern.
3. Press and hold the sync button on your wireless mouse. Keep holding the button until the LED light on the mouse starts blinking. This indicates that the mouse is now in pairing mode and searching for the receiver.
4. Repeat the same process for your wireless keyboard. Press and hold the sync button on the keyboard until the LED light starts blinking, indicating that the keyboard is in pairing mode.
5. Wait for a few moments while the mouse and keyboard establish a connection with the wireless receiver. Once the pairing is successful, the LED lights on both devices will stop blinking and remain steady or turn a different color to indicate a successful connection.
6. Test the functionality of your mouse and keyboard by moving the mouse cursor and typing on the keyboard. If everything is working properly, congratulations! You have successfully connected your wireless mouse and keyboard to your monitor via the wireless receiver.
If you are facing any issues with the connection or the devices are not working as expected, refer to the troubleshooting section below for solutions to common connectivity issues.
Troubleshooting Common Connectivity Issues
While connecting a wireless mouse and keyboard to your monitor may seem like a straightforward process, sometimes you may encounter connectivity issues that can hinder the setup. Here are some common problems you may encounter and how to troubleshoot them:
1. Interference: Wireless signals from other devices or environmental factors can interfere with the connection between your mouse and keyboard and the monitor. To address this issue, try moving the wireless receiver closer to the mouse and keyboard, away from potential sources of interference like routers, cordless phones, or other wireless devices.
2. Weak Signal: If you experience a weak signal between the wireless receiver and the mouse or keyboard, it can result in lag or unresponsiveness. To improve the signal strength, make sure there are no physical obstacles obstructing the signal path and try placing the wireless receiver in a more open area, preferably at the same level as the mouse and keyboard.
3. Low Battery: If your wireless mouse or keyboard suddenly becomes unresponsive, it could be due to low battery levels. Check the battery status of your devices and replace the batteries if necessary. Keep in mind that different devices require different battery types, so ensure you are using the correct ones.
4. Driver Issues: Outdated or incompatible drivers can cause connectivity problems. Visit the manufacturer’s website and download the latest drivers for your mouse and keyboard model. Install them on your computer to ensure proper functionality and compatibility.
5. Pairing Problems: In some cases, the mouse and keyboard may fail to pair with the wireless receiver. First, make sure the receiver is properly connected to the monitor. Then, follow the manufacturer’s instructions to put the mouse and keyboard in pairing mode and try pairing them again. If the issue persists, you may need to contact technical support for further assistance.
6. Hardware Defects: In rare instances, the wireless mouse or keyboard itself may have a hardware defect that prevents proper connectivity. If you have tried all troubleshooting steps and the problem persists, consider contacting the manufacturer for warranty support or replacement options.
By following the troubleshooting steps mentioned above, you should be able to address common connectivity issues when connecting a wireless mouse and keyboard to your monitor. Remember to refer to the user manuals and support resources provided by the manufacturer for specific instructions related to your devices.
Conclusion
Connecting a wireless mouse and keyboard to your monitor can greatly enhance your computing experience. Not only does it free up space on your desk by eliminating the need for wired peripherals, but it also provides you with the convenience and flexibility to control your device from a distance.
By following the simple steps outlined in this article, you can effortlessly pair your wireless mouse and keyboard to your monitor and enjoy a seamless and efficient workflow. Whether you’re a gamer, a professional, or a casual computer user, having a wireless setup can greatly enhance your productivity and comfort.
Remember to always check the compatibility of your wireless devices with your monitor and make sure you have the necessary drivers installed. With the right equipment and a few easy steps, you’ll be enjoying the benefits of a wireless mouse and keyboard in no time.
FAQs
FAQ 1: Can I connect a wireless mouse and keyboard to my monitor?
Yes, you can connect a wireless mouse and keyboard to your monitor. However, it’s important to note that the monitor itself is not the primary device for connecting peripherals like mouse and keyboard. Typically, you would connect your wireless mouse and keyboard to your computer or laptop, which is then connected to the monitor. In most cases, the connection is made using USB dongles or Bluetooth technology.
FAQ 2: How do I connect a wireless mouse and keyboard to my computer?
To connect a wireless mouse and keyboard to your computer, follow these steps:
1. Make sure your computer has built-in Bluetooth capability or USB ports for connecting the wireless dongles.
2. Turn on your wireless mouse and keyboard and ensure that they have batteries.
3. If using Bluetooth, enable Bluetooth on your computer and put the mouse and keyboard in pairing mode.
4. If using USB dongles, plug the dongles into the USB ports on your computer.
5. Wait for your computer to detect and recognize the wireless mouse and keyboard.
6. Once detected, follow any on-screen instructions to complete the pairing process.
7. Once paired, you can start using your wireless mouse and keyboard on your computer.
FAQ 3: Can I use a wireless mouse and keyboard without Bluetooth?
Yes, you can use a wireless mouse and keyboard without Bluetooth. Many wireless mice and keyboards use USB dongles to establish a wireless connection with your computer. These dongles typically plug into a USB port on your computer and communicate with the mouse and keyboard. This method does not require Bluetooth capability on your computer, making it a convenient option for devices without built-in Bluetooth.
FAQ 4: How far can a wireless mouse and keyboard be from the computer?
The range of a wireless mouse and keyboard can vary depending on the specific model and technology used. In general, most wireless mice and keyboards have a range of around 30 feet (9 meters). However, factors such as obstacles, interference, and the environment can affect the actual range. It’s best to keep the mouse and keyboard within reasonable proximity to the computer to ensure a stable and reliable connection.
FAQ 5: Can I use a single wireless dongle for multiple devices?
In most cases, no. Each wireless mouse and keyboard typically comes with its own dedicated dongle that is specifically paired with that particular device. Using a single dongle for multiple devices is not usually supported. However, there are some exceptions where a manufacturer may provide a single dongle that can be used with multiple compatible devices. It’s always best to check the product specifications or consult the manufacturer’s documentation for guidance on using multiple devices with a single dongle.