
Are you tired of constantly adjusting the temperature in your home to maintain a comfortable environment? Installing a wireless thermostat could be the solution you’ve been searching for. A wireless thermostat allows you to control the temperature of your home from anywhere using your smartphone or computer. Say goodbye to coming home to a cold house or wasting energy by heating an empty home!
In this article, we will guide you through the step-by-step process of installing a wireless thermostat. Whether you’re a tech-savvy individual or just a beginner, we’ll provide you with all the necessary information and tips to make the installation process a breeze. So, let’s dive in and discover how you can bring convenience and efficiency to your home by installing a wireless thermostat.
Inside This Article
- Benefits of Installing a Wireless Thermostat
- What You’ll Need
- Step-by-Step Installation Guide
- Conclusion
- FAQs
Benefits of Installing a Wireless Thermostat
Installing a wireless thermostat in your home brings a myriad of benefits that can improve your comfort, convenience, and energy efficiency. Here are some of the key advantages:
1. Enhanced Comfort: With a wireless thermostat, you can adjust the temperature in your home with ease and precision. Whether you’re lounging on the couch or cozied up in bed, you can conveniently control the temperature from anywhere in your home.
2. Energy Efficiency: A wireless thermostat offers advanced features like smart scheduling, allowing you to set temperature preferences throughout the day. By programming your thermostat to automatically adjust the temperature when you’re away or asleep, you can significantly reduce energy wastage and save on your heating and cooling costs.
3. Flexibility: In comparison to traditional wired thermostats, wireless thermostats provide a greater degree of flexibility. They can be easily installed in any room, eliminating the need for complex wiring connections. This versatility allows you to optimize the placement of your thermostat for the most accurate temperature readings.
4. Remote Access: One of the standout features of a wireless thermostat is the ability to control it remotely. Modern wireless thermostats often come with mobile apps or web interfaces that enable you to adjust the temperature settings even when you’re away from home. This means you can ensure your home is nice and cozy before you arrive or make temperature changes while you’re traveling.
5. Real-Time Monitoring: Wireless thermostats provide real-time data and insights into your heating and cooling patterns. With access to information about your energy consumption, you can make informed decisions about how to optimize your energy usage and identify any potential issues that may need attention from a HVAC professional.
6. Compatibility with Smart Home Devices: If you have a smart home setup, a wireless thermostat seamlessly integrates with other devices and platforms. You can sync it with voice-activated assistants like Amazon Alexa or Google Assistant, enabling voice control for your heating and cooling system.
7. Modern Design: Wireless thermostats often come with sleek and modern designs that can enhance the visual appeal of your home. They can be mounted on the wall or even placed on a tabletop, allowing for easy access and adding a touch of sophistication to your interior decor.
Overall, installing a wireless thermostat offers numerous benefits that go beyond just convenience. From energy savings to remote access and enhanced comfort, a wireless thermostat is a smart investment that can transform your home into a more efficient and comfortable space.
What You’ll Need
Before you begin the installation process for a wireless thermostat, make sure you have the following items on hand:
1. Wireless Thermostat: Choose a wireless thermostat that is compatible with your heating and cooling system. Look for one that offers the features and functionalities you desire, such as programmable schedules or remote access.
2. Power Tools: Depending on your specific installation requirements, you may need tools such as a screwdriver, wire stripper, and electrical tester. It’s essential to have the right tools to ensure a safe and efficient installation process.
3. Batteries: Most wireless thermostats require batteries for operation. Before starting the installation, check the thermostat’s specifications to find out what type and how many batteries are needed.
4. Instructions Manual: Each wireless thermostat comes with its own set of installation instructions. Make sure to read and understand the manual thoroughly before starting the installation process. This will ensure that you follow the correct steps and avoid any potential issues.
5. Internet Connection: If you choose a wireless thermostat that offers remote access or smart home integration, make sure you have a stable internet connection. This will enable you to control your thermostat from anywhere using your smartphone or other smart devices.
6. Mounting Hardware: Depending on the type of wall or surface where you plan to install the thermostat, you may need mounting hardware such as screws or wall anchors. Ensure you have the necessary hardware to secure the thermostat securely in place.
7. Labeling Materials: To make the installation process easier and prevent any confusion, it’s a good idea to have labeling materials such as stickers or tape. Use these to label the wires and terminals during the installation, so you can easily identify them later.
8. Safety Precautions: Before starting any electrical work, it’s crucial to prioritize safety. Make sure you have appropriate safety gear such as gloves and safety glasses. Additionally, turn off the power to your HVAC system to avoid any accidents or electrical shocks during the installation.
By gathering these essential items, you’ll have everything you need to successfully install a wireless thermostat. Being prepared in advance will help ensure a smooth installation process and minimize any potential disruptions or delays.
Step-by-Step Installation Guide
Installing a wireless thermostat is a simple and straightforward process that can be completed in just a few steps. Follow the guide below to get your wireless thermostat up and running:
Step 1: Choose the right location
Start by selecting a suitable location for your wireless thermostat. Ideally, it should be placed in a central area where the temperature can be accurately measured. Avoid installing it in direct sunlight or near any heat sources that could skew the readings.
Step 2: Turn off the power
Before beginning the installation process, it’s important to turn off the power to your heating and cooling system. Locate the circuit breaker or fuse box and switch off the corresponding breaker or remove the fuse to ensure your safety during the installation process.
Step 3: Remove the old thermostat
If you already have a thermostat installed, carefully remove it from the wall. Start by detaching the front cover and then unscrew the mounting plate. Disconnect the wires from the terminal screws and remove the old thermostat from the wall completely.
Step 4: Prepare the new wireless thermostat
Take your new wireless thermostat and remove the front cover. Align the mounting plate with the wires on the wall and use a level to ensure it is straight. Secure the mounting plate to the wall using the provided screws or any necessary mounting brackets.
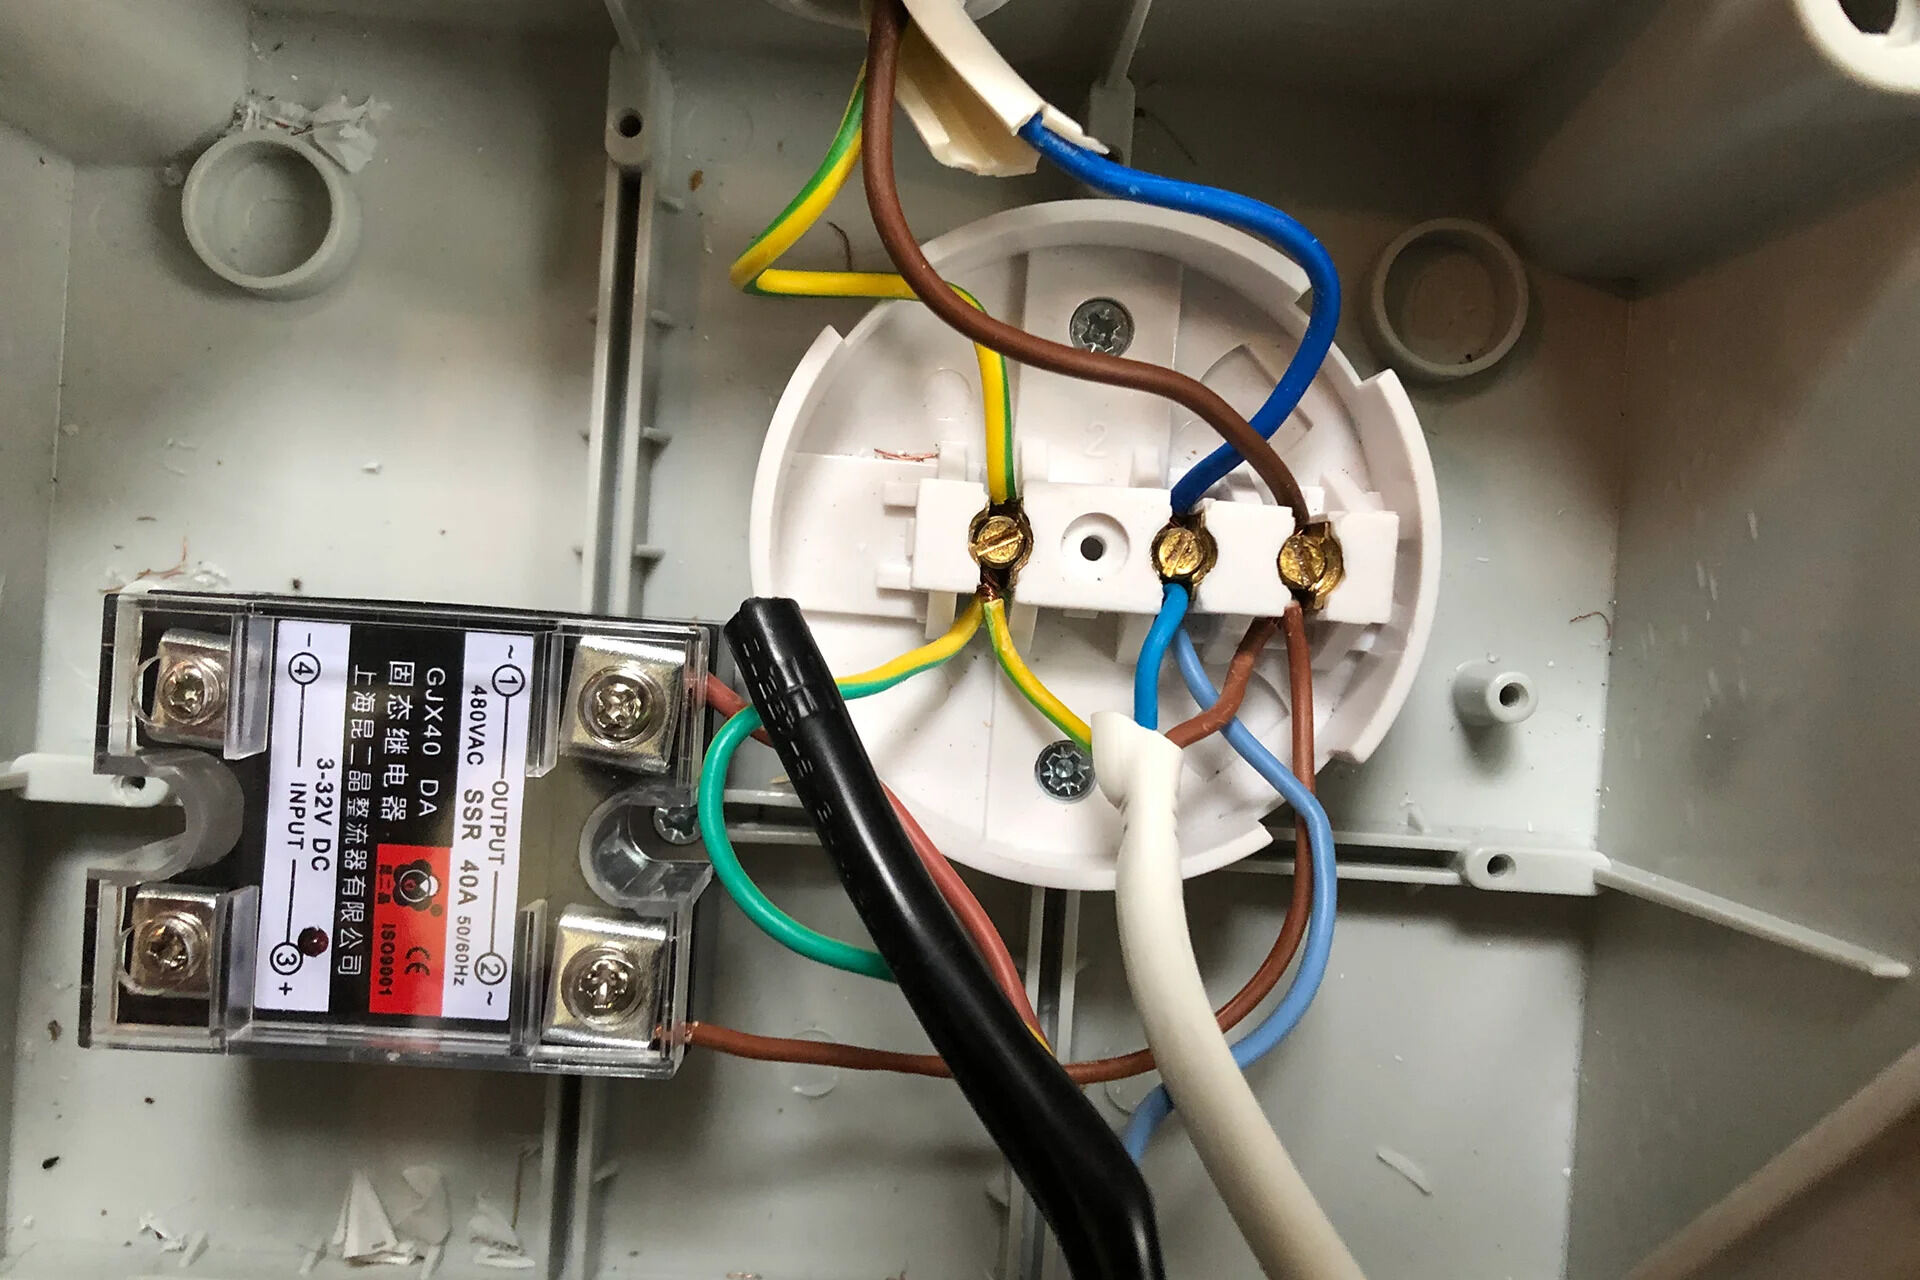
Step 5: Connect the wires
Next, connect the wires from your heating and cooling system to the corresponding terminals on the new thermostat. Refer to the manufacturer’s instructions or the labeling on the thermostat for guidance on which wire goes where. Secure the wires by tightening the terminal screws.
Step 6: Install the batteries
If your wireless thermostat requires batteries, insert them into the appropriate compartment on the back of the thermostat. Make sure to properly align the batteries with the correct polarity to ensure proper functioning of the device.
Step 7: Attach the front cover
Once the batteries are in place, reattach the front cover of the wireless thermostat. Ensure that it is securely snapped into place to protect the internal components and provide a clean and finished look.
Step 8: Power on the system
With the installation complete, it’s time to power on your heating and cooling system. Restore the power by flipping the breaker switch or replacing the fuse in the circuit box. The wireless thermostat should now be ready to use.
Step 9: Set up and program
Refer to the manufacturer’s instructions to set up and program your wireless thermostat according to your preferences. This may involve connecting to your home Wi-Fi network, setting temperatures, and creating schedules. Take the time to familiarize yourself with the various features and options available to optimize your comfort and energy efficiency.
Step 10: Test and adjust
Once everything is set up, test your wireless thermostat to ensure it is functioning properly. Monitor the temperature readings and make any necessary adjustments to ensure accurate control of your heating and cooling system. Enjoy the convenience and energy savings that come with your new wireless thermostat!
Conclusion
In conclusion, installing a wireless thermostat can greatly improve the convenience and efficiency of your home heating and cooling system. With its easy installation process and user-friendly interface, you can effortlessly control and monitor the temperature of your home from anywhere using your smartphone or other smart devices.
Not only does a wireless thermostat offer convenience, but it also helps to reduce energy consumption and lower utility bills. By customizing temperature schedules and accessing energy-saving features, you can optimize your HVAC system’s performance and make a positive impact on the environment.
So, whether you’re looking to upgrade your current thermostat or starting fresh in a new home, consider investing in a wireless thermostat. With its advanced functionality and benefits, you’ll enjoy a more comfortable living environment while saving money in the long run.
FAQs
1. Why should I install a wireless thermostat?
Installing a wireless thermostat offers several benefits. Firstly, it allows you to control the temperature of your home from any location, enhancing convenience and energy efficiency. Additionally, wireless thermostats often come with advanced features such as programmable schedules and temperature sensors, helping you save on energy costs in the long run.
2. Can I install a wireless thermostat myself?
Yes, you can. The installation process for a wireless thermostat is typically straightforward and can be done by following the manufacturer’s instructions. However, if you are uncomfortable with DIY projects or have complex HVAC systems, it may be recommended to seek professional assistance.
3. Are wireless thermostats compatible with all HVAC systems?
Most wireless thermostats are designed to be compatible with a wide range of HVAC systems, including heating and cooling systems. However, it is always advisable to check the compatibility specifications of the wireless thermostat before making a purchase to ensure it will work with your specific HVAC system.
4. Do wireless thermostats require an internet connection?
Wireless thermostats do not necessarily require an internet connection to function. Basic models can operate without internet access, allowing you to manually adjust the temperature. However, if you want to take advantage of remote access and smart features, an internet connection is necessary.
5. Are wireless thermostats secure?
Wireless thermostats utilize encryption and secure communication protocols to protect your data and ensure the integrity of your system. However, it is essential to follow best practices for securing your home network, such as using unique and strong passwords, to prevent unauthorized access to your wireless thermostat.