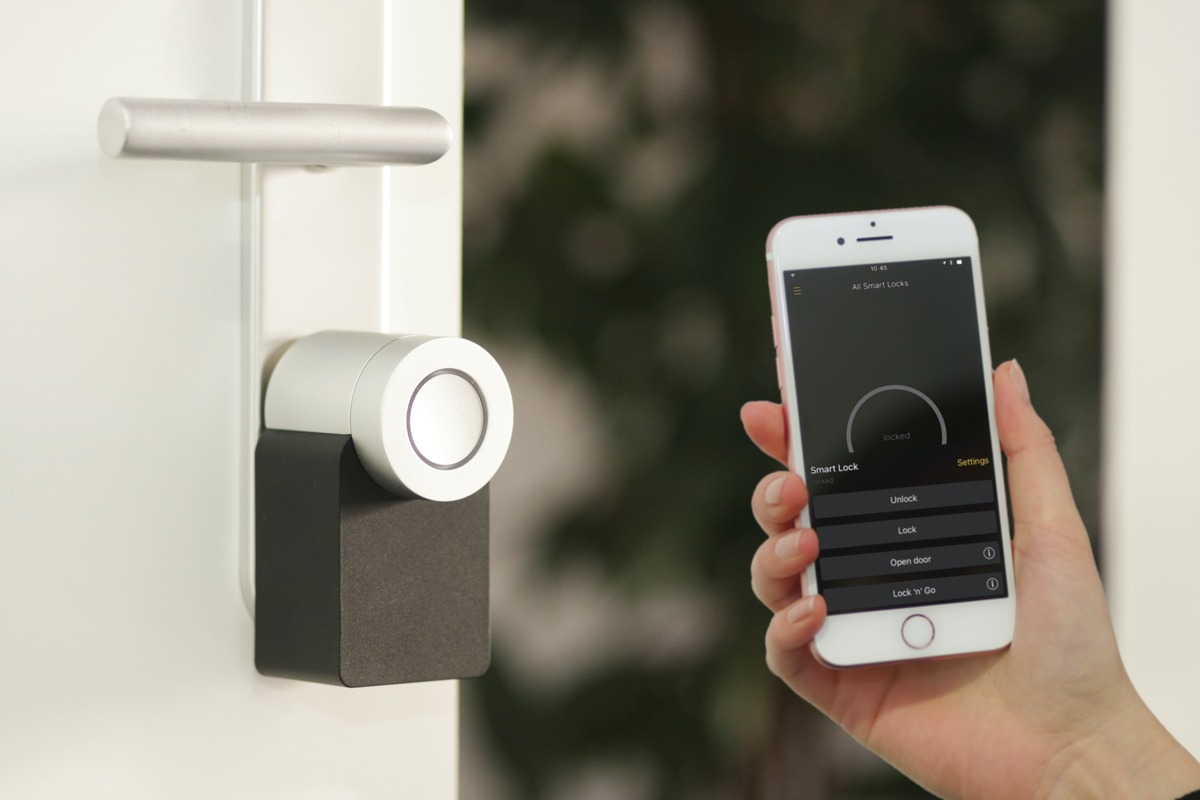
To set up HomeKit devices, you need the Home app on an iPhone, iPad, or Mac signed into iCloud, plus compatible accessories. This step-by-step guide covers creating your home in the Home app, adding accessories, organizing rooms, and controlling everything with Siri and automations.
What you need to set up HomeKit devices
You need a supported Apple device with the Home app, signed into iCloud, and compatible home accessories. For remote control and Siri control away from home, Apple requires a home hub. Thread-based accessories require a Thread-enabled home hub such as Apple TV 4K, HomePod (2nd generation), HomePod mini, or a compatible third-party Thread border router. Android devices are not supported for HomeKit setup or control.
How to create your home in the Home app
Creating a home is the first action in the app before adding any accessories. This gives you a single place to manage all your devices and enables features like automations and scenes.
- Open the Home app on your iPhone or iPad.
- Tap the More button (three dots or a circle with three dots).
- Tap Home Settings.
- Tap Add Home and name the home.
- Tap Done to save.
You can create multiple homes in the app if you have different locations with separate sets of HomeKit devices, such as a primary home and a vacation home.
How to add and configure your first HomeKit accessory
The primary method of adding an accessory is scanning the HomeKit QR code in the Home app. TP-Link Kasa and Tapo HomeKit devices can be added directly in the Home app with the HomeKit QR code, or first in the Tapo or Kasa app and then linked to Apple Home from Device Settings.
- Open the Home app and tap the Add Accessory button (plus icon).
- Scan the HomeKit QR code on the device or its packaging. If the device does not have a QR code, you can enter the eight-digit setup code manually.
- Follow the on-screen instructions to complete pairing. This may include connecting the device to your Wi-Fi network.
- Assign the accessory to a room and give it a name during setup.
- Test the device to confirm it responds to commands from the Home app.
Organizing accessories with rooms and zones
Organizing accessories into rooms and zones makes it easier to control multiple devices with a single command or tap. For example, you can say "turn off the living room lights" instead of naming each light individually.
Creating a room
- Open the Home app and tap the More button.
- Select Add Room.
- Name the room.
- Assign an accessory to that room from its settings.
Creating a zone
- Open the room in the Home app.
- Tap or click the room name.
- Choose Room Settings.
- Tap Zone.
- Select a suggested zone or choose Create New and name it.
Once zones are created, you can control multiple rooms within a zone simultaneously. For instance, a zone called "Upstairs" could include all bedrooms and bathrooms on the second floor.
How to control your home with scenes and Siri
Scenes let you control multiple accessories at once with a single command or tap. Siri can control accessories, scenes, and automations after devices are set up in the Home app. Remote Siri control for HomeKit accessories requires a home hub.
Creating a custom scene
- Choose Add Scene.
- Select Custom.
- Give the scene a name, such as "Movie Night" or "Goodnight."
- Add accessories and configure their settings for the scene (brightness, temperature, etc.).
- Tap Done to save.
To activate a scene with Siri, say "Hey Siri, [scene name]" such as "Hey Siri, Goodnight." Siri can also control individual devices: "Hey Siri, turn off the living room lights."
Setting up automations for a hands-free home
Automations let your devices react automatically to triggers like time of day, location, or the status of other devices. For location-based automations, the primary iPhone or iPad used to control the home and invited people must have Share My Location turned on.
Creating a location-based automation
- Choose Add Automation.
- Select a trigger, such as "People Arrive" or "People Leave."
- Set conditions if desired (e.g., only run if you are at home).
- Select the actions to perform when the automation is triggered.
- Tap Done to save.
For location-based automations to work correctly, ensure Share My Location is enabled in your device settings. This feature is useful for "location tracking and NFC" scenarios, such as turning on porch lights when you arrive home. When you need help "navigating home screen and apps" to find these settings, check your device's Privacy settings under Location Services.
Frequently Asked Questions
Can I use an iPad as a home hub?
Yes, an iPad can serve as a home hub for remote access and automations, provided it is left at home, connected to power, and signed into your iCloud account.
What happens if I lose my HomeKit setup code?
You can find the setup code on the device itself, its packaging, or in the original documentation. Some manufacturers also store the code in their companion app under device settings.
Do I need a home hub for Thread accessories?
Can I share control of my HomeKit home with family members?
Yes, you can invite people to control your home using the Home app. They need their own Apple ID and must be signed into iCloud. Invited users require Share My Location enabled for location-based automations.
Why won't my HomeKit accessory appear in the Home app?
Ensure the accessory is compatible with HomeKit, is in pairing mode, and your iPhone or iPad is on the same Wi-Fi network. Restarting the device and your router often resolves discovery issues.