
The Arlo Wireless Doorbell is a cutting-edge device that offers convenience, security, and peace of mind. With its easy installation process, you can quickly transform your home into a smart and connected space. Say goodbye to traditional wired doorbells and hello to hassle-free wireless technology.
In this article, we will guide you through the step-by-step process of installing the Arlo Wireless Doorbell. Whether you’re a tech-savvy individual or just getting started with smart home devices, we’ve got you covered. By the end of this article, you’ll be ready to enjoy the benefits of a seamless and efficient doorbell system.
Inside This Article
- Overview of Arlo Wireless Doorbell
- Step 1: Check Compatibility
- Step 2: Unboxing and Contents
- Step 3: Mounting the Doorbell
- Step 4: Connecting to Wi-Fi
- Step 5: Installing Arlo App
- Step 6: Pairing the Doorbell
- Step 7: Adjusting Settings and Notifications
- Step 8: Testing and Troubleshooting
- Conclusion
- FAQs
Overview of Arlo Wireless Doorbell
The Arlo Wireless Doorbell is a state-of-the-art device that allows you to enhance the security of your home and ensure that you never miss a visitor again. With its sleek design and advanced features, this doorbell is a game-changer in home security.
One of the standout features of the Arlo Wireless Doorbell is its wireless connectivity. Unlike traditional doorbells that require complex wiring, this doorbell operates on a wireless network, making installation a breeze. With no need for intricate wiring, you can easily mount the Arlo Wireless Doorbell wherever you need it most.
Another key feature of the Arlo Wireless Doorbell is its compatibility with the Arlo mobile app. Through the app, you can receive instant notifications on your smartphone or tablet whenever someone presses the doorbell. This allows you to see and speak to visitors in real-time, no matter where you are.
The Arlo Wireless Doorbell also comes with a built-in HD camera that provides clear and crisp video footage. This enables you to see exactly who is at your doorstep, day or night, thanks to the doorbell’s night vision capabilities. You can even record and store video clips, providing an extra layer of security for your home.
In addition to its video capabilities, the Arlo Wireless Doorbell offers two-way audio communication. This means that not only can you see your visitors, but you can also have a conversation with them through the doorbell. Whether it’s directing a delivery person to leave a package or asking a friend to wait a moment, you have full control from the palm of your hand.
Furthermore, the Arlo Wireless Doorbell is weather-resistant, ensuring that it can withstand the elements and operate in various environmental conditions. Rain or shine, you can rely on the doorbell to work flawlessly, providing peace of mind and security at all times.
Step 1: Check Compatibility
Before diving into the installation process of the Arlo Wireless Doorbell, it’s crucial to ensure that your existing setup is compatible with the device. Checking compatibility at the beginning will save you from any potential issues down the line.
To check compatibility, you need to consider a few factors:
- Existing Arlo System: The Arlo Wireless Doorbell is designed to seamlessly integrate with your existing Arlo security system. Make sure you have an Arlo SmartHub or base station installed for the doorbell to connect to.
- Power Source: The Arlo Wireless Doorbell requires either battery power or connection to an existing doorbell wiring. Determine which power source you plan to use and ensure that your setup supports it.
- Wi-Fi Connection: The doorbell relies on a stable Wi-Fi connection to function properly. Verify that your Wi-Fi network meets the minimum requirements and reaches the area where you plan to install the doorbell.
- Compatibility with Mobile Devices: The Arlo app, which is used to control and manage the doorbell, is compatible with both iOS and Android devices. Ensure that your mobile device is supported before proceeding with the installation.
By thoroughly checking compatibility, you can ensure a smooth installation process and optimal performance of the Arlo Wireless Doorbell. Once you’ve confirmed compatibility, you can move on to the next step of unboxing and inspecting the contents.
Step 2: Unboxing and Contents
Once you have chosen the Arlo Wireless Doorbell as your preferred device, it’s time to unbox it and take a look at what’s inside. This step is crucial as it allows you to familiarize yourself with the components and ensure that everything is included in the package.
When you open the box, you will find the Arlo Wireless Doorbell unit itself, along with a mounting bracket, screws, and a quick start guide. Some packages may also include a user manual or additional accessories, depending on the variant you have purchased.
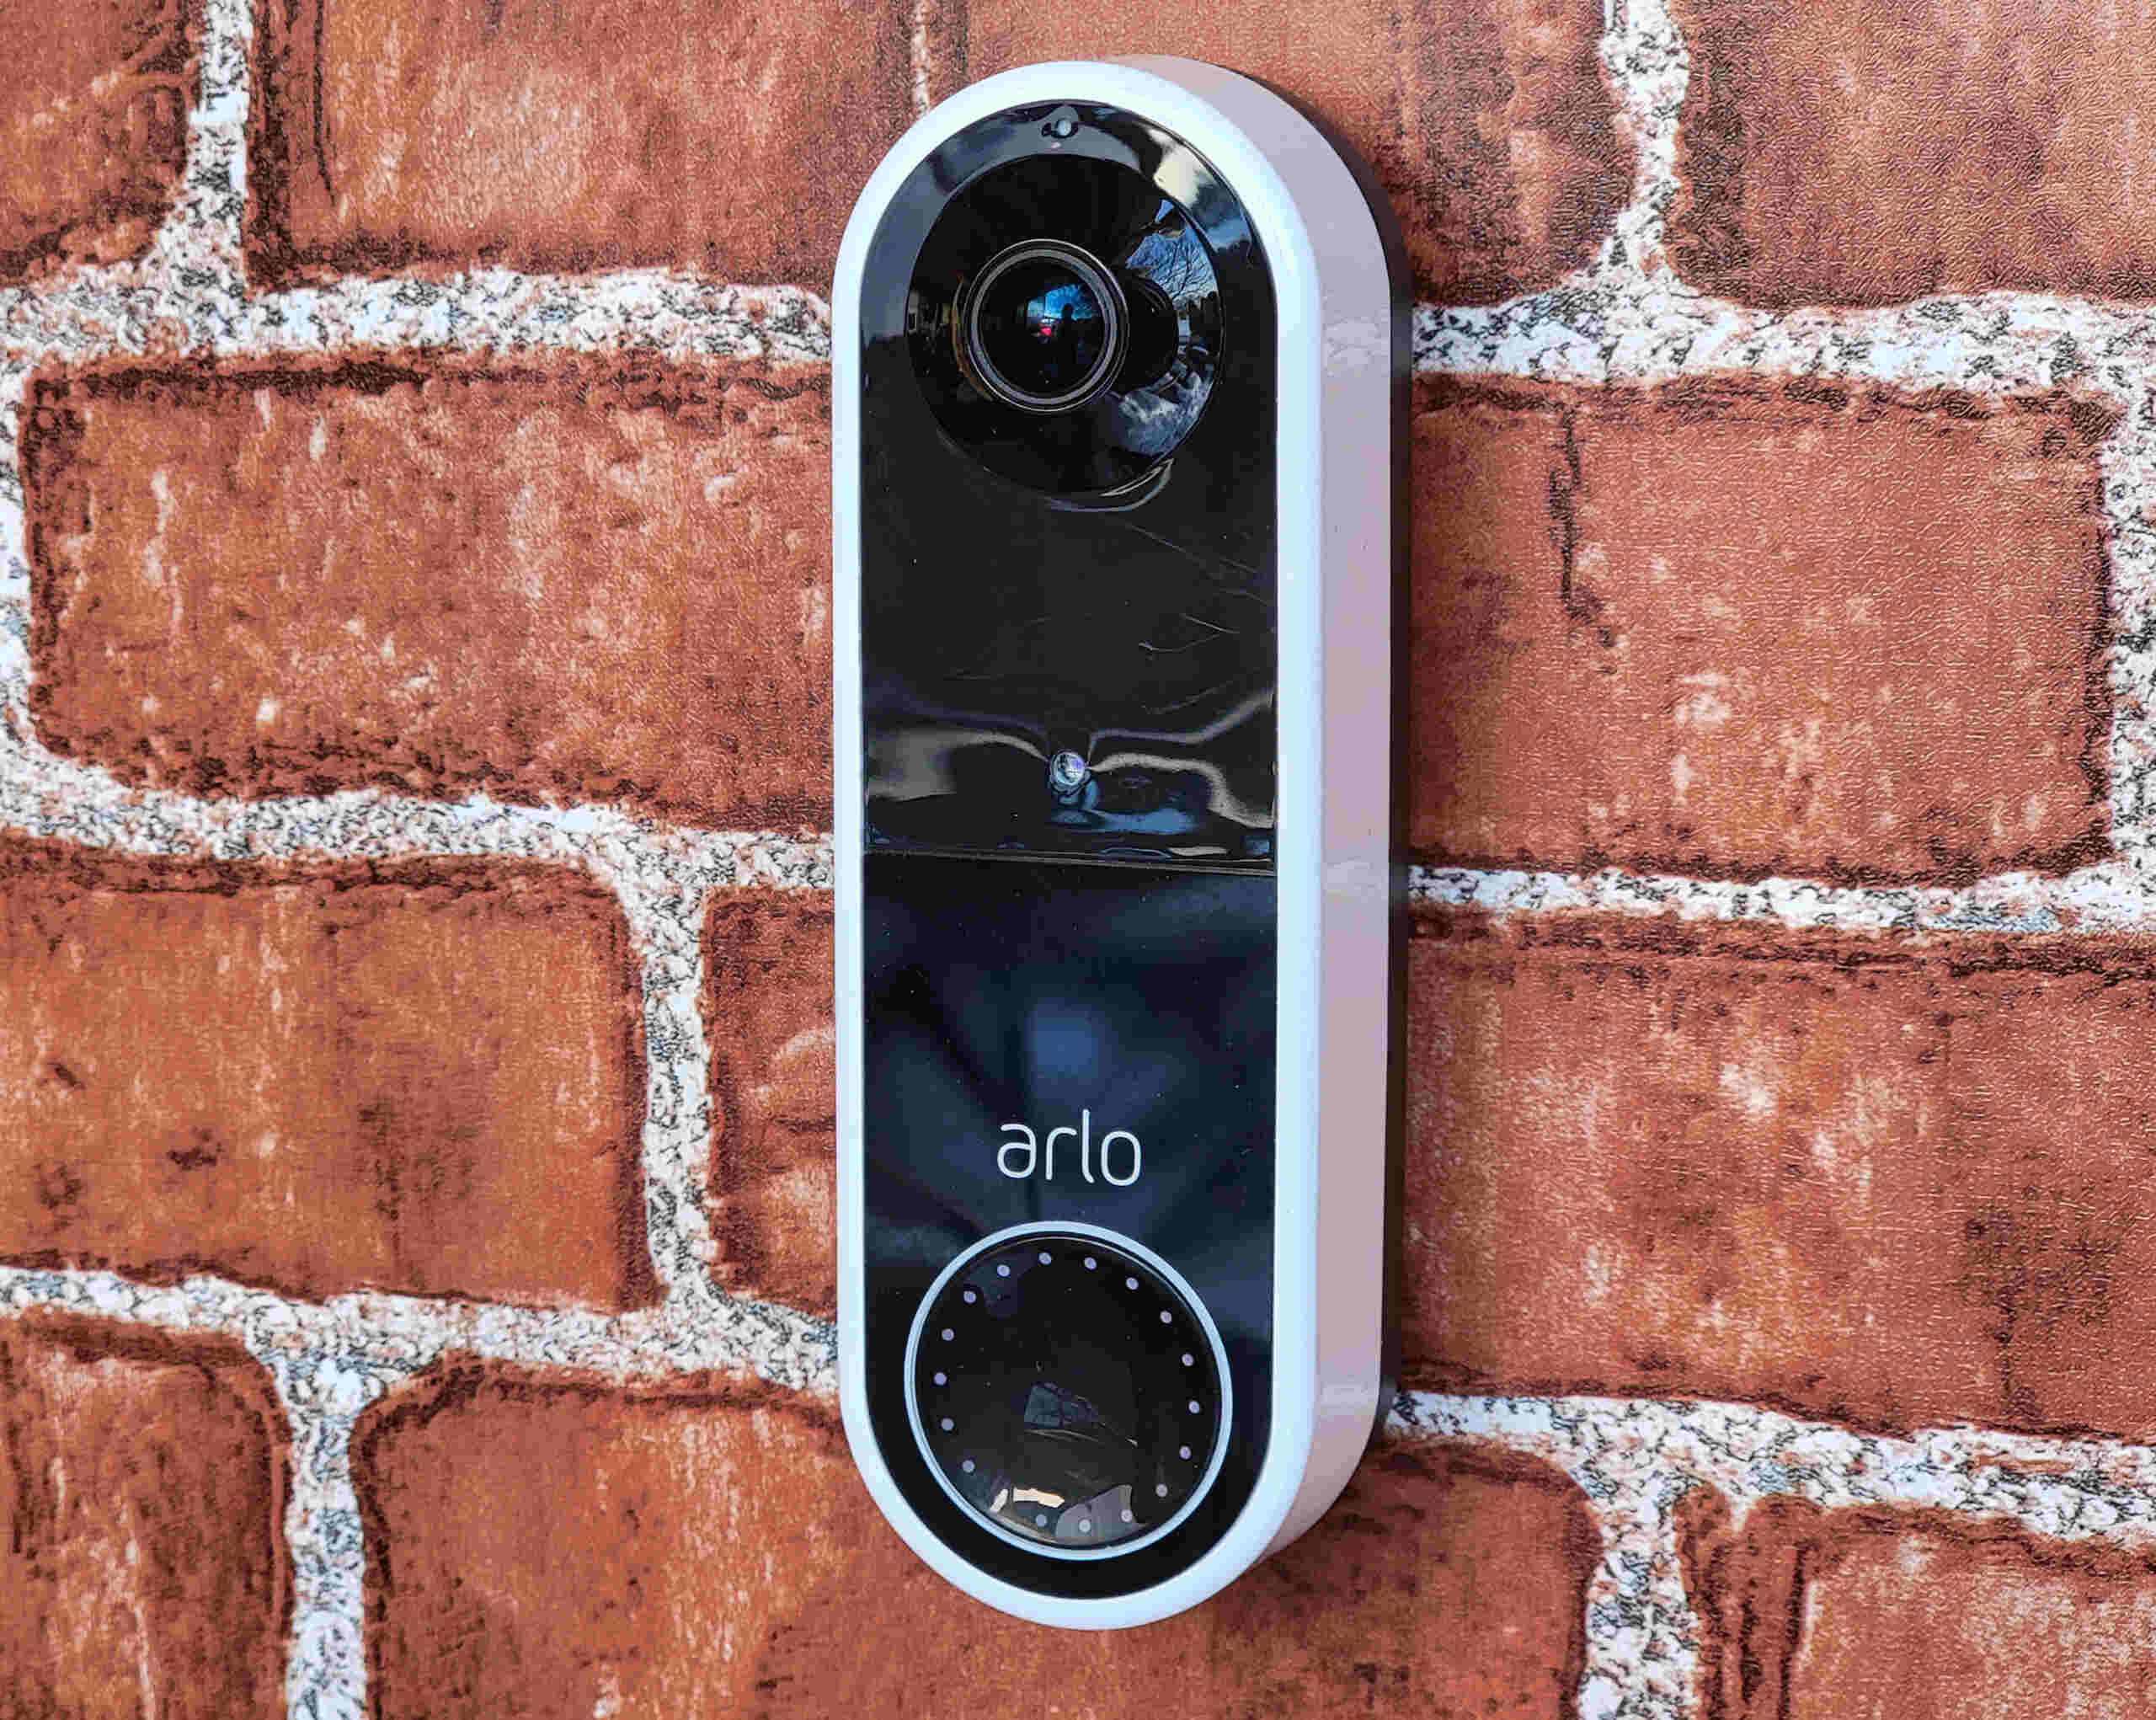
The Arlo Wireless Doorbell is designed to be sleek and compact, ensuring it seamlessly blends into your home’s exterior. Its minimalist design ensures that it won’t distract from the overall aesthetics of your front door.
Inside the box, you will also find a set of batteries that power the doorbell. These batteries are typically included, but it’s always a good idea to double-check to avoid any inconvenience later on.
Additionally, you might also find additional items such as mounting adhesive strips or a screwdriver. These extras can be useful in case you prefer an alternative mounting method or need to make adjustments during installation.
Before moving on to the next step, take a moment to inspect the contents of the box and ensure that everything is in good condition without any visible defects or missing components. If you notice any issues, it is recommended to contact the manufacturer or retailer for assistance.
Step 3: Mounting the Doorbell
Now that you have your Arlo Wireless Doorbell ready, it’s time to mount it securely in the desired location. Follow these simple steps to ensure a proper installation:
1. Choose the Perfect Spot: Look for an area near your front door where the doorbell will have a clear view of your visitors. Make sure there are no obstructions that may interfere with the doorbell’s motion detection or Wi-Fi signal.
2. Gather the Tools: You’ll need a screwdriver, screws, and anchors to mount the doorbell. Ensure you have the right size and type of screws and anchors for your mounting surface. If you’re unsure, consult the Arlo Wireless Doorbell manual for recommendations.
3. Position the Mounting Bracket: Attach the mounting bracket to the chosen location using the provided screws and anchors. Ensure it is level and securely fastened to the wall or door frame.
4. Attach the Doorbell: Line up the doorbell unit with the mounting bracket and slide it into place. Secure it with the screws provided in the package. Make sure it is snug and doesn’t wobble.
5. Adjust the Angle: Once the doorbell is mounted, angle it to the desired position. The camera lens should be facing the path leading up to your door for optimum motion detection and video capture.
6. Test the Mount: Gently tug and shake the doorbell to make sure it is securely mounted. If it feels loose, readjust the screws or anchors to ensure a tight fit.
7. Consider Weather Resistance: If your chosen mounting location is exposed to the elements, consider using weatherproofing measures. You can purchase a protective cover or housing to shield the doorbell from rain, snow, or extreme temperatures.
8. Connect the Wires (if applicable): If you have a wired doorbell system, follow the manufacturer’s instructions to connect the wires to your Arlo Wireless Doorbell. Remember to switch off the power before making any electrical connections.
By following these steps and properly mounting your Arlo Wireless Doorbell, you can ensure optimal performance and security for your home. Now, let’s move on to the next step of the installation process!
Step 4: Connecting to Wi-Fi
Once you have mounted the Arlo Wireless Doorbell in the desired location, the next step is to connect it to your Wi-Fi network. This will enable the doorbell to communicate with your smartphone or other devices via the Arlo app.
To connect the doorbell to Wi-Fi, follow these simple steps:
- Launch the Arlo app on your smartphone and log in to your Arlo account. If you don’t have an account, you can create one for free.
- In the app, tap on the “+” icon to add a new device, and select “Add Device” from the menu.
- Choose “Arlo Video Doorbell” from the list of available devices.
- Follow the on-screen instructions to put the doorbell into pairing mode.
- Next, you’ll need to connect your smartphone to the doorbell’s Wi-Fi network. To do this, go to your phone’s Wi-Fi settings and look for the network name starting with “Arlo”.
- Select the “Arlo” network and enter the provided Wi-Fi passphrase when prompted.
- Wait for your phone to connect to the doorbell’s network. Once connected, return to the Arlo app.
- In the app, select your home Wi-Fi network from the list of available networks.
- Enter your Wi-Fi network password when prompted.
- Wait for the doorbell to connect to your Wi-Fi network. This may take a few moments.
Once the doorbell has successfully connected to your Wi-Fi network, you will be able to control and monitor it through the Arlo app. This includes receiving push notifications when someone rings the doorbell, and accessing live video and audio feeds from the doorbell camera.
It is important to ensure that your Wi-Fi network has a strong and stable signal in the area where the doorbell is mounted. This will ensure reliable performance and minimize any potential connection issues.
If you encounter any problems during the Wi-Fi connection process, refer to the Arlo user manual or contact Arlo customer support for assistance. They will be able to guide you through any troubleshooting steps and address any connectivity issues.
Step 5: Installing Arlo App
Installing the Arlo app is a crucial step in setting up your Arlo wireless doorbell. The app allows you to control and monitor your doorbell from your smartphone or tablet. Here’s how you can install the Arlo app:
1. Go to the App Store (for iOS devices) or Google Play Store (for Android devices) on your mobile device.
2. Search for “Arlo” in the search bar.
3. Look for the official Arlo app developed by Arlo Technologies, Inc. and tap on the “Install” or “Get” button.
4. Wait for the app to download and install on your device. This may take a few moments depending on your internet connection speed.
5. Once the installation is complete, open the Arlo app from your device’s home screen.
6. If you already have an Arlo account, tap on the “Log In” button and enter your email address and password to sign in. If you don’t have an account yet, tap on the “Create Account” button and follow the on-screen instructions to set up a new account.
7. After logging in or creating an account, the Arlo app will guide you through the initial setup process. Follow the on-screen instructions to connect your Arlo doorbell to your Arlo account.
8. Once your Arlo doorbell is successfully connected to the app, you can customize the settings, choose notification preferences, and access other features like live view, video recordings, and more.
9. You can also add additional devices or cameras to your Arlo system through the app if desired.
10. Congratulations! You have successfully installed the Arlo app and connected your Arlo wireless doorbell to it. You can now enjoy the convenience of monitoring your doorbell from your mobile device.
Remember to keep the Arlo app updated to ensure you have access to the latest features and improvements.
Step 6: Pairing the Doorbell
Once you have successfully mounted the Arlo Wireless Doorbell, the next step is to pair it with your existing Arlo device or base station. Pairing the doorbell enables seamless integration with your Arlo system and allows you to receive notifications and monitor your doorstep.
To begin the pairing process, open the Arlo app on your smartphone and navigate to the “Devices” tab. From there, select “Add New Device” and choose “Doorbell” as the device type.
Next, press and hold the sync button located on the back of the doorbell until the LED light on the front starts flashing blue. This indicates that the doorbell is in pairing mode and ready to be connected.
Back in the Arlo app, follow the on-screen instructions to complete the pairing process. This typically involves selecting your Wi-Fi network and entering the password if prompted.
Once the doorbell is successfully paired with your Arlo system, you can customize its settings such as motion detection sensitivity, audio volume, and chime preferences through the app.
It’s worth noting that if you have multiple Arlo devices or a base station, you may need to go through the pairing process for each device individually.
After completing the pairing process, the Arlo Wireless Doorbell will be integrated into your home security setup. You can now start receiving notifications on your smartphone whenever someone rings the doorbell or when motion is detected.
If you encounter any issues during the pairing process, make sure that the doorbell is within range of your Wi-Fi network and that your Arlo devices are updated to the latest firmware version. Additionally, double-check that you are following the correct steps outlined in the Arlo app.
Remember, the Arlo Wireless Doorbell offers convenience and peace of mind by allowing you to monitor your doorstep from anywhere. With seamless integration into your Arlo system, you can ensure the security and safety of your home.
Step 7: Adjusting Settings and Notifications
Once you have successfully paired your Arlo Wireless Doorbell with your Arlo app, it’s time to adjust the settings and notifications to fit your preferences. This step ensures that you have full control over how your doorbell functions and how you receive alerts.
Here are some key settings and notification options you can customize:
- Ringtone Selection: With the Arlo app, you have the option to choose from a variety of different ringtones for your doorbell. From classic chimes to festive tunes, you can select the one that best suits your style and preference.
- Volume Control: Adjusting the volume of your doorbell is crucial to ensure you can hear it clearly when someone presses the doorbell button. The Arlo app allows you to increase or decrease the volume according to your preference.
- Motion Detection Zone: The Arlo Wireless Doorbell comes equipped with a motion sensor that can be programmed to detect movement within a specific zone. By adjusting the motion detection zone settings, you can tailor the sensitivity and range of the motion sensor to prevent false alerts.
- Customized Notifications: You can choose to receive notifications on your smartphone or other connected devices whenever someone presses the doorbell or when motion is detected. Additionally, you can customize the type of notification, such as sound alerts, vibration, or even push notifications.
- Notification Schedule: To avoid receiving alerts at inconvenient times, you can set a notification schedule within the Arlo app. This allows you to specify specific time periods during which you want to receive alerts and silence them during your desired quiet hours.
- Integration with Other Arlo Devices: If you have other Arlo security cameras or devices installed, the Arlo Wireless Doorbell can be seamlessly integrated with them. This enables you to create a comprehensive and interconnected home security system, accessing all notifications and settings from a single app.
By adjusting these settings and notifications, you can personalize your Arlo Wireless Doorbell experience to suit your needs and lifestyle. Whether it’s selecting your favorite ringtone, fine-tuning motion detection, or setting up a customized notification schedule, the Arlo app offers a range of options to ensure your doorbell functions exactly how you want it to.
Step 8: Testing and Troubleshooting
After completing the installation process of your Arlo Wireless Doorbell, you’ll want to ensure that everything is working properly. This step involves testing your doorbell and troubleshooting any issues that may arise.
To test the doorbell, simply press the button and check if you receive a notification on your mobile device through the Arlo app. You should also be able to hear the chime sound from the base station or the Arlo SmartHub.
If you don’t receive any notification or hear the chime sound, here are a few troubleshooting steps you can follow:
- Check Wi-Fi Connection: Make sure your doorbell is connected to a stable Wi-Fi network. You can do this by checking the Wi-Fi settings in the Arlo app or accessing your router’s settings.
- Check Battery Level: Ensure that the battery level of your doorbell is sufficient. If the battery is low, replace it with a fresh one and retest.
- Reposition the Doorbell: Sometimes, the positioning of the doorbell can affect its performance. Try adjusting the angle or location of the doorbell to improve connectivity and range.
- Check for Interference: Other devices or objects near the doorbell may cause interference. Move any potential sources of interference, such as other wireless devices or thick walls, away from the doorbell.
- Update Firmware: Ensure that your Arlo doorbell and the Arlo app are running on the latest firmware version. Check for any available updates and install them if necessary.
- Contact Arlo Support: If you have exhausted all troubleshooting steps and are still experiencing issues, it’s best to reach out to Arlo customer support for further assistance.
By following these troubleshooting steps, you can quickly identify and resolve any issues with your Arlo Wireless Doorbell. Enjoy the convenience and security that comes with having a wireless doorbell system!
Conclusion
Installing the Arlo Wireless Doorbell is a seamless and efficient solution for enhancing home security and convenience. With its easy installation process, customizable settings, and seamless integration with your Arlo ecosystem, the Arlo Wireless Doorbell provides a reliable and user-friendly experience.
By following the step-by-step guide outlined in this article, you can quickly set up your Arlo Wireless Doorbell and start enjoying its benefits. Whether you’re looking to monitor your front door, receive instant notifications, or communicate with visitors, the Arlo Wireless Doorbell offers a comprehensive solution.
With its sleek design and advanced features, the Arlo Wireless Doorbell is a valuable addition to any smart home. Take control of your home security today and make your front door smarter with the Arlo Wireless Doorbell.
FAQs
1. How do I install the Arlo Wireless Doorbell?
Installing the Arlo Wireless Doorbell is a breeze. Simply follow these easy steps:
1. Choose a suitable location for the doorbell near your front door.
2. Install the included mounting bracket using screws or adhesive.
3. Attach the doorbell to the mounting bracket.
4. Connect the doorbell to your home’s Wi-Fi network using the Arlo app.
5. Customize your doorbell settings and you’re all set!
2. Can I connect the Arlo Wireless Doorbell to my existing Arlo security system?
Absolutely! The Arlo Wireless Doorbell seamlessly integrates with your existing Arlo security system. All you need to do is connect it to the same Arlo base station or SmartHub. From there, you can manage the doorbell alongside your other Arlo devices through the Arlo app.
3. What if I don’t have an existing Arlo security system?
No worries! You don’t need an existing Arlo security system to use the Arlo Wireless Doorbell. It functions as a standalone device, allowing you to receive instant notifications and interact with visitors through the Arlo app. However, if you decide to expand your home security setup in the future, the doorbell will seamlessly integrate with other Arlo devices.
4. Can the Arlo Wireless Doorbell work with my existing wired doorbell?
Yes, it can! The Arlo Wireless Doorbell is designed to work with both wired and wireless setups. If you have an existing wired doorbell, you can connect the Arlo doorbell to the wiring for a constant power supply. This ensures that you never miss a visitor, even if the battery runs out or you lose Wi-Fi connectivity.
5. Does the Arlo Wireless Doorbell support two-way audio?
Certainly! The Arlo Wireless Doorbell features a built-in speaker and microphone, allowing you to have clear two-way audio conversations with anyone at your front door. Whether it’s a delivery driver, a neighbor, or a friend, you can easily communicate with them using the Arlo app on your smartphone.