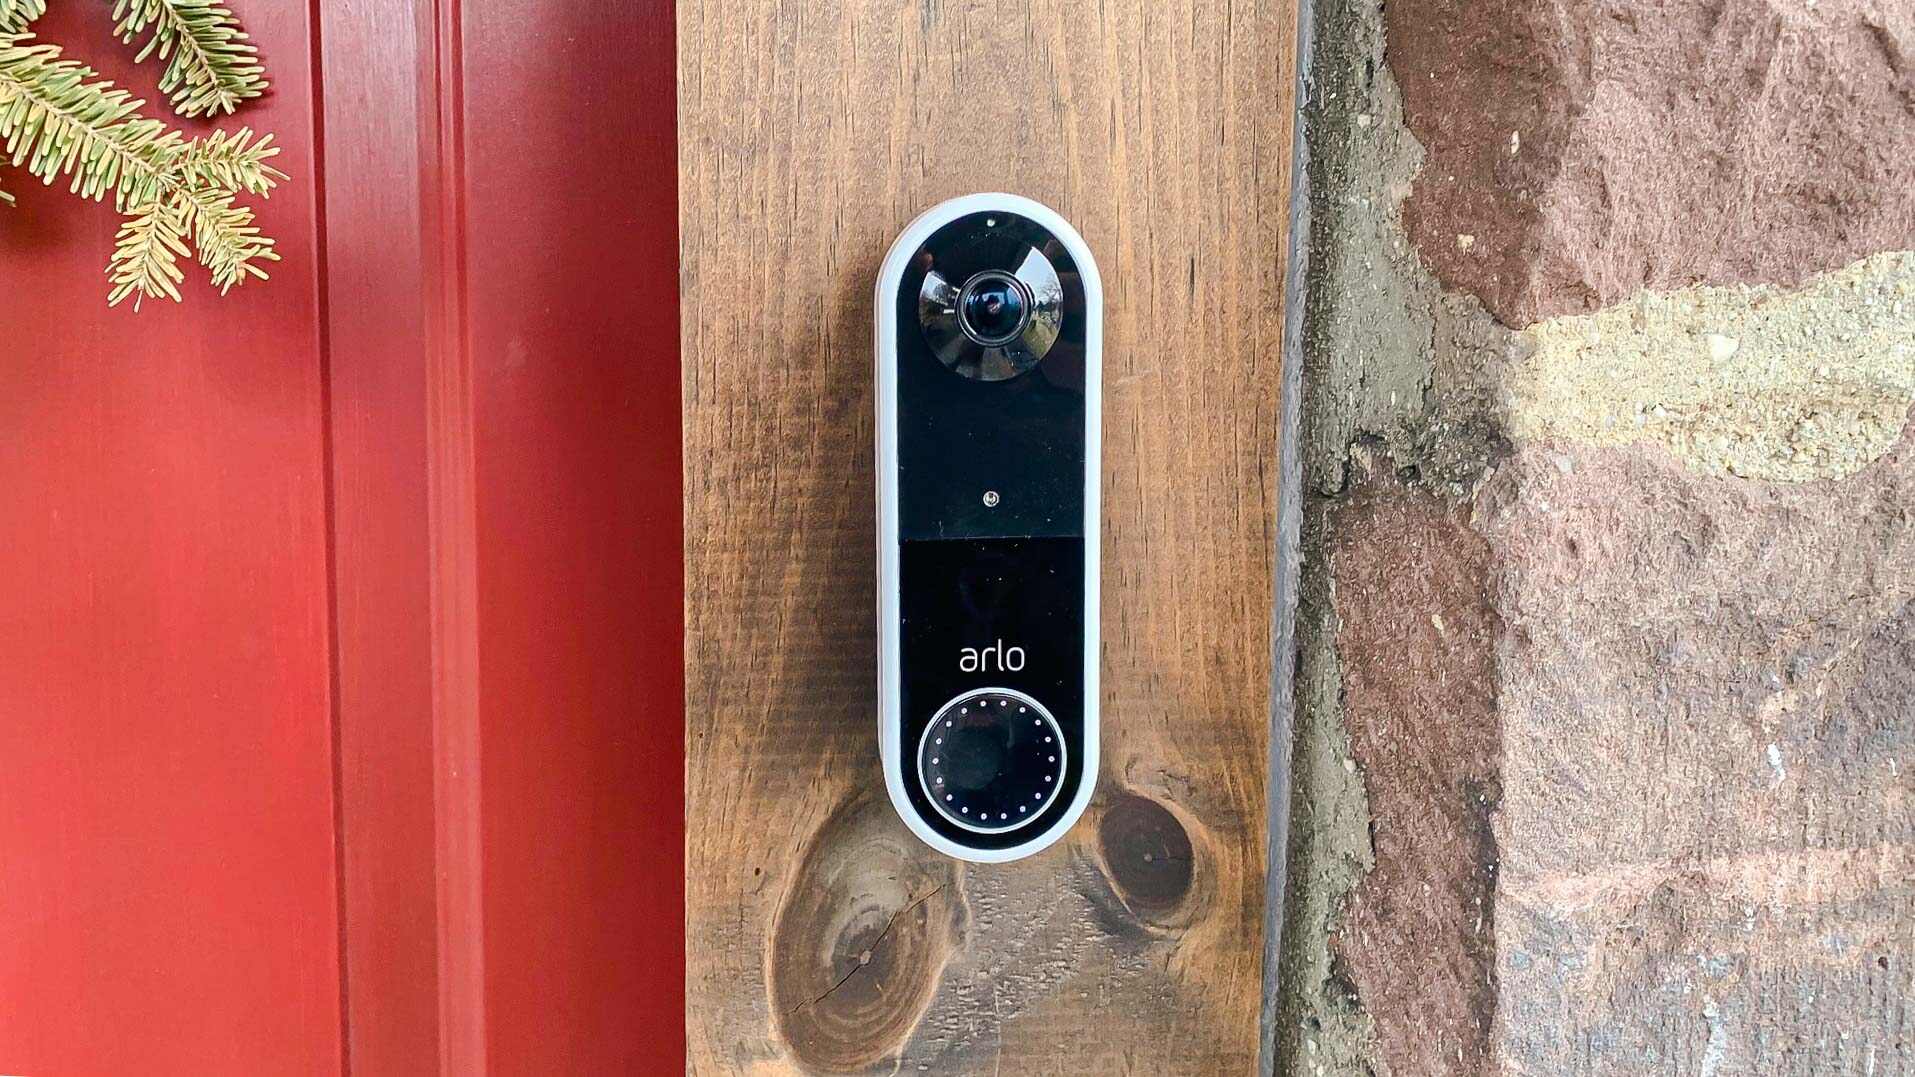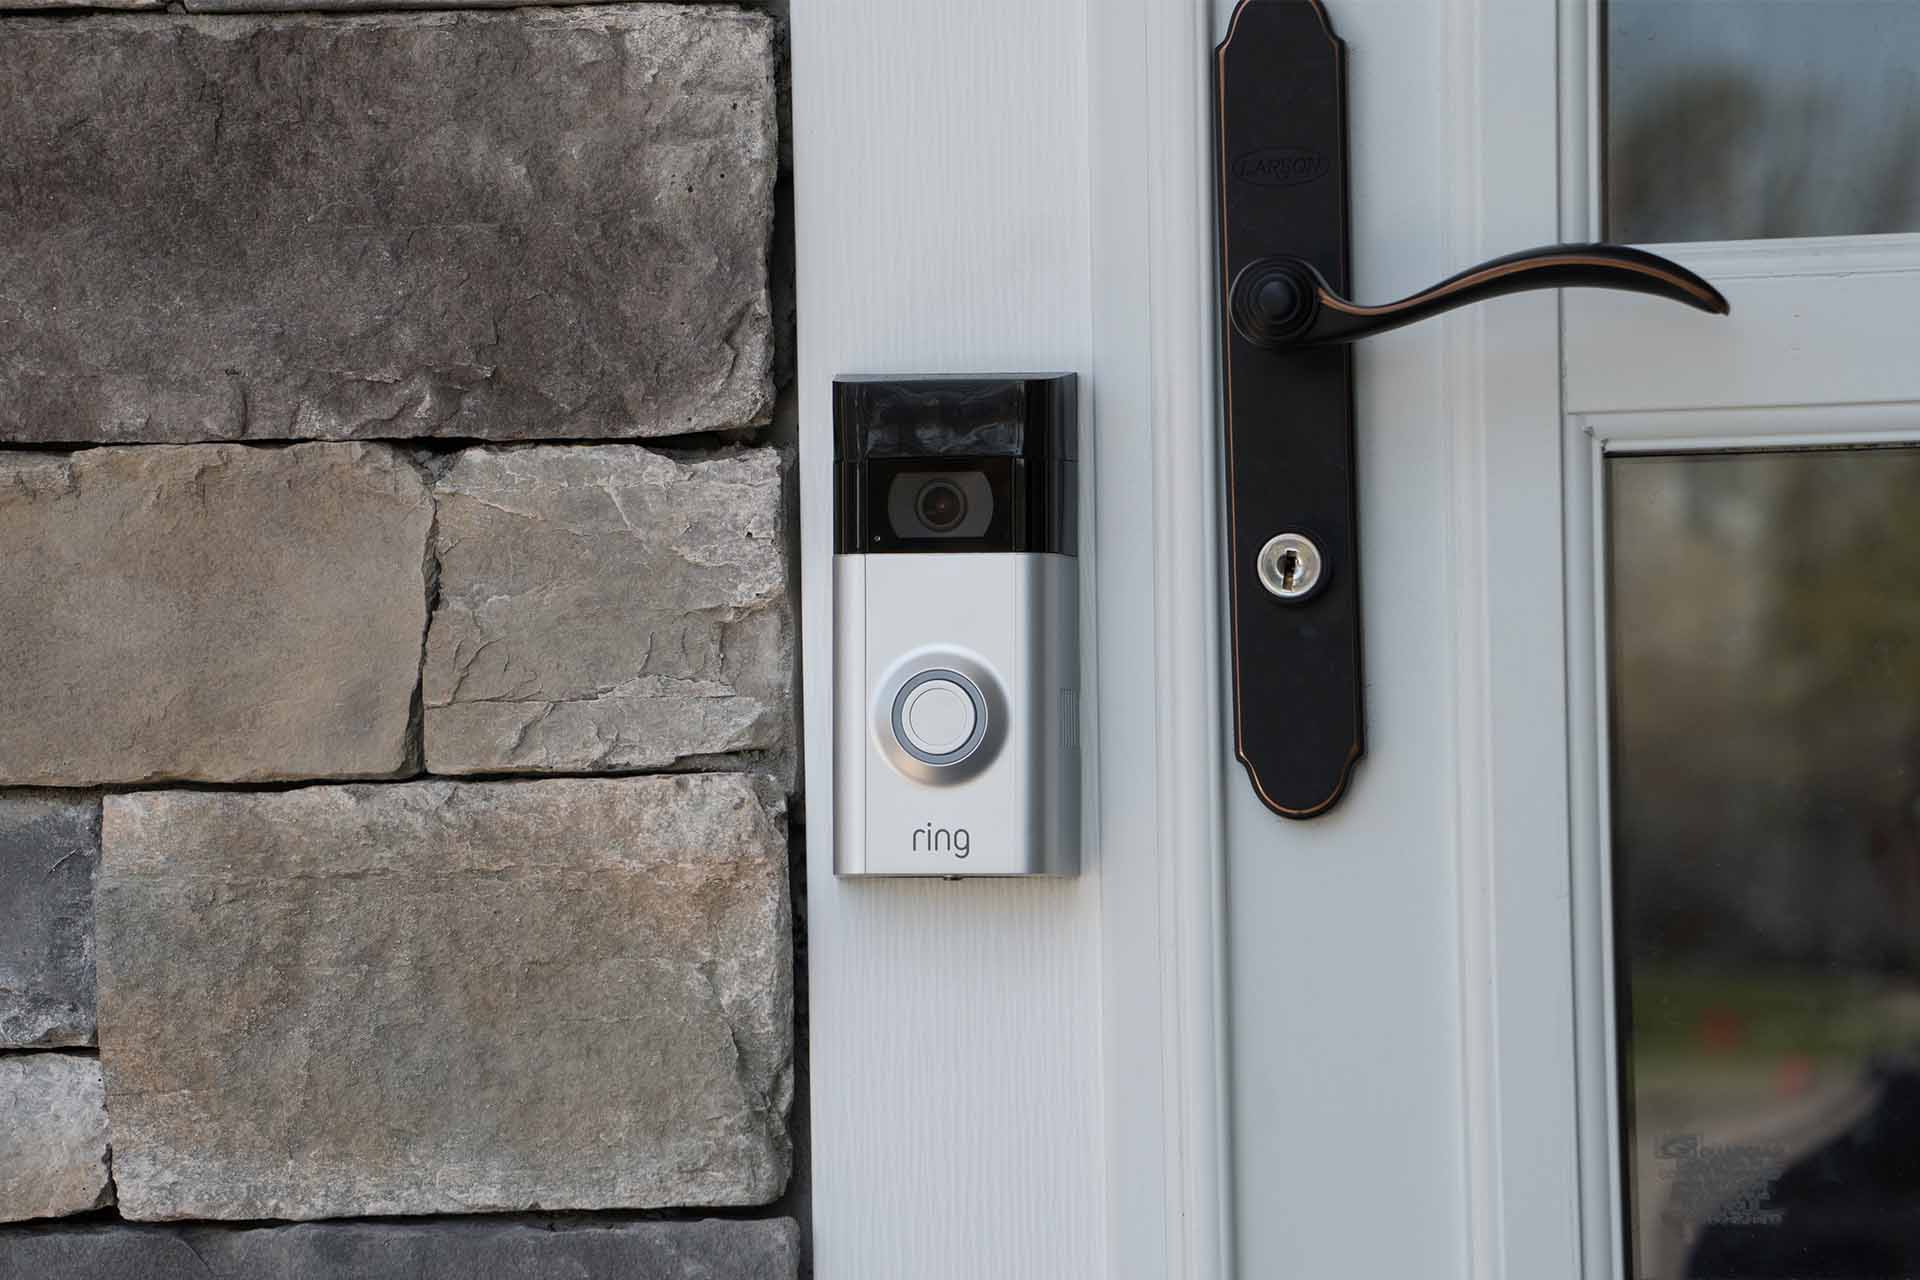
To install a wireless Ring doorbell, you need to fully charge the battery and set it up in the Ring app before mounting it on your wall. This step-by-step guide covers the entire physical installation process for a battery-powered Ring doorbell, from charging the battery to testing the device.
Before You Install a Wireless Ring Doorbell
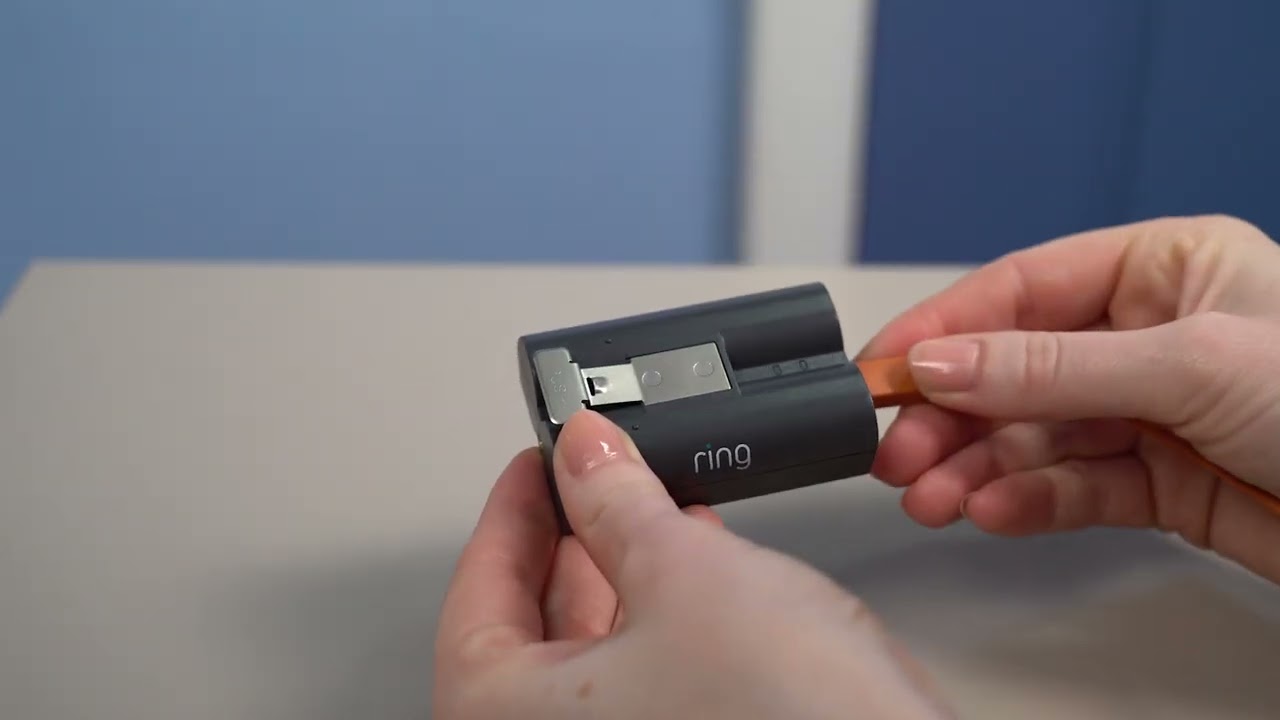
Complete this checklist before starting the installation. First, fully charge the provided battery using the included USB cable until the LED light turns green. Ensure you have a compatible 2.4GHz Wi-Fi network (some newer models like the Battery Doorbell Plus also support 5GHz Wi-Fi 6). Download the Ring app on your smartphone or tablet and create a Ring account. Gather the necessary tools: a drill, screwdriver, level, and the included mounting bracket, screws, and wall anchors.
Step 1: Charge and Insert the Battery
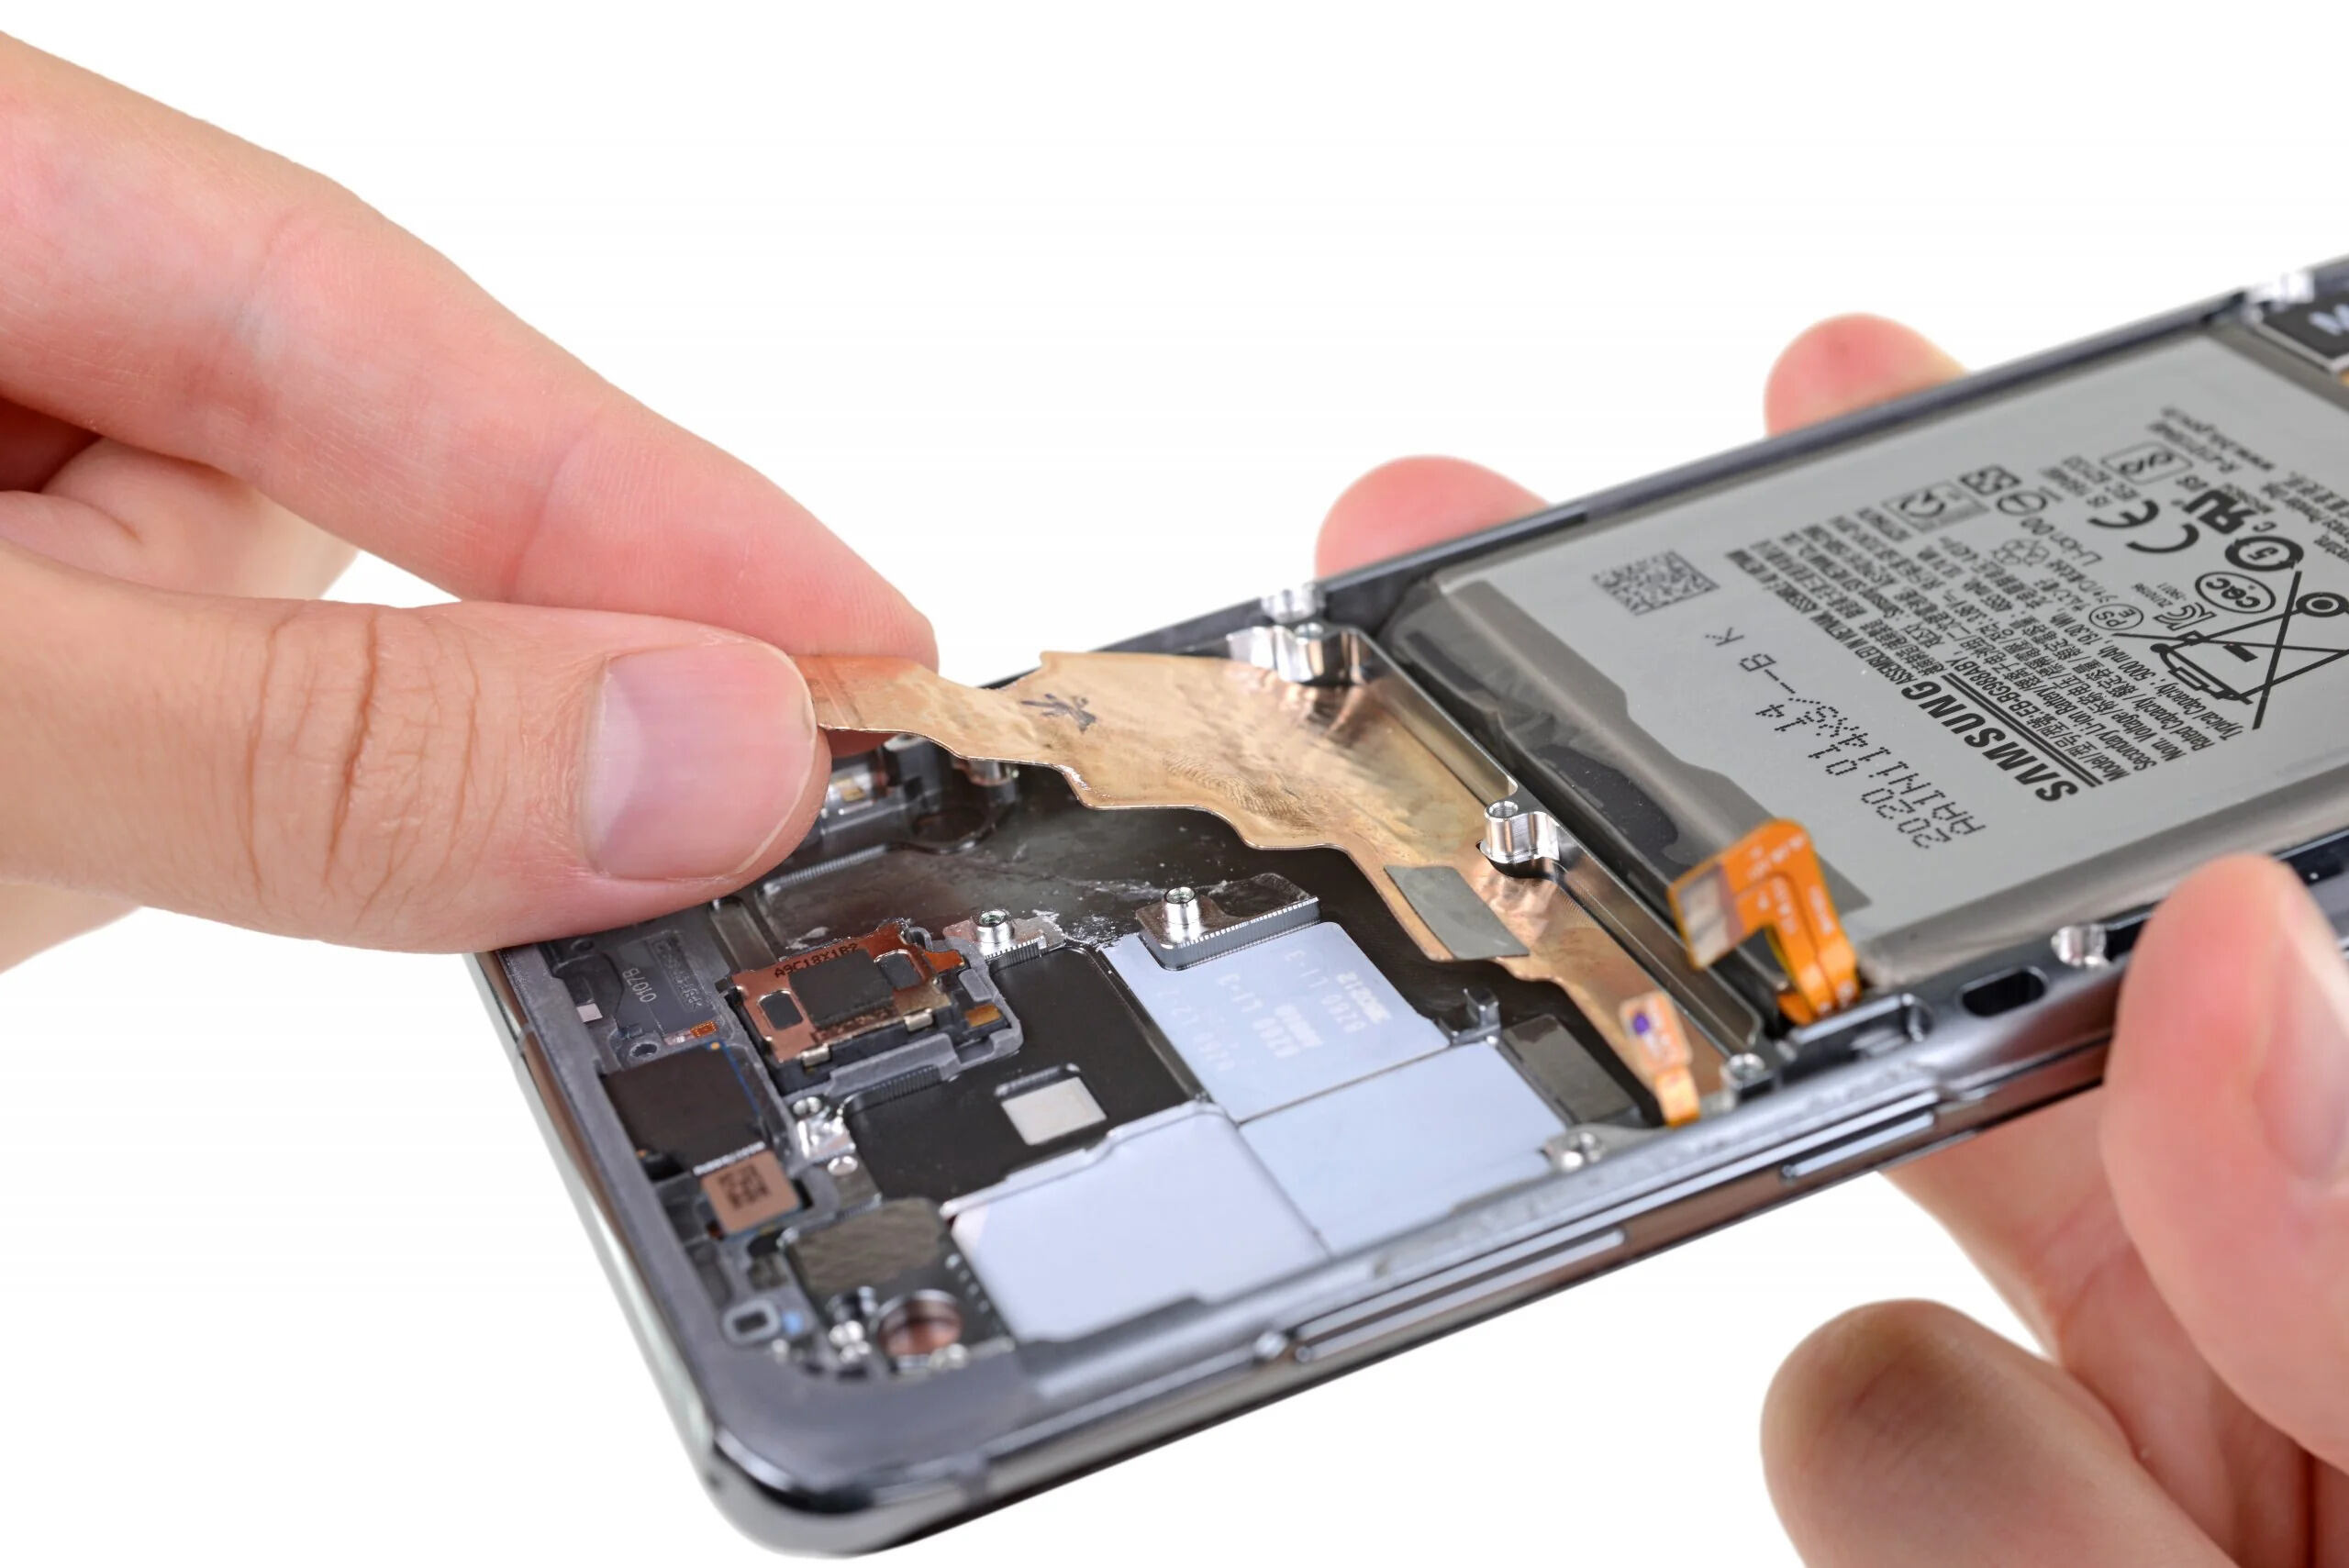
Once charged, insert the battery into the bottom of the doorbell until it clicks into place.
Step 2: Set Up the Doorbell in the Ring App
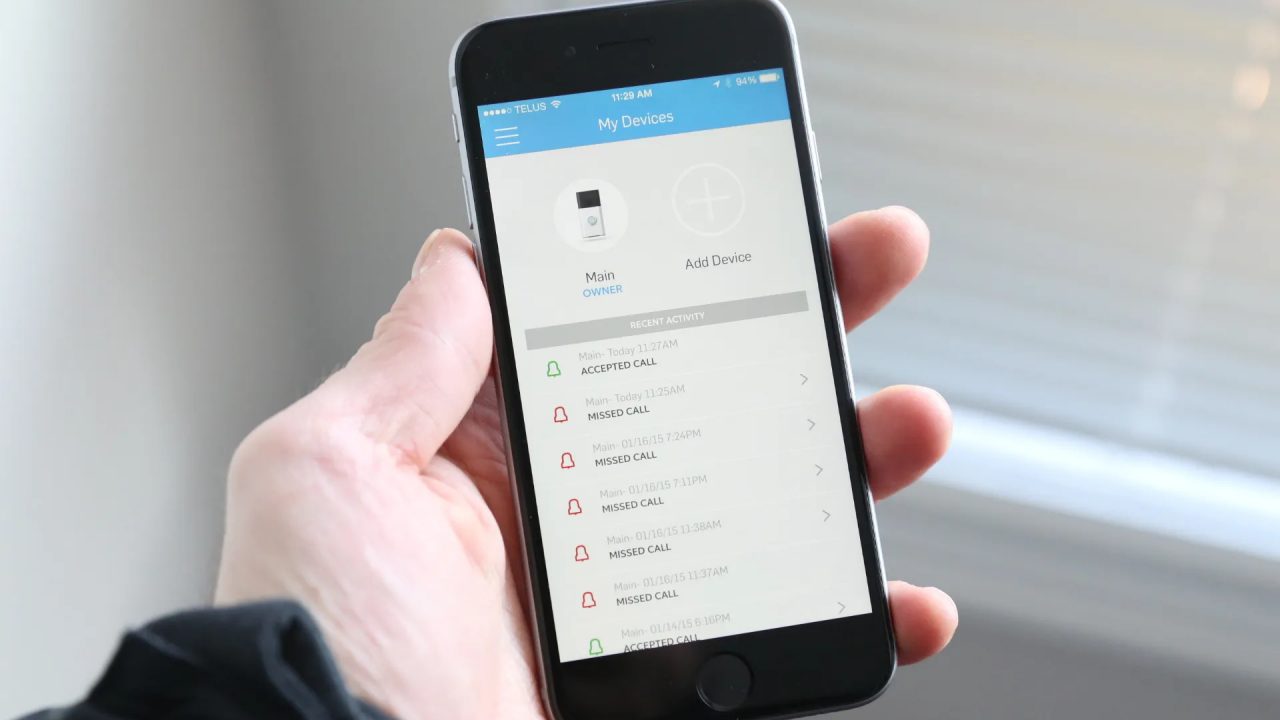
Open the Ring app on your smartphone or tablet. Tap "Set Up a Device," select "Video Doorbells," and scan the QR code found on the device or its packaging. Follow the in-app instructions to connect your doorbell to a 2.4GHz Wi-Fi network. This step must be completed before physical mounting to ensure the doorbell is ready for installation.
Step 3: Choose the Right Location and Height
Select a spot with a strong Wi-Fi signal. Ring recommends a Wi-Fi signal strength of -65 dBm or stronger for reliable performance. Mark the wall at approximately 125 cm (chest height) from the ground for an optimal field of view. Use the level to make sure the doorbell is straight before proceeding.
Step 4: Remove Your Old Doorbell (If Applicable)
If you have an existing wired doorbell, turn off the power to the doorbell circuit from your electrical panel. Remove the old doorbell button and disconnect any wires attached to it. If you have existing doorbell wiring, feed the wires through the opening on the mounting bracket and connect them to the corresponding terminals on the back of the Ring doorbell. Prepare the surface for the new wireless mount.
Step 5: Mark and Drill Holes for the Mounting Bracket
Use the mounting bracket as a template to mark the screw holes on your wall. If mounting on masonry, brick, or concrete, use a 6mm (1/4 inch) drill bit to drill pilot holes and insert the included wall anchors.
Step 6: Secure the Bracket and Mount the Doorbell
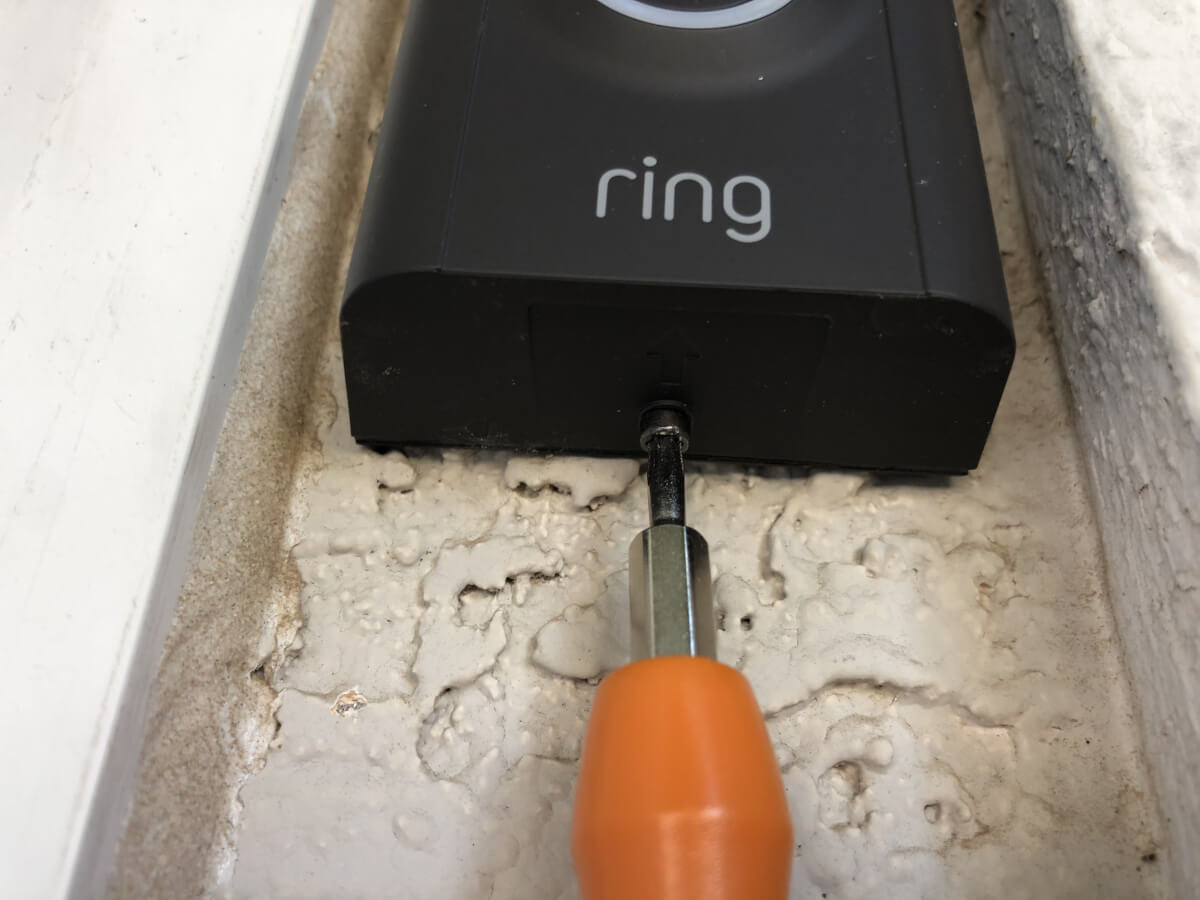
Secure the mounting bracket to the wall using the provided screws. Mount the doorbell onto the secured bracket. Tighten the security screw located at the bottom of the doorbell to secure it to the mounting plate. Reattach the faceplate by pressing it until it clicks into place.
Step 7: Test Your Wireless Ring Doorbell
Press the doorbell button to test the live video feed, motion alerts, and two-way audio through the Ring app. Confirm a successful installation by checking that notifications appear on your smartphone.
Troubleshooting Common Wireless Ring Doorbell Issues
If you experience poor Wi-Fi signal, check wireless signal strength in the Ring app. Ring recommends a signal strength of -65 dBm or stronger. For video streaming problems, ensure your internet connection provides at least 1-2 Mbps upload bandwidth per device. If your doorbell goes offline, ensure the Wi-Fi connection is stable and the device is within range of the router. To improve performance, you can make your wireless internet signal stronger by moving your router closer or using a Wi-Fi extender. The process of setting up wireless connections requires a stable home Wi-Fi network; Ring products do not support mobile phone hotspots or Bluetooth. If the doorbell is not ringing, check if the volume on your smartphone is turned up and notifications for the Ring app are enabled; try restarting the device or performing a soft reset by removing and reinserting the battery. For motion detection problems, adjust motion settings in the Ring app, ensure motion zones are properly configured, check for obstructions blocking the camera's view, and clean the lens. For audio problems during conversations, check the microphone and speaker for obstructions, dirt, debris, or covering by a casing or protective accessory.
Frequently Asked Questions
How long does the battery last on a wireless Ring doorbell?
Battery life depends on usage, including the number of motion events and live view sessions. Ring recommends reducing motion sensitivity or live view frequency to conserve battery power.
Does a wireless Ring doorbell work with 5GHz Wi-Fi?
Most battery-powered Ring doorbells primarily use 2.4GHz Wi-Fi. However, the Ring Battery Doorbell Plus (2nd Gen) specifically supports both 2.4GHz and 5GHz bands via Wi-Fi 6 for faster Live View and more stable video streaming.
Can I use a mobile hotspot to set up my wireless Ring doorbell?
No. Ring products require an existing home Wi-Fi network for setup and use and do not support mobile phone hotspots or Bluetooth.
What is the minimum upload speed needed for a wireless Ring doorbell?
Ring recommends a minimum of 1-2 Mbps upload bandwidth per device for reliable video streaming.