
Are you tired of being tied down to your printer’s USB cable? Want to free your printer from the constraints of wired connections? Well, you’ve come to the right place! In this article, we will show you how to make your printer wireless. With wireless connectivity, you can conveniently print documents from any device in your home or office without any hassle. Whether you have a desktop, laptop, tablet, or smartphone, making your printer wireless will bring a new level of flexibility and convenience to your printing experience. So, let’s dive in and explore the various methods you can employ to make your printer wireless. Say goodbye to tangled wires and hello to hassle-free printing!
Inside This Article
- Overview
- Step 1: Check Compatibility
- Step 2: Connect Printer to Wi-Fi Network
- Step 3: Set Up Printer on Computer
- Step 4: Print Wirelessly
- Troubleshooting Tips
- Conclusion
- FAQs
Overview
Having a wireless printer can greatly increase convenience and flexibility, allowing you to print documents from any device connected to your Wi-Fi network. This eliminates the need for messy cables and ensures that you can print seamlessly from your smartphone, tablet, or laptop. In this article, we will guide you through the steps to make your printer wireless, allowing you to enjoy the benefits of wireless printing.
Setting up a wireless printer involves a few simple steps, such as checking compatibility, connecting the printer to your Wi-Fi network, and configuring it on your computer. By following these steps, you’ll be able to print wirelessly in no time. Additionally, we’ll provide troubleshooting tips to help you overcome any potential issues that may arise during the setup process.
So, let’s get started and make your printer wireless! Whether you’re a student, a professional, or anyone in need of hassle-free printing, this guide will help you achieve the functionality and convenience of wireless printing.
Step 1: Check Compatibility
Before making your printer wireless, it’s essential to ensure compatibility with wireless connectivity. Not all printers are equipped with the necessary hardware to establish a wireless connection.
First, refer to the user manual or the manufacturer’s website to determine if your printer has wireless capabilities. Look for terms like “Wi-Fi enabled” or “wireless connectivity.” If you can’t find any information, it’s best to assume that your printer doesn’t support wireless connections.
If your printer does support wireless connectivity, you’ll also need to check if it supports the Wi-Fi network type you have at home. Most modern printers are compatible with the popular 2.4 GHz Wi-Fi frequency, but some advanced models also support the faster 5 GHz frequency. Make sure your Wi-Fi network matches the available frequencies supported by your printer.
Additionally, check if your printer requires any specific software or drivers to enable wireless printing. These can usually be downloaded from the manufacturer’s website or provided in the printer’s packaging.
By ensuring compatibility with wireless connectivity, you can proceed to the next steps with confidence, knowing that your printer is ready to be set up as a wireless device.
Step 2: Connect Printer to Wi-Fi Network
Connecting your printer to a Wi-Fi network is essential for enabling wireless printing. Follow these steps to effortlessly connect your printer to a Wi-Fi network:
1. Verify Wi-Fi compatibility: Before proceeding, ensure that your printer has built-in Wi-Fi capabilities. Check the printer’s specifications or manual to confirm if it supports wireless connectivity.
2. Access the printer’s control panel: Locate the control panel or display screen on your printer. It may vary depending on the printer model. Typically, you can find it on the front or top of the printer.
3. Open the network settings: Navigate through the control panel options to find the network settings menu. Select the option that allows you to connect the printer to a Wi-Fi network.
4. Choose your Wi-Fi network: Once in the network settings menu, the printer will display a list of available Wi-Fi networks. Use the arrow keys or touchscreen (if applicable) to select your desired Wi-Fi network.
5. Enter your Wi-Fi network password: If your Wi-Fi network is password-protected, the printer will prompt you to enter the password. Use the printer’s keypad or on-screen keyboard (if available) to enter the password correctly. Take your time to avoid errors.
6. Confirm the Wi-Fi connection: After entering the password, the printer will attempt to connect to the Wi-Fi network. Once the connection is established, the control panel will confirm the successful connection.
7. Run a test print: To ensure that the printer is correctly connected to the Wi-Fi network, try printing a test page. Send a print command from your computer or mobile device to your newly connected wireless printer. If the printer receives the command and executes the print job, then congratulations!
By following these steps, you can seamlessly connect your printer to a Wi-Fi network, enabling you to print wirelessly from any device on the same network. Enjoy the convenience and freedom of wireless printing!
Step 3: Set Up Printer on Computer
Once you have successfully connected your printer to the Wi-Fi network, the next step is to set it up on your computer. Follow these simple steps to configure your computer to work with the wireless printer:
1. Check driver compatibility: Before proceeding with the setup process, ensure that you have the correct printer drivers installed on your computer. Visit the printer manufacturer’s website to download and install the latest drivers if needed.
2. Access printer settings: Open the Control Panel on your computer and navigate to the “Devices and Printers” section. Here, you should see a list of all connected printers.
3. Add a printer: Click on the “Add a printer” option to initiate the printer setup wizard. The wizard will guide you through the process of adding your wireless printer to your computer.
4. Choose the wireless printer: In the setup wizard, select the option to add a network printer. The wizard will search for available printers on your network. Select your wireless printer from the list of detected devices.
5. Install printer drivers: If prompted, install the necessary printer drivers. Make sure to choose the correct driver for your printer model and the version of your operating system.
6. Complete the setup: Follow the on-screen instructions to complete the printer setup process. This may involve confirming network settings, configuring default printing options, and setting up any additional features or preferences.
7. Test the connection: Once the setup is complete, print a test page to ensure that your computer is successfully connected to the wireless printer.
By following these steps, you can easily set up your wireless printer on your computer, enabling you to print documents wirelessly without the need for a physical connection.
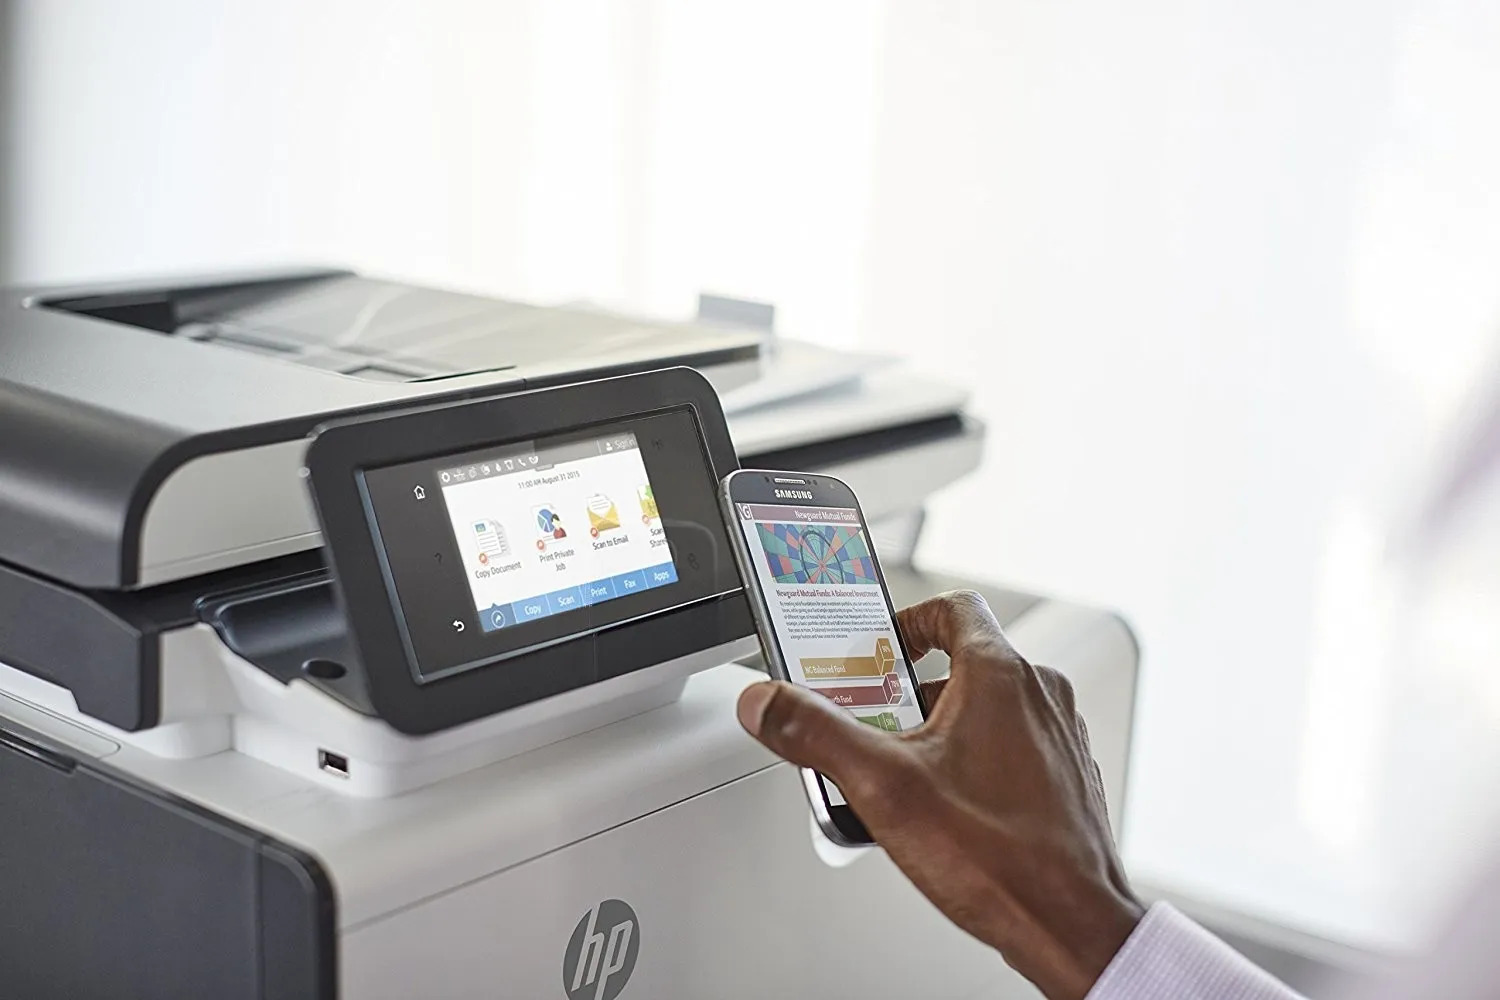
Step 4: Print Wirelessly
Now that you have successfully connected your printer to the Wi-Fi network and set it up on your computer, it’s time to start enjoying the convenience of wireless printing. No more fussing with tangled cables or having to be physically close to your printer – with wireless printing, you can print from anywhere within your home or office.
To print wirelessly, follow these simple steps:
- Open the document or file that you want to print on your computer.
- Click on the print option, usually found under the “File” menu or by pressing Ctrl+P.
- In the print dialog box, select your wireless printer from the list of available printers. It should be listed by its name, which you assigned during the setup process.
- Adjust any print settings, such as the number of copies or the page orientation, as needed.
- Click on the “Print” button to start the printing process.
Once you click “Print,” your document will be sent wirelessly to your printer. You will be able to monitor the progress of your print job through the print queue or the printer’s control panel.
It’s important to note that the exact steps for printing wirelessly may vary slightly depending on the operating system and printer model you are using. However, the general process remains the same – selecting the wireless printer and clicking “Print.”
With wireless printing, you can easily print documents, photos, and even web pages from your computer, smartphone, or tablet. This flexibility and convenience make wireless printing an excellent option for both personal and professional needs. Whether it’s a report for work, a boarding pass for your upcoming trip, or a recipe you found online, you can effortlessly print it wirelessly with just a few clicks.
Enjoy the freedom and simplicity of wireless printing, and say goodbye to the constraints of traditional wired printing!
Troubleshooting Tips
Even with proper setup, you may encounter some issues when using a wireless printer. Here are some troubleshooting tips to help you resolve common problems:
1. Check your Wi-Fi connection: Ensure that your wireless network is stable and properly connected. Weak or intermittent Wi-Fi can cause printing errors or prevent your printer from being recognized.
2. Restart your devices: Power cycling your printer, computer, and Wi-Fi router can often solve connectivity issues. Turn off all devices, wait a few seconds, and then turn them back on to refresh the connections.
3. Update printer drivers: Outdated or incompatible printer drivers can cause printing problems. Visit the manufacturer’s website to download and install the latest drivers for your printer model.
4. Check ink/toner levels: Low ink or toner levels can result in poor print quality or printing errors. Check the printer’s software or control panel to see the current levels and replace cartridges if necessary.
5. Clear print queue: If you see that your print jobs are not being processed, there may be a backlog in the print queue. Go to the print queue on your computer and cancel any pending or stuck print jobs.
6. Firewall and antivirus settings: Sometimes, firewall or antivirus software can block the connection between your computer and printer. Temporarily disable these programs and see if the issue is resolved. If so, adjust the settings to allow printer communications.
7. Reset network settings: If you are still experiencing issues, try resetting the network settings on your printer. Refer to the manufacturer’s instructions for resetting network settings and reconnecting to your Wi-Fi network.
8. Contact technical support: If all else fails, reach out to the printer manufacturer’s technical support team. They can provide guidance specific to your printer model and help you troubleshoot any persistent problems.
By following these troubleshooting tips, you’ll be able to resolve most common issues encountered when using a wireless printer. Enjoy the convenience and freedom of printing wirelessly!
Conclusion
In conclusion, making your printer wireless opens up a world of convenience and flexibility. Whether you want to print from multiple devices without being tethered to a physical connection, or you want to eliminate the clutter of cables and wires, turning your printer into a wireless device can greatly simplify your printing experience.
By following the steps outlined in this article, you can easily transform your printer into a wireless powerhouse. Whether you opt for a wireless printer adapter or a full-fledged wireless printer, the process is relatively simple and can be achieved by anyone, regardless of their technical expertise.
Embracing wireless printing not only frees you from the limitations of traditional printing methods but also allows you to embrace a more modern and efficient approach. So, why wait? Make your printer wireless today and enjoy hassle-free printing from any device, anywhere in your home or office!
FAQs
1. Can any printer be made wireless?
Most printers with a USB or Ethernet port can be made wireless by using either a wireless print server or a wireless adapter. These devices can connect to your printer and enable wireless printing capabilities.
2. Do I need any additional equipment to make my printer wireless?
Yes, you will need a wireless print server or a wireless adapter, depending on the type of printer you have. Additionally, you will need a stable Wi-Fi network to connect the printer to.
3. How do I set up a wireless printer?
The exact setup process may vary depending on the printer model and the wireless device you are using. In general, you will need to install any necessary software or drivers provided by the manufacturer, connect the wireless print server or adapter to the printer, and then connect it to your Wi-Fi network. Detailed instructions can usually be found in the printer’s user manual or on the manufacturer’s website.
4. Can I still print from my computer even if it is not connected to the same Wi-Fi network as the printer?
In most cases, you will need to be connected to the same Wi-Fi network as the printer to print wirelessly. However, some printers support mobile printing options that allow you to print from a computer or mobile device, even if it is not on the same network. This feature is usually enabled through the printer’s software or app.
5. What are the advantages of making my printer wireless?
Making your printer wireless allows for more flexibility and convenience in printing. You can print from multiple devices without having to physically connect them to the printer. It also eliminates the need for extra cables and enables printing from any location within the range of your Wi-Fi network.