
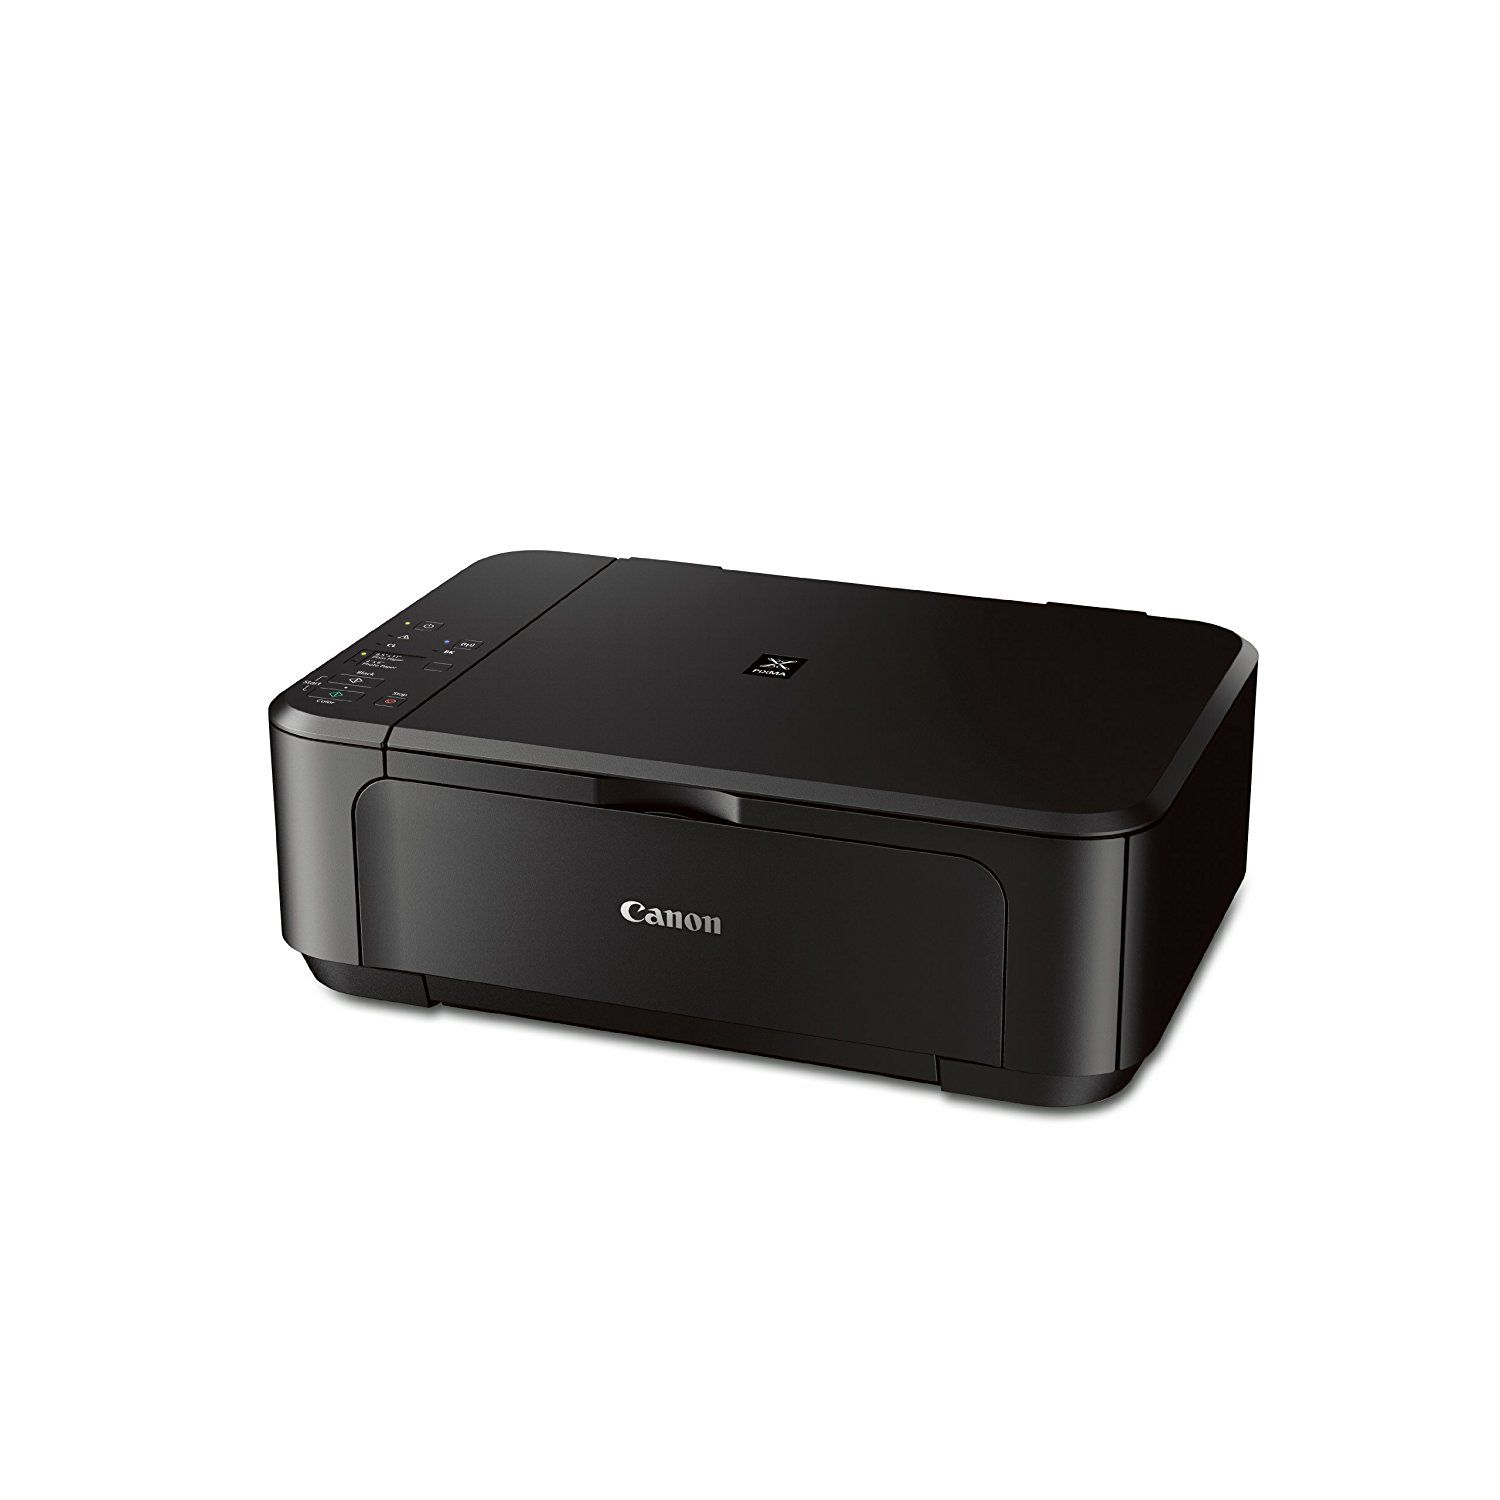
The Pixma MG3520 is a versatile wireless printer that offers convenience and flexibility to its users. Setting up the wireless feature on the Pixma MG3520 can seem like a daunting task to some, but with the right guidance, it can be a breeze. In this article, we will guide you through the step-by-step process of setting up the wireless function on your Pixma MG3520 printer. Whether you are a tech-savvy individual or a beginner, we will provide you with detailed instructions, tips, and troubleshooting advice to ensure a seamless wireless setup. By the end of this article, you will be able to enjoy the convenience of wirelessly printing from your smartphone, tablet, or computer with ease.
Inside This Article
- Setting Up the Pixma MG3520 Printer
- Connecting the Printer to a Wireless Network
- Installing the Printer Software
- Printing Wirelessly from a Computer or Mobile Device
- Conclusion
- FAQs
Setting Up the Pixma MG3520 Printer
Setting up your Pixma MG3520 printer is a straightforward process. With its wireless capability, you can easily connect it to your computer or mobile device and start printing wirelessly. Follow these simple steps to get your printer up and running in no time.
1. Unbox the Printer: Begin by unboxing your Pixma MG3520 printer. Remove all the protective packaging materials and make sure you have all the necessary components, including the printer, power cord, ink cartridges, and user manual.
2. Power On the Printer: Connect the power cord to the printer and plug it into a power outlet. Press the power button to turn on the printer. Wait for the printer to initialize and enter the setup mode.
3. Install the Ink Cartridges: Open the ink cartridge compartment of the printer. Take out the ink cartridges from their packaging and carefully insert them into their respective slots. Make sure they are securely placed and aligned properly.
4. Load Paper: Adjust the paper guides on the input tray to fit the size of the paper you will be using. Load the paper stack into the tray, making sure it is aligned properly. Adjust the guides snugly against the edges of the paper to prevent misfeeds.
5. Connect to a Wireless Network: Access the printer’s settings menu and navigate to the wireless LAN setup. Follow the on-screen prompts to connect the printer to your wireless network. Make sure you have the correct network name (SSID) and password. Once connected, the wireless indicator light on the printer will illuminate.
6. Install printer software: To utilize all the features of your Pixma MG3520 printer, you need to install the printer software on your computer or mobile device. Visit the Canon website and search for your specific printer model. Download and install the printer drivers and software following the provided instructions.
7. Test Print: After the software installation is complete, perform a test print to ensure the printer is functioning correctly. Open a document or image on your computer or mobile device and select the Pixma MG3520 printer as the default printer. Click “Print” and check if the printout is clear and of high quality.
That’s it! You have successfully set up your Pixma MG3520 printer. Now you can enjoy the convenience of wireless printing from your computer or mobile device.
Connecting the Printer to a Wireless Network
The Pixma MG3520 printer offers the convenience of wireless printing, allowing you to print documents and photos from your computer or mobile devices without the need for any cables. Setting up a wireless connection for your printer is a straightforward process, and it can be done in just a few simple steps.
Before you begin, make sure that your wireless network is up and running. You will need the network name (SSID) and the password to connect your printer. Here’s how you can connect your Pixma MG3520 to a wireless network:
- Turn on your printer and make sure it is in the ready state.
- Press the Setup button on the printer’s control panel.
- Use the arrow buttons to navigate to the Wireless LAN setup option and press the OK button.
- Select the Easy Setup option and press OK.
- The printer will search for available wireless networks. Once the list of networks is displayed on the screen, use the arrow buttons to select your network and press OK.
- If your network is password-protected, you will be prompted to enter the password. Use the printer’s number pad to enter the password, and press OK.
- Wait for the printer to connect to the wireless network. Once the connection is established, a confirmation message will be displayed on the printer’s screen.
After successfully connecting your Pixma MG3520 printer to the wireless network, you can start printing wirelessly from your computer or mobile devices. Whether you want to print an important document or a memorable photo, the wireless feature of the printer allows you to do it effortlessly.
It is worth noting that the wireless connection setup process may vary slightly depending on your printer’s model and the operating system of your computer or device. If you encounter any issues or need further assistance, refer to the printer’s user manual or visit the manufacturer’s website for detailed instructions and troubleshooting steps.
By connecting your Pixma MG3520 printer to a wireless network, you can enjoy the flexibility and convenience of wireless printing. Say goodbye to tangled cables and print your documents or photos with ease from any device connected to the same network.
Installing the Printer Software
Once you have successfully connected your Pixma MG3520 printer to a wireless network, the next step is to install the required printer software on your computer. This software will allow you to easily print wirelessly and access all the features and functionalities of the printer.
To install the printer software, follow the steps below:
- Insert the installation CD that came with your Pixma MG3520 printer into your computer’s CD/DVD drive. If your computer doesn’t have a CD/DVD drive, you can download the necessary software from the official Canon website.
- Run the installation CD or the downloaded software package to start the installation process. The setup wizard will guide you through the installation steps.
- Follow the on-screen instructions to select your language, agree to the license agreement, and choose a destination folder for the software installation.
- During the installation process, you may be asked to connect your printer to your computer using a USB cable. Follow the instructions provided by the setup wizard to establish the connection.
- After connecting the printer, the setup wizard will detect the printer and install the necessary drivers and software. This may take a few minutes, so be patient.
- Once the installation is complete, you will be prompted to register your printer with Canon and participate in their product improvement program. You can choose to register or skip this step.
After the installation is finished, you can start using your Pixma MG3520 printer wirelessly. Make sure your computer is connected to the same wireless network as the printer. You can now print documents, photos, and other files from your computer without the need for any physical cables.
If you encounter any issues during the installation process, refer to the user manual or the troubleshooting guide provided by Canon. You can also contact Canon customer support for further assistance.
Remember to keep your printer software up to date by periodically checking for software updates from the official Canon website. Updated software ensures optimal performance and compatibility with your computer’s operating system.
Printing Wirelessly from a Computer or Mobile Device
In today’s digital age, the ability to print wirelessly has become an essential feature for any printer. With the Pixma MG3520, you can easily print documents and photos from your computer or mobile device, hassle-free. Whether you’re in the office or relaxing at home, wireless printing offers convenience and flexibility.
To begin printing wirelessly, ensure that your Pixma MG3520 is connected to the same wireless network as your computer or mobile device. This can be done by following the steps outlined in the previous section, “Connecting the Printer to a Wireless Network.”
Once your printer is connected to the wireless network, the next step is to install the necessary printer software on your computer or mobile device. This software serves as the bridge between your device and the printer, allowing seamless wireless printing.
If you’re using a computer, insert the installation CD that came with your Pixma MG3520 into your CD-ROM drive, and follow the on-screen instructions to install the software. If your computer doesn’t have a CD-ROM drive, you can download the software from the official Canon website.
If you’re using a mobile device, such as a smartphone or tablet, you’ll need to download the Canon printing app from the App Store (for iOS devices) or Google Play Store (for Android devices). Once installed, open the app and follow the prompts to connect your device to the Pixma MG3520. This will enable wireless printing from your mobile device.
Once the printer software is installed on your computer or mobile device, you’re ready to start printing wirelessly. Simply open the document or photo you wish to print, and select the print option. Make sure to select the Pixma MG3520 as your printer, and adjust any print settings as needed.
With wireless printing, you can also take advantage of additional features offered by the Pixma MG3520. For example, you can print directly from cloud storage services, such as Google Drive or Dropbox. This allows you to access and print your files from anywhere with an internet connection.
Additionally, the Pixma MG3520 supports AirPrint and Google Cloud Print, which means you can print wirelessly from your iPhone, iPad, or Android device, even without installing any additional software. Simply select the print option from your device and choose the Pixma MG3520 as your printer.
Conclusion
Setting up the Pixma MG3520 wireless printer is a breeze, thanks to its user-friendly interface and step-by-step instructions. By following the setup process outlined in this article, you can have your wireless printer up and running in no time. Whether you are printing documents for work or family photos, the Pixma MG3520 offers excellent printing quality and convenience.
Remember to follow the manufacturer’s recommendations for maintaining and optimizing your printer’s performance. Regularly updating the printer’s firmware and using genuine ink cartridges are essential to ensure consistent and high-quality printing results.
With its wireless connectivity, compact design, and versatile features, the Pixma MG3520 is an excellent choice for both personal and professional use. Start enjoying the convenience and flexibility of wireless printing with the Pixma MG3520 today!
FAQs
1. How do I set up the Pixma MG3520 wireless printer?
To set up the Pixma MG3520 wireless printer, follow these steps:
- Make sure the printer is turned on and connected to a power source.
- Press and hold the Wi-Fi button on the printer until the ON lamp flashes.
- On your computer or mobile device, go to the Wi-Fi settings and select the network name (SSID) that starts with “Canon_ij_”.
- Enter the password provided with the printer to connect to the network.
- Install the necessary printer software on your device using the installation CD or by downloading it from the Canon website.
- Follow the on-screen instructions to complete the setup process.
2. Can I set up the Pixma MG3520 printer without a computer?
Yes, it is possible to set up the Pixma MG3520 printer without a computer. You can set up the printer using a mobile device or tablet by following the instructions provided in the printer’s manual or on the Canon website. Make sure your mobile device is connected to the same Wi-Fi network as the printer, and then use the Canon PRINT Inkjet/SELPHY app to set up the printer wirelessly.
3. What are the system requirements for setting up the Pixma MG3520 wireless printer?
The system requirements for setting up the Pixma MG3520 wireless printer may vary depending on the operating system you are using. Generally, you will need a computer or mobile device with a compatible operating system (such as Windows, macOS, iOS, or Android), sufficient storage space, and an internet connection. Refer to the printer’s manual or visit the Canon website for specific system requirements for your device.
4. Can I connect the Pixma MG3520 printer to multiple devices?
Yes, the Pixma MG3520 printer can be connected to multiple devices. Once the printer is set up and connected to your Wi-Fi network, other devices on the same network can detect and connect to the printer wirelessly. Install the necessary printer software on each device to enable printing and scanning functions.
5. What are the benefits of using the Pixma MG3520 wireless printer?
The Pixma MG3520 wireless printer offers several benefits, including:
- Wireless printing and scanning capabilities, which allow you to conveniently print or scan documents and photos from your computer, smartphone, or tablet.
- Easy setup and installation process, making it user-friendly for both novice and experienced users.
- High-quality print outputs with sharp text and vibrant colors, suitable for both documents and photos.
- Compact design, saving space in your home or office.
- Compatibility with various operating systems, ensuring seamless integration with your devices.