
Are you struggling with how to scan on your HP wireless printer? Don’t worry, we’ve got you covered! Scanning documents or photos is a common task that many printer owners need to do. However, the process may not be immediately intuitive, especially if you’re using a wireless printer. But fear not, as we are here to guide you through the steps of scanning on an HP wireless printer.
In this article, we will walk you through the process of scanning on your HP printer, from setting up the wireless connection to actually scanning your documents or photos. We’ll also provide you with some handy tips and troubleshooting steps to ensure a smooth scanning experience. So, let’s get started and make the most of your HP wireless printer’s scanning capabilities!
Inside This Article
- How to Scan on HP Wireless Printer
- Frequently Asked Questions (FAQs)
- Enable the Scan to Computer Feature
- Install and Configure the HP Scan Software
- Place the Document to be Scanned on the Scanner Glass
- Initiate the Scanning Process from the Computer
- Conclusion
- FAQs
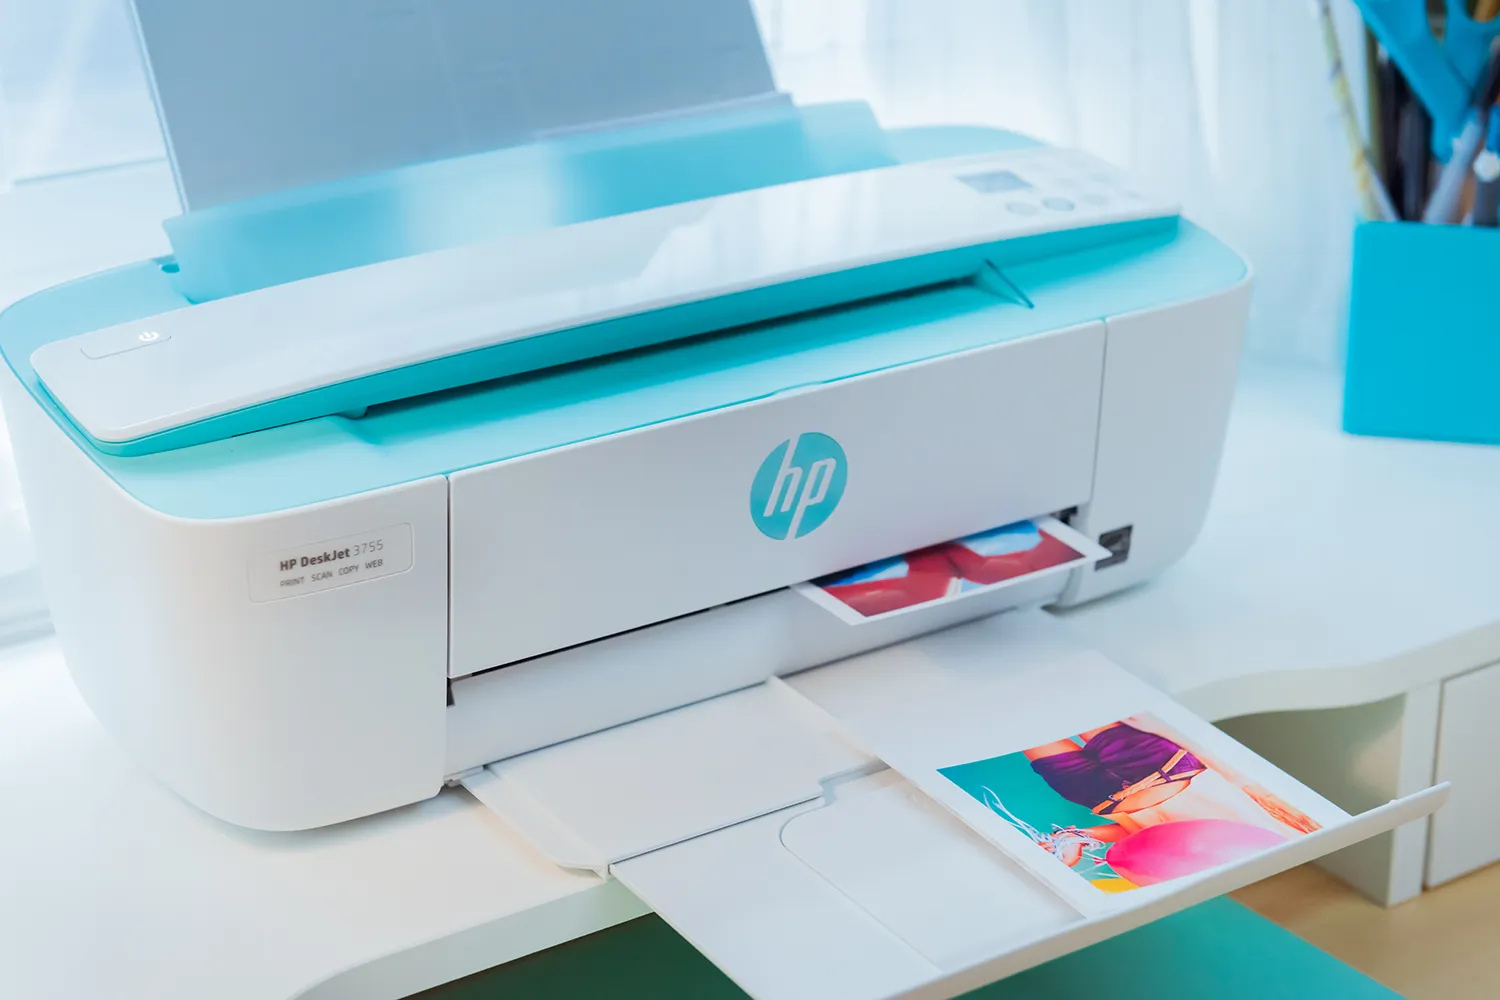
How to Scan on HP Wireless Printer
If you own an HP wireless printer, you can conveniently scan documents and photos directly from your computer. Scanning is a handy feature that allows you to create digital copies of physical documents and store them electronically. In this article, we will guide you through the process of scanning on an HP wireless printer.
1. Enable the Scan to Computer Feature
The first step is to ensure that the scan to computer feature is enabled on your HP wireless printer. This feature allows you to initiate the scanning process directly from your computer. To enable this feature, follow these steps:
- On the printer control panel, press the “Setup” button.
- Using the arrow keys, navigate to the “Scan” or “Scan to Computer” menu.
- Select the “Enable” option to activate the scan to computer feature.
By enabling this feature, you are now ready to scan documents directly from your computer.
2. Install and Configure the HP Scan Software
To scan documents on your HP wireless printer, you need to install and configure the HP scan software on your computer. The HP scan software is designed to manage the scanning process and provide you with various settings options. Follow these steps to install and configure the software:
- Visit the official HP website and navigate to the Downloads section.
- Search for the HP scan software compatible with your printer model and operating system.
- Download and install the software on your computer.
- Once installed, launch the HP scan software and follow the on-screen prompts to configure the settings according to your preferences.
With the HP scan software installed and configured, you are now ready to start scanning on your HP wireless printer.
3. Place the Document to be Scanned on the Scanner Glass
Before initiating the scanning process, ensure that the document or photo you want to scan is placed correctly on the scanner glass. Here’s how to do it:
- Lift the scanner lid to reveal the scanner glass.
- Place the document or photo face-down on the scanner glass, aligning it with the guidelines provided.
- Close the scanner lid carefully.
Ensuring that the document is placed properly on the scanner glass will help produce clear and accurate scans.
4. Initiate the Scanning Process from the Computer
With the scan to computer feature enabled and the HP scan software installed, you are now ready to initiate the scanning process from your computer. Follow these steps:
- Launch the HP scan software on your computer.
- Select the type of scan you want to perform, such as black and white or color.
- Choose the desired resolution and file format for the scanned document.
- Click on the “Scan” button to start the scanning process.
Once the scanning process is complete, you can save the scanned document or photo to your preferred location on your computer.
Scanning documents on your HP wireless printer is a straightforward process that enables you to conveniently digitize your physical documents. By following the steps outlined in this article, you will be able to scan documents and photos with ease. Enjoy the benefits of having digital copies of your important files!
Frequently Asked Questions (FAQs)
Q: Can I scan wirelessly from my HP printer to my computer?
A: Yes, you can scan wirelessly from your HP printer to your computer. By enabling the scan to computer feature and installing the HP scan software, you can initiate the scanning process directly from your computer.
Q: How can I improve the quality of scanned documents?
A: To improve the quality of scanned documents, make sure the document is placed correctly on the scanner glass. Additionally, you can adjust the resolution settings in the HP scan software to a higher value for better clarity.
Q: Can I scan multiple pages into a single document?
A: Yes, many HP wireless printers support the automatic document feeder (ADF) feature, allowing you to scan multiple pages into a single document. Check your printer’s specifications to see if it has this capability.
Q: Can I edit the scanned documents before saving them?
A: Yes, the HP scan software provides basic editing options such as cropping and rotating. You can make adjustments to the scanned document before saving it to your computer.
Q: Can I scan to cloud storage services directly?
A: Some HP wireless printers offer the option to scan directly to cloud storage services like Google Drive or Dropbox. Check your printer’s specifications or refer to the user manual to see if this feature is available.
Enable the Scan to Computer Feature
If you own an HP wireless printer and want to take advantage of its scanning capabilities, you’ll need to enable the Scan to Computer feature. This feature allows you to scan documents directly from your printer to your computer, making it convenient and efficient.
To enable the Scan to Computer feature, follow these simple steps:
- Ensure that your printer is connected to the same wireless network as your computer. This is crucial for establishing communication between your devices.
- On your computer, open the HP printer software. This software should already be installed on your computer when you set up your printer.
- Navigate to the Scan menu or section within the HP printer software. The exact location may vary depending on the version of the software you are using.
- Look for the option to enable the Scan to Computer feature. It may be listed as “Scan to PC,” “Scan to Mac,” or something similar.
- Toggle the Scan to Computer feature to “On” or “Enable” if it is currently disabled.
- Save the changes and exit the HP printer software. Make sure to close any other scanning applications that may be running on your computer.
Once you have successfully enabled the Scan to Computer feature, you will be able to initiate scans directly from your printer. This means you can place a document on the scanner glass, select the Scan option on the printer’s control panel, and have the scanned file sent directly to your computer.
Install and Configure the HP Scan Software
Once you have enabled the Scan to Computer feature on your HP wireless printer, the next step is to install and configure the HP Scan software on your computer. This software will allow you to control the scanning process and manage the scanned documents.
To begin, you need to visit the official HP website and search for the specific software for your printer model. Look for the download page and select the appropriate software for your operating system, whether it’s Windows or macOS.
Once you have located the correct software, click on the download button, and the installer file will be downloaded to your computer. Open the installer file and follow the on-screen instructions to install the HP Scan software.
During the installation process, you may be prompted to choose the installation type. Select the recommended installation option to ensure that all necessary components and features are installed on your computer.
After the installation is complete, launch the HP Scan software. You may find a shortcut on your desktop or in the Start menu. Open the software, and a window will appear with various scanning options and settings.
Before you can start scanning, you need to configure the software to work with your HP wireless printer. Look for the “Devices” or “Scanner” option in the software and click on it.
A list of available scanners will be displayed. Select your HP wireless printer from the list and click on the “Connect” or “Add” button. The software will establish a connection with your printer and configure the necessary settings.
Once the connection is established, you can start using the HP Scan software to scan documents. Explore the different scanning options, such as scan resolution, file format, and scanning mode (color or black and white), to customize your scanning experience.
You can also set the destination folder where the scanned documents will be saved on your computer. This allows for easy access and organization of your scanned files.
Remember to save your settings once you have configured the software according to your preferences. This way, you can quickly access your preferred scanning options for future use.
Now that you have successfully installed and configured the HP Scan software, you are ready to scan your documents wirelessly using your HP printer. Enjoy the convenience and efficiency of scanning directly from your computer!
Place the Document to be Scanned on the Scanner Glass
Once you have enabled the scan to computer feature and installed the necessary software, you are now ready to scan your document on the HP wireless printer. Follow the steps below to properly place the document on the scanner glass:
- Open the scanner lid: Locate the scanner lid on top of the printer. Lift the lid gently to reveal the scanner bed.
- Remove any existing documents: Before placing the document you want to scan, ensure that there are no other documents or objects present on the scanner glass. Clear the area to avoid interference during the scanning process.
- Position the document: Take your document and place it face down on the scanner glass. Align the edges of the document with the markers or guides on the glass to ensure proper alignment and prevent any part of the document from being cut off.
- Close the scanner lid: Carefully lower the scanner lid back into place. Make sure it is closed securely to ensure the document is properly scanned and to prevent any light interference that may affect the quality of the scan.
- Verify the placement: Before initiating the scanning process, double-check the document’s position on the scanner glass. Ensure it is centered and aligned properly to capture the entire document.
It is important to note that different HP printer models may have slight variations in the location and design of the scanner glass. Refer to your printer’s user manual or the manufacturer’s website for specific instructions pertaining to your model.
By properly placing the document on the scanner glass, you ensure that the scanner can accurately capture the entire document and produce a high-quality scan. Incorrect placement or alignment may result in incomplete or distorted scans.
Now that you have successfully positioned the document on the scanner glass, you are ready to initiate the scanning process from your computer. Continue to the next section to learn how to start scanning using the HP scan software.
Initiate the Scanning Process from the Computer
Once you have enabled the Scan to Computer feature and installed the HP Scan software on your computer, you are ready to initiate the scanning process. Follow the steps below to get started:
- On your computer, locate and open the HP Scan software. You can usually find it in the list of installed programs or by searching in the Windows or Mac search bar.
- Once the HP Scan software is open, you will see a variety of scanning options available to you. Choose the appropriate scanning option based on your needs, such as scanning a document or scanning a photo.
- Select the desired scan settings, such as the resolution, color mode, and file format. These settings will determine the quality and file type of the scanned document.
- Place the document you want to scan face-down on the scanner glass. Make sure it is positioned correctly and aligns with the guidelines on the glass.
- Click on the “Scan” or “Start Scan” button in the HP Scan software to start the scanning process. The software will communicate with the wireless printer and command it to begin scanning the document.
- Wait for the scanning process to complete. The speed of the scanning process may vary depending on factors such as the size of the document and the capabilities of your wireless printer.
- Once the scanning process is finished, the scanned document will be saved to the specified location on your computer. You can then access and manage the scanned document as needed.
By following these steps, you can easily initiate the scanning process from your computer using an HP wireless printer. Whether you need to scan important documents for work or capture precious memories in the form of photos, this process allows you to conveniently and efficiently digitize your physical documents.
Conclusion
Scanning documents wirelessly on an HP printer has become incredibly convenient and user-friendly. With just a few simple steps, you can effortlessly digitize your important papers, photos, and more. Whether you’re working from home, in the office, or on the go, the wireless scanning feature on your HP printer allows you to quickly and efficiently create digital copies.
Gone are the days of dealing with tangled wires and limited mobility when it comes to scanning. HP’s wireless printing technology has revolutionized the scanning process, providing a seamless experience for users. Whether you’re scanning a single page or a multi-page document, the wireless scanning feature on HP printers ensures that you can easily and conveniently capture high-quality digital copies.
So, say goodbye to the hassle of traditional scanning methods, and embrace the freedom and simplicity of wireless scanning on your HP printer. Enjoy the efficiency and convenience of transforming your physical documents into digital files with just a few clicks. With HP’s wireless printing technology, scanning has never been easier.
FAQs
1. Can I scan wirelessly on my HP printer?
Yes, most HP wireless printers come with built-in scanning capabilities. You can easily scan documents or photos wirelessly using your HP printer and send the scanned files directly to your computer or mobile device.
2. How do I set up scanning on my HP wireless printer?
To set up scanning on your HP wireless printer, first, make sure that your printer is connected to the same wireless network as your computer or mobile device. Then, install the necessary scanning software provided by HP. Once the software is installed, you can access the scanning function on your printer’s control panel or through the software on your computer.
3. What file formats can I scan with my HP wireless printer?
HP wireless printers support various file formats for scanning, including PDF, JPEG, TIFF, and PNG. You can choose the desired file format before initiating the scan. This allows you to have flexibility in saving your scanned documents or photos according to your requirements.
4. Can I scan multiple pages at once with my HP wireless printer?
Yes, many HP wireless printers come equipped with an Automatic Document Feeder (ADF) that allows you to scan multiple pages at once. Simply place the stack of documents into the ADF tray, select the scan settings, and let your printer handle the scanning process automatically.
5. How do I access the scanned files on my computer or mobile device?
Once you have completed the scanning process on your HP wireless printer, the scanned files will be saved on your computer or mobile device, depending on your preferred settings. To access the scanned files, navigate to the folder where they are saved and open them using the appropriate software or application for the chosen file format.