
Are you looking to set up your wireless HP Officejet 4500? Look no further! In this comprehensive guide, we will walk you through the step-by-step process of setting up your printer wirelessly. The HP Officejet 4500 is a versatile all-in-one printer that offers convenience and flexibility with its wireless capabilities. So whether you’re working from home or in a small office, this printer allows you to print, scan, copy, and fax without the hassle of wires. With our easy-to-follow instructions, you’ll be up and running in no time, enjoying the benefits of wireless printing. So let’s get started and make your printing experience more efficient and convenient!
Inside This Article
- Wireless HP Officejet 4500 Setup Guide
- Overview of the Wireless HP Officejet 4500
- Step-by-Step Instructions to Connect the Printer to a Wi-Fi Network
- Installing the Printer Drivers and Software
- Troubleshooting Common Wireless Setup Issues
- Conclusion
- FAQs
Wireless HP Officejet 4500 Setup Guide
We understand that setting up a new printer can be a bit daunting, especially when it comes to the wireless connection. In this comprehensive guide, we will walk you through the step-by-step process of setting up the Wireless HP Officejet 4500 printer and getting it connected to your Wi-Fi network. Whether you’re a tech-savvy individual or a beginner, we’ve got you covered!
Before we dive into the setup process, let’s take a moment to explore the Wireless HP Officejet 4500 and its features. This all-in-one printer offers a range of functionalities, including printing, scanning, copying, and faxing. With its wireless capabilities, you can conveniently print from anywhere within the network range, eliminating the need for connecting the printer directly to your computer.
Now, let’s get started with the wireless setup process. Follow these simple steps to connect your Wireless HP Officejet 4500 printer to your Wi-Fi network:
- Open the control panel on your printer and navigate to the “Wireless” or “Network” settings.
- Select the “Setup Wizard” option.
- The printer will start searching for available Wi-Fi networks. Select your network from the list.
- If your network is password-protected, enter your Wi-Fi password using the on-screen keyboard.
- Once you have entered the password correctly, the printer will connect to the network.
- Ensure that the wireless connection is successful by printing a wireless network test report.
That’s it! Your Wireless HP Officejet 4500 printer is now connected to your Wi-Fi network, allowing you to print wirelessly from your devices.
Now that your printer is connected, the next step is to install the necessary printer drivers and software. This will enable your computer or mobile device to communicate with the printer. Here’s how you can do it:
- Visit the official HP support website and search for the drivers and software for your specific printer model.
- Download the appropriate drivers and software for your operating system.
- Run the downloaded file and follow the on-screen instructions to complete the installation process.
- Once the installation is complete, restart your computer for the changes to take effect.
- Your computer is now ready to communicate with your Wireless HP Officejet 4500 printer.
While setting up a wireless printer is usually a smooth process, you might encounter some common issues. Here are a few troubleshooting tips to help you resolve them:
- Ensure that your printer is within the range of the Wi-Fi network.
- Double-check that you have entered the correct Wi-Fi password.
- Restart your printer and Wi-Fi router.
- Update the printer firmware to the latest version.
- Disable any firewall or antivirus software temporarily, as they can sometimes block the printer’s connection.
If you continue to experience issues, we recommend consulting the printer’s user manual or contacting the HP customer support for further assistance. They will be able to guide you through the troubleshooting process and help you get your Wireless HP Officejet 4500 printer up and running seamlessly.
Setting up a Wireless HP Officejet 4500 printer is a straightforward process that can greatly enhance your printing experience. With the ability to print wirelessly, you can enjoy the freedom of printing from any device within the network range. Follow this guide, and you’ll be ready to experience the convenience of a wireless printer in no time!
Overview of the Wireless HP Officejet 4500
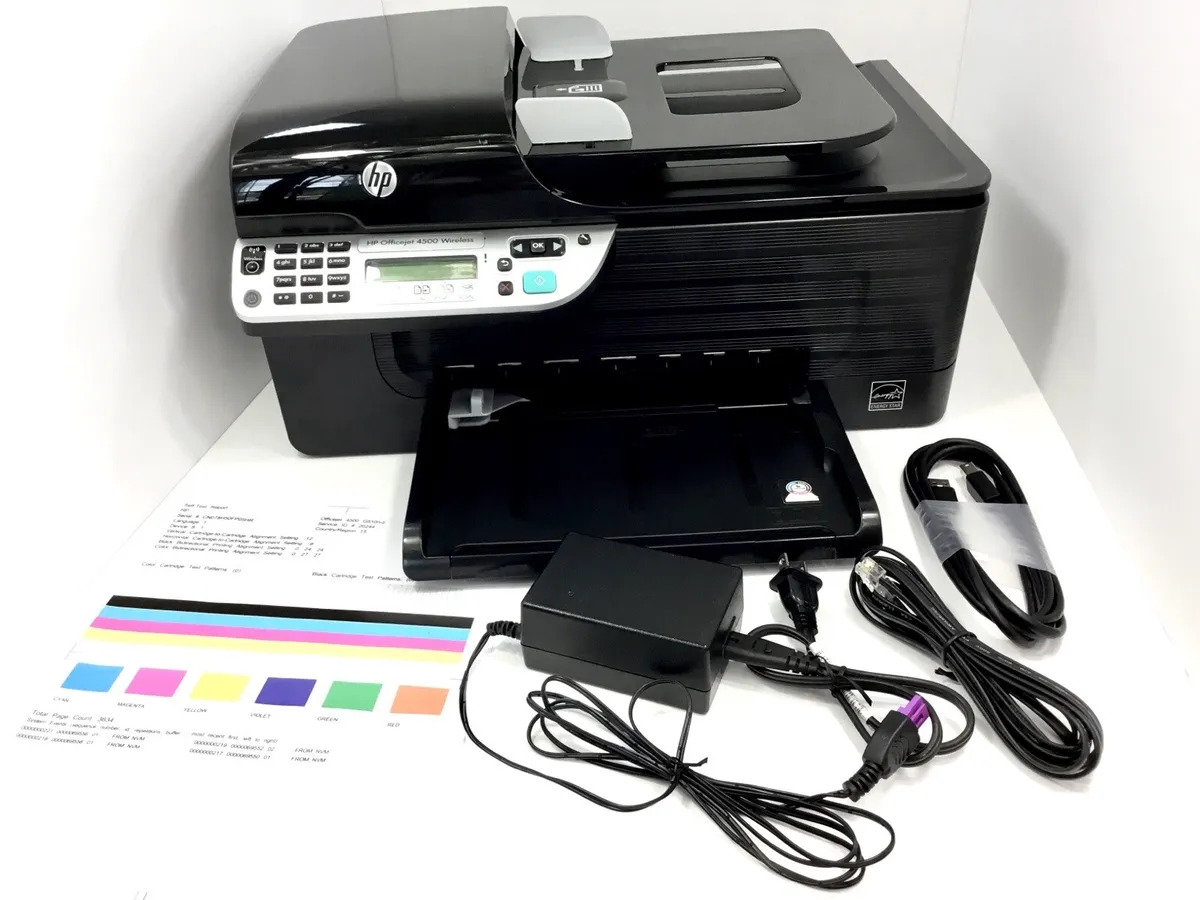
The Wireless HP Officejet 4500 is a versatile all-in-one printer that offers convenient wireless printing capabilities. With its sleek design and advanced features, it is a perfect choice for both home and office use.
This printer allows you to print, scan, copy, and fax documents wirelessly, eliminating the need for messy cables and wires. It supports wireless connectivity options like Wi-Fi, enabling you to print from multiple devices without the hassle of physically connecting them to the printer.
Equipped with high-quality printing technology, the Wireless HP Officejet 4500 ensures sharp and vibrant prints every time. Whether you need to print important documents, photos, or even professional-looking brochures, this printer is up to the task.
Step-by-Step Instructions to Connect the Printer to a Wi-Fi Network
Connecting the Wireless HP Officejet 4500 to your Wi-Fi network is a simple and straightforward process. Follow these step-by-step instructions to get your printer up and running:
- Turn on your printer and navigate to the control panel.
- Using the arrows and navigation buttons, locate the “Setup” or “Network” option and select it.
- Choose the “Wireless Setup Wizard” or “Wi-Fi Setup” option.
- Select your Wi-Fi network from the list of available networks.
- If prompted, enter your Wi-Fi network password and select “OK”.
- Wait for the printer to establish a connection with the Wi-Fi network. This may take a few minutes.
- Once the connection is established, the printer will display a confirmation message on the control panel.
- You can now start printing wirelessly from any device connected to the same Wi-Fi network.
Installing the Printer Drivers and Software
In order to fully utilize the features of the Wireless HP Officejet 4500, it is crucial to install the necessary drivers and software on your computer or mobile device.
Visit the official HP website and search for the printer model “Officejet 4500”. Find the “Downloads” section and select your operating system.
Download the appropriate driver and software package for your device and follow the on-screen instructions to install them. Once the installation is complete, your device will be able to communicate with the printer and access its full functionality.
Troubleshooting Common Wireless Setup Issues
While setting up your Wireless HP Officejet 4500, you may encounter some common issues. Here are a few troubleshooting tips to help you resolve them:
- Ensure that your printer is within range of the Wi-Fi network and no physical obstructions are blocking the signal.
- Double-check the Wi-Fi network password you entered. Make sure it is correct and free of any typos.
- Restart your printer and Wi-Fi router to refresh the connection.
- Update the printer drivers and firmware to the latest version available.
- If all else fails, contact HP support for further assistance.
By following these steps and troubleshooting tips, you can easily set up and connect your Wireless HP Officejet 4500 to your Wi-Fi network. Enjoy the convenience of wireless printing and unleash the full potential of your printer.
Conclusion
Setting up the wireless HP Officejet 4500 is a straightforward process that allows you to enjoy the convenience of wireless printing, scanning, and faxing. By following the steps outlined in this guide, you can easily connect your printer to your wireless network and start enjoying its features and functionalities.
Remember, having a wireless printer eliminates the need for cumbersome cables and enables you to conveniently print from anywhere within your home or office. Whether you need to print important documents, school assignments, or even photos, the HP Officejet 4500 has got you covered.
Now that you know how to set up your wireless HP Officejet 4500, you can confidently take advantage of its wireless capabilities. Say goodbye to the limitations of wired printing and embrace the freedom and flexibility that wireless printing offers.
So go ahead, get your wireless HP Officejet 4500 set up and start enjoying the convenience of wireless printing today!
FAQs
1. How do I set up the wireless connection for my HP Officejet 4500?
To set up the wireless connection for your HP Officejet 4500, follow these steps:
- Make sure your printer and computer are connected to the same wireless network.
- On the printer’s control panel, go to the “Network” or “Wireless” settings and select “Wireless Setup Wizard.”
- Follow the on-screen instructions to select your network and enter the network password, if required.
- Once the printer is connected to the network, install the printer software on your computer using the installation CD or by downloading the latest drivers and software from the HP website.
- During the setup process, select the wireless connection option and follow the prompts to complete the installation.
2. Can I print wirelessly from my smartphone or tablet to the HP Officejet 4500?
Yes, you can print wirelessly from your smartphone or tablet to the HP Officejet 4500. To do this, make sure your mobile device is connected to the same Wi-Fi network as the printer. Install the appropriate printer app on your device, such as the HP Smart app, and follow the instructions to set up the printer. Once the setup is complete, you can print documents, photos, and more directly from your mobile device.
3. How do I scan a document using the HP Officejet 4500?
To scan a document using the HP Officejet 4500, follow these steps:
- Place the document face-down on the scanner glass or in the automatic document feeder (ADF).
- On the printer’s control panel, select the “Scan” option.
- Choose the scan type, such as “Scan to Computer” or “Scan to Email.”
- Adjust any additional settings, such as the file format or resolution.
- Press the “Start” or “Scan” button to begin the scanning process. The scanned document will be saved to your computer or sent to the specified email address.
4. How do I troubleshoot common issues with the HP Officejet 4500?
If you encounter any issues with the HP Officejet 4500, try the following troubleshooting steps:
- Check the printer’s connection to the power source and ensure it is turned on.
- Verify that the printer is connected to the correct Wi-Fi network and has a stable connection.
- Update the printer firmware and software to the latest version.
- Restart the printer and your computer.
- If the issue persists, consult the printer’s user manual or visit the HP support website for further assistance.
5. How do I replace ink cartridges in the HP Officejet 4500?
To replace the ink cartridges in the HP Officejet 4500, follow these steps:
- Open the printer’s ink cartridge access door.
- Wait for the ink carriage to move to the center of the printer.
- Press down on the old ink cartridge to release it, and then slide it out of its slot.
- Remove the new ink cartridge from its packaging, and gently remove the protective tape.
- Insert the new ink cartridge into the corresponding slot and push it until it clicks into place.
- Close the ink cartridge access door and wait for the printer to initialize and align the cartridges.