
Welcome to our comprehensive guide on how to set up your Microsoft wireless keyboard. With advances in technology, wireless keyboards have become increasingly popular due to their convenience and versatility. Whether you are using a computer, laptop, or even a smart TV, setting up a wireless keyboard can greatly enhance your typing experience. In this article, we will walk you through the step-by-step process of setting up your Microsoft wireless keyboard, from unpacking the keyboard to connecting it to your device. Additionally, we will provide troubleshooting tips and answer some frequently asked questions to ensure a smooth and successful setup. So, grab your Microsoft wireless keyboard and let’s get started!
Inside This Article
- Point 1: Unboxing the Microsoft Wireless Keyboard
- Point 2: Connecting the Keyboard to your Device
- Point 3: Customizing Keyboard Settings
- Point 4: Troubleshooting Common Issues
- Conclusion
- FAQs
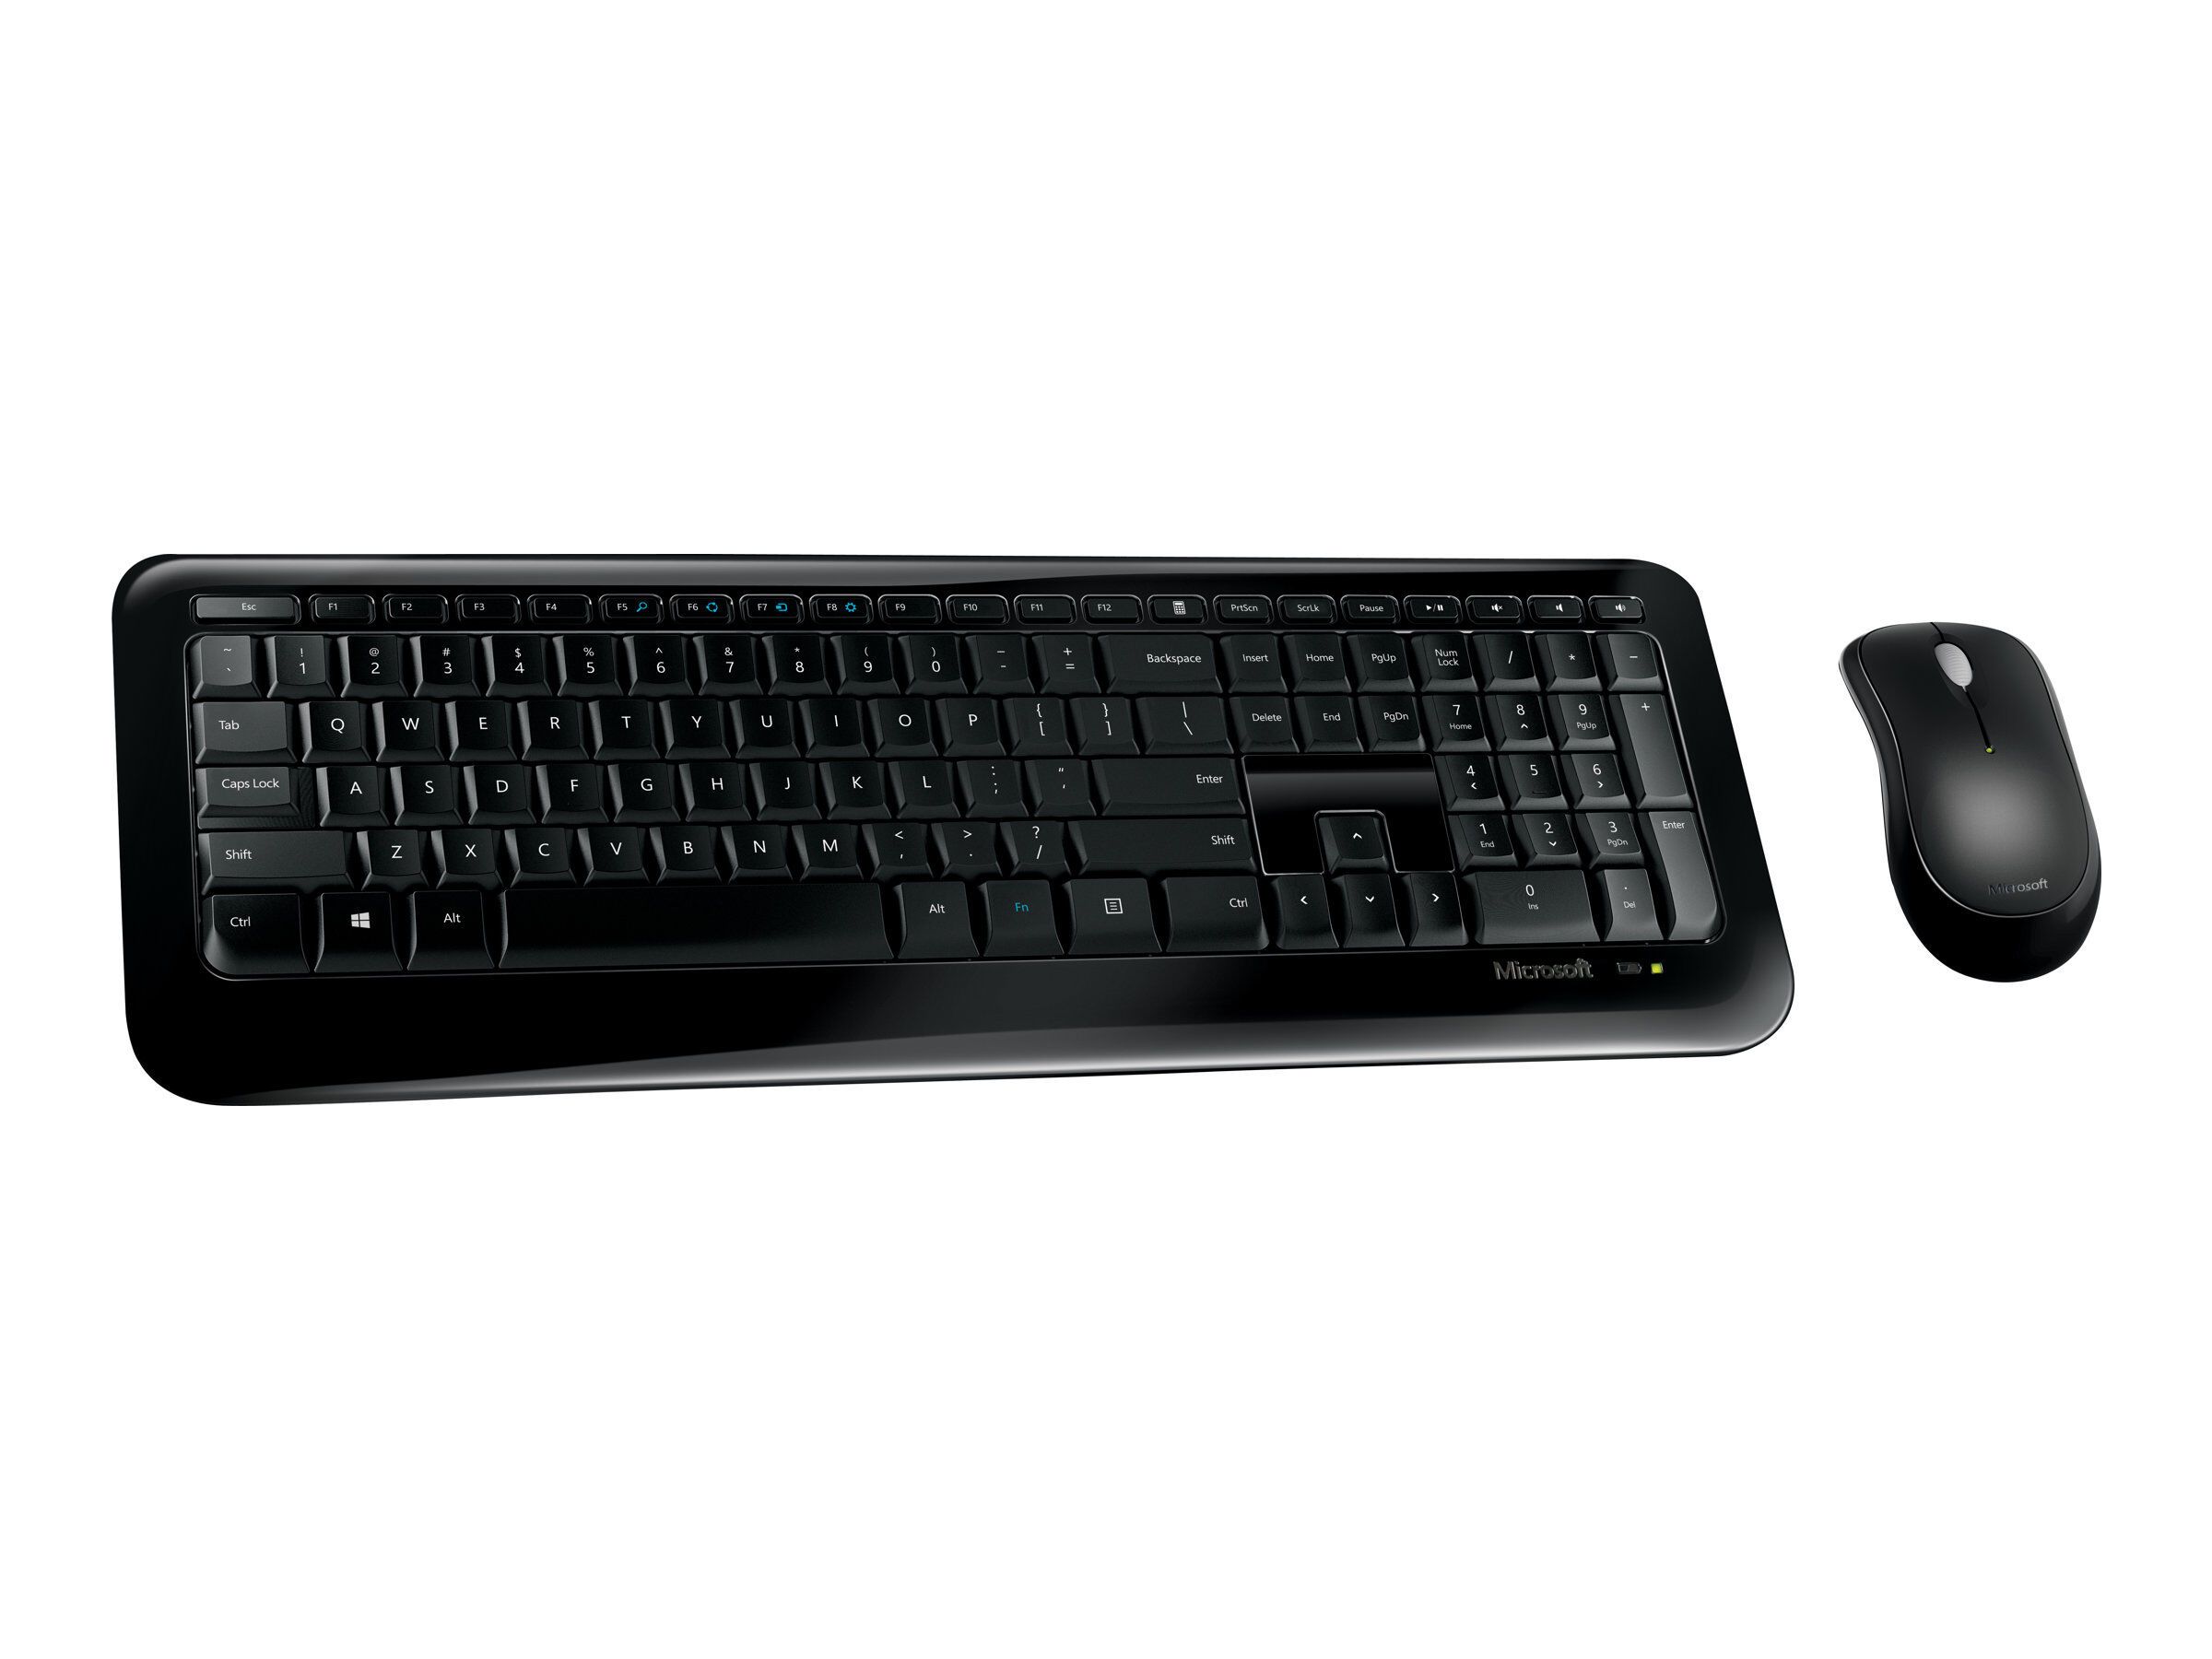
Point 1: Unboxing the Microsoft Wireless Keyboard
When you receive your brand new Microsoft Wireless Keyboard, the excitement of unboxing it is hard to contain. The sleek design and advanced features make it a popular choice for both work and personal use. To ensure you have a smooth and enjoyable experience, here are the steps to unbox your Microsoft Wireless Keyboard:
1. Remove the outer packaging: The first step is to carefully remove the outer packaging of the keyboard. Cut any adhesive tapes or seals keeping the box closed. Take a moment to appreciate the Microsoft branding on the box, which reflects the quality and innovation you can expect from their products.
2. Open the box: Once the outer packaging is removed, gently open the box. Inside, you will find the Microsoft Wireless Keyboard securely placed. Take a moment to admire its sleek and modern design.
3. Remove the protective cover: Next, you will need to remove any protective coverings from the keyboard. This ensures that you have a clean and pristine keyboard to use. Look for any plastic films or coverings and carefully peel them off.
4. Check the contents: As you unbox the Microsoft Wireless Keyboard, it’s important to check that all the necessary components are present. Typically, you will find the keyboard itself, a USB receiver, and any accompanying documentation or user manuals. Ensure that nothing is missing or damaged during transit.
5. Familiarize yourself with the keyboard layout: Before you start using your new Microsoft Wireless Keyboard, it’s a good idea to familiarize yourself with the layout and features. Take a moment to observe the placement of the keys, special function keys, and any additional buttons for volume control, media playback, or launching specific applications.
With these steps, you can successfully unbox your Microsoft Wireless Keyboard and prepare it for setup and use. It’s important to handle the keyboard with care to avoid any accidental damage. Now that you have unboxed your keyboard, it’s time to move on to the next step: connecting it to your device.
Point 2: Connecting the Keyboard to your Device
Once you have unboxed your Microsoft Wireless Keyboard, it’s time to connect it to your device. Follow these simple steps to ensure a smooth setup process:
1. Start by checking if your device has built-in Bluetooth capabilities. If it does, you can connect the keyboard wirelessly. If not, you may need to use a USB receiver that comes with the keyboard to establish a connection.
2. For devices with built-in Bluetooth, turn on the Bluetooth function by going to the settings menu and locating the Bluetooth option. Enable it if it is currently turned off.
3. Press the power button on the Microsoft Wireless Keyboard to turn it on. The power button is typically located at the top or side of the keyboard. Make sure the keyboard is in pairing mode.
4. On your device, navigate to the Bluetooth settings and search for available devices. The keyboard should appear in the list of available devices. Select it to initiate the pairing process.
5. If prompted, enter the pairing code or PIN displayed on your device. This is a security measure to ensure that only authorized users can connect to your keyboard. Follow the on-screen instructions to complete the pairing process.
6. Once the keyboard is successfully paired with your device, a confirmation message will appear on both the device and the keyboard. You can now start using the Microsoft Wireless Keyboard for typing and navigating.
Remember to keep the keyboard within the Bluetooth range of your device to maintain a stable connection. If you experience any connection issues, try moving closer to the device or removing any potential sources of interference, such as other wireless devices or metal objects.
If your device requires a USB receiver, simply plug the receiver into the USB port of your device and turn on the keyboard. The receiver will automatically establish a connection, and you can start using the keyboard immediately. Ensure that the USB receiver is securely connected to avoid any disruptions in the connection.
By following these steps, you can easily connect your Microsoft Wireless Keyboard to your device and enjoy a hassle-free typing experience. Whether you’re working, gaming, or simply browsing the internet, this wireless keyboard offers convenience and flexibility in one sleek package.
Point 3: Customizing Keyboard Settings
Once you have successfully connected your Microsoft Wireless Keyboard to your device, you may want to customize the settings to suit your preferences and improve your typing experience. Here are some key settings you can customize:
1. Layout and Language: Depending on your operating system, you can adjust the keyboard layout and language settings. This is particularly useful if you use multiple languages or have specific layout preferences. You can access these settings in the “Language & Region” or “Keyboard” settings on your device.
2. Hotkeys and Function Keys: Microsoft Wireless Keyboards often come with additional function keys and hotkeys that can be programmed to perform specific actions. For example, you can set up a hotkey to open a specific application or perform a certain task with just a press of a button. Check the user manual or download the manufacturer’s software to customize these keys.
3. Key Repeat and Delay: Adjusting the key repeat and delay settings can be helpful if you tend to type quickly or if you prefer a slower input speed. You can customize these settings in the keyboard settings section of your device’s operating system.
4. Multimedia Controls: Some Microsoft Wireless Keyboards come with multimedia controls, allowing you to easily control media playback, volume, and other functions. Check the user manual or the manufacturer’s website to learn how to customize these multimedia controls to your liking.
5. Power Management: To conserve battery life, you can modify the power management settings of your Microsoft Wireless Keyboard. This may include adjusting the backlight settings, enabling an automatic sleep mode, or setting a timeout period for the keyboard to turn off when not in use.
By customizing these keyboard settings, you can optimize your Microsoft Wireless Keyboard to suit your needs and enhance your typing experience. Experiment with the different options available and find the settings that work best for you.
Point 4: Troubleshooting Common Issues
While setting up your Microsoft Wireless Keyboard, you may encounter certain issues that can prevent it from functioning optimally. Here are some common troubleshooting tips to help you resolve these problems:
- No response from the keyboard: If the keyboard is not responding, first ensure that it is switched on. Verify that it is properly connected to your device and that the batteries are not depleted. Try replacing the batteries if necessary. Additionally, make sure there are no obstructions between the keyboard and the computer that may interfere with the wireless connection.
- Interference from other devices: Wireless keyboards, like the Microsoft Wireless Keyboard, can sometimes experience interference from other electronic devices in the vicinity. Move any such devices away from the keyboard and try using it again. The presence of wireless routers, cordless phones, or other wireless devices can disrupt the signal, so keeping them further apart may help establish a stable connection.
- Driver or software issues: Occasionally, driver or software problems can affect the functionality of your Microsoft Wireless Keyboard. Ensure that you have the latest drivers installed for your operating system. You can download the necessary drivers from the Microsoft website or use the automatic update feature on your computer.
- Bluetooth connectivity problems: If you are using a Bluetooth-enabled Microsoft Wireless Keyboard, ensure that Bluetooth is enabled on your device and that it is within the range of the keyboard. Disconnect any other Bluetooth devices that may be paired with your computer to avoid conflicts. If the problem persists, try resetting the Bluetooth connection between the keyboard and the device.
- Unresponsive or sticky keys: If certain keys on the keyboard are unresponsive or sticky, gently clean them using a soft, lint-free cloth and some rubbing alcohol. Be careful not to apply too much pressure or liquid, as this may damage the keys. If the issue persists, consider contacting Microsoft support for further assistance.
- Keyboard layout/language settings: Sometimes, keyboard input issues can arise due to incorrect layout or language settings. Ensure that the keyboard layout and language settings on your device match the physical layout of the Microsoft Wireless Keyboard. You can modify these settings in the operating system’s control panel or settings menu.
By following these troubleshooting tips, you should be able to overcome common issues and enjoy a seamless experience with your Microsoft Wireless Keyboard. If you need further assistance, consulting the user manual or reaching out to Microsoft support can provide you with additional guidance.
Conclusion
Setting up a Microsoft wireless keyboard is a straightforward process that can greatly enhance your computing experience. By following the simple steps outlined in this article, you can enjoy the convenience and freedom of a wireless keyboard.
Remember to ensure that your keyboard and computer are compatible, charge or replace the batteries as needed, and establish a stable wireless connection. Keep in mind that troubleshooting any potential issues may require checking the user manual or contacting Microsoft’s customer support.
With your Microsoft wireless keyboard successfully set up, you can enjoy comfortable typing, increased productivity, and a clutter-free workspace. Say goodbye to tangled cables and hello to wireless convenience.
So, go ahead and start enjoying the benefits of a Microsoft wireless keyboard today. Happy typing!
FAQs
1. How do I set up my Microsoft wireless keyboard?
Setting up your Microsoft wireless keyboard is a straightforward process. Follow these steps:
– Insert the batteries into the keyboard and make sure it is turned on
– Plug the USB receiver into an available USB port on your computer
– Your computer should automatically detect the keyboard and install the necessary drivers
– Once the installation is complete, your wireless keyboard should be ready to use
Remember to refer to the instruction manual that came with your keyboard for any specific setup instructions.
2. Can I use a Microsoft wireless keyboard with a Mac computer?
Yes, most Microsoft wireless keyboards are compatible with both Windows and Mac computers. However, it’s always recommended to check the product specifications or refer to the manufacturer’s website to ensure compatibility with your specific Mac model.
3. How far away can I use my Microsoft wireless keyboard?
The range of your Microsoft wireless keyboard can vary depending on the model and the environment. In general, you can expect a reliable connection within a range of about 30 feet (9 meters). Keep in mind that obstacles such as walls and other electronic devices can potentially decrease the range.
4. How do I connect my Microsoft wireless keyboard to a new computer?
If you want to connect your Microsoft wireless keyboard to a new computer, follow these steps:
– On the new computer, insert the USB receiver into an available USB port
– Turn on the keyboard and put it into pairing mode (refer to the instruction manual for specific instructions)
– Press the connect button on the USB receiver
– Your computer should detect the keyboard and automatically install the necessary drivers
Once the installation is complete, your wireless keyboard will be connected to the new computer.
5. How do I troubleshoot issues with my Microsoft wireless keyboard?
If you’re experiencing issues with your Microsoft wireless keyboard, here are a few troubleshooting steps:
– Ensure that the batteries in the keyboard are fresh and properly inserted
– Make sure the keyboard is turned on
– Check if the USB receiver is securely connected to the computer
– Restart your computer and see if the issue persists
– If none of the above steps work, refer to the instruction manual or visit the Microsoft support website for further assistance.