
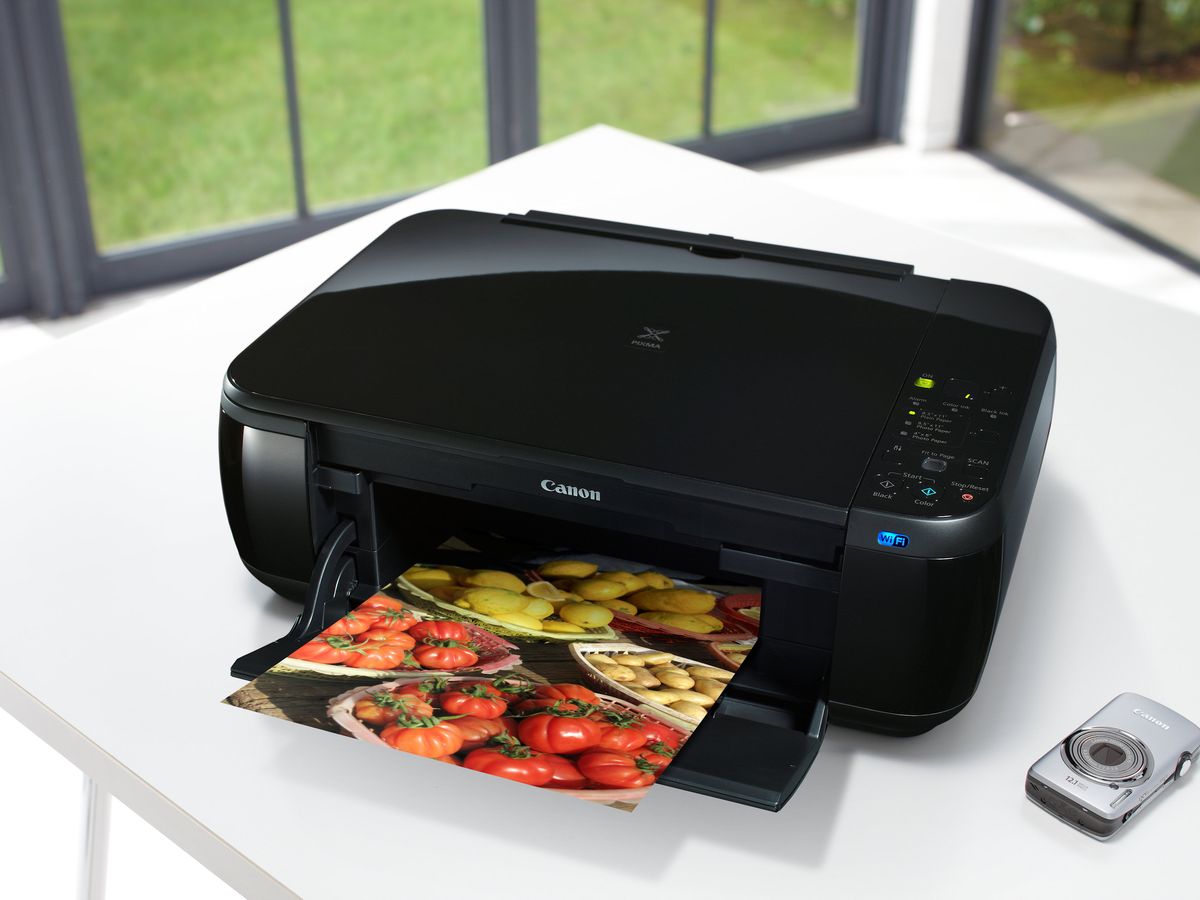
Setting up a wireless connection for your Canon MP495 printer can significantly improve your productivity and convenience. With a wireless setup, you can print documents and photos wirelessly from your computer, smartphone, or tablet, eliminating the need for messy cables and allowing for more flexible printing options.
In this article, we will guide you through the step-by-step process of setting up wireless connectivity for your Canon MP495 printer. Whether you’re a tech-savvy individual or someone who is not very familiar with technology, this guide will provide you with all the information you need to get your printer up and running wirelessly.
By the end of this article, you will have a clear understanding of how to connect your Canon MP495 printer to your Wi-Fi network, enabling you to print effortlessly from any device in your home or office.
Inside This Article
- Compatibility and Requirements
- Step 1: Connecting the Printer to Wi-Fi
- Step 2: Installing the Printer Software
- Step 3: Configuring the Wireless Connection
- Troubleshooting Tips and Common Issues
- Conclusion
- FAQs
Compatibility and Requirements
Before setting up your MP495 printer wirelessly, it’s important to ensure that you have the necessary compatibility and meet the requirements for a seamless setup process. Here are a few key factors to consider:
1. Device Compatibility: Verify that your device is compatible with the MP495 printer. The MP495 is compatible with both Windows and macOS operating systems, so make sure your computer or laptop meets the system requirements.
2. Network Compatibility: Check that your wireless network is compatible with the MP495 printer. The printer supports standard Wi-Fi networks, including the 802.11b/g/n standards, ensuring a stable connection.
3. Internet Connectivity: To complete the setup process and utilize various online features, such as cloud printing, make sure you have a stable internet connection. Connect your device to your Wi-Fi network before proceeding with the setup.
4. Software and Drivers: Ensure that you have the necessary software and drivers for the MP495 printer. Visit the Canon website and download the latest software and drivers for your specific operating system to ensure optimal performance.
5. Physical Space: Make sure you have adequate physical space for the printer. The MP495 printer requires a clear area for setup, with sufficient space to access paper trays, ink cartridges, and other components.
6. Power Source: Ensure that the printer is connected to a power source. Connect the power cord securely to an outlet or power strip to provide a consistent power supply during the setup process.
7. USB Cable (Optional): If you prefer to set up the printer using a USB connection before configuring the wireless connection, make sure you have a USB cable on hand. This step is optional but can be useful for troubleshooting or initial setup.
By verifying these compatibility and requirements before starting the wireless setup process, you’ll have a smooth and trouble-free experience while setting up your MP495 printer.
Step 1: Connecting the Printer to Wi-Fi
In order to set up your MP495 printer for wireless use, you’ll need to connect it to your Wi-Fi network. This step-by-step guide will walk you through the process:
1. Make sure your printer is turned on and ready to connect. Locate the Wi-Fi button on the printer – it may be labeled with an icon that resembles a signal or Wi-Fi symbol.
2. Press and hold the Wi-Fi button on your printer until the Wi-Fi light starts flashing. This indicates that the printer is in Wi-Fi setup mode.
3. On your computer, smartphone, or tablet, open your Wi-Fi settings. Look for the list of available networks and select the one with the name of your printer, such as “MP495” or “Canon MP495.”
4. Enter the Wi-Fi password if prompted. This is the password for your Wi-Fi network, not the printer itself. If you don’t know the password, you can usually find it on your Wi-Fi router or contact your internet service provider.
5. Once connected, the Wi-Fi light on your printer will stop flashing and remain solid. This indicates that the printer is successfully connected to your Wi-Fi network.
6. To confirm the connection, you can print a network setup page from your printer. Simply press and hold the Wi-Fi button until the power light flashes. Then release the button and a network setup page will print out.
7. Congratulations! Your MP495 printer is now connected to your Wi-Fi network. You can proceed to the next step of installing the printer software and configuring the wireless connection.
Remember, the process for connecting the printer to Wi-Fi may vary slightly depending on your specific printer model and Wi-Fi network setup. It’s always a good idea to consult your printer’s user manual for detailed instructions.
Step 2: Installing the Printer Software
After successfully connecting your Canon mp495 printer to Wi-Fi in the previous step, the next crucial step is to install the printer software on your computer. The software acts as a bridge between your computer and the printer, allowing you to send print commands wirelessly.
To begin the installation process, you will need the installation CD that came with your printer. Insert the CD into your computer’s CD/DVD drive and wait for the installation wizard to launch. If your computer doesn’t have a CD drive, don’t worry! You can download the necessary software from Canon’s official website.
Once the installation wizard appears on your screen, follow the on-screen instructions to proceed. The wizard will guide you through the installation process, including accepting the license agreement and selecting the installation location.
During the installation, you may be prompted to connect your printer to your computer using a USB cable. This step is necessary to establish a connection between the printer and the computer. Make sure the USB cable is securely inserted into both the printer and the computer before proceeding.
After connecting the printer via USB, continue following the on-screen instructions until the installation is complete. The software will automatically detect your printer and configure the necessary settings for a wireless connection.
Once the installation is finished, you can safely remove the USB cable from the printer and the computer. The printer software should now be installed and ready to use wirelessly. You can now start printing wirelessly from your computer or other devices connected to the same Wi-Fi network as the printer.
If you encounter any issues during the installation process, refer to the troubleshooting section of the printer’s user manual or contact Canon’s customer support for assistance.
Step 3: Configuring the Wireless Connection
Once you have successfully connected your MP495 printer to Wi-Fi and installed the necessary software, the next step is to configure the wireless connection. This will allow your printer to communicate with your computer or mobile device wirelessly, eliminating the need for any physical connections.
To configure the wireless connection for your MP495 printer, follow these simple steps:
1. Access the Printer’s Settings: Start by accessing the printer’s settings menu. Different printer models may have different methods for accessing the settings, but generally, you can find this option in the printer’s control panel or by navigating through the printer’s software on your computer.
2. Locate the Wireless Setup: Once you are in the printer’s settings menu, look for the option that allows you to configure the wireless setup. It is typically labeled as “Wireless,” “Network,” or “Wi-Fi Setup.” Select this option to proceed.
3. Connect to Wi-Fi Network: After selecting the wireless setup option, your printer will start scanning for available Wi-Fi networks. Locate and select your home or office network from the list. You may need to enter your Wi-Fi network’s password or security key, so make sure to have it handy.
4. Complete the Configuration: Once you have entered the required information, your printer will attempt to establish a connection to the selected Wi-Fi network. It may take a few moments for the printer to connect, so be patient. Once the connection is established, your printer is now successfully configured for wireless printing.
5. Test the Wireless Connection: To ensure that the wireless connection is working correctly, try printing a test page from your computer or mobile device. If the page prints successfully, then congratulations! Your MP495 printer is now ready for wireless printing.
It is important to note that the configuration process may vary slightly depending on your specific printer model. Consult your printer’s manual or the manufacturer’s website for detailed instructions and troubleshooting tips specific to your device.
By configuring the wireless connection, you have unlocked the convenience of wirelessly printing documents and photos from your computer or mobile device. Enjoy the freedom of printing hassle-free and say goodbye to tangled cords and cables!
Troubleshooting Tips and Common Issues
Setting up a wireless printer can sometimes come with its fair share of challenges. Fortunately, with a few troubleshooting tips and a little troubleshooting know-how, you can overcome common issues to ensure a smooth and successful setup. Here are some common problems you may encounter and their solutions:
1. Printer Not Found on the Network
If your printer is not being detected by the network, try the following steps:
- Make sure the printer is connected to the same Wi-Fi network as your computer.
- Check if the printer’s wireless function is enabled.
- Restart both the printer and your wireless router.
- Ensure that there are no physical obstructions between the printer and the router.
2. Slow Printing or Print Jobs Stuck in Queue
If printing is slow or if print jobs are getting stuck in the queue, try these solutions:
- Clear the print queue and restart the printer.
- Check if there is sufficient ink or toner in the printer cartridges.
- Reduce the print quality or switch to draft mode for faster printing.
- Update the printer drivers to the latest version.
3. Printer Offline or Not Responding
If your printer appears offline or is not responding, try these troubleshooting steps:
- Ensure that the printer is powered on and connected to the network.
- Restart the printer and your computer.
- Check the printer’s connection status in the control panel or settings.
- Remove and re-add the printer in the control panel or settings.
4. Poor Print Quality
If you are experiencing poor print quality, consider these possible solutions:
- Clean the printer heads or perform a printer maintenance cycle.
- Verify that you are using the correct print settings for your document.
- Replace any low or empty ink or toner cartridges.
- Ensure that the paper is properly loaded and not wrinkled or torn.
By following these troubleshooting tips, you can solve common issues and ensure a smooth wireless printer setup. However, if you encounter more complex problems or the solutions provided do not work, it may be necessary to consult the printer’s user manual or contact the manufacturer’s support for further assistance.
Conclusion
Setting up your Mp495 wireless printer can be a breeze with the right guidance. By following the step-by-step instructions outlined in this article, you can easily and quickly connect your printer to your wireless network. This will enable you to print documents and photos wirelessly from your computer, smartphone, or tablet.
Remember to ensure that your printer and wireless network meet the necessary requirements and have the latest software updates. If you encounter any issues during the setup process, consult the printer’s user manual or online support resources for troubleshooting assistance. With a little patience and perseverance, you’ll have your Mp495 printer up and running in no time!
Now that you’re familiar with the setup process, you can start enjoying the convenience of wireless printing. Say goodbye to tangled cables and hello to effortless printing from anywhere in your home or office. So go ahead, unleash the power of wireless technology and discover a new level of printing convenience with your Mp495 wireless printer.
FAQs
Q: Can I set up my MP495 printer to work wirelessly?
Yes! The Canon MP495 printer can be easily set up to work wirelessly, allowing you to print documents and photos conveniently from various devices without the need for connecting cables.
Q: What are the requirements for setting up my MP495 printer wirelessly?
To set up your MP495 printer wirelessly, you will need a Wi-Fi network, a computer or mobile device with Wi-Fi capabilities, and the operating instructions and installation CD-ROM that comes with the printer. Make sure your Wi-Fi network is functioning properly and that you have the necessary wireless security information, such as the network name (SSID) and network password.
Q: How do I set up my MP495 printer wirelessly?
To set up your MP495 printer wirelessly, follow these steps:
- Ensure that your Wi-Fi network is working properly.
- Place your printer within the range of your Wi-Fi router.
- Turn on your printer and press the Wi-Fi button until the blue Wi-Fi light flashes.
- Go to your computer or mobile device’s Wi-Fi settings and connect to your printer’s network.
- Run the installation CD-ROM that came with your printer or download the necessary drivers and software from the Canon website.
- Follow the on-screen instructions to complete the setup process.
Q: Can I print from my mobile device using the MP495 printer?
Yes! The MP495 printer supports mobile printing, allowing you to print wirelessly from your smartphone or tablet. You can use various mobile printing apps such as Canon PRINT Inkjet/SELPHY or Apple AirPrint (for iOS devices) to send print jobs to your MP495 printer. Simply connect your mobile device to the same Wi-Fi network as your printer and follow the app’s instructions to print your documents or photos.
Q: What if I encounter issues during the wireless setup process?
If you encounter any issues during the wireless setup process for your MP495 printer, here are a few troubleshooting steps you can try:
- Ensure that your Wi-Fi network is functioning properly.
- Restart your printer and the device you are trying to connect from.
- Make sure you are within the range of your Wi-Fi router.
- Double-check that you have entered the correct network name (SSID) and password.
- Update the firmware of your MP495 printer to the latest version.
- Contact Canon support for further assistance if the issue persists.