
Are you facing difficulties with your wireless router? Is your internet connection slow or unstable? Restarting your wireless router can often be the solution to these problems. It’s a simple yet effective troubleshooting step that can resolve a wide range of connectivity issues. In this article, we will guide you through the process of restarting your wireless router, step-by-step. Whether you’re a tech-savvy individual or a beginner, rest assured that we will provide clear and concise instructions so you can get your internet up and running smoothly again. So, let’s dive in and discover how to restart your wireless router and restore a stable and reliable internet connection!
Inside This Article
- Step 1: Power Cycling the Router
- Step 2: Resetting the Router to Factory Settings
- Step 3: Updating the Router Firmware
- Step 4: Contacting Technical Support
- Conclusion
- FAQs
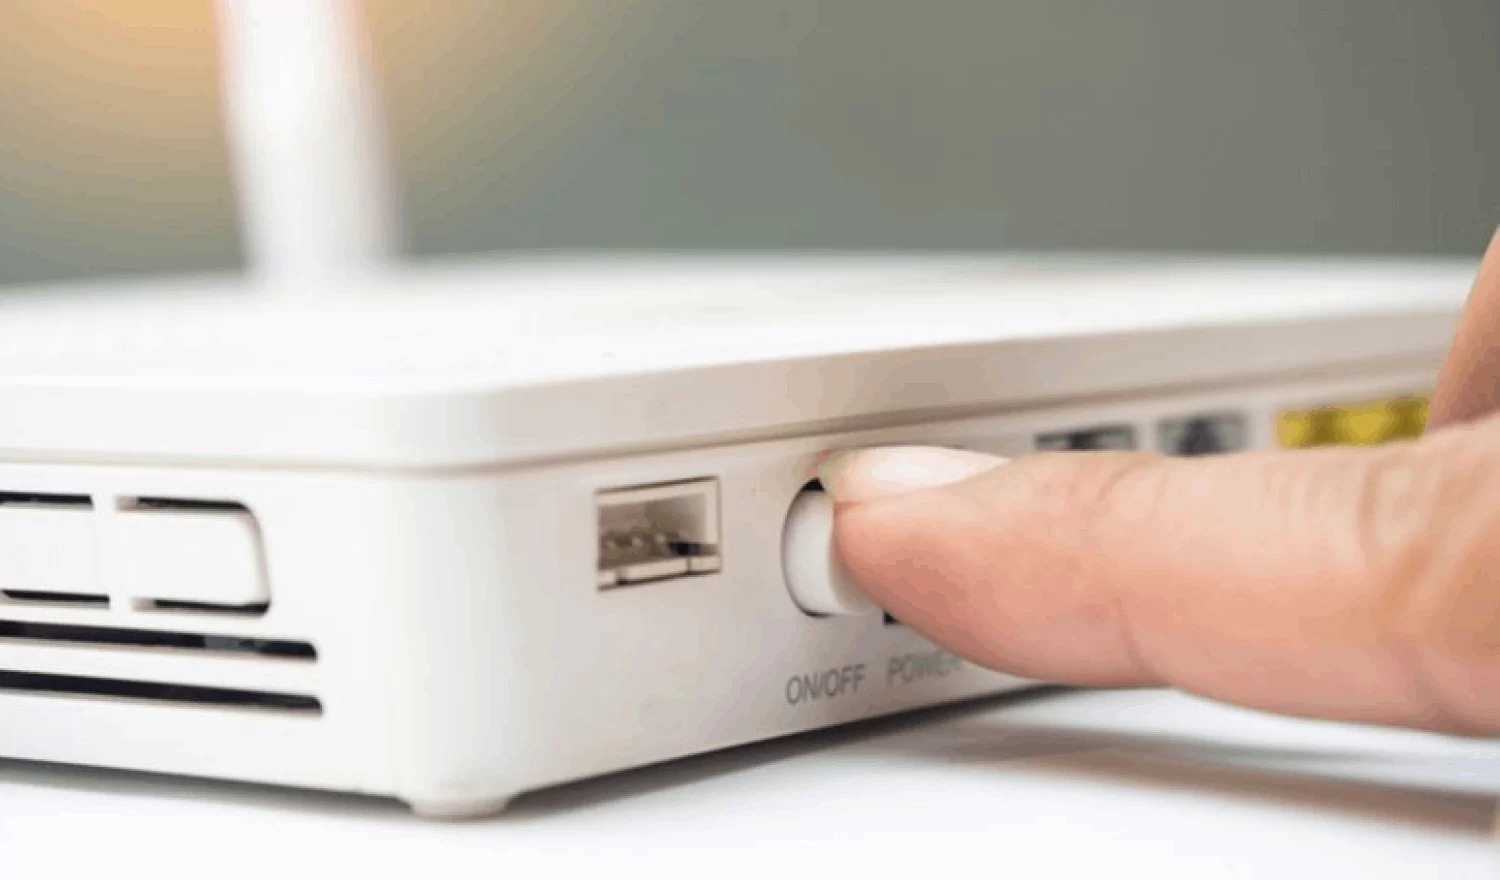
Step 1: Power Cycling the Router
One of the simplest and most effective ways to restart a wireless router is by power cycling it. This process involves turning off the router, waiting for a few seconds, and then turning it back on. Power cycling helps to refresh the router’s system and can often resolve connectivity issues.
To power cycle the router, follow these steps:
-
Locate the power button or the power cord on your router. It is usually located at the back or on the side of the device.
-
Press the power button to turn off the router. If your router doesn’t have a power button, simply unplug the power cord from the wall outlet.
-
Wait for about 10-15 seconds to allow the router to fully power down.
-
Reconnect the power cord to the router or press the power button to turn it back on.
-
Wait for a few minutes for the router to initialize and establish a connection with your devices.
Power cycling the router can help resolve various issues, such as slow internet speed, intermittent connectivity problems, or network disruptions. It is recommended to power cycle your router periodically to keep it running smoothly.
Step 2: Resetting the Router to Factory Settings
If you’re experiencing persistent connectivity issues with your wireless router, resetting it to factory settings can often resolve the problem. This process, known as a hard reset, will restore the router back to its original configuration and erase any customized settings or preferences. Here’s a step-by-step guide on how to reset your router to factory settings.
1. Locate the reset button: To perform a hard reset, you’ll need to locate the reset button on your router. The button is usually a small, recessed hole labeled “reset” or a small button that you can press using a paperclip or a similar tool.
2. Power off the router: Before proceeding with the reset, it’s important to power off the router by unplugging it from the power source. This ensures a clean reset and prevents any potential damage to the device.
3. Press and hold the reset button: Using a paperclip or a similar tool, press and hold the reset button for about 10-15 seconds. Make sure to apply a firm and steady pressure. You may need to use a flashlight to clearly see the reset button on your router.
4. Release the reset button: After holding the reset button for the specified time, release it. The router will now begin the reset process, indicated by blinking lights or other status indications. Be patient and wait for the process to complete.\
5. Power on the router: Once the reset process is complete, you can power on the router by plugging it back into the power source. Allow the router a few moments to boot up and establish a connection.
6. Reconfigure your router: After the reset, the router will be restored to its factory default settings. This means you’ll need to reconfigure the router’s network name (SSID) and password, as well as any other customized settings you previously had.
It’s important to note that resetting your router to factory settings will remove any personalized configurations and preferences, including port forwarding, parental controls, and DHCP reservations. Make sure to take note of any important settings before performing the hard reset.
By following these steps, you should be able to successfully reset your wireless router to its factory settings, resolving any persistent connectivity issues you may have been experiencing. If the problem persists after resetting the router, it may be necessary to contact your internet service provider for further assistance.
Step 3: Updating the Router Firmware
Updating the firmware of your wireless router is an essential step to keep it running smoothly and securely. Firmware is the software that controls the functionality of your router, and updating it ensures that you have the latest features and security patches.
To update the firmware, you will need to follow these steps:
1. Determine your router model: The first step is to identify the exact model of your wireless router. This information can usually be found on the router itself or in the user manual. Once you have the model number, visit the manufacturer’s website to find the latest firmware version for your specific router model.
2. Download the firmware: Once you have found the appropriate firmware for your router, download it from the manufacturer’s website. Make sure to save the file to a location on your computer where you can easily access it.
3. Access the router’s administration page: To update the firmware, you will need to access your router’s administration page. Open a web browser and enter your router’s IP address. This address is typically found on the bottom of the router or in the user manual.
4. Login to the router: If you have not changed the default login credentials, enter the default username and password to login to the router’s administration page. If you have changed the login details, use the updated credentials to access the page.
5. Locate the firmware update option: Once you are logged in, navigate to the firmware update section. This option may be located under a different name such as “System” or “Maintenance”. Read the router’s user manual or consult the manufacturer’s website for specific instructions on locating the firmware update option.
6. Upload the firmware file: In the firmware update section, there should be an option to upload the firmware file that you downloaded earlier. Click on the “Browse” or “Choose File” button and locate the file on your computer. Select it and click “Upload” to start the firmware update process.
7. Wait for the update to complete: The firmware update process may take several minutes to complete. Do not interrupt the process or turn off the router during this time, as it may lead to problems with the router’s functionality.
8. Verify the update: After the firmware update is complete, the router will reboot. Once it is back online, log in to the administration page again and verify that the firmware version has been updated. If the update was successful, you are now running the latest firmware on your wireless router.
Updating the firmware of your wireless router is important for maintaining optimal performance and security. It is recommended to check for firmware updates periodically and ensure that your router is always running the latest version.
Step 4: Contacting Technical Support
Despite your best efforts to restart your wireless router, you may still encounter issues that cannot be resolved on your own. This is when it’s time to reach out to technical support for assistance. Whether you’re experiencing slow internet speeds, connection drops, or any other network problems, contacting the experts can help you identify and address the root cause of the issue.
The first step in contacting technical support is to gather all the necessary information. Make sure to jot down the model number and manufacturer of your wireless router. This information will help the support team understand your specific setup and provide accurate solutions. Additionally, take note of any error messages or symptoms you’re experiencing, as this will help expedite the troubleshooting process.
Once you have all the pertinent details, you can proceed to contact technical support. Most wireless router manufacturers offer multiple channels for support, including phone, email, and live chat. Choose the method that is most convenient for you and initiate the communication.
When reaching out to technical support, be prepared to describe the issue you’re facing in detail. This includes providing a clear account of the symptoms, any error messages, and the steps you’ve already taken to troubleshoot the problem. The more information you can provide, the easier it will be for the support team to assess the situation and provide an effective solution.
During your interaction with technical support, try to be patient and polite. Remember that the support team is there to assist you and resolve the issue. They may ask you to perform certain actions or provide additional information, so make sure to follow their instructions carefully. If needed, take notes during the call or chat to ensure that you have a record of the troubleshooting steps.
In some cases, technical support may determine that the issue cannot be resolved remotely and suggest further steps. This could include scheduling a technician to visit your premises or recommending a replacement for your wireless router if it’s deemed faulty. Follow their guidance and cooperate with any necessary actions to facilitate a resolution.
Once the issue has been resolved, make sure to thank the technical support team for their assistance. Their expertise and guidance have helped you get back on track with your wireless router, and expressing your appreciation is a polite way to conclude the interaction.
If you encounter a similar issue in the future, you can refer back to this guide or consider bookmarking the support resources provided by the manufacturer. Being equipped with the knowledge of how to restart your wireless router and when to seek technical support will help you maintain a reliable and efficient network connection.
Conclusion
In conclusion, restarting your wireless router is a simple yet effective way to troubleshoot various issues and improve your internet connectivity. By following the step-by-step guide provided in this article, you can easily restart your router and resolve common problems such as slow speeds, connection drops, or network conflicts.
Remember to give your router ample time to reboot and establish connections before testing your internet connection. If the issue persists even after restarting your router, you may want to consider contacting your internet service provider or performing further troubleshooting steps.
Regularly restarting your router can also help maintain its performance and prevent potential network conflicts. It’s a good practice to schedule a reboot every few weeks or whenever you notice a decline in your internet speed or stability.
By taking the time to understand how to restart your wireless router, you empower yourself to properly maintain and troubleshoot your home network, ensuring a seamless and reliable internet experience for all your connected devices.
FAQs
1. Why would I need to restart my wireless router?
There are several reasons why you might need to restart your wireless router. One common reason is when you are experiencing slow internet speeds or a loss of connection. Restarting the router can help resolve these issues by resetting the network settings and clearing any temporary glitches or conflicts.
2. How do I restart my wireless router?
Restarting a wireless router is a simple process. First, locate the power button or switch on the router. Press the power button to turn off the router. Wait for a few seconds, typically around 10 to 15 seconds, and then turn it back on by pressing the power button again. Give the router a few moments to fully boot up and establish a connection.
3. Will restarting the router affect my internet settings?
Restarting the router will not affect your internet settings. Typically, the router will remember all the settings and configurations you have previously made. However, if you have made any recent changes to the settings and haven’t saved them, it is recommended to save your settings before restarting the router.
4. How often should I restart my wireless router?
There is no exact timeframe for how often you should restart your wireless router. It is generally a good practice to restart your router periodically, especially if you experience internet connectivity issues or notice a significant decrease in speed. Some people prefer to restart their routers once a week, while others may do it less frequently. Ultimately, it depends on your specific network setup and usage patterns.
5. Are there any alternatives to restarting the router?
In some cases, there may be alternatives to restarting your wireless router. One option is to log into the router’s admin interface and check for any firmware updates. Updating the router’s firmware can help improve performance and resolve connectivity issues without the need to restart. Additionally, you can try power cycling your modem, which involves turning off both the modem and router, waiting for a few seconds, and then turning them back on in the correct order.