
Setting up voicemail on your Verizon Wireless phone is an essential step to ensure that you never miss an important message. Voicemail allows callers to leave messages when you’re unable to answer your phone, providing a convenient way for you to stay connected with friends, family, and colleagues. Whether you’re a new Verizon Wireless customer or simply need a refresher, this article will guide you through the easy steps to set up your voicemail correctly. With just a few minutes of your time, you’ll be ready to receive and retrieve voicemail messages anytime, anywhere. So, let’s get started and make sure you’re making the most out of your Verizon Wireless phone’s voicemail features!
Inside This Article
- Overview
- Step 1: Accessing the Voicemail Menu
- Step 2: Setting Up a Personal Greeting
- Step 3: Recording a Voicemail Message
- Step 4: Managing Voicemail Options
- Troubleshooting Tips
- Conclusion
- FAQs
Overview
Setting up voicemail on your Verizon Wireless device is a simple and convenient way to ensure you never miss an important message. Whether you’re using a smartphone or a basic cell phone, Verizon Wireless offers easy-to-follow steps to enable, access, and customize your voicemail settings. In this guide, we’ll walk you through the process of setting up voicemail on your Verizon Wireless device, so you can start managing your messages efficiently.
By activating your voicemail service, you’ll have the ability to receive and listen to voice messages left by your contacts. Whether it’s a personal call or a business inquiry, voicemail allows you to access these messages at your convenience, even if you are unable to answer the phone. With customizable greetings and various voicemail options, you can personalize your voicemail experience to suit your needs.
From enabling voicemail to accessing it for the first time, personalizing your voicemail greeting, and managing your voicemail settings, we’ll cover everything you need to know to get started with voicemail on your Verizon Wireless device. Keep reading to discover the step-by-step instructions and helpful tips to make the most out of your voicemail service.
Step 1: Accessing the Voicemail Menu
Setting up voicemail on your Verizon Wireless device is quick and easy. The first step is to access the voicemail menu. Here’s how:
1. From your Verizon Wireless device, open the Phone app. This is usually represented by a green icon with the image of a phone receiver.
2. Tap on the “Voicemail” tab at the bottom of the screen. This will bring you to the voicemail menu.
3. If prompted, enter your voicemail password. This will typically be the last four digits of your Verizon Wireless phone number.
4. Once you’re in the voicemail menu, you’ll have access to various options and settings to customize your voicemail experience.
That’s it! You have successfully accessed the voicemail menu on your Verizon Wireless device. Now, let’s move on to the next step in setting up your voicemail.
Step 2: Setting Up a Personal Greeting
Once you have successfully accessed your voicemail for the first time, the next step is to set up a personal greeting. Your personal greeting is what callers will hear when they reach your voicemail. It’s a great opportunity to leave a professional or personalized message that reflects your personality or brand.
To set up a personal greeting, follow these simple steps:
- After accessing your voicemail, listen to the main menu options.
- Choose the option for “Greetings” or “Personal Greetings.”
- Select the option to record a new greeting.
- Follow the prompts to record your personal greeting.
- Review your recording and choose the option to save it.
It’s important to keep your personal greeting concise and professional. Speak clearly and confidently, and make sure to include key information, such as your name and a polite request for the caller to leave a message. If you prefer a more casual or creative greeting, feel free to add a touch of personality to make it unique.
Remember to review and save your greeting to ensure that it’s set as your default greeting. You can always update or change your greeting at any time by following these steps again.
Step 3: Recording a Voicemail Message
Now that you have successfully enabled and accessed your voicemail on Verizon Wireless, it’s time to personalize your voicemail message. A custom voicemail greeting adds a personal touch and lets your callers know that they have reached the right person. Follow these simple steps to record your voicemail message:
1. Dial the voicemail number from your Verizon Wireless device to access your voicemail inbox.
2. Once you are connected to your voicemail, navigate to the voicemail settings menu.
3. Look for the option to record a new greeting message. It may be labeled as “Record Greeting,” “Change Greeting,” or something similar.
4. Select the option to record a new greeting and wait for the prompt to start recording.
5. When prompted, speak clearly and start recording your custom voicemail message. You can show your creativity and personality in your message, but ensure that it remains professional and informative.
6. Follow the instructions provided to stop recording your voicemail message when you’re done.
7. After recording your voicemail greeting, you may have the option to listen to it and re-record if necessary. Take this opportunity to ensure that your voicemail message sounds clear and concise.
8. Once you are satisfied with your voicemail greeting, save the changes and exit the voicemail settings menu.
Congratulations! You have successfully recorded a custom voicemail message on your Verizon Wireless device. Now, anyone who calls you and reaches your voicemail will hear your personalized greeting and know they have reached the right person.
Remember to periodically check your voicemail and update your greeting if necessary. A fresh and updated voicemail message can make a positive impression on callers and enhance communication efficiency.
Note: If you have difficulty recording your voicemail message or accessing the voicemail settings menu, you may need to refer to the user manual provided by Verizon Wireless or contact their customer support for assistance.
Step 4: Managing Voicemail Options
Once you have set up your voicemail on Verizon Wireless, you have the ability to manage various options and settings to personalize your voicemail experience. Here are some key options you can explore:
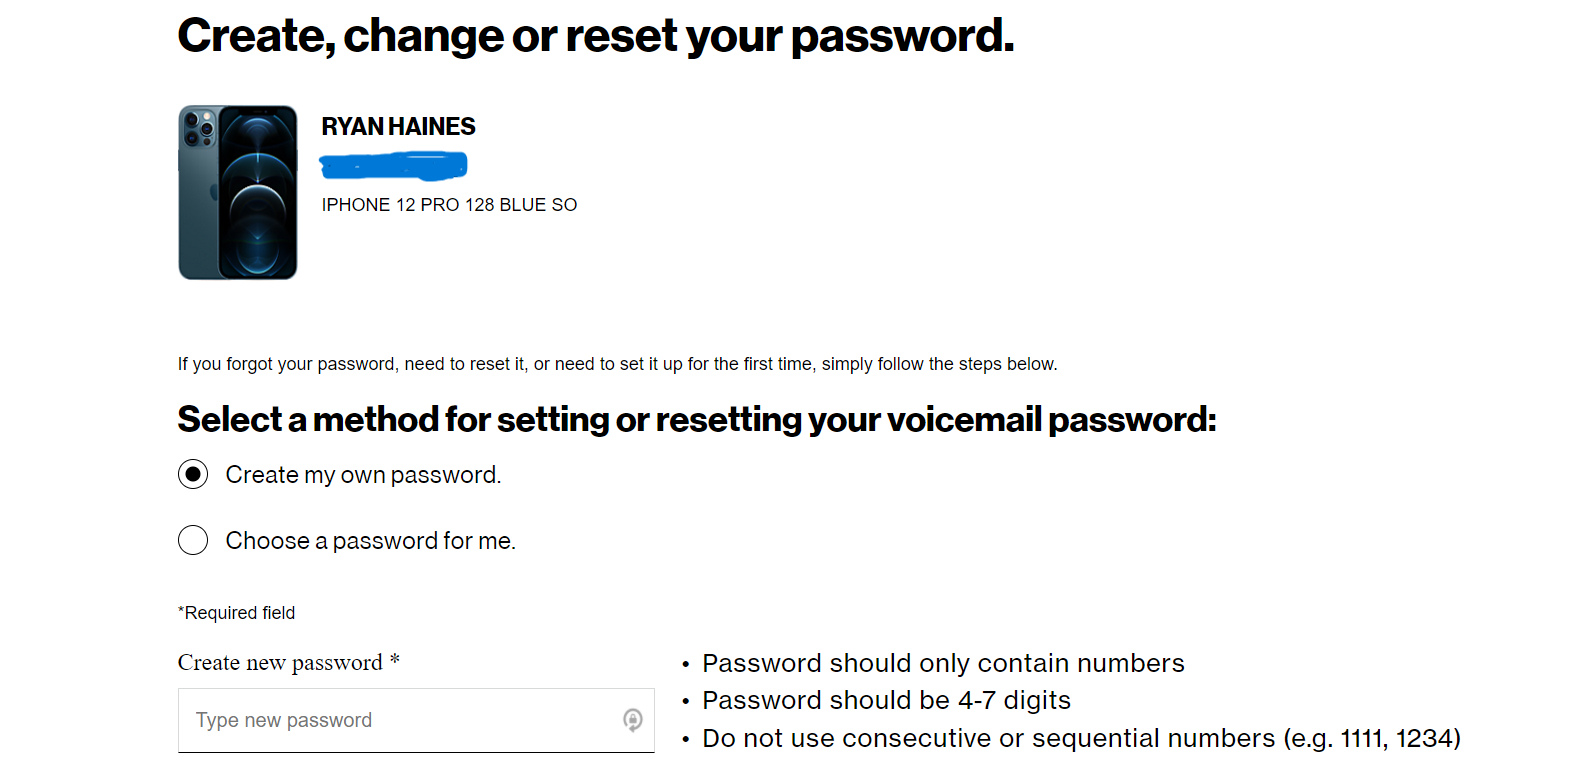
1. Change Your Voicemail Password: To ensure the security of your voicemail, it is recommended to change your password periodically. You can easily do this by accessing the voicemail settings on your Verizon Wireless device and following the prompts to update your password.
2. Set Up Voicemail Transcriptions: If you prefer to read your voicemail messages instead of listening to them, Verizon Wireless offers a transcription service. This feature can transcribe your voicemail messages and send them to you as text messages or emails.
3. Enable/Disable Visual Voicemail: Visual Voicemail is a convenient feature that displays your voicemail messages visually on your device’s screen, allowing you to select and listen to them in any order. You can enable or disable this feature in your voicemail settings.
4. Manage Greetings: Verizon Wireless allows you to customize your voicemail greetings for different situations. You can record personal greetings, busy greetings, and out-of-office greetings to suit your needs. Access your voicemail settings to set up and manage these greetings.
5. Set Up Voicemail Notifications: Stay informed about new voicemail messages by enabling voicemail notifications. You can choose to receive text messages, emails, or visual notifications on your device when a new voicemail arrives.
6. Delete Voicemail Messages: Regularly delete unwanted or old voicemail messages to free up storage space on your Verizon Wireless device. Access your voicemail inbox and follow the prompts to delete individual or multiple messages.
7. Change Playback Options: Customize the way you listen to your voicemail messages by changing the playback options. Verizon Wireless allows you to adjust the playback speed, skip or replay messages, and more to enhance your voicemail experience.
8. Access Additional Voicemail Features: Verizon Wireless offers additional features like voicemail to email, voicemail forwarding, and international roaming voicemail. These features may require additional setup or subscription, so check with your carrier for more information.
By exploring and managing these voicemail options on Verizon Wireless, you can tailor your voicemail experience to your preferences, ensuring that you never miss an important message and that your voicemail system remains personalized and secure.
Troubleshooting Tips
When it comes to using your cell phone, encountering technical issues can be frustrating. However, with a little troubleshooting knowledge, you can often resolve these issues on your own. Here are some helpful tips to troubleshoot common problems:
1. Restart Your Phone: One of the simplest and most effective troubleshooting steps is to restart your phone. This can help resolve minor software glitches and refresh the system.
2. Check Your Signal: If you’re experiencing issues with call quality or data connectivity, check your signal strength. Weak or fluctuating signals can cause disruptions. Try moving to a different location or disabling and re-enabling airplane mode to refresh the connection.
3. Clear Cache and Data: Over time, cached data can accumulate on your device, slowing it down or causing app crashes. Clearing the cache and data can help improve performance. Go to your phone’s settings, select the app in question, and choose the option to clear cache and data.
4. Update Device Software: Keeping your phone’s software up to date is crucial for optimal performance. New software updates often contain bug fixes and improvements that can resolve common issues. Check for software updates in your phone’s settings and install any available updates.
5. Check for App Updates: If certain apps on your phone are malfunctioning, it’s a good idea to check for updates. Outdated app versions can be incompatible with newer software versions and may cause issues. Visit the app store on your phone and update the problematic apps.
6. Remove Problematic Apps: If a specific app is causing persistent issues, consider uninstalling and then reinstalling it. This can help resolve conflicts or corruption within the app.
7. Reset Network Settings: If you’re experiencing network-related issues, resetting your network settings can often resolve them. Keep in mind that doing this will remove saved Wi-Fi passwords, so be prepared to re-enter them. Go to your phone’s settings and look for the option to reset network settings.
8. Perform a Factory Reset: If all else fails and you are still experiencing major issues, performing a factory reset should be your last resort. This will erase all data on your phone, so make sure to back up your important files first. Go to your phone’s settings and look for the option to perform a factory reset.
By following these troubleshooting tips, you can often effectively resolve common issues with your cell phone. If problems persist, it’s advisable to reach out to your service provider or seek professional assistance from a trusted technician.
Setting up voicemail on your Verizon Wireless device is a straightforward process that ensures you never miss an important message again. By following the simple steps outlined in this article, you can easily customize your voicemail settings and have full control over your incoming calls.
From personalizing your greeting message to setting up password protection, Verizon Wireless offers a range of options to suit your needs. Remember to check your voicemail regularly and keep your mailbox organized to stay on top of your messages.
Now that you know how to set up voicemail on Verizon Wireless, take a few minutes to configure your voicemail settings and experience the convenience of accessing your messages on the go. Don’t let important calls go unanswered – let your voicemail do the work for you!
FAQs
1. What is voicemail?
Voicemail is a feature provided by most cell phone carriers that allows callers to leave voice messages for you when you are unable to answer the phone.
2. How do I set up voicemail on Verizon Wireless?
To set up voicemail on Verizon Wireless, follow these steps:
– Dial *86 from your Verizon Wireless phone.
– Follow the prompts to create a voicemail password and record your name greeting.
– Once you have completed the setup, you can access your voicemail by dialing *86 or by pressing and holding the “1” key on your phone’s keypad.
3. Can I access my voicemail from a different phone?
Yes, you can access your Verizon Wireless voicemail from any phone. Simply dial your Verizon Wireless number, wait for the voicemail greeting to start playing, and press the “*” key. Follow the prompts to enter your voicemail password and listen to your messages.
4. How can I change my voicemail password on Verizon Wireless?
To change your voicemail password on Verizon Wireless, follow these steps:
– Dial *86 from your Verizon Wireless phone.
– Press the “#” key to access the main menu.
– Select “4” to change your personal options.
– Follow the prompts to change your voicemail password.
5. Is there a time limit on voicemail messages?
Yes, there is typically a time limit on voicemail messages. The maximum length of a voicemail message can vary depending on the carrier. On Verizon Wireless, the maximum length for a voicemail message is typically around three minutes.