
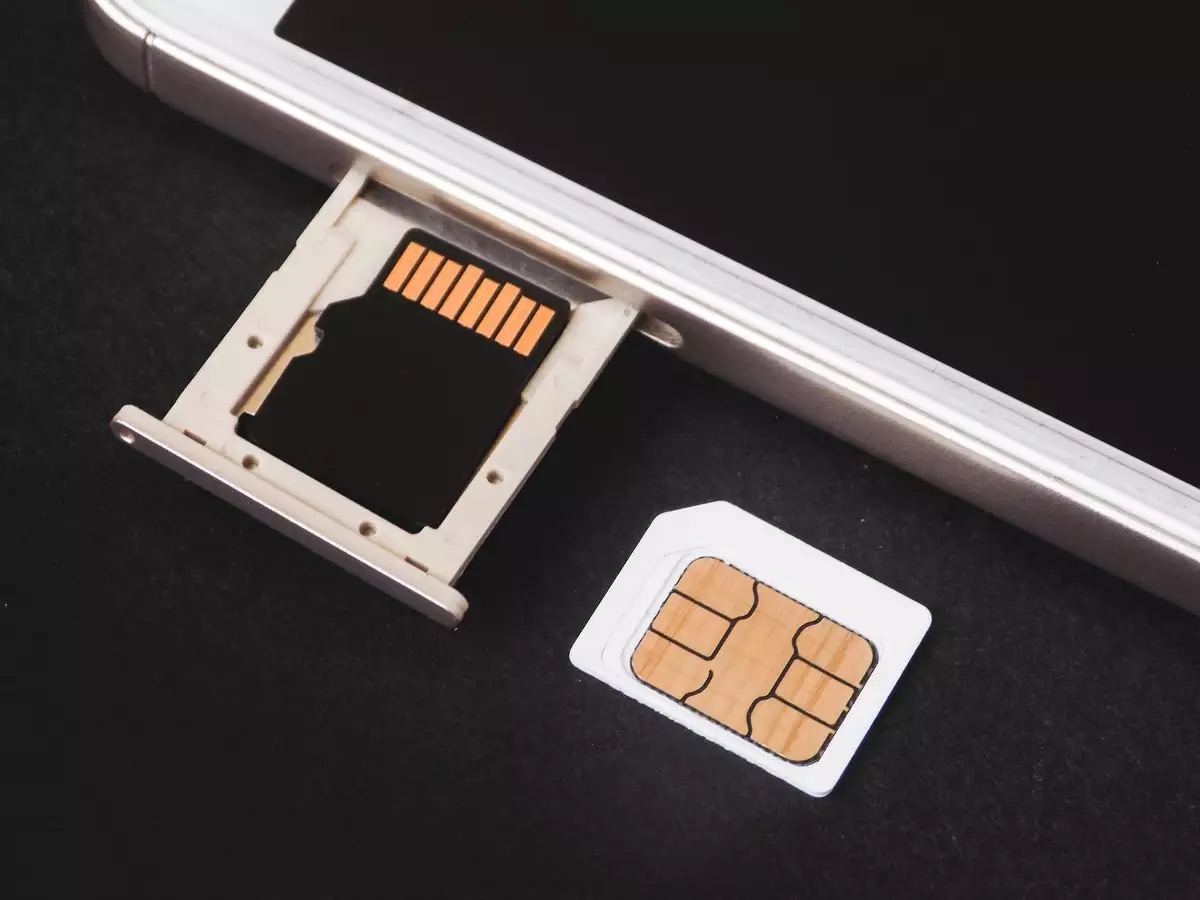
Are you running out of storage space on your Android device? Running out of space can slow down your device and make it difficult to download new apps or store important files. Fortunately, there is a simple solution: transferring data from your Android device to an SD card. With an SD card, you can expand your device’s storage capacity and enjoy more room for your photos, videos, music, and other files.
In this article, we will guide you through the process of transferring data from your Android device to an SD card. Whether you have a large collection of photos or need to move some heavy files, we have you covered. Follow the steps below to free up space on your Android device and take advantage of the benefits of using an SD card.
Inside This Article
- Enable Developer Options on your Android device
- Connect your Android device to a computer via USB cable
- Transfer data from Android device to computer
- Transfer data from computer to SD Card
- Conclusion
- FAQs
Enable Developer Options on your Android device
If you want to transfer data from your Android device to an SD card, you’ll need to enable the Developer Options on your device. This option unlocks additional settings and features that are not typically available to casual users. Here’s how you can enable Developer Options on your Android device:
1. Go to the “Settings” app on your Android device.
2. Scroll down and tap on “About Phone” or “About Device” (the wording may vary depending on your device).
3. Look for the “Build Number” or “Build Version” option – it is usually located at the bottom of the list.
4. Tap on the “Build Number” or “Build Version” option repeatedly (about seven times) until you see a message indicating that you have enabled Developer Options.
Once you have successfully enabled Developer Options, you can proceed with the next steps to transfer data to your SD card.
Connect your Android device to a computer via USB cable
Transferring data from your Android device to a computer can be done easily by connecting the two devices using a USB cable. The USB connection allows for a direct and secure transfer of files, ensuring that your data is safely backed up or moved to another storage location. Follow the steps below to connect your Android device to a computer:
1. First, make sure your Android device and computer are both powered on and ready for connection.
2. Locate the USB cable that came with your Android device. It should have a standard USB connector on one end and a micro USB, USB-C, or Lightning connector on the other end, depending on the type of device you have.
3. Plug the USB connector into an available USB port on your computer. You may need to locate a free port on the front, back, or side of your computer tower or the USB ports on your laptop.
4. Next, using the appropriate connector, plug the other end of the USB cable into the charging port on your Android device. The charging port is typically located either at the bottom or the side of your device.
5. Once the cable is securely connected to both your Android device and computer, you should see a notification on your Android device indicating that it is connected via USB.
6. On your Android device, swipe down from the top of the screen to access the notification panel. Tap on the notification that says “USB for charging” or similar. This will open a menu with different USB connection options.
7. Select the option that says “File transfer” or “Transfer files” from the available options. This will enable your Android device to transfer data to and from your computer.
8. Now, on your computer, open the file explorer or file manager program. This can typically be found in the “This PC” or “My Computer” section on Windows, or the “Finder” on Mac.
9. In the file explorer or file manager program, you should see your Android device listed as a connected device. Click on it to open the device’s storage.
10. From here, you can navigate through the folders on your Android device and locate the files you want to transfer. Simply drag and drop the desired files from your Android device to a folder on your computer to initiate the transfer.
11. Wait for the transfer to complete. The time it takes will depend on the size of the files being transferred and the speed of your USB connection.
12. Once the transfer is finished, you can safely disconnect your Android device from the computer by unplugging the USB cable.
Following these steps will allow you to establish a seamless connection between your Android device and computer using a USB cable. It enables you to quickly and conveniently transfer your important data, such as photos, videos, documents, and more, ensuring that they are securely backed up or easily accessible on your computer.
Transfer data from Android device to computer
Transferring data from your Android device to a computer is a straightforward process that allows you to backup and manage your files more efficiently. Whether you want to free up space on your device or keep a copy of important files, here’s how you can transfer data from your Android device to a computer.
1. Start by connecting your Android device to your computer using a USB cable. Make sure to use the cable that came with your device or a compatible one to ensure a reliable connection.
2. On your Android device, swipe down from the top of the screen to access the notification panel. Tap on the USB notification and select “File Transfer” or “Transfer files” depending on your device’s manufacturer.
3. Once your device is connected as a media device, open the File Explorer or Finder on your computer. You should see your Android device listed as a removable storage device or under the “This PC” or “Devices and Drives” section.
4. Double-click on your Android device to open it and navigate to the folder where the files you want to transfer are located. This may vary depending on the file type (e.g., photos, videos, documents).
5. Select the files or folders you wish to transfer by clicking and dragging your mouse over them. Alternatively, you can hold the Ctrl (or Command on a Mac) key while clicking on individual files to select multiple items.
6. Once you have selected the files, right-click and choose “Copy” from the context menu. Alternatively, you can use the Ctrl+C (or Command+C on a Mac) keyboard shortcut.
7. Navigate to the desired location on your computer where you want to store the transferred files. This can be your desktop, a specific folder, or an external hard drive.
8. Right-click on the destination folder and choose “Paste” from the context menu. Alternatively, you can use the Ctrl+V (or Command+V on a Mac) keyboard shortcut to paste the files into the folder.
9. Depending on the size and number of files being transferred, the process may take a few minutes. You can monitor the progress by looking at the file transfer dialog or progress bar, if available.
That’s it! Once the transfer is complete, you can safely disconnect your Android device from the computer by unplugging the USB cable or using the “Eject” option in the system tray or Finder.
Transferring data from your Android device to a computer not only provides a backup but also allows for easy organization and management of your files. Whether you’re transferring photos, videos, documents, or any other type of content, following these simple steps will help you successfully transfer data from your Android device to your computer.
Transfer data from computer to SD Card
Transferring data from your computer to an SD card is a simple process. Whether you want to transfer documents, photos, videos, or music, follow these steps to ensure a successful transfer:
1. Connect your SD card to your computer. Most computers have an SD card slot, but if yours doesn’t, you can use an SD card reader that connects via USB.
2. Once connected, your computer should recognize the SD card as a removable storage device. Open File Explorer (Windows) or Finder (Mac) and navigate to the location where your files are stored.
3. Select the files or folders you want to transfer to the SD card. You can do this by holding the Ctrl key (Windows) or the Command key (Mac) and clicking on each file or folder.
4. Right-click on the selected files and choose “Copy” from the context menu. Alternatively, you can use the keyboard shortcut Ctrl+C (Windows) or Command+C (Mac) to copy the files.
5. Now, navigate to the SD card in File Explorer (Windows) or Finder (Mac). You will see it listed as a separate drive.
6. Right-click on an empty space in the SD card’s directory and choose “Paste” from the context menu. Alternatively, use the keyboard shortcut Ctrl+V (Windows) or Command+V (Mac) to paste the files.
7. Wait for the transfer process to complete. The time taken will depend on the size of the files being transferred.
8. Once the transfer is finished, safely eject the SD card from your computer. On Windows, right-click on the SD card drive and choose “Eject” from the context menu. On Mac, drag the SD card icon to the trash bin and wait for it to disappear before removing it.
9. Your data is now successfully transferred to the SD card. You can now safely remove it from your computer and use it in any compatible device.
Remember to always safely eject the SD card before removing it to avoid any data corruption. Additionally, make sure the SD card has enough free space to accommodate the files you want to transfer.
By following these straightforward steps, you can easily transfer your data from your computer to an SD card, freeing up storage space on your computer and ensuring your files are accessible on other devices.
Conclusion
Transferring data from your Android device to an SD card is a simple and effective way to free up storage space and ensure your files are safely stored. Whether you want to transfer photos, videos, music, or documents, the process can be easily accomplished using the methods outlined in this article.
By following the step-by-step instructions provided, you can seamlessly transfer your data and enjoy the benefits of having extra storage space on your device. Not only does this help improve the overall performance of your Android phone, but it also gives you peace of mind knowing that your valuable files are backed up on an external storage medium.
So, if you find yourself running out of space on your Android device, don’t panic. Simply transfer your data to an SD card and free up that valuable storage space. It’s a quick and easy solution that can help you stay organized, keep your files safe, and have more room for all the things you love on your phone.
FAQs
1. Why would I want to transfer data from my Android phone to an SD card?
Transferring data from your Android phone to an SD card can free up space on your device, allowing you to store more files, photos, and videos. It also serves as a backup solution, ensuring that your important data is safe in case anything happens to your phone.
2. What type of data can be transferred to an SD card?
Various types of data can be transferred to an SD card, including photos, videos, music, documents, and even certain apps. However, it is important to note that not all apps can be moved to an SD card, as some require specific internal storage for proper functioning.
3. How do I check if my Android phone supports an SD card?
To check if your Android phone supports an SD card, go to the Settings menu, then select “Storage” or “Storage & USB.” Here, you will find information about your device’s storage, including whether it has an SD card slot or not.
4. What is the process for transferring data from Android to an SD card?
The process for transferring data from Android to an SD card may vary slightly depending on your device, but generally, you can follow these steps:
- Insert the SD card into your Android phone’s SD card slot.
- Go to the Settings menu and select “Storage” or “Storage & USB.”
- Tap on “Internal storage” or “Phone storage,” then select the specific type of data you want to transfer (e.g., Photos).
- Tap on the files or folders you want to move to the SD card and select the “Move” or “Copy” option.
- Navigate to the SD card, either through the “Storage” menu or a file manager app, and paste the data onto the SD card.
5. Is it safe to remove the SD card from my Android phone?
Yes, it is generally safe to remove the SD card from your Android phone. However, it is important to follow the proper procedure to prevent data loss or damage. Before removing the SD card, go to the Settings menu, select “Storage” or “Storage & USB,” and choose the “Eject” or “Unmount” option for the SD card. Once you receive a notification that the card can be safely removed, you can proceed to physically remove it from the phone.