
Are you the proud owner of an Android smartphone? If so, you probably have a lot of apps, photos, videos, and music stored on your device. While the internal storage on most phones is often sufficient, there may come a time when you need some extra space. This is where a SD card comes in handy. SD cards are small, portable storage devices that can be easily inserted into your Android phone, providing you with additional memory to store your files. But how do you use an SD card on your Android device? In this article, we will guide you through the process of using an SD card on Android, step by step. So, let’s get started and make the most of your Android phone’s storage capabilities!
Inside This Article
- How to Use SD Card on Android
- Format SD Card
- Insert SD Card on Android Device
- Manage Storage Settings for SD Card on Android
- Conclusion
- FAQs
How to Use SD Card on Android
SD cards are a convenient way to expand the storage capacity of your Android device. Whether you want to store photos, videos, music, or apps, an SD card can help you free up space on your device’s internal storage. In this guide, we will walk you through the process of using an SD card on your Android device.
Format SD Card
Before you can use an SD card on your Android device, it needs to be properly formatted. Formatting erases all the data on the card and prepares it for use. To format an SD card on Android, follow these steps:
- Insert the SD card into your Android device.
- Open the Settings app and scroll down to the “Storage” or “Storage & USB” option.
- Tap on the SD card option. If you have multiple storage options, make sure to select the correct SD card.
- Tap on the “Format” option. This will erase all the data on the SD card.
- Follow the on-screen prompts to complete the formatting process.
Once the SD card is formatted, it is ready to be used on your Android device.
Insert SD Card on Android Device
To insert an SD card on your Android device, follow these steps:
- Locate the SD card slot on your Android device. It is usually on the side or back of the device, hidden behind a small cover.
- Gently insert the SD card into the slot, making sure it is fully inserted.
- If the SD card is not detected automatically, go to the Settings app and open the “Storage” or “Storage & USB” option.
- Tap on the SD card option and select “Mount” or “Mount SD card”.
- Your Android device will now recognize the SD card and it will be ready for use.
Note: Some Android devices may have multiple slots for SIM cards and SD cards. Make sure to insert the SD card into the correct slot.
Manage Storage Settings for SD Card on Android
Once you have inserted and formatted the SD card on your Android device, you can manage its storage settings. Here are some key features and options:
- Move Apps to SD Card: Some Android devices allow you to move apps from the internal storage to the SD card to free up space. To do this, go to the Settings app, open the “Apps” or “Application Manager” option, select the app you want to move, and tap on the “Move to SD card” option if available.
- Change Default Storage Location: On some Android devices, you can change the default storage location for photos, videos, and other files. Go to the Settings app, open the “Storage” or “Storage & USB” option, and look for the “Default storage location” or “Storage settings” option.
- Transfer Files to SD Card: To transfer files from your Android device’s internal storage to the SD card, you can use the built-in file manager or a third-party file manager app. Simply select the files you want to move, tap on the “Move” or “Copy” option, and choose the SD card as the destination.
- Ejecting the SD Card: When you want to remove the SD card from your Android device, go to the Settings app, open the “Storage” or “Storage & USB” option, tap on the SD card option, and select the “Unmount” or “Eject” option. Wait for the device to confirm that it is safe to remove the SD card, then gently remove it from the slot.
With these steps, you can easily use and manage an SD card on your Android device, expanding its storage capacity and organizing your files more efficiently. Enjoy the extra space and versatile storage options!
Format SD Card
Formatting an SD card on your Android device is a simple process that ensures optimal performance and compatibility. Whether you have a new SD card or want to erase the data on an existing one, formatting is the way to go. Here’s how you can format an SD card on your Android device:
1. Open Settings: First, go to the Settings app on your Android device. You can find the app icon in your app drawer or by swiping down from the top of the screen and tapping the gear-shaped icon in the quick settings panel.
2. Navigate to Storage: Once you’re in the Settings app, scroll down until you find the “Storage” or “Storage and USB” option. Tap on it to access the storage settings.
3. Find the SD Card: In the storage settings, you should see a list of storage options, including your device’s internal storage and any external SD card that is inserted. Tap on the SD card option to continue.
4. Tap on “Format” or “Erase SD Card”: Depending on your Android device and the manufacturer’s custom user interface, the option to format or erase the SD card may be labeled differently. Look for the option that mentions formatting or erasing the SD card and tap on it.
5. Confirm the Action: Before formatting the SD card, your Android device will prompt you to confirm the action. Formatting will erase all data stored on the SD card, so make sure you have backed up any important files before proceeding. If you’re certain, tap on the confirmation button to start the formatting process.
6. Wait for Formatting to Complete: The formatting process may take a few moments, depending on the size of the SD card and the speed of your Android device. During this time, do not remove the SD card or disrupt the process. Once the formatting is complete, your Android device will notify you.
7. Set Up the SD Card: After formatting, you may need to set up the SD card again. Follow the prompts on your Android device to choose how you want to use the SD card—for storing media files, as portable storage, or as internal storage.
That’s it! You have successfully formatted your SD card on your Android device, freeing it up for use and ensuring compatibility. Remember, formatting will erase all data on the SD card, so it’s important to back up any important files before proceeding.
Insert SD Card on Android Device
Inserting an SD card into your Android device is a simple process that allows you to expand the storage capacity and easily transfer files, photos, and videos. Here’s a step-by-step guide on how to insert an SD card on your Android device.
- Power off your Android device: Before inserting the SD card, make sure your device is powered off. This precaution ensures that you don’t accidentally damage the card or interfere with any ongoing processes.
- Locate the SD card slot: Most Android devices have a designated slot for the SD card. It is usually located on the side or back of the device. If you have trouble finding it, refer to your device’s user manual or perform a quick online search specific to your device model.
- Open the SD card slot: Use a SIM card removal tool or a small paperclip to eject the SD card tray. Insert the tool into the tiny hole provided and gently push to release the tray. Carefully pull out the SD card tray once it pops out.
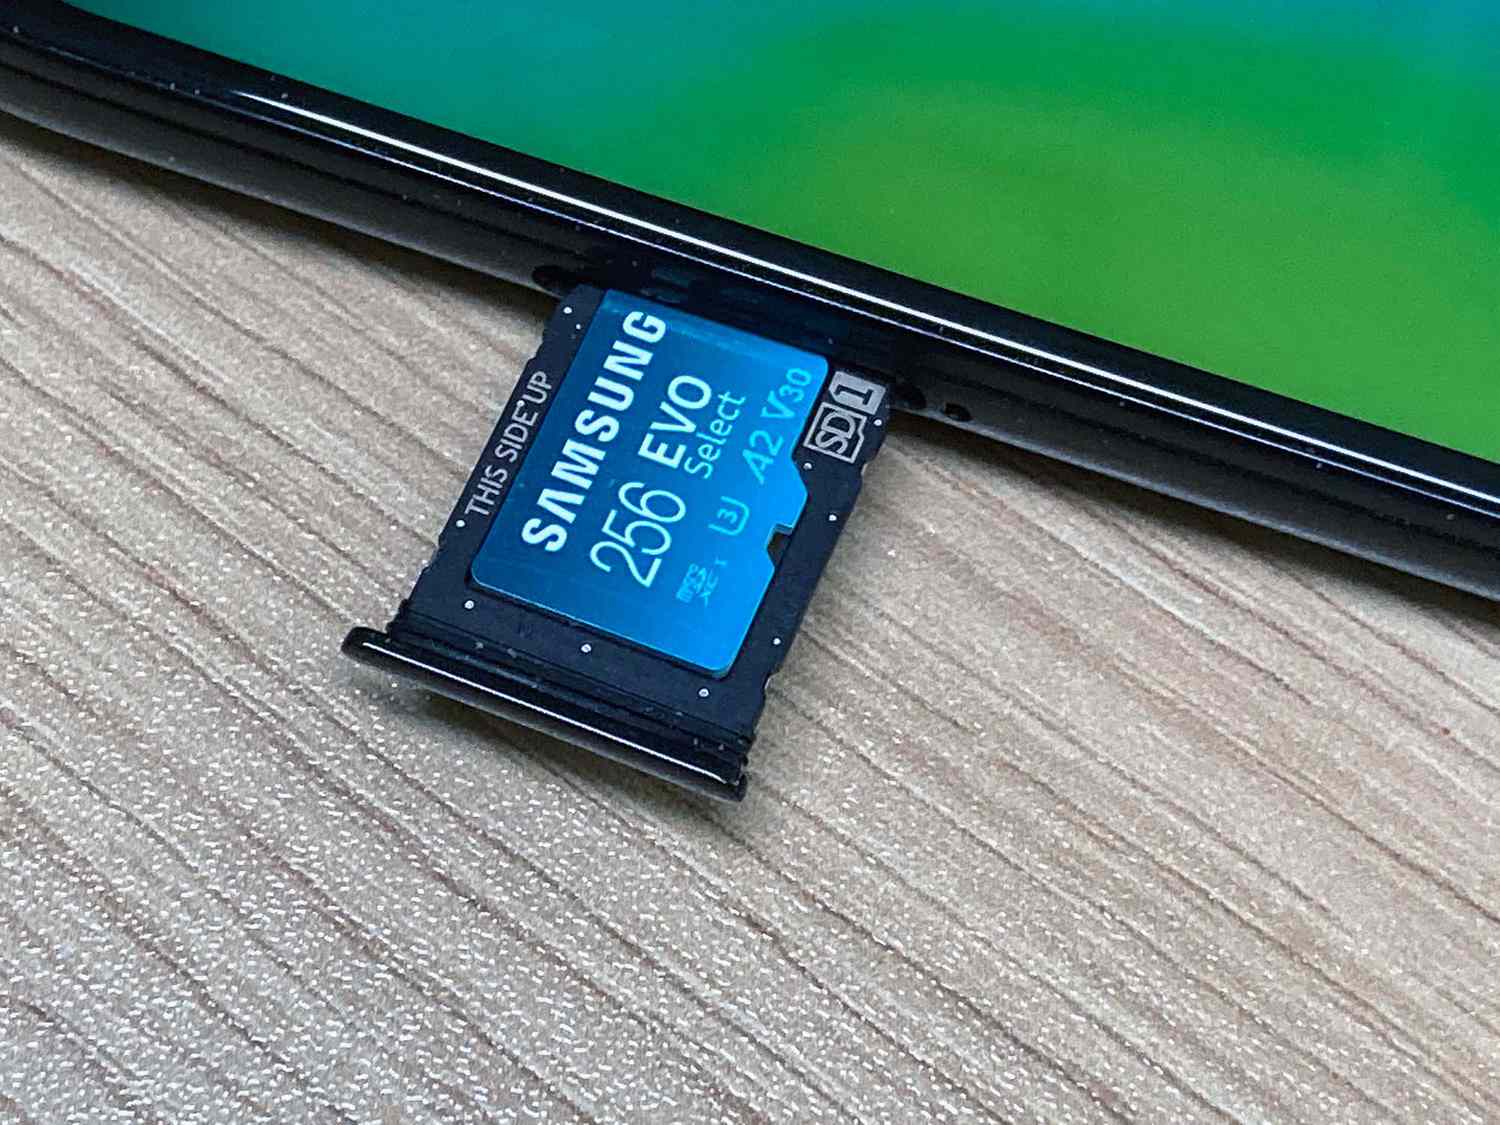
- Insert the SD card: Take your SD card and place it into the SD card tray. Ensure that the gold contacts on the SD card are facing downwards and align with the corresponding contacts in the tray. Gently push the tray back into the device until it clicks into place.
- Power on your Android device: Once the SD card is inserted, you can now power on your Android device. It may take a few moments for your device to recognize and configure the SD card.
- Check SD card availability: To verify that the SD card is properly inserted and recognized by your device, go to the device’s Settings menu and navigate to the Storage section. Here, you should see the available storage space of both the internal storage and the SD card.
By following these steps, you can easily insert an SD card into your Android device and take advantage of the additional storage space it provides. Remember to always power off your device before inserting or removing the SD card to avoid any potential damage or data loss.
Manage Storage Settings for SD Card on Android
Managing storage settings for your SD card on Android is essential for optimizing storage space and ensuring smooth operation of your device. Android provides built-in tools and settings that allow you to easily manage your SD card storage. Let’s explore how you can manage storage settings for your SD card on Android:
1. Accessing Storage Settings:
To manage the storage settings for your SD card, start by accessing the Settings menu on your Android device. You can usually find the Settings app in your app drawer or by swiping down from the top of your screen and tapping on the gear icon. Once in the Settings menu, scroll down and look for the “Storage” or “Storage & USB” option and tap on it.
2. Viewing SD Card Storage:
After tapping on the “Storage” or “Storage & USB” option, you will be presented with an overview of the storage on your Android device. Look for the section that displays the details of your SD card, including the available space and the total capacity. This will give you a quick glimpse of how much space is currently being used on your SD card.
3. Clearing Cached Data:
One way to free up space on your SD card is by clearing the cached data. Cached data consists of temporary files that are created by apps to improve performance. While cached data can be useful, it can also consume a significant amount of storage space. To clear the cached data, tap on the “Cached data” option in the Storage settings and follow the prompts to clear the cached data.
4. Moving Apps and Data:
If your Android device supports it, you can also move apps and data to your SD card to free up internal storage. To do this, go to the Storage settings and look for the option to “Move apps” or “Move data” to SD card. Tap on this option and select the app or data you wish to move. Follow the on-screen instructions to complete the process.
5. Formatting the SD Card:
If you want to start fresh or if you’re experiencing issues with your SD card, you can format it. Formatting will erase all data on your SD card, so make sure to back up any important files before proceeding. To format your SD card, go to the Storage settings and tap on the “Format SD card” option. Follow the prompts to format the card.
6. Ejecting the SD Card:
Before removing your SD card from your Android device, it’s important to eject it properly to avoid any potential data corruption. To eject the SD card, go to the Storage settings and tap on the option to eject or unmount the SD card. Once you receive a notification that it’s safe to remove the card, you can safely take it out from your device.
By following these steps, you can effectively manage the storage settings for your SD card on your Android device. Whether you need to clear cached data, move apps and data, format the card, or safely eject it, Android offers the necessary tools to help you optimize storage space and enhance the performance of your device.
Conclusion
Using an SD card on your Android device can greatly expand its storage capacity and allow you to store more apps, photos, videos, and documents. By following the steps outlined in this article, you can easily insert the SD card into your phone and format it for use. Remember to always use a reliable and high-quality SD card to ensure optimal performance and durability.
Once your SD card is properly installed and formatted, you can adjust your storage settings to automatically save new photos, videos, and other files to the card. This will help free up space on your device’s internal storage and keep your Android running smoothly.
Whether you’re a photography enthusiast, a music lover, or someone who simply needs extra space for their files, using an SD card on your Android device is a convenient and cost-effective solution. So, don’t let storage limitations hold you back – take advantage of the power of your Android device and make the most out of your available storage by using an SD card!
FAQs
1. Can I use any SD card on my Android phone?
While most Android phones support the use of SD cards, it’s essential to check your phone’s specifications to determine the compatible type and maximum capacity. Some phones only support microSD cards, while others may have limitations on the amount of storage they can accommodate.
2. How do I insert an SD card into my Android phone?
To insert an SD card into your Android phone, follow these steps:
- Power off your phone.
- Locate the SD card slot, usually on the side or top of your device.
- If necessary, gently remove the cover or SIM card tray to access the SD card slot.
- Insert the SD card into the slot, ensuring it is properly aligned.
- Replace the cover or SIM card tray.
- Power on your phone, and it should recognize the SD card.
3. How do I format an SD card on Android?
To format an SD card on your Android phone, follow these steps:
- Open the Settings app on your Android device.
- Scroll down and tap on “Storage” or “Storage & USB.”
- Find your SD card in the list and tap on it.
- Select the option to format the SD card.
- Confirm your choice to format the card.
- Wait for the process to complete, and your SD card will be formatted and ready to use.
4. Can I move apps to an SD card on Android?
Yes, you can move compatible apps to an SD card to free up space on your Android device. However, not all apps can be moved to external storage. To move an app to an SD card, follow these steps:
- Open the Settings app on your Android device.
- Tap on “Apps” or “Applications” depending on your phone model.
- Select the app you want to move to the SD card.
- Tap on “Storage” or “Storage & USB.”
- Choose the option to “Change” or “Move” the app to the SD card.
- Wait for the process to complete, and the app will now be stored on the SD card.
5. How do I safely remove an SD card from my Android phone?
To safely remove an SD card from your Android phone, follow these steps:
- Open the Settings app on your Android device.
- Scroll down and tap on “Storage” or “Storage & USB.”
- Find your SD card in the list and tap on it.
- Tap on the three-dot menu icon in the upper right corner.
- Select the option to “Eject” or “Unmount” the SD card.
- Wait for the notification indicating that it is safe to remove the SD card.
- Gently remove the SD card from the slot.