
When it comes to managing your iPhone or iPod touch, one of the first steps is selecting the device in the source list in your iTunes panel. This simple action allows you to access various features and settings that can enhance your overall experience with your device. Whether you want to sync your music library, update your apps, or perform a backup, selecting your iPhone or iPod touch in the iTunes source list is the starting point for all these tasks. In this article, we will guide you through the process of finding and selecting your device in the iTunes panel, ensuring that you have a seamless and efficient experience while managing your iPhone or iPod touch.
Inside This Article
- Select iPhone/iPod touch in the source list in iTunes panel
- Syncing your iPhone/iPod touch- Understanding the sync process- Selecting the content to sync- Initiating the sync process
- Managing your device in iTunes- Backing up your device- Restoring your device from a backup- Managing apps, music, and other media files
- Troubleshooting common issues: Device not recognized by iTunes, Syncing errors and conflicts, Resolving software conflicts
- Conclusion
- FAQs
Select iPhone/iPod touch in the source list in iTunes panel
Connecting your device to your computer is the first step in managing your iPhone or iPod touch using iTunes. The device needs to be physically connected to your computer for iTunes to recognize it.
To connect your device, you will need a Lightning cable (for newer devices) or a 30-pin dock connector (for older devices). Simply plug one end of the cable into the charging port on your device and the other end into an available USB port on your computer.
Once your device is connected, you can launch iTunes. If you’re using a Windows computer, you can find the iTunes application in your Start menu or on your desktop (if you have created a shortcut). Mac users can locate iTunes in their Applications folder or by searching in Spotlight.
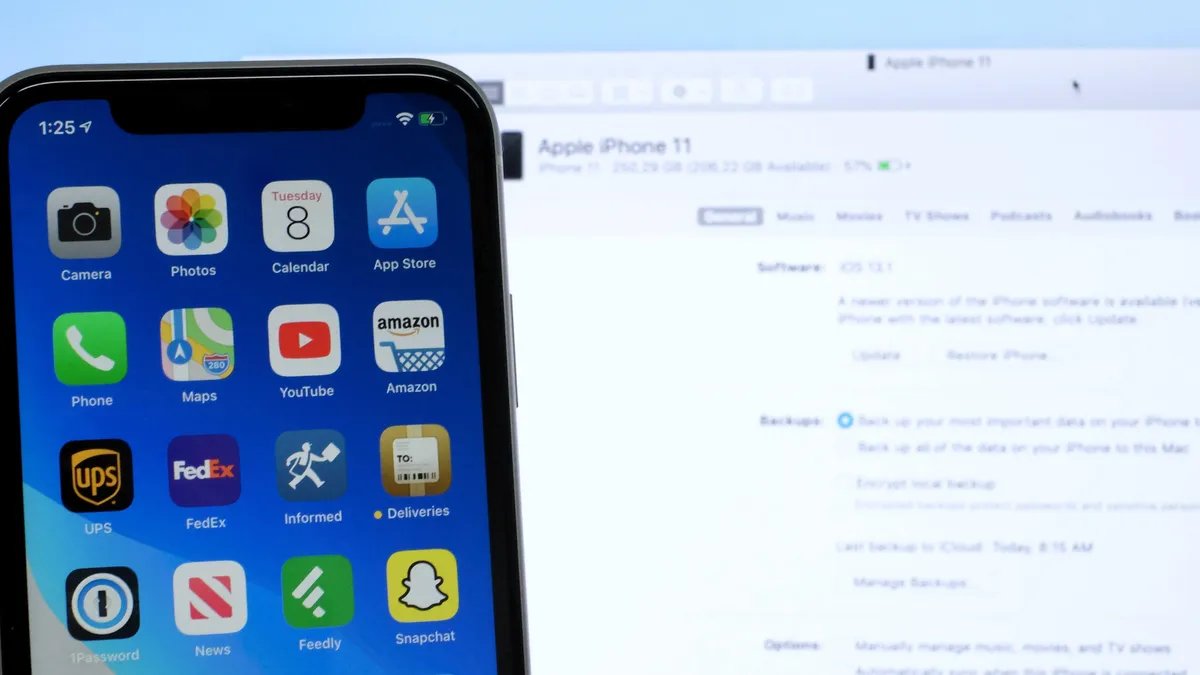
When iTunes opens, you will see the main iTunes panel. The source list is located on the left-hand side of the panel and contains various options for managing your device. To select your iPhone or iPod touch, simply click on its name in the source list.
If you have multiple devices connected to your computer, make sure to select the correct one from the list. The name of your device should match the name you have given it. If you haven’t customized the name of your device, it will typically display as “iPhone” or “iPod touch” followed by the model and storage capacity.
Once you have selected your device, you will be able to access its settings, manage its content, and perform various tasks such as syncing, backing up, and restoring. The source list provides a convenient and centralized location for managing your iPhone or iPod touch within the iTunes application.
Syncing your iPhone/iPod touch- Understanding the sync process- Selecting the content to sync- Initiating the sync process
Syncing your iPhone or iPod touch with iTunes is a crucial step to keep your device up to date and ensure that all your important data and media are properly backed up. Understanding the sync process, selecting the content to sync, and initiating the sync process are essential to maintaining a smoothly functioning device.
When you connect your iPhone or iPod touch to your computer, the sync process allows you to synchronize data and media between your device and iTunes. This includes your contacts, calendar events, and notes, as well as your music, videos, apps, and other files. The sync process ensures that any changes made on your device or in iTunes are reflected in both places.
To select the content you want to sync, you need to open iTunes on your computer. Once iTunes is launched, locate the source list in the iTunes panel, where you will find your connected iPhone or iPod touch listed. Click on the name of your device to access its sync settings.
In the sync settings, you can choose which categories of data and media you want to sync. For example, you can choose to sync your contacts, calendar events, and notes, or select specific playlists, albums, or genres of music to sync. By customizing the sync settings, you have control over what content gets transferred between your device and iTunes.
After you have made your content selections, it’s time to initiate the sync process. Simply click on the “Sync” button in the bottom right corner of the iTunes window. This will prompt iTunes to start syncing your chosen content with your iPhone or iPod touch. The duration of the sync process may vary depending on the amount of data you are syncing.
During the sync process, it’s important to keep your device connected to your computer and not disrupt the connection. Disconnecting your device prematurely can result in incomplete syncing and potential data loss. It’s best to let the sync process complete uninterrupted.
Once the sync process is complete, you can disconnect your iPhone or iPod touch from your computer. Your device will now have the updated content and changes that you made in iTunes. You can enjoy your newly synced music, apps, and other media on your device.
By understanding the sync process, selecting the content to sync, and initiating the sync process, you can efficiently manage your iPhone or iPod touch and keep it in sync with your iTunes library. Regularly syncing your device ensures that you have the latest updates, backups, and media at your fingertips.
Managing your device in iTunes- Backing up your device- Restoring your device from a backup- Managing apps, music, and other media files
When it comes to managing your iPhone or iPod touch, iTunes is your go-to program. It allows you to perform a variety of tasks, from backing up your device to managing your apps, music, and other media files. In this section, we will explore the different aspects of managing your device in iTunes.
One crucial aspect of device management is backing up your device. Regular backups are essential to safeguarding your data and ensuring that you can restore your device to its previous state if anything goes wrong. To back up your iPhone or iPod touch, simply connect it to your computer and launch iTunes.
Once your device is connected, locate it in the source list in the iTunes panel. Click on its name to access the device management options. From there, you can initiate a backup by selecting the “Back Up Now” button. iTunes will then create a backup of your device, including your apps, settings, and data.
In the event that you need to restore your device from a backup, iTunes makes it a seamless process. Simply connect your device to your computer and launch iTunes. Once again, locate your device in the source list and click on its name.
Click on the “Restore Backup” button, and iTunes will present you with a list of available backups. Select the backup that you wish to restore, and click “Restore.” iTunes will then begin the restoration process, transferring all the data from the selected backup to your device.
Managing your apps, music, and other media files is another essential aspect of device management. In iTunes, you have full control over which apps and media files are synced to your device. To manage your apps, navigate to the “Apps” tab in your device’s management options.
Here, you can choose to sync all your apps or select specific apps to sync. You can also organize your apps into folders directly from iTunes, making it easier to arrange and access your apps on your device.
When it comes to managing your music and other media files, iTunes allows you to create playlists, manage your library, and sync your desired content to your device. Simply navigate to the “Music” or “Media” tab in your device’s management options to access the various options available.
Overall, managing your device in iTunes is a straightforward process that allows you to backup and restore your device, as well as manage your apps, music, and other media files. With its user-friendly interface and comprehensive features, iTunes provides you with the tools you need to keep your iPhone or iPod touch organized and up to date.
Troubleshooting common issues: Device not recognized by iTunes, Syncing errors and conflicts, Resolving software conflicts
If you are experiencing issues with your iPhone or iPod touch not being recognized by iTunes, encountering syncing errors, or facing software conflicts, don’t worry – you’re not alone. These problems can be frustrating, but fortunately, there are solutions available to help you resolve them. In this guide, we will explore troubleshooting steps for these common issues.
1. Device not recognized by iTunes
One of the most common issues users face is when their device is not recognized by iTunes. If you are encountering this problem, follow these steps:
- Make sure your device is properly connected to your computer using a USB cable.
- Restart your computer and try reconnecting your device.
- Update iTunes to the latest version available.
- If none of the above steps work, try using a different USB cable or a different USB port on your computer.
2. Syncing errors and conflicts
Sometimes, you may encounter errors or conflicts while syncing your device with iTunes. Here are some troubleshooting steps to resolve these issues:
- Ensure your device has enough storage space available for the content you are trying to sync.
- Check for any corrupt or incompatible media files and remove them from your iTunes library before attempting to sync again.
- Disable any antivirus or firewall software temporarily, as they can sometimes interfere with the syncing process.
- Restart your device and try syncing again.
- Reset your device’s network settings by going to Settings > General > Reset > Reset Network Settings.
3. Resolving software conflicts
Software conflicts can also cause issues with your device and iTunes. To resolve these conflicts, consider the following steps:
- Update your device’s software to the latest version available.
- Disable any background processes or unnecessary applications running on your computer.
- Make sure you have the latest version of iTunes installed on your computer.
- Restart your computer and try syncing your device again.
- If the problem persists, try reinstalling iTunes and then reconnect your device.
By following these troubleshooting steps, you should be able to resolve common issues with your device not being recognized by iTunes, syncing errors, and software conflicts. If the problem persists, it may be worth reaching out to Apple support for further assistance.
Remember to always keep your device and iTunes updated to the latest versions to minimize the chances of encountering these issues.
The process of selecting iPhone or iPod touch in the source list in the iTunes panel is straightforward and essential for managing and syncing your device. By connecting your iPhone or iPod touch to your computer and accessing iTunes, you can access a plethora of functions and features to enhance your device’s performance and functionality.
Whether you’re looking to add new music, videos, podcasts, or apps to your device or update its software, the source list in the iTunes panel serves as your gateway to these functionalities. It allows you to easily navigate through your device’s content and settings, making it a vital tool in personalizing and optimizing your iPhone or iPod touch.
With a simple click on the device’s icon in the source list, you gain access to a world of possibilities. Seamlessly manage your media library, backup and restore your device, install software updates, and more. The source list in iTunes is your starting point for keeping your iPhone or iPod touch up to date and functioning at its best.
FAQs
1. How do I select iPhone/iPod touch in the source list in iTunes panel?
To select your iPhone or iPod touch in the source list of the iTunes panel, you can follow these steps:
- Connect your iPhone or iPod touch to your computer using the appropriate USB cable.
- Open the iTunes application on your computer.
- In the upper-left corner of the iTunes window, you will see an icon representing your device. Click on this icon.
Once you have selected your device, you will be able to manage its settings, sync music and other media, backup and restore data, and perform other tasks using iTunes.
2. Why is it important to select my iPhone/iPod touch in the iTunes panel?
Selecting your iPhone or iPod touch in the iTunes panel allows you to establish a connection between your device and the iTunes application on your computer. This connection enables you to manage your device’s settings, transfer music, videos, and other media, update your device’s software, and perform various other tasks. It is essential for synchronizing content, backing up your device, and accessing additional features and functionalities available through iTunes.
3. What if my iPhone/iPod touch is not appearing in the source list of the iTunes panel?
If your iPhone or iPod touch is not appearing in the source list of the iTunes panel, you can try the following troubleshooting steps:
- Make sure your device is securely connected to your computer using a compatible USB cable.
- Restart your iPhone or iPod touch and your computer.
- Ensure that you have the latest version of iTunes installed on your computer.
- If your device is still not appearing, try using a different USB port or cable.
- Check if there are any software or driver updates available for your computer.
If you have tried these steps and your device is still not showing up, it may be necessary to seek further assistance from Apple Support or authorized service providers.
4. Can I select multiple iPhone/iPod touch devices in the iTunes panel?
No, you can only select one iPhone or iPod touch device at a time in the iTunes panel. Each device is treated as a separate entity and must be managed individually in iTunes. If you have multiple devices connected to your computer, you will need to select the desired device from the source list to access and modify its settings or perform any tasks related to that specific device.
5. What are some tasks that I can perform after selecting my iPhone/iPod touch in the iTunes panel?
After selecting your iPhone or iPod touch in the iTunes panel, you can perform various tasks, including:
- Synchronize music, videos, photos, and other media between your device and computer.
- Install or update apps from the App Store on your device.
- Backup and restore your device’s data and settings.
- Update your device’s software to the latest version.
- Manage your device’s storage by adding or removing content.
- Access and modify settings related to your device’s functionality, privacy, and security.
These are just a few examples of the tasks you can perform with your iPhone or iPod touch after selecting it in the iTunes panel. The availability of certain features may vary depending on your device model and software version.