
So, you've just gotten your hands on the latest iPhone 10, and you're eager to get it up and running. Setting up a new iPhone can be an exciting experience, but it's essential to ensure that everything is configured correctly to make the most of your new device. In this article, we'll guide you through the process of setting up your iPhone 10, from the initial unboxing to customizing your settings and transferring data from your previous device. Whether you're a seasoned iPhone user or new to the Apple ecosystem, we've got you covered with step-by-step instructions and helpful tips to ensure a smooth and seamless setup. Let's dive in and get your iPhone 10 ready to go!
Inside This Article
- Initial setup
- Transferring data from your old device
- Setting up Face ID
- Customizing your settings
- Conclusion
- FAQs
**
Initial setup
**
Congratulations on your new iPhone 10! Setting up your new device is an exciting experience, and it’s important to ensure that everything is configured correctly to make the most out of your new iPhone. The initial setup process is straightforward and user-friendly, guiding you through each step seamlessly to get your device up and running in no time.
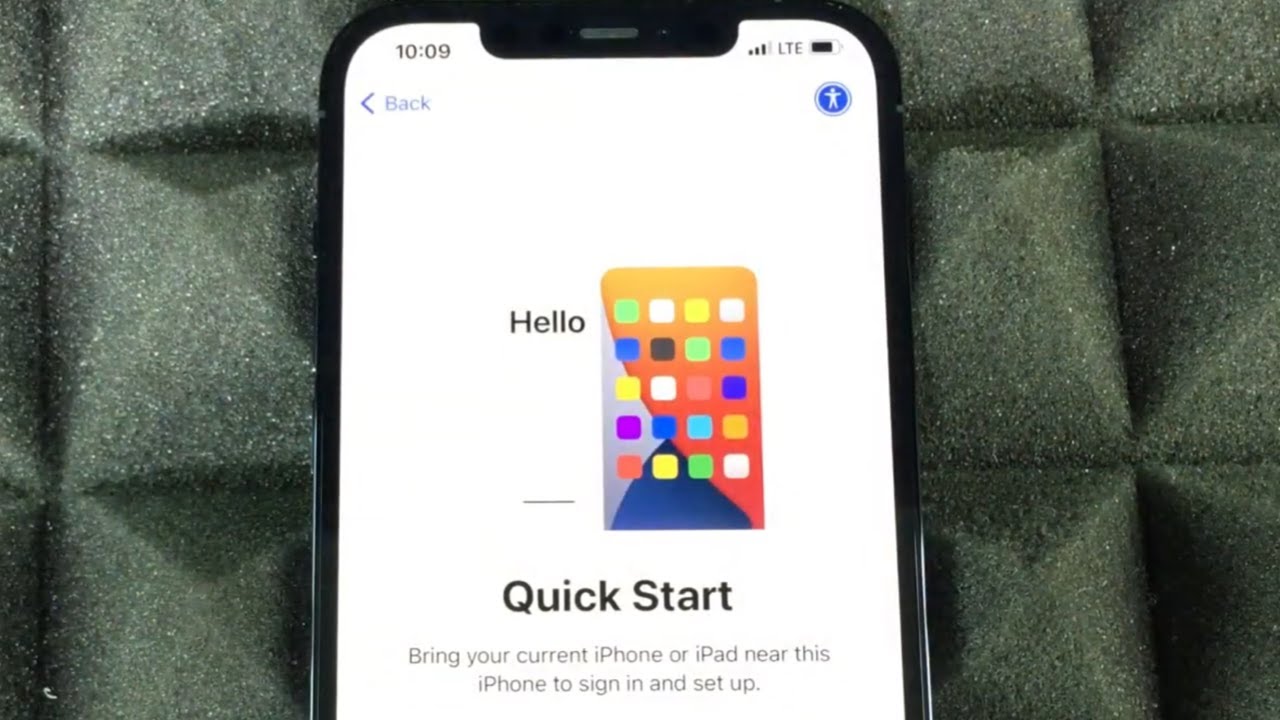
When you first power on your iPhone 10, you’ll be greeted with the “Hello” screen. This is the starting point of the setup process, where you’ll select your preferred language and region. From there, you’ll be prompted to connect to a Wi-Fi network to proceed with the setup. If Wi-Fi isn’t available, you can also set up your iPhone using a cellular connection.
Once connected to the internet, your iPhone will check for any available software updates. It’s essential to ensure that your device is running the latest version of iOS to benefit from the newest features, improvements, and security enhancements. After the update check, you’ll be prompted to set up Touch ID or Face ID, Apple’s advanced biometric security features, to keep your device secure and easily accessible.
**
Transferring data from your old device
**
When you get a new iPhone 10, one of the most critical steps is transferring data from your old device. Apple has made this process seamless with the introduction of iCloud and the Quick Start feature, ensuring that your new iPhone is set up exactly like your old one.
The Quick Start feature allows you to transfer all your data wirelessly from your old device to your new iPhone 10. Simply place your old device next to your new one, and a setup animation will appear on your new device. After entering your old device’s passcode, you can follow the instructions to transfer your data, settings, and preferences.
If you prefer using iCloud, you can back up your old device and then restore the backup to your new iPhone 10. This method ensures that all your apps, photos, contacts, and settings are transferred seamlessly. It’s a convenient way to ensure that your new iPhone is an exact replica of your old one.
Alternatively, if you prefer a wired connection, you can use iTunes to transfer your data from your old device to your new iPhone 10. This method is useful if you have a large amount of data to transfer and want to ensure a speedy and reliable transfer process.
Setting up Face ID
Face ID is a revolutionary feature that allows you to unlock your iPhone X with just a glance. To set up Face ID, navigate to the “Settings” app on your iPhone X and select “Face ID & Passcode.
Next, you’ll be prompted to enter your passcode to proceed. Once you’ve entered your passcode, tap on “Set Up Face ID” to begin the process.
Hold your iPhone X in front of your face, making sure it’s in portrait orientation, and position your face within the frame. The TrueDepth camera system will then scan your face to create a mathematical representation of your features.
During this process, make sure to move your head in a circular motion to allow the camera to capture your face from different angles. Once the initial scan is complete, tap “Continue” to perform the second Face ID scan.
Follow the same steps as before, moving your head to complete the scan. Once both scans are finished, Face ID setup is complete, and you can now use your face to unlock your iPhone X, authenticate purchases, and access secure apps and data.
Customizing your settings
Once you’ve completed the initial setup and transferred your data to your new iPhone 10, it’s time to customize your settings to tailor your device to your preferences and needs.
Start by navigating to the “Settings” app on your home screen. Here, you’ll find a plethora of options to personalize your iPhone 10 experience.
One of the most important settings to consider is your display preferences. You can adjust the brightness, text size, and display zoom to ensure that your iPhone’s screen is comfortable and easy to read.
Next, delve into the “Sounds & Haptics” settings to customize your ringtones, notification sounds, and haptic feedback. You can also enable or disable system sounds and vibrations according to your preferences.
Under “Privacy” settings, you have the ability to control the app permissions for various features such as location services, camera, microphone, and more. Review and adjust these settings to ensure your privacy and security.
For a personalized and efficient experience, explore the “Notifications” settings. Here, you can manage how notifications are displayed for each app, including the style, grouping, and alert options.
Additionally, take advantage of the “Control Center” customization to arrange the quick access controls that appear when you swipe down from the top-right corner of the screen. This allows you to prioritize the controls you use most frequently.
Finally, don’t forget to explore the “Accessibility” settings, where you can customize features such as display accommodations, interaction options, and audio/visual enhancements to suit your individual needs.
Conclusion
Setting up your new iPhone 10 is an exciting and straightforward process. By following the simple steps outlined in this guide, you can swiftly customize your device to suit your preferences and start enjoying its impressive features. From securing your data with Face ID to personalizing your home screen and exploring the App Store, the iPhone 10 offers a seamless and intuitive user experience. As you embark on your journey with your new device, remember to explore its capabilities, experiment with various settings, and make the most of its advanced functionalities. With your iPhone 10 set up and ready to go, you’re well-equipped to stay connected, organized, and entertained in the digital world.
FAQs
**Q: How do I set up my new iPhone 10?**
A: Setting up your new iPhone 10 is a straightforward process. Once you power on the device, follow the on-screen instructions to connect to a Wi-Fi network, sign in with your Apple ID, and customize your settings. You can also transfer data from your old device using Quick Start or iCloud backup.
Q: Can I transfer data from my old phone to the new iPhone 10?
A: Yes, you can transfer data from your old phone to the new iPhone 10 using various methods such as Quick Start, iCloud backup, or using a computer with iTunes. These options allow you to seamlessly transfer your contacts, photos, apps, and other data to your new device.
Q: How do I customize the settings on my iPhone 10?
A: To customize the settings on your iPhone 10, go to the Settings app where you can personalize various aspects such as display & brightness, wallpaper, sounds, privacy, and more. You can tailor the device to suit your preferences and optimize its functionality.
Q: What are some essential tips for maximizing the performance of my iPhone 10?
A: To maximize the performance of your iPhone 10, ensure that you regularly update the device's software, manage your apps to free up storage space, optimize battery usage, and utilize features such as Face ID and gestures for a seamless user experience.
Q: How do I set up Face ID on my iPhone 10?
A: Setting up Face ID on your iPhone 10 is simple. Navigate to the Settings app, select Face ID & Passcode, and follow the on-screen instructions to enroll your face. This feature provides a secure and convenient way to unlock your device and authenticate various actions.