
Sure, here's the introduction wrapped in HTML tags:
html
Welcome to the world of iPhone 13! Setting up your new iPhone 13 is an exciting and pivotal step in maximizing your user experience. Whether you’re upgrading from an older iPhone model or transitioning from a different smartphone, the setup process is designed to be seamless and user-friendly. In this comprehensive guide, we’ll walk you through the essential steps to set up your iPhone 13, from powering it on for the first time to customizing settings and personalizing your device to suit your preferences. By the end of this article, you’ll be equipped with the knowledge and confidence to make the most of your new iPhone 13.
Inside This Article
- Getting Started- Unboxing and assembling your iPhone 13- Powering on and setting up your device- Choosing a language and region
- Setting Up Your Apple ID
- Customizing Your iPhone: Setting up Face ID or Touch ID, Personalizing Your Home Screen and App Layout, Configuring Notifications and Control Center
- Transferring Data- Transferring data from your old iPhone or Android device- Backing up and restoring your data using iCloud or iTunes- Syncing your contacts, photos, and other content
- Conclusion
- FAQs
**
Getting Started- Unboxing and assembling your iPhone 13- Powering on and setting up your device- Choosing a language and region
**
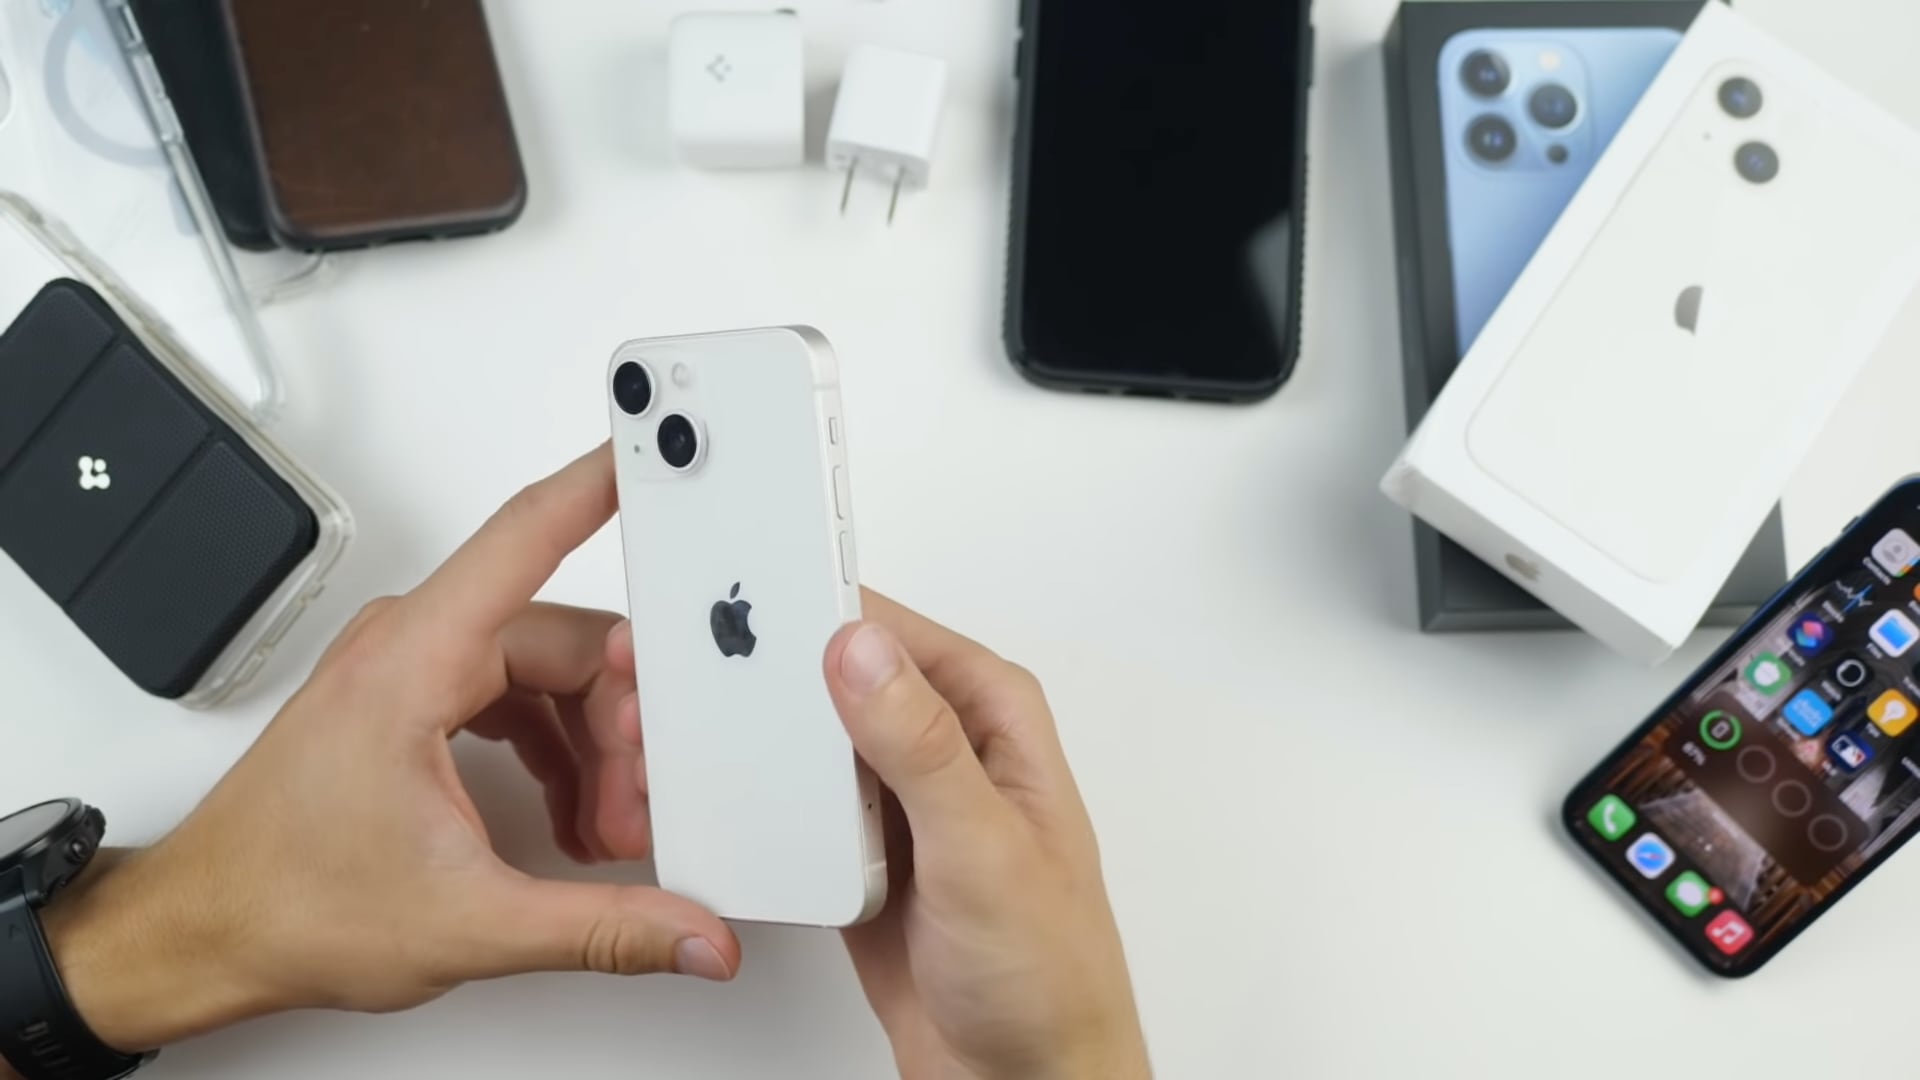
Welcome to the world of iPhone 13! Unboxing your new device is an exciting experience. As you carefully remove the sleek packaging, you’ll find your iPhone 13 resting snugly within. Take a moment to appreciate the elegant design and premium craftsmanship of your new device. Once you’ve marveled at its beauty, it’s time to assemble your iPhone 13. Simply press the power button located on the right side of the device to power it on. As the Apple logo illuminates the screen, you’ll feel the anticipation building for the setup process.
After powering on your iPhone 13, the setup screen will greet you in your preferred language. This is where you can choose the language that you’re most comfortable with. Whether it’s English, Spanish, French, or any other supported language, the iPhone 13 caters to a diverse range of users. Next, you’ll select your region, ensuring that your device is tailored to your local preferences and settings. This step is crucial for personalizing your iPhone 13 experience to best suit your location and regional requirements.
Setting Up Your Apple ID
Creating or signing in to your Apple ID is the first step to unlocking the full potential of your iPhone 13. Your Apple ID is the gateway to a seamless and integrated experience across all Apple devices and services. Whether you’re setting up a new Apple ID or signing in with an existing one, the process is straightforward and essential for accessing iCloud, the App Store, and other Apple services.
Setting up iCloud and other Apple services is an integral part of maximizing your iPhone 13’s capabilities. iCloud provides seamless synchronization of your photos, videos, contacts, and more across all your Apple devices. Additionally, it offers convenient features such as iCloud Drive, iCloud Keychain, and Find My iPhone, enhancing the overall functionality and security of your device.
Managing your account and security settings ensures that your Apple ID remains secure and tailored to your preferences. This includes setting up two-factor authentication for an added layer of security, managing your payment and shipping information for App Store and iTunes purchases, and customizing your notification and privacy settings to align with your preferences.
Customizing Your iPhone: Setting up Face ID or Touch ID, Personalizing Your Home Screen and App Layout, Configuring Notifications and Control Center
Customizing your iPhone allows you to tailor it to your preferences and streamline your daily interactions with the device. From setting up biometric security features to arranging your home screen and configuring notifications, these customization options empower you to optimize your iPhone experience.
Setting up Face ID or Touch ID
When you first unbox your iPhone 13, you’ll have the opportunity to set up either Face ID or Touch ID, depending on the model. Face ID utilizes facial recognition technology to unlock your device and authenticate app and website logins, while Touch ID employs your fingerprint for the same purposes. To set up Face ID, simply follow the on-screen instructions to scan your face from various angles. For Touch ID, you’ll be prompted to place your finger on the sensor and adjust its position until the setup is complete.
Personalizing Your Home Screen and App Layout
After securing your iPhone with Face ID or Touch ID, you can start personalizing your home screen and app layout. This involves arranging app icons, creating folders, and selecting a wallpaper that reflects your style. To rearrange app icons, press and hold an app until it jiggles, then drag it to your desired location. You can also create folders by dragging one app onto another. Furthermore, choosing a visually appealing wallpaper can enhance the overall aesthetic of your iPhone’s interface.
Configuring Notifications and Control Center
Configuring notifications and the Control Center enables you to manage how you receive alerts and access essential settings on your iPhone. To customize notifications, navigate to Settings > Notifications, where you can specify which apps can send you alerts and how they are displayed. Meanwhile, the Control Center allows you to conveniently toggle various settings, such as Wi-Fi, Bluetooth, and screen brightness. You can customize the Control Center by visiting Settings > Control Center and selecting the items you wish to include.
**
Transferring Data- Transferring data from your old iPhone or Android device- Backing up and restoring your data using iCloud or iTunes- Syncing your contacts, photos, and other content
**
When transitioning to a new iPhone 13, you may want to seamlessly transfer your data from your old iPhone or Android device. Apple has streamlined this process, making it convenient for users to migrate their information effortlessly.
For those upgrading from an older iPhone, the process involves using the Quick Start feature. Simply place your new iPhone 13 next to your old device, and a prompt will appear on your current device, initiating the transfer process. This method ensures a smooth transition, transferring your settings, apps, and data to your new device.
If you’re switching from an Android device, Apple’s “Move to iOS” app simplifies the transfer process. This app facilitates the seamless migration of your contacts, message history, photos, videos, web bookmarks, mail accounts, and calendars to your new iPhone 13.
Backing up and restoring your data using iCloud or iTunes is another efficient method for transferring your information. iCloud offers a wireless and automatic backup solution, ensuring that your data is securely stored in the cloud. To back up your old device, navigate to “Settings,” select your Apple ID, tap “iCloud,” and choose “Backup.” Afterward, on your new iPhone 13, simply select “Restore from iCloud Backup” during the initial setup, and your data will be seamlessly transferred to your new device.
Alternatively, if you prefer using iTunes, connect your old iPhone to your computer, launch iTunes, and select “Backup Now.” Once the backup is complete, connect your new iPhone 13 to the computer, select “Restore Backup” in iTunes, and choose the most recent backup to initiate the data transfer process.
Syncing your contacts, photos, and other content is essential for maintaining a seamless transition to your new iPhone 13. With iCloud, your contacts, photos, and other content can be effortlessly synced across your devices. Simply navigate to “Settings,” tap your Apple ID, select “iCloud,” and enable the relevant syncing options to ensure that your data is seamlessly shared across your devices.
By following these steps, you can effectively transfer your data from your old iPhone or Android device to your new iPhone 13, ensuring that your information and settings seamlessly transition to your new device.
Conclusion
Setting up your iPhone 13 is a seamless process that ensures you can make the most of its powerful features. From personalizing your settings to transferring data, the setup journey is designed to be user-friendly and efficient. By following the steps outlined in this guide, you can swiftly configure your device to suit your preferences and needs. Embracing the innovative technology of the iPhone 13 opens up a world of possibilities, from capturing stunning photos to staying connected with loved ones. As you embark on your iPhone 13 experience, may it empower you to navigate the digital landscape with ease and elevate your everyday moments.
FAQs
Q: How do I set up my iPhone 13 for the first time?
To set up your iPhone 13 for the first time, simply press and hold the side button until the Apple logo appears. Follow the on-screen instructions to select your language, connect to a Wi-Fi network, and activate your iPhone using your Apple ID.
Q: Can I transfer data from my old iPhone to my new iPhone 13?
Yes, you can transfer data from your old iPhone to your new iPhone 13 using the Quick Start feature. Simply place your old iPhone next to your new iPhone 13, and follow the on-screen instructions to transfer your data, including apps, photos, and settings.
Q: How do I set up Face ID on my iPhone 13?
To set up Face ID on your iPhone 13, go to Settings > Face ID & Passcode. Follow the on-screen instructions to set up Face ID by positioning your face within the frame and moving your head in a circle. Once set up, Face ID will enable you to unlock your iPhone, make secure purchases, and authenticate apps with just a glance.
Q: Can I customize the settings during the iPhone 13 setup process?
Yes, you can customize various settings during the iPhone 13 setup process, including language, region, Wi-Fi network, Apple ID, Face ID, and more. This allows you to tailor your iPhone 13 to your preferences and ensure a personalized user experience from the start.
Q: What should I do if I encounter issues during the iPhone 13 setup?
If you encounter any issues during the iPhone 13 setup, ensure that your device is charged and connected to a stable Wi-Fi network. If problems persist, you can refer to the Apple Support website or visit an Apple Store for assistance.