
Sure, here's the introduction for your article:
html
So, you’ve just gotten your hands on the latest Apple iPhone 10, and you’re eager to get it set up just the way you like it. Setting up a new phone can be both exciting and a bit daunting, especially if you’re new to the iPhone ecosystem. But fear not! In this comprehensive guide, we’ll walk you through the process of setting up your iPhone 10, from unboxing to customization, so that you can start enjoying all the amazing features this device has to offer. Whether it’s your first iPhone or an upgrade from a previous model, we’ve got you covered. Let’s dive in and get your iPhone 10 up and running!
Inside This Article
- Getting Started- Unboxing and initial setup- Connecting to a Wi-Fi network- Setting up Face ID
- Customizing Your iPhone: Setting up a Passcode, Personalizing Your Home Screen, and Managing Notifications
- Managing Your Apps: Installing and Organizing Apps, Using the App Store, and Managing App Permissions
- Setting Up Your Apple Account- Creating an Apple ID- Setting up iCloud- Configuring Apple Pay
- Conclusion
- FAQs
**
Getting Started- Unboxing and initial setup- Connecting to a Wi-Fi network- Setting up Face ID
**
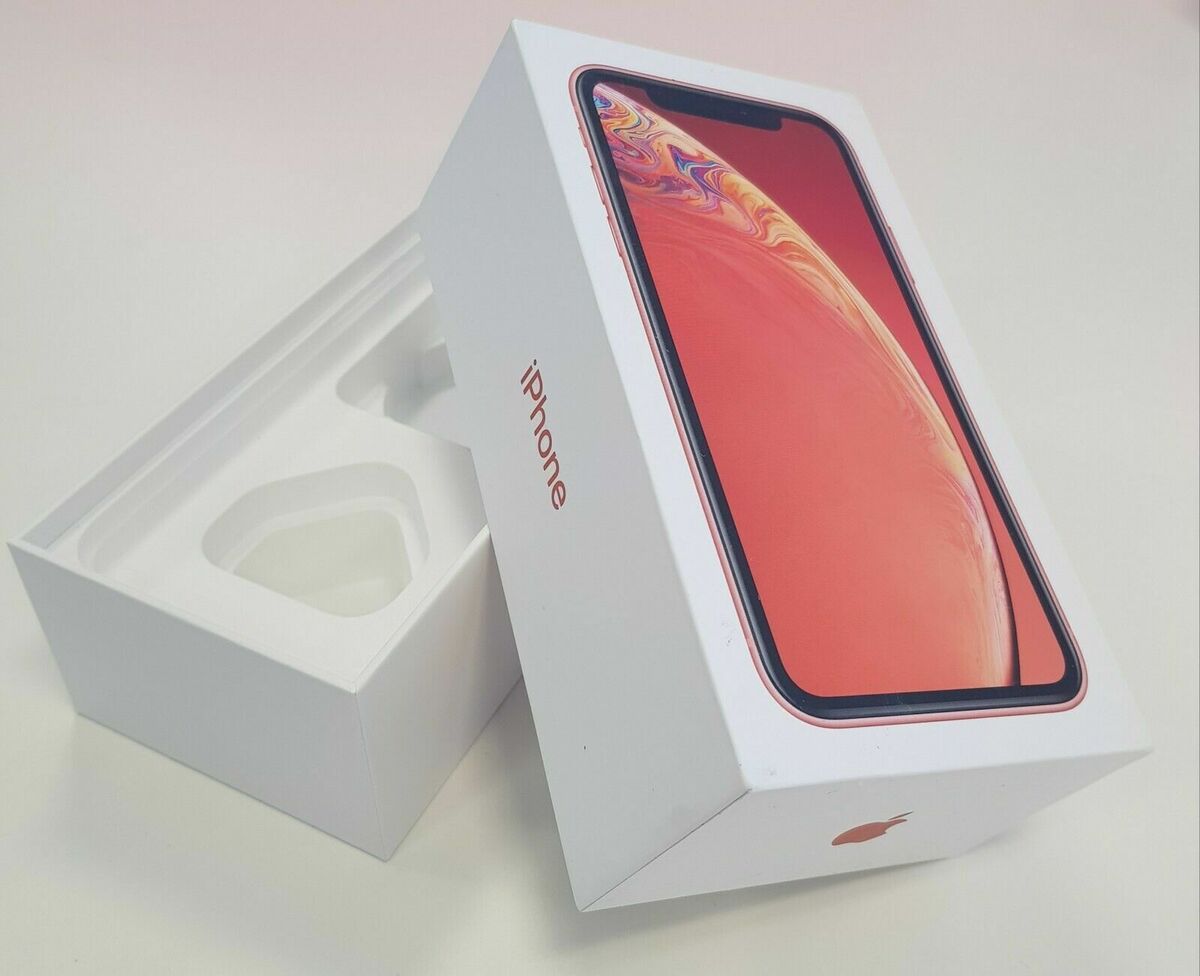
Welcome to the world of Apple! Unboxing your new iPhone 10 is an exciting experience. As you peel back the sleek packaging, you’ll find your iPhone nestled within. Take a moment to appreciate its elegant design and craftsmanship. Carefully remove it from the box, and you’ll notice the attention to detail that Apple is renowned for. Once you’ve marveled at your new device, it’s time to begin the initial setup process.
First things first, ensure your iPhone is adequately charged. Connect the lightning cable to the device and a power source, then power it on by pressing and holding the side button. As the screen comes to life, follow the on-screen prompts to select your language, region, and set up your Wi-Fi network. Connecting to a Wi-Fi network is essential to access a multitude of features and services, including iCloud, the App Store, and more.
Now, let’s set up Face ID, Apple’s sophisticated facial recognition technology. This feature offers a seamless and secure way to unlock your iPhone, authenticate purchases, and access various apps. To set up Face ID, navigate to Settings, tap Face ID & Passcode, and follow the prompts to enroll your face. Once completed, your iPhone will be ready to recognize you with just a glance.
Customizing Your iPhone: Setting up a Passcode, Personalizing Your Home Screen, and Managing Notifications
After setting up your iPhone, the next step is to customize it to suit your preferences and enhance its security features. This involves setting up a passcode, personalizing your home screen, and managing notifications.
Setting up a Passcode: One of the first things you should do to secure your iPhone is to set up a passcode. This adds an extra layer of protection to your device, preventing unauthorized access. To do this, navigate to “Settings,” tap “Face ID & Passcode” or “Touch ID & Passcode,” depending on your iPhone model, and follow the prompts to create a secure passcode. It’s essential to choose a memorable yet complex passcode to safeguard your personal information.
Personalizing Your Home Screen: Personalizing your home screen allows you to tailor your iPhone’s appearance to reflect your style and preferences. You can rearrange app icons, create folders for better organization, and set a custom wallpaper. To do this, press and hold any app icon until they start jiggling, then drag them to your desired location. You can also create a folder by dragging one app onto another. Additionally, you can set a custom wallpaper by navigating to “Settings,” selecting “Wallpaper,” and choosing from Apple’s preloaded options or using your own photos.
Managing Notifications: Managing notifications is crucial for controlling the flow of information to your iPhone. To customize your notification settings, go to “Settings,” select “Notifications,” and choose the specific app you want to modify. From there, you can customize the notification style, including banners, alerts, or none, as well as the notification sound and badge app icon. You can also prioritize notifications from important contacts or apps to ensure you never miss crucial updates.
Managing Your Apps: Installing and Organizing Apps, Using the App Store, and Managing App Permissions
Once you’ve set up your iPhone 10, it’s time to explore the world of apps. Whether you’re looking for productivity tools, entertainment, or social networking, the App Store has a vast array of apps to suit your needs. Here’s how to install and organize apps, navigate the App Store, and manage app permissions on your iPhone 10.
Installing and organizing apps on your iPhone 10 is a breeze. Simply tap on the App Store icon on your home screen to open the store. From here, you can explore various categories, search for specific apps, or discover new releases and top charts. When you find an app you want, tap the “Get” button to download and install it. Once installed, the app’s icon will appear on your home screen. You can organize your apps by pressing and holding an app icon until it starts jiggling, then drag it to the desired location or into a folder. This allows you to keep your home screen clutter-free and easily access your favorite apps.
Using the App Store is an enjoyable and straightforward experience. You can browse through featured apps, check out curated collections, and read user reviews and ratings to make informed decisions. The App Store also offers personalized recommendations based on your preferences and previous downloads, making it easier to discover new apps that align with your interests. Additionally, you can keep track of updates for your installed apps by navigating to the “Updates” tab, ensuring that you always have the latest features and security enhancements.
Managing app permissions is essential for maintaining your privacy and security. When you download and install an app, it may request access to various features such as your camera, microphone, location, or contacts. You have the power to control these permissions by navigating to “Settings” and selecting “Privacy.” From here, you can review and manage the permissions granted to each app, revoking access to specific features if necessary. This empowers you to safeguard your personal data and only grant permissions to apps that genuinely require them.
Setting Up Your Apple Account- Creating an Apple ID- Setting up iCloud- Configuring Apple Pay
Creating an Apple ID is the first step to unlocking the full potential of your iPhone. To create an Apple ID, simply open the “Settings” app, tap “Sign in to your iPhone,” and then select “Don’t have an Apple ID or forgot it.” Follow the prompts to set up your new Apple ID, which will grant you access to the App Store, iTunes, iCloud, and various other Apple services.
Setting up iCloud on your iPhone ensures seamless synchronization of your photos, videos, contacts, and other data across all your Apple devices. To set up iCloud, navigate to “Settings,” tap your name at the top of the screen, select “iCloud,” and then toggle on the features you wish to sync, such as Photos, Contacts, Calendars, and more. This enables you to access your content from any Apple device signed in with the same Apple ID.
Configuring Apple Pay on your iPhone allows for convenient and secure transactions in stores, apps, and on the web. To set up Apple Pay, open the “Wallet” app, tap the “+” icon to add a card, then follow the prompts to add your credit or debit card. Once added, you can use Apple Pay at supported merchants by simply holding your iPhone near the contactless reader and authenticating with Face ID or Touch ID.
Setting up your Apple iPhone 10 is a seamless process that allows you to personalize your device to suit your preferences and needs. The intuitive interface and advanced features of the iPhone 10 make it a standout choice for users seeking a blend of sophistication and user-friendliness. By following the steps outlined in this guide, you can ensure that your iPhone 10 is configured to your liking, from setting up your Apple ID to customizing your home screen and exploring the wealth of apps available on the App Store. As you embark on your journey with your new iPhone 10, you’ll discover a world of possibilities at your fingertips, from seamless communication to innovative productivity tools. Embrace the potential of your iPhone 10 and enjoy the unparalleled experience it offers.
FAQs
Q: How do I set up my Apple iPhone 10 for the first time?
A: To set up your Apple iPhone 10 for the first time, start by turning it on and following the on-screen instructions to select your language, region, and Wi-Fi network. Then, sign in with your Apple ID or create a new one, and set up Touch ID or Face ID for added security.
Q: Can I transfer data from my old phone to my new iPhone 10?
A: Yes, you can transfer data from your old phone to your new iPhone 10 using the "Quick Start" feature, iCloud, or iTunes. "Quick Start" allows you to transfer data wirelessly, while iCloud and iTunes enable you to back up your old phone and then restore the backup to your new iPhone 10.
Q: How do I customize the settings on my iPhone 10?
A: To customize the settings on your iPhone 10, go to the "Settings" app and explore the various options available, such as display, sounds, notifications, privacy, and more. You can personalize your phone by adjusting these settings to suit your preferences.
Q: What apps should I download on my new iPhone 10?
A: The apps you should download on your new iPhone 10 depend on your interests and needs. Consider essential apps such as social media platforms, messaging apps, productivity tools, entertainment apps, and any specific apps that cater to your hobbies or profession.
Q: How do I ensure the security of my iPhone 10?
A: To ensure the security of your iPhone 10, enable features such as Touch ID or Face ID for biometric authentication, use a strong passcode, keep your device updated with the latest iOS version, and be cautious when downloading apps or clicking on links to prevent malware and phishing attempts.