
Are you struggling to remove the case from your iPhone 11? Fear not, as we delve into the step-by-step process of safely and effectively removing the case from your beloved device. Whether it's for a thorough cleaning, a change of style, or any other reason, knowing the proper technique for removing your iPhone 11 case is essential. Let's explore the various methods and tips to ensure that you can easily and safely remove the case without causing any damage to your device. Whether you have a snap-on, silicone, or rugged case, we've got you covered with the best practices for a seamless removal process. With our guidance, you'll be able to switch cases or clean your iPhone 11 with confidence and ease. So, let's get started!
Inside This Article
Sure, here's the content for "Gather Necessary Tools" section:
html
Gather Necessary Tools
Before removing the case from your iPhone 11, it’s important to gather the necessary tools to ensure a smooth and safe process. Here’s what you’ll need:
1. Soft Cloth: Grab a soft, lint-free cloth to wipe down your iPhone 11 before and after removing the case. This helps prevent any dirt or debris from scratching the device.
2. Case Opening Tool: If your iPhone 11 case requires a specific tool for removal, make sure to have it on hand. This could be a small screwdriver, pry tool, or any other specialized instrument.
3. Compressed Air: For stubborn dirt or debris around the case edges, a can of compressed air can be useful for cleaning hard-to-reach areas without causing damage to the device.
4. Patience: While not a tangible tool, patience is essential. Some cases can be tricky to remove, so approach the process with a calm and patient mindset to avoid any accidental damage to your iPhone 11.
**
Locate the Case Opening
**
Once you’ve gathered the necessary tools, the next step in removing your iPhone 11 case is to locate the opening of the case. Start by identifying the edges of the case where it meets the screen. You may notice a small gap between the case and the screen, which indicates the presence of an opening.
If you’re using a snap-on case, look for the small cutouts along the edges of the case. These cutouts are designed to provide access to the buttons and ports on your iPhone 11. They can also serve as starting points for removing the case. Alternatively, if you have a slide-on case, inspect the bottom or top edge for a small opening that allows you to begin the removal process.
Some cases may feature a raised lip around the screen. In this instance, you’ll need to locate the area where the lip meets the back of the case. This is often the starting point for separating the case from your iPhone 11. Carefully inspect the entire perimeter of the case to identify any potential openings or release points.
**
Remove the Case
**
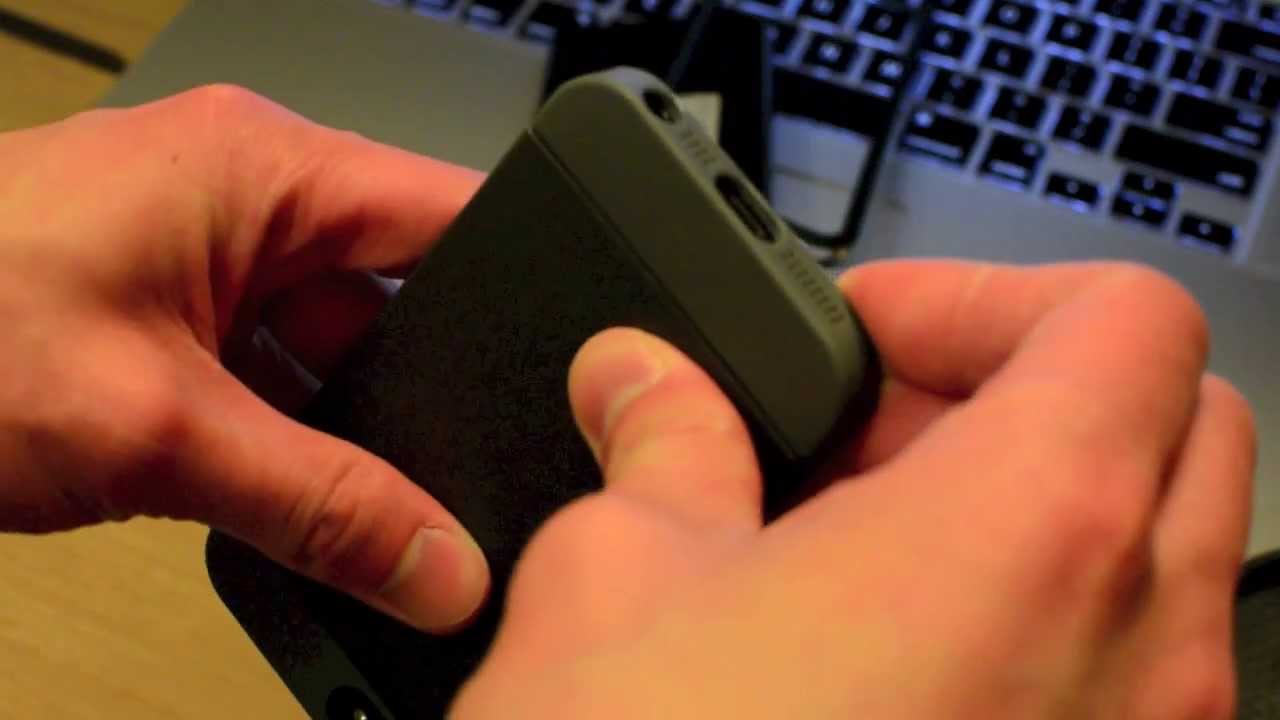
Once you’ve located the case opening, it’s time to remove the case from your iPhone 11. Before proceeding, ensure that the phone is powered off to prevent any accidental damage. With a firm grip on the phone, gently start pushing the case away from the device. Apply even pressure on all sides to avoid bending or damaging the case or the phone itself.
For tight-fitting cases, you may need to use a bit more force, but be careful not to exert excessive pressure. Slow and steady movements are key to preventing any mishaps during this process. As you continue to push the case away from the phone, listen for the distinct sound of the case detaching from the device. Once you hear this sound, you can proceed with removing the case entirely.
After successfully detaching the case from the phone, carefully lift the case away from the device. Be mindful of any resistance, as some cases may have additional clasps or features that require a slightly different removal technique. Once the case is fully removed, set it aside and take a moment to appreciate your now-naked iPhone 11!
Clean the iPhone 11
Once you’ve successfully removed the case from your iPhone 11, it’s a good idea to give your device a thorough cleaning. Over time, dirt, dust, and grime can accumulate on your phone, affecting its appearance and potentially causing damage. Here’s how to clean your iPhone 11 to keep it looking and functioning at its best.
First, power off your iPhone 11 to prevent any accidental input during the cleaning process. This step is crucial to avoid any potential damage to your device while you’re cleaning it.
Next, use a microfiber cloth to gently wipe the exterior of your iPhone 11. This will help remove any surface-level dirt and fingerprints without causing any scratches. Microfiber cloths are soft and non-abrasive, making them ideal for cleaning delicate surfaces like the glass exterior of your iPhone 11.
For more stubborn smudges or dirt, lightly dampen a corner of the microfiber cloth with water. Ensure that the cloth is not dripping wet, as excess moisture can seep into the device and cause damage. Gently wipe the affected areas, taking care to avoid any openings such as the charging port or speakers.
When cleaning the screen, it’s best to use a screen cleaner specifically formulated for electronic devices. Apply a small amount of the cleaner to a microfiber cloth and gently wipe the screen in a circular motion. Be mindful not to press too hard, as excessive pressure can damage the display.
Pay special attention to the edges and corners of your iPhone 11, as dirt and grime can often accumulate in these areas. Use a soft-bristled brush, such as a clean makeup brush or a specialized electronics brush, to gently dislodge any debris from these hard-to-reach spots.
Finally, once you’ve cleaned the exterior of your iPhone 11, take a moment to inspect the device for any remaining dirt or moisture. Ensure that all openings are dry before powering your phone back on.
By following these steps, you can keep your iPhone 11 looking clean and well-maintained, prolonging its lifespan and ensuring that it continues to function optimally.
Conclusion
Removing the case from your iPhone 11 is a simple yet important task. By following the steps outlined in this guide, you can safely and easily remove the case without causing any damage to your device. Remember to handle your iPhone with care and to clean both the case and the device regularly to maintain their pristine condition. Whether you’re switching cases, cleaning your phone, or troubleshooting an issue, knowing how to properly remove the case is a valuable skill for any iPhone 11 owner. With the right technique and a gentle touch, you can keep your iPhone 11 looking and functioning at its best.
FAQs
Q: Can I remove an iPhone 11 case without damaging the phone?
A: Yes, it is possible to remove an iPhone 11 case without damaging the phone. Proper technique and care are essential to ensure the safety of the device during the removal process.
Q: What tools do I need to remove an iPhone 11 case?
A: Typically, you won't need any special tools to remove an iPhone 11 case. Most cases can be removed using your hands, although some may require a small, non-abrasive tool for assistance.
Q: How do I know if my iPhone 11 case is compatible with wireless charging?
A: If your iPhone 11 case is preventing wireless charging from functioning properly, it may not be compatible. Look for cases that specifically advertise compatibility with wireless charging to ensure seamless functionality.
Q: Can I clean my iPhone 11 case during the removal process?
A: Yes, you can take the opportunity to clean your iPhone 11 case while removing it. Gently wipe the case with a soft, damp cloth to remove any dirt or grime that may have accumulated.
Q: Will removing my iPhone 11 case void its warranty?
A: No, removing the iPhone 11 case will not void the phone's warranty. As long as the phone itself is not damaged during the process, the warranty remains intact.