
Sure, here's the introduction with HTML tags included:
html
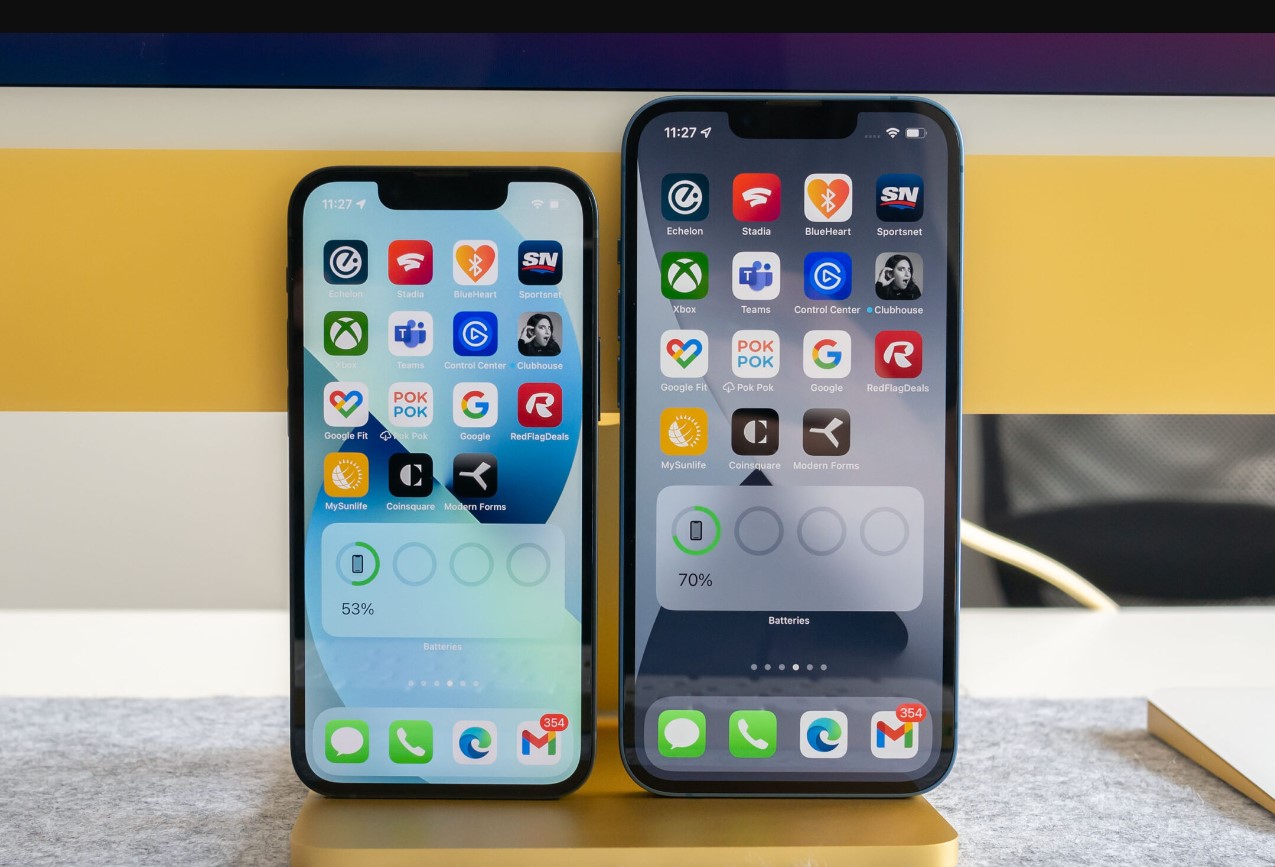
Are you eager to capture a memorable moment on your iPhone 13 Mini? Learning how to take a screenshot on your device is a valuable skill. Whether you want to save a hilarious text conversation, capture a stunning landscape, or document an important piece of information, taking a screenshot is a convenient way to preserve and share content. In this article, we will explore the simple yet powerful method of capturing screenshots on the iPhone 13 Mini. By the end, you will be equipped with the knowledge to effortlessly capture and share anything displayed on your device’s screen. Let’s dive in and uncover the steps to master the art of screenshot-taking on your iPhone 13 Mini.
Inside This Article
- Taking a Screenshot Using Buttons
- Using AssistiveTouch to Capture a Screenshot
- Using Siri to Take a Screenshot
- Utilizing the Markup Tool to Edit Screenshots
- Conclusion
- FAQs
Taking a Screenshot Using Buttons
One of the most common methods to capture a screenshot on the iPhone 13 Mini is by using the physical buttons on the device. This straightforward process allows you to capture anything displayed on your screen with ease.
To take a screenshot using the physical buttons, simply locate the Side Button (formerly known as the Sleep/Wake button) on the right side of your iPhone 13 Mini and the Volume Up button on the left side. Once you have the content you want to capture on your screen, press the Side Button and the Volume Up button simultaneously. You will hear a camera shutter sound, and the screen will flash white briefly, indicating that the screenshot has been successfully taken.
After you’ve taken the screenshot, a thumbnail of the captured image will appear in the bottom left corner of the screen. You can tap on the thumbnail to edit or annotate the screenshot, or swipe it away to dismiss it. The screenshot will be automatically saved to your Photos app, allowing you to access and share it at your convenience.
Using AssistiveTouch to Capture a Screenshot
If you find using the physical buttons to take a screenshot challenging, or if the buttons are not easily accessible, AssistiveTouch provides a convenient alternative. This feature allows you to perform various tasks using touch gestures instead of physical buttons, making it particularly useful for individuals with motor skill impairments or those who prefer touch-based interactions.
To take a screenshot using AssistiveTouch on your iPhone 13 Mini, you can enable the feature through the Accessibility settings. Once activated, a virtual button will appear on your screen, providing quick access to essential functions, including taking screenshots. By tapping the AssistiveTouch button and selecting the “Screenshot” option, you can effortlessly capture the contents of your screen without relying on the physical buttons.
AssistiveTouch not only simplifies the process of capturing screenshots but also enhances the overall accessibility of your iPhone, ensuring that all users can conveniently utilize its features. This inclusive approach aligns with Apple’s commitment to providing a seamless and user-friendly experience for individuals with diverse needs and preferences.
**
Using Siri to Take a Screenshot
**
Did you know that you can use Siri to take a screenshot on your iPhone 13 Mini? Yes, it’s possible! Siri, Apple’s virtual assistant, can help you capture your screen without pressing any buttons. This feature is especially handy when your hands are occupied, and you need to capture something important on your screen.
So, how do you use Siri to take a screenshot? It’s quite simple. Just activate Siri by saying, “Hey Siri,” or by pressing and holding the side button. Once Siri is listening, you can simply say, “Take a screenshot,” and Siri will instantly capture whatever is displayed on your screen at that moment.
Using Siri to take a screenshot is not only convenient but also a great example of how Apple integrates its virtual assistant into various aspects of the iPhone’s functionality. It’s a quick and hands-free way to capture important information or moments on your iPhone 13 Mini.
Utilizing the Markup Tool to Edit Screenshots
After capturing a screenshot on your iPhone 13 Mini, you can take advantage of the powerful Markup tool to make annotations, add text, highlight important areas, and more. This feature allows you to personalize your screenshots and convey information more effectively.
Once you’ve taken a screenshot, simply tap on the preview thumbnail that appears at the bottom left corner of the screen. This will open the screenshot in the Markup editor, where you can access a variety of editing tools to enhance your image.
With the Markup tool, you can draw freehand using different colors and brush sizes, add shapes such as arrows and circles to emphasize specific elements, and even insert text to provide context or explanations within the screenshot.
Additionally, the Markup tool enables you to highlight sections of the screenshot using the marker tool, perfect for emphasizing important details or specific areas of interest. This can be particularly useful when sharing screenshots with others or when making notes for personal reference.
Furthermore, the ability to crop and resize the screenshot within the Markup editor allows you to focus on the most relevant content, ensuring that the final image conveys the exact information you wish to share.
Once you’ve made the necessary edits, you can easily save the annotated screenshot to your Photos app or share it directly with others via messages, email, or social media platforms. The Markup tool empowers you to customize your screenshots and communicate visually in a way that simple screenshots cannot achieve.
Conclusion
Learning how to take a screenshot on your iPhone 13 Mini is an essential skill that allows you to capture and share moments from your device effortlessly. Whether you prefer using the physical buttons or the AssistiveTouch feature, you now have the knowledge and tools to conveniently capture and save your screen. With the ability to capture important information, memorable conversations, or simply share a funny meme, taking screenshots on your iPhone 13 Mini has never been easier. Embrace this newfound skill and elevate your iPhone experience by seamlessly capturing and sharing the content that matters most to you.
FAQs
Q: How do I take a screenshot on iPhone 13 Mini?
To take a screenshot on your iPhone 13 Mini, simply press the side button and the volume up button simultaneously. You'll hear a camera shutter sound, and the screenshot preview will appear at the bottom left of the screen.
Q: Where can I find my screenshots after taking them?
After capturing a screenshot, it will appear as a small preview at the bottom left of the screen. You can tap on the preview to edit or share the screenshot immediately. Additionally, all your screenshots are saved in the "Screenshots" album in the Photos app.
Q: Can I take a screenshot of a specific portion of the screen?
Yes, you can take a screenshot of a specific portion of the screen by using the Markup tool. After taking a regular screenshot, tap on the preview at the bottom left of the screen, then select "Full Page" or "Screen" to capture the entire screen or a specific portion.
Q: Can I take a screenshot without pressing any physical buttons?
Absolutely! With the "Back Tap" feature on iPhone 13 Mini, you can set up a double or triple tap gesture on the back of your phone to take a screenshot without using any physical buttons.
Q: How can I share a screenshot after taking it?
After capturing a screenshot, you can tap on the small preview at the bottom left of the screen to enter the screenshot editing mode. From there, you can use the various editing tools and share the screenshot directly to your desired platform, such as Messages, Mail, or social media apps.