
The Motorola Razr phone is not just a sleek and stylish device; it also boasts impressive camera capabilities that allow you to capture stunning pictures. Whether you’re a casual photographer or a budding professional, learning how to maximize the camera features of the Motorola Razr can greatly enhance your photography skills. In this article, we will guide you on how to take pictures with the Motorola Razr phone, from understanding the camera settings to mastering composition techniques. With its advanced camera technology and innovative design, the Motorola Razr empowers you to capture beautiful moments with ease. So grab your phone, get ready to explore its photography potential, and unleash your creativity!
Inside This Article
- Overview of the Motorola Razr Phone’s Camera Features
- Understanding the Camera Modes and Settings
- Tips for Capturing High-Quality Photos
- Conclusion
- FAQs
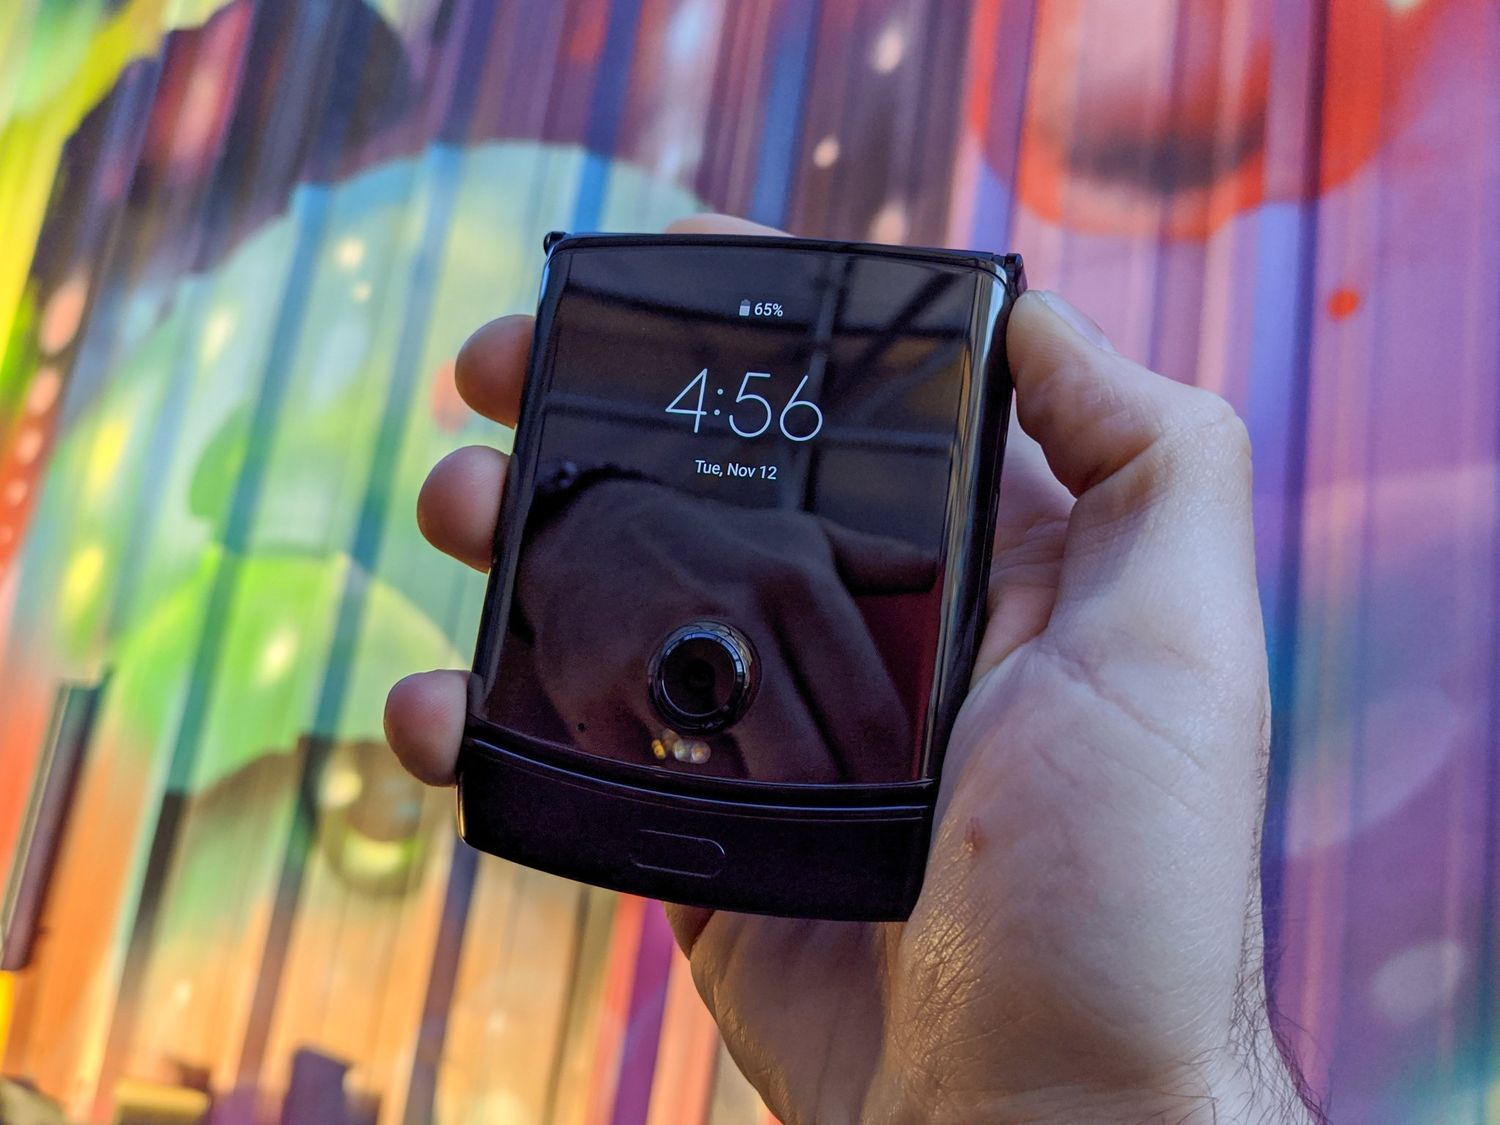
Overview of the Motorola Razr Phone’s Camera Features
The Motorola Razr Phone offers a wide range of advanced camera features that enable you to capture stunning photos with ease. Whether you’re a photography enthusiast or simply love taking pictures to capture special moments, the Razr’s camera is a powerful tool that can elevate your mobile photography game. With its cutting-edge technology and innovative features, you’ll be able to take pictures like a pro.
One of the standout features of the Motorola Razr Phone’s camera is its high-resolution sensor. With a pixel count of [insert pixel count], the camera can capture images with exceptional clarity and detail. Whether you’re shooting landscapes, portraits, or close-up shots, the high-resolution sensor ensures that your photos are sharp and vibrant.
The Razr Phone’s camera also boasts a wide aperture lens, which allows for excellent low-light performance. This means that even in dimly lit environments, you can still capture clear and well-exposed photos without the need for additional lighting. So whether you’re taking pictures at a candlelit dinner or capturing the city lights at night, the Razr’s camera has you covered.
Another fantastic feature of the Razr Phone’s camera is its optical image stabilization (OIS) technology. This technology helps to reduce blur caused by shaky hands or movement, ensuring that your photos are sharp and free from unwanted distortions. Now you can say goodbye to blurry photos and capture crisp, professional-looking images every time.
The Motorola Razr Phone also offers a range of shooting modes and creative features to enhance your photography experience. With modes like panorama, portrait, and night mode, you can experiment with different styles and perspectives to unleash your creativity. Additionally, the Razr’s camera app provides various filters and editing tools, allowing you to customize your photos and add unique artistic touches.
Lastly, the Motorola Razr Phone’s camera supports 4K video recording, enabling you to capture stunning videos with incredible detail and clarity. Whether you’re recording a special event, documenting your travels, or creating content for social media, the Razr’s camera delivers high-quality videos that will impress your audience.
html
Understanding the Camera Modes and Settings
One of the key features of the Motorola Razr Phone is its versatile camera, which offers various modes and settings to enhance your photography experience. Understanding these camera modes and settings can help you capture stunning photos that truly showcase your creativity. Let’s take a closer look at some of the important camera modes and settings available on the Motorola Razr Phone.
1. Auto Mode: The Auto mode is perfect for beginners or those who prefer a point-and-shoot experience. In this mode, the camera automatically adjusts the exposure, focus, and other settings to capture well-balanced and natural-looking photos.
2. Pro Mode: If you’re an advanced user or want more control over your shots, the Pro mode is the way to go. This mode allows you to manually adjust settings such as ISO, shutter speed, white balance, and more. It gives you creative freedom and enables you to experiment with different photography techniques.
3. Portrait Mode: Portrait mode is designed for capturing stunning portraits with a beautiful bokeh effect. It uses depth-sensing technology to create a sharp focus on the subject while blurring the background, giving your photos a professional look.
4. Night Mode: When shooting in low-light conditions, the Night mode comes to the rescue. It utilizes advanced algorithms to capture more light and reduce noise, resulting in clearer and brighter photos even in dimly lit environments.
5. HDR Mode: High Dynamic Range (HDR) mode is ideal for scenes with extreme lighting contrasts, such as a bright sky against a dark foreground. It captures multiple exposures and combines them to create a well-balanced image with detailed highlights and shadows.
6. Panorama Mode: The Panorama mode allows you to capture sweeping landscape shots or wide group photos. Simply pan the camera across the scene, and the phone will automatically stitch together multiple images to create a panoramic photo.
7. Slow Motion Mode: This mode lets you capture mesmerizing slow-motion videos that highlight every intricate detail. Whether it’s capturing a sports event or a fun moment with friends, Slow Motion mode adds a unique touch to your videos.
8. Time-Lapse Mode: Create captivating time-lapse videos with the Time-Lapse mode. This mode captures a series of frames at set intervals and combines them into a fast-paced video that condenses hours or even days into a few seconds, allowing you to showcase the passage of time in a visually compelling way.
These are just a few of the camera modes and settings offered by the Motorola Razr Phone. Exploring and experimenting with these modes will help you unleash your creativity and capture stunning photos and videos that stand out.
Tips for Capturing High-Quality Photos
When it comes to taking stunning photos with the Motorola Razr Phone, there are a few tips and tricks that can help you capture high-quality images. Whether you’re a professional photographer or a casual user, these tips will take your smartphone photography to the next level.
1. Clean the camera lens: Before you start taking photos, make sure to clean the camera lens. Oftentimes, fingerprints or smudges can affect the clarity of your shots. Use a microfiber cloth or a lens cleaning solution to wipe away any dirt or debris.
2. Optimize lighting: Lighting plays a crucial role in photography. For well-exposed photos, try to capture them in natural light or well-lit areas. Avoid taking photos in low-light conditions as it can result in grainy or blurry images.
3. Use the HDR mode: The Motorola Razr Phone offers an HDR (High Dynamic Range) mode that helps you capture photos with better detail and contrast. HDR combines multiple exposures to create a well-balanced image. Enable this mode when shooting landscapes or scenes with contrasting lighting conditions.
4. Experiment with different angles and perspectives: Don’t be afraid to explore different angles and perspectives when taking photos. Try shooting from a low vantage point or experiment with unique framing to add visual interest to your images.
5. Use the rule of thirds: The rule of thirds is a fundamental principle in photography composition. Imagine a grid with two horizontal and two vertical lines dividing the image into nine equal parts. Place your subject along these lines or at their intersection points to create a balanced and visually pleasing composition.
6. Avoid using digital zoom: While the Motorola Razr Phone provides a digital zoom feature, it’s best to avoid using it. Digital zoom degrades the quality of the image by digitally magnifying it. Instead, try to get closer to the subject or crop the photo later for better results.
7. Use burst mode for action shots: If you’re capturing fast-moving subjects or action shots, utilize the burst mode on the Motorola Razr Phone. Burst mode allows you to take multiple photos in quick succession, increasing the chances of capturing the perfect moment.
8. Edit and enhance your photos: After taking the photos, don’t forget to edit and enhance them using photo editing apps. Adjust the brightness, contrast, and saturation levels to achieve the desired look. Experiment with filters and effects to add a unique touch to your images.
9. Explore the camera settings: The Motorola Razr Phone offers a variety of camera settings that allow you to customize your shooting experience. Take the time to explore features like exposure compensation, white balance, and manual focus to have greater control over your photos.
10. Practice and have fun: Like any skill, photography takes practice. So, don’t be discouraged if your initial photos don’t turn out as expected. Keep experimenting, learn from your mistakes, and most importantly, enjoy the process of capturing memorable moments.
By following these tips, you’ll be able to capture high-quality photos with the Motorola Razr Phone. Whether you’re taking photos for personal use or for professional purposes, these tips will unlock the full potential of your smartphone camera and help you create stunning images.
Conclusion
In conclusion, the Motorola Razr phone offers a fantastic photography experience with its advanced camera features and high-quality image output. Whether you are a professional photographer or a casual user, you can capture stunning photos with ease using this sleek and innovative smartphone.
With its versatile camera modes, such as Portrait, Night mode, and Panorama, you have the flexibility to capture different types of shots in various lighting conditions. The Razr’s powerful image processing capabilities ensure that your photos are crisp, vibrant, and full of detail.
Furthermore, the Razr’s ergonomic design, compact size, and intuitive camera interface make it a pleasure to use for photography. Its quick and responsive autofocus, along with the option to manually adjust settings, allows you to have full control over the composition and style of your photos.
Whether you are capturing memorable moments, documenting your travels, or simply exploring your passion for photography, the Motorola Razr phone is a reliable companion that delivers exceptional results. So grab your Razr and start capturing stunning images that will leave you in awe.
FAQs
1. Can I take high-quality pictures with the Motorola Razr phone?
Absolutely! The Motorola Razr phone comes with a powerful camera that allows you to capture stunning photos. With its advanced features and capabilities, you can achieve professional-looking shots right from the palm of your hand.
2. How many megapixels does the Motorola Razr phone’s camera have?
The Motorola Razr phone is equipped with a XX-megapixel camera. This resolution ensures that your photos will be sharp and detailed, allowing you to capture every moment with clarity and precision.
3. Can I adjust the settings of the camera on the Motorola Razr phone?
Yes, you have full control over the camera settings on the Motorola Razr phone. You can adjust various parameters like exposure, white balance, ISO, and more. This flexibility gives you the freedom to customize your photography experience and produce images that reflect your unique style.
4. Does the Motorola Razr phone have a portrait mode?
Yes, the Motorola Razr phone features a portrait mode, which enables you to capture stunning portraits with a beautiful depth of field. This mode intelligently blurs the background while keeping the subject in focus, resulting in professional-looking portraits that will truly stand out.
5. Can I use third-party camera apps on the Motorola Razr phone?
Absolutely! The Motorola Razr phone supports various third-party camera apps, allowing you to further expand your photography capabilities. Whether you’re looking for advanced manual controls, creative filters, or unique shooting modes, you can easily enhance your photography experience by exploring and downloading different camera apps from the app store.