
The Moto G is a popular smartphone known for its impressive camera capabilities and user-friendly interface. However, one common concern among users is the limited storage space for photos and videos. If you're encountering this issue, you're not alone. Many Moto G owners seek a solution to free up space on their device by moving photos to an SD card. In this article, we'll explore the step-by-step process of transferring photos from your Moto G to an SD card, allowing you to preserve cherished memories while optimizing your phone's storage capacity. Whether you're a photography enthusiast or simply looking to declutter your device, understanding how to move photos to an SD card on your Moto G can significantly enhance your smartphone experience.
Inside This Article
- Preparing the SD Card
- Transferring Photos from Internal Storage to SD Card
- Managing Photos on the SD Card
- Troubleshooting and Tips
- Conclusion
- FAQs
Preparing the SD Card
Before you can start moving photos from your Moto G’s internal storage to the SD card, you need to ensure that the SD card is properly prepared for this task. Here’s what you need to do:
Insert the SD card into your Moto G. To do this, you’ll need to locate the SIM and SD card tray. Use the SIM eject tool, or a paperclip, to gently press into the small hole next to the tray. The tray should pop out, allowing you to insert the SD card. Ensure that the card is properly seated in the tray before reinserting it into your device.
Format the SD card. To ensure compatibility and optimal performance, it’s advisable to format the SD card within your Moto G. Go to Settings > Storage > SD card, and select the option to format the card. Keep in mind that formatting will erase all data on the card, so be sure to back up any important files before proceeding.
Sure, here's the content for "Transferring Photos from Internal Storage to SD Card" section:
html
Transferring Photos from Internal Storage to SD Card
Once you have successfully prepared your SD card, it’s time to transfer your photos from the internal storage of your Moto G to the SD card. Here’s a step-by-step guide to help you with the process.
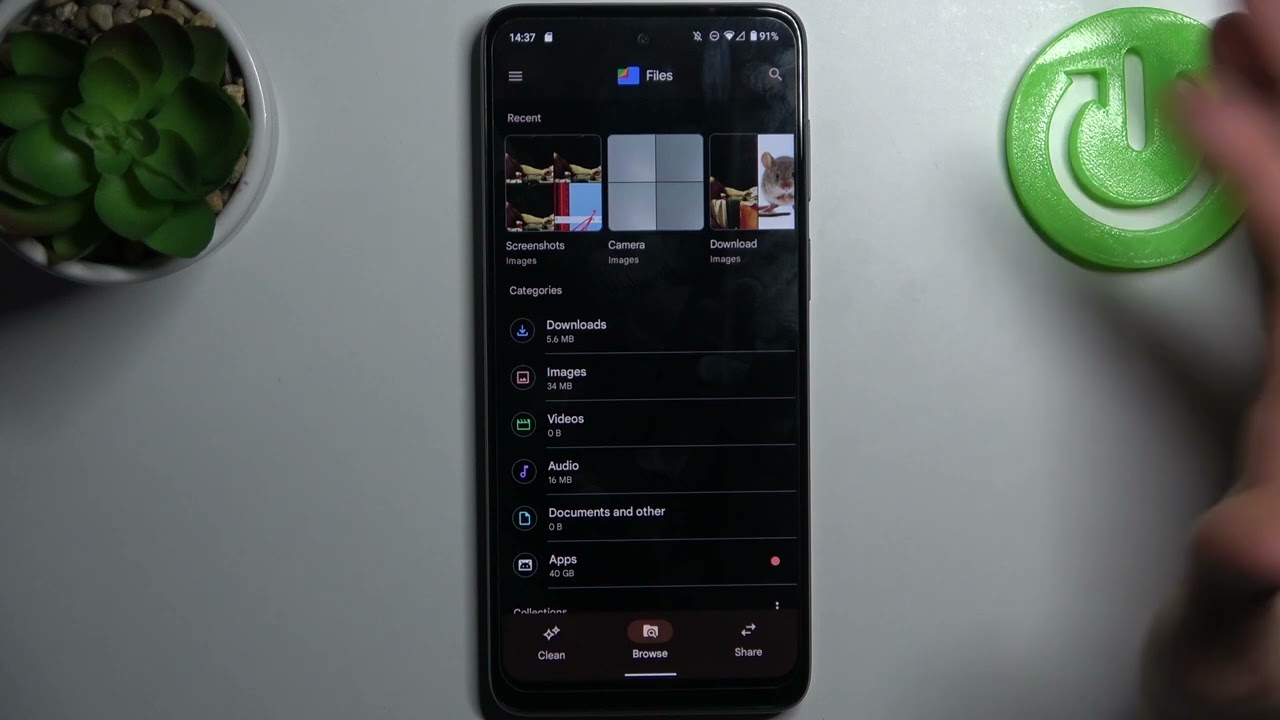
1. Open the File Manager: Start by opening the file manager app on your Moto G. This app allows you to navigate through the files and folders stored on your device.
2. Select the Photos: Navigate to the location where your photos are stored. This is typically the “Pictures” or “Gallery” folder. Tap and hold to select the photos you want to transfer to the SD card.
3. Choose “Move” or “Copy”: Once the photos are selected, look for the option to “Move” or “Copy.” Selecting “Move” will transfer the photos to the SD card and remove them from the internal storage, while “Copy” will duplicate the photos to the SD card, leaving the original files in the internal storage.
4. Select the SD Card Destination: After choosing “Move” or “Copy,” navigate to the SD card location where you want to transfer the photos. If there isn’t a suitable folder, you can create a new one to organize your photos efficiently.
5. Complete the Transfer: Once you’ve selected the destination, confirm the transfer. Depending on the number and size of the photos, the process may take a few moments. Once completed, you’ll find your photos safely stored on the SD card.
Managing Photos on the SD Card
Once you’ve successfully transferred your photos to the SD card, you may want to manage and organize them efficiently to make the most of the additional storage space. Here are some tips for managing photos on your SD card:
1. Organize into Folders: Create folders on your SD card to categorize your photos. You can have separate folders for different events, trips, or categories to keep your photos well-organized.
2. Regular Backups: It’s essential to back up the photos on your SD card regularly to prevent any data loss. You can create a backup on your computer or use cloud storage services for added security.
3. Keep it Tidy: Periodically go through your photos and delete any duplicates, blurry images, or ones that you no longer need. This helps in maintaining a tidy and clutter-free photo collection.
4. Use Photo Management Apps: Consider using photo management apps that allow you to view, organize, and edit photos directly from the SD card. These apps can provide additional features for better photo management.
5. Sort and Tag: Some photo management software allows you to add tags, keywords, or descriptions to your photos, making it easier to search for specific images in the future. Take advantage of these features for efficient photo sorting.
By implementing these practices, you can make the most of the expanded storage capacity offered by your SD card while ensuring that your photo collection remains well-organized and easily accessible.
Troubleshooting and Tips
If you encounter any issues while trying to transfer photos to your SD card on the Moto G, here are some troubleshooting tips to help you resolve them:
1. Ensure that your SD card is inserted properly and is compatible with your Moto G. Some SD cards may not be compatible with certain devices, so it’s essential to check for compatibility.
2. Check the storage settings on your Moto G to confirm that the SD card is recognized and available for use. Sometimes, a simple restart of the device can resolve recognition issues.
3. If you’re experiencing slow transfer speeds, consider the class and speed rating of your SD card. Higher class and speed ratings typically result in faster data transfer.
4. If the transfer process is interrupted or incomplete, try transferring a smaller batch of photos at a time. This can help prevent issues related to file size and transfer stability.
5. In case the photos appear to have transferred but are not accessible on the SD card, use a file manager app to navigate to the SD card directory and verify the presence of the transferred photos.
6. If you continue to encounter difficulties, consider formatting the SD card using your Moto G to ensure that it is set up correctly for storing photos and other data.
By following these troubleshooting tips, you can address common issues related to transferring photos to the SD card on your Moto G and ensure a smooth and efficient process.
**
Conclusion
**
Transferring photos to the SD card on your Moto G is a simple yet effective way to free up space and ensure that your precious memories are safely stored. By following the easy steps outlined in this guide, you can seamlessly migrate your photos to the SD card, thereby optimizing your device’s storage capacity. This process not only enhances the performance of your Moto G but also provides you with the peace of mind that comes with having ample space for new memories. With the versatility and user-friendly features of the Moto G, managing your photos has never been easier. Embrace the convenience and efficiency of this method, and enjoy a clutter-free and organized photo gallery on your Moto G.
FAQs
Q: How do I transfer photos from my Moto G to an SD card?
A: To move photos from your Moto G to an SD card, you can use the file manager app to select and transfer the photos to the SD card.
Q: Can I set my Moto G to automatically save photos to the SD card?
A: Yes, you can change the default storage location for photos to the SD card in the camera settings.
Q: Will transferring photos to the SD card affect their quality?
A: No, transferring photos to the SD card will not affect their quality as long as the transfer process is completed successfully.
Q: What should I do if my Moto G doesn't recognize the SD card?
A: If your Moto G doesn't recognize the SD card, try reinserting the card, cleaning the card and slot, or formatting the SD card to resolve any issues.
Q: Can I access photos directly from the SD card on my Moto G?
A: Yes, once the photos are transferred to the SD card, you can access them directly from the SD card using the file manager app on your Moto G.