
Are you running out of storage space on your Moto G smartphone? Don’t worry, there’s a solution! By saving apps to your SD card, you can free up valuable internal storage and keep your device running smoothly. Moto G is a popular smartphone known for its great features, but limited storage space can be a concern for some users. In this article, we will guide you through the process of saving apps to an SD card on your Moto G, helping you maximize storage capacity without compromising on functionality. Whether you’re a photography enthusiast with tons of camera apps or a gaming aficionado with multiple high-end games, by the end of this article, you’ll know how to optimize your storage space and enjoy a seamless experience on your Moto G smartphone.
Inside This Article
- Why Save Apps to SD Card on Moto G?
- Method 1: Default App Settings
- Method 2: Using the “Move to SD Card” Option
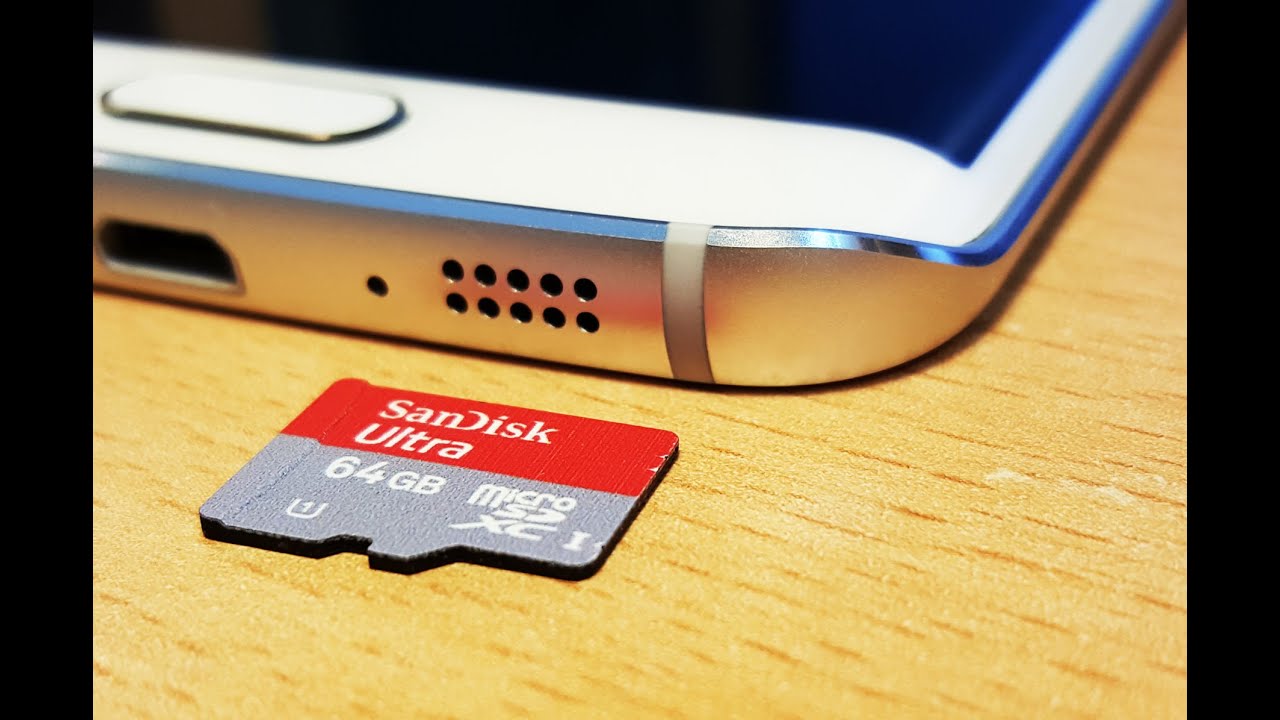
- Method 3: Adoptable Storage (Moto G8 and newer)
- Method 4: Using Third-Party Apps
- Conclusion
- FAQs
Why Save Apps to SD Card on Moto G?
Moto G is a popular smartphone known for its powerful performance and impressive features. However, like any other device, it has a limited amount of internal storage space. This limitation can become an issue for users who love to download and install various apps on their phone.
Thankfully, Moto G provides the option to save apps to an SD card, which can significantly free up internal storage and allow users to install more apps without worrying about running out of space. Saving apps to the SD card has several advantages:
- Expanded Storage: By saving apps to the SD card, you can greatly enhance the available storage space on your Moto G. This means you can download and enjoy a larger number of apps, games, and multimedia content without experiencing storage-related issues.
- Improved Performance: When your internal storage is filled to the brim, it can slow down your phone’s performance. By moving apps to the SD card, you can alleviate the burden on the internal storage, resulting in smoother and faster operation of your Moto G.
- Easy App Management: By using the SD card to store apps, you have better control over your app library. You can easily uninstall and reinstall apps without losing any data or settings since they are stored on the removable SD card.
- Data Backup: While it is always advisable to back up your important data, having your apps stored on the SD card provides an extra layer of security. In case of any software issues or when you need to factory reset your Moto G, your apps and their associated data can be easily restored from the SD card.
Method 1: Default App Settings
One of the easiest ways to save apps to an SD card on your Moto G is by changing the default app installation location. By doing this, any new apps you download will automatically be stored on the SD card instead of the phone’s internal storage. Here’s how you can do it:
1. Go to the Settings app on your Moto G.
2. Scroll down and tap on “Apps & notifications”.
3. Look for the “Advanced” section and tap on it.
4. Select “App info” or “Application manager” depending on your device’s software version.
5. You will see a list of all the apps installed on your Moto G. Tap on the app that you want to move to the SD card.
6. On the app’s information page, tap on “Storage”.
7. You will see two options: “Change” and “Clear data”. Tap on “Change”.
8. A pop-up window will appear asking for confirmation to change the app’s storage location. Tap on “SD card” or “SD card storage”.
9. Finally, tap on “Move” to transfer the app from the phone’s internal storage to the SD card.
10. Repeat these steps for all the apps you want to save to the SD card.
By changing the default app installation location, you ensure that all new apps are automatically saved to the SD card, freeing up space on your Moto G’s internal storage.
Method 2: Using the “Move to SD Card” Option
Another method to save apps to the SD card on your Moto G is by utilizing the “Move to SD Card” option. This feature allows you to transfer certain apps from the internal storage to the SD card, freeing up valuable space on your device.
Here’s how you can do it:
- Open the Settings on your Moto G.
- Select the “Apps & Notifications” option.
- Tap on the “See all X apps” where X is the number of apps installed on your device.
- Choose the app you want to move to the SD card.
- Within the app settings, look for the “Storage” option.
- If the app supports moving to the SD card, you will see the “Change” or “Move to SD Card” option. Tap on it.
- A confirmation message will appear. Press “OK” to proceed with the move.
Please note that not all apps can be moved to the SD card. Some system apps and certain apps that require additional permissions may not have the option to be moved. Additionally, certain app data or functionality may be restricted when running from the SD card.
By using the “Move to SD Card” option, you can effectively manage the storage on your Moto G and keep your device running smoothly.
Method 3: Adoptable Storage (Moto G8 and newer)
If you own a Moto G8 or a newer model, you have the option to utilize a feature called Adoptable Storage. This feature allows you to treat your SD card as internal storage, giving you additional space to install apps and store data. By adopting the SD card as internal storage, you can seamlessly expand your device’s storage capacity without worrying about running out of space for your favorite apps.
To use Adoptable Storage on your Moto G8 or newer model, follow these simple steps:
- Insert your SD card into the Moto G8 or newer device.
- Go to the “Settings” menu and select “Storage & USB.
- Scroll down and tap on “Portable storage”.
- Tap on the three-dot menu icon located at the top-right corner of the screen.
- Select “Settings” from the dropdown menu.
- From the settings menu, tap on “Format as internal”.
- Read the information presented and tap “Format” to proceed with the process.
- Once the formatting is complete, you will be prompted to move your data. You can choose to move your data now or do it later.
- After completing the process, your SD card will be adopted as internal storage.
- Now, when you install apps on your Moto G8 or newer device, they will be automatically saved to the SD card, helping you save space on your internal storage.
Keep in mind that adopting your SD card as internal storage means it will be encrypted and tied to your device. This means the SD card will only work with that specific device, and you won’t be able to use it with any other device until you format it again.
Adoptable Storage is a convenient option for Moto G8 and newer owners who require additional space for apps and data. By following these steps, you can make the most of your SD card and ensure that your device has ample storage capacity to meet your needs.
Method 4: Using Third-Party Apps
If you’re unable to move apps to the SD card using the built-in settings on your Moto G, there’s still a solution – using third-party apps. These apps can offer additional functionality and flexibility when it comes to managing your apps and storage.
One highly recommended app is “AppMgr III” (also known as “App 2 SD”), which allows you to move apps to your SD card effortlessly. Here’s how you can use this app:
- Step 1: Download and install the “AppMgr III” app from the Google Play Store.
- Step 2: Launch the app and grant it the necessary permissions.
- Step 3: The app will display a list of all the installed apps on your device.
- Step 4: Select the app that you want to move to the SD card.
- Step 5: Tap on the “Move to SD card” button.
AppMgr III will automatically analyze the selected app and determine if it can be moved to the SD card. If the app can be moved, it will copy the necessary files and data to the SD card, freeing up valuable internal storage space.
Keep in mind that not all apps can be moved to the SD card due to certain restrictions imposed by the app developer. However, using third-party apps like AppMgr III increases your chances of successfully moving apps to the SD card.
In addition to “AppMgr III,” there are several other third-party apps available on the Google Play Store that offer similar functionality. Some popular alternatives include “Link2SD” and “FolderMount.” These apps provide advanced features and settings for managing your apps and external storage.
Before using any third-party app to move apps to the SD card, make sure to read reviews, check compatibility with your device, and consider any potential drawbacks or limitations. It’s always a good idea to back up your data before making any changes to avoid any potential data loss.
Using third-party apps can be a great option when the built-in settings on your Moto G don’t allow you to move apps to the SD card. With the right app and proper precautions, you can easily optimize your device’s storage and enjoy a smoother experience with your favorite apps on your Moto G.
In conclusion, being able to save apps to the SD card on your Moto G can be a game-changer in terms of storage management and device performance. It allows you to free up valuable internal storage space and ensure a smoother and faster user experience. By following the steps outlined in this article, you can easily move apps to the SD card and enjoy the benefits it brings.
FAQs
1. Can I save apps to an SD card on my Moto G smartphone?
2. What are the benefits of saving apps to an SD card on my Moto G?
3. How can I check if my Moto G supports saving apps to an SD card?
4. Is it possible to move all apps to the SD card on my Moto G?
5. Will moving apps to the SD card affect their performance on my Moto G?