
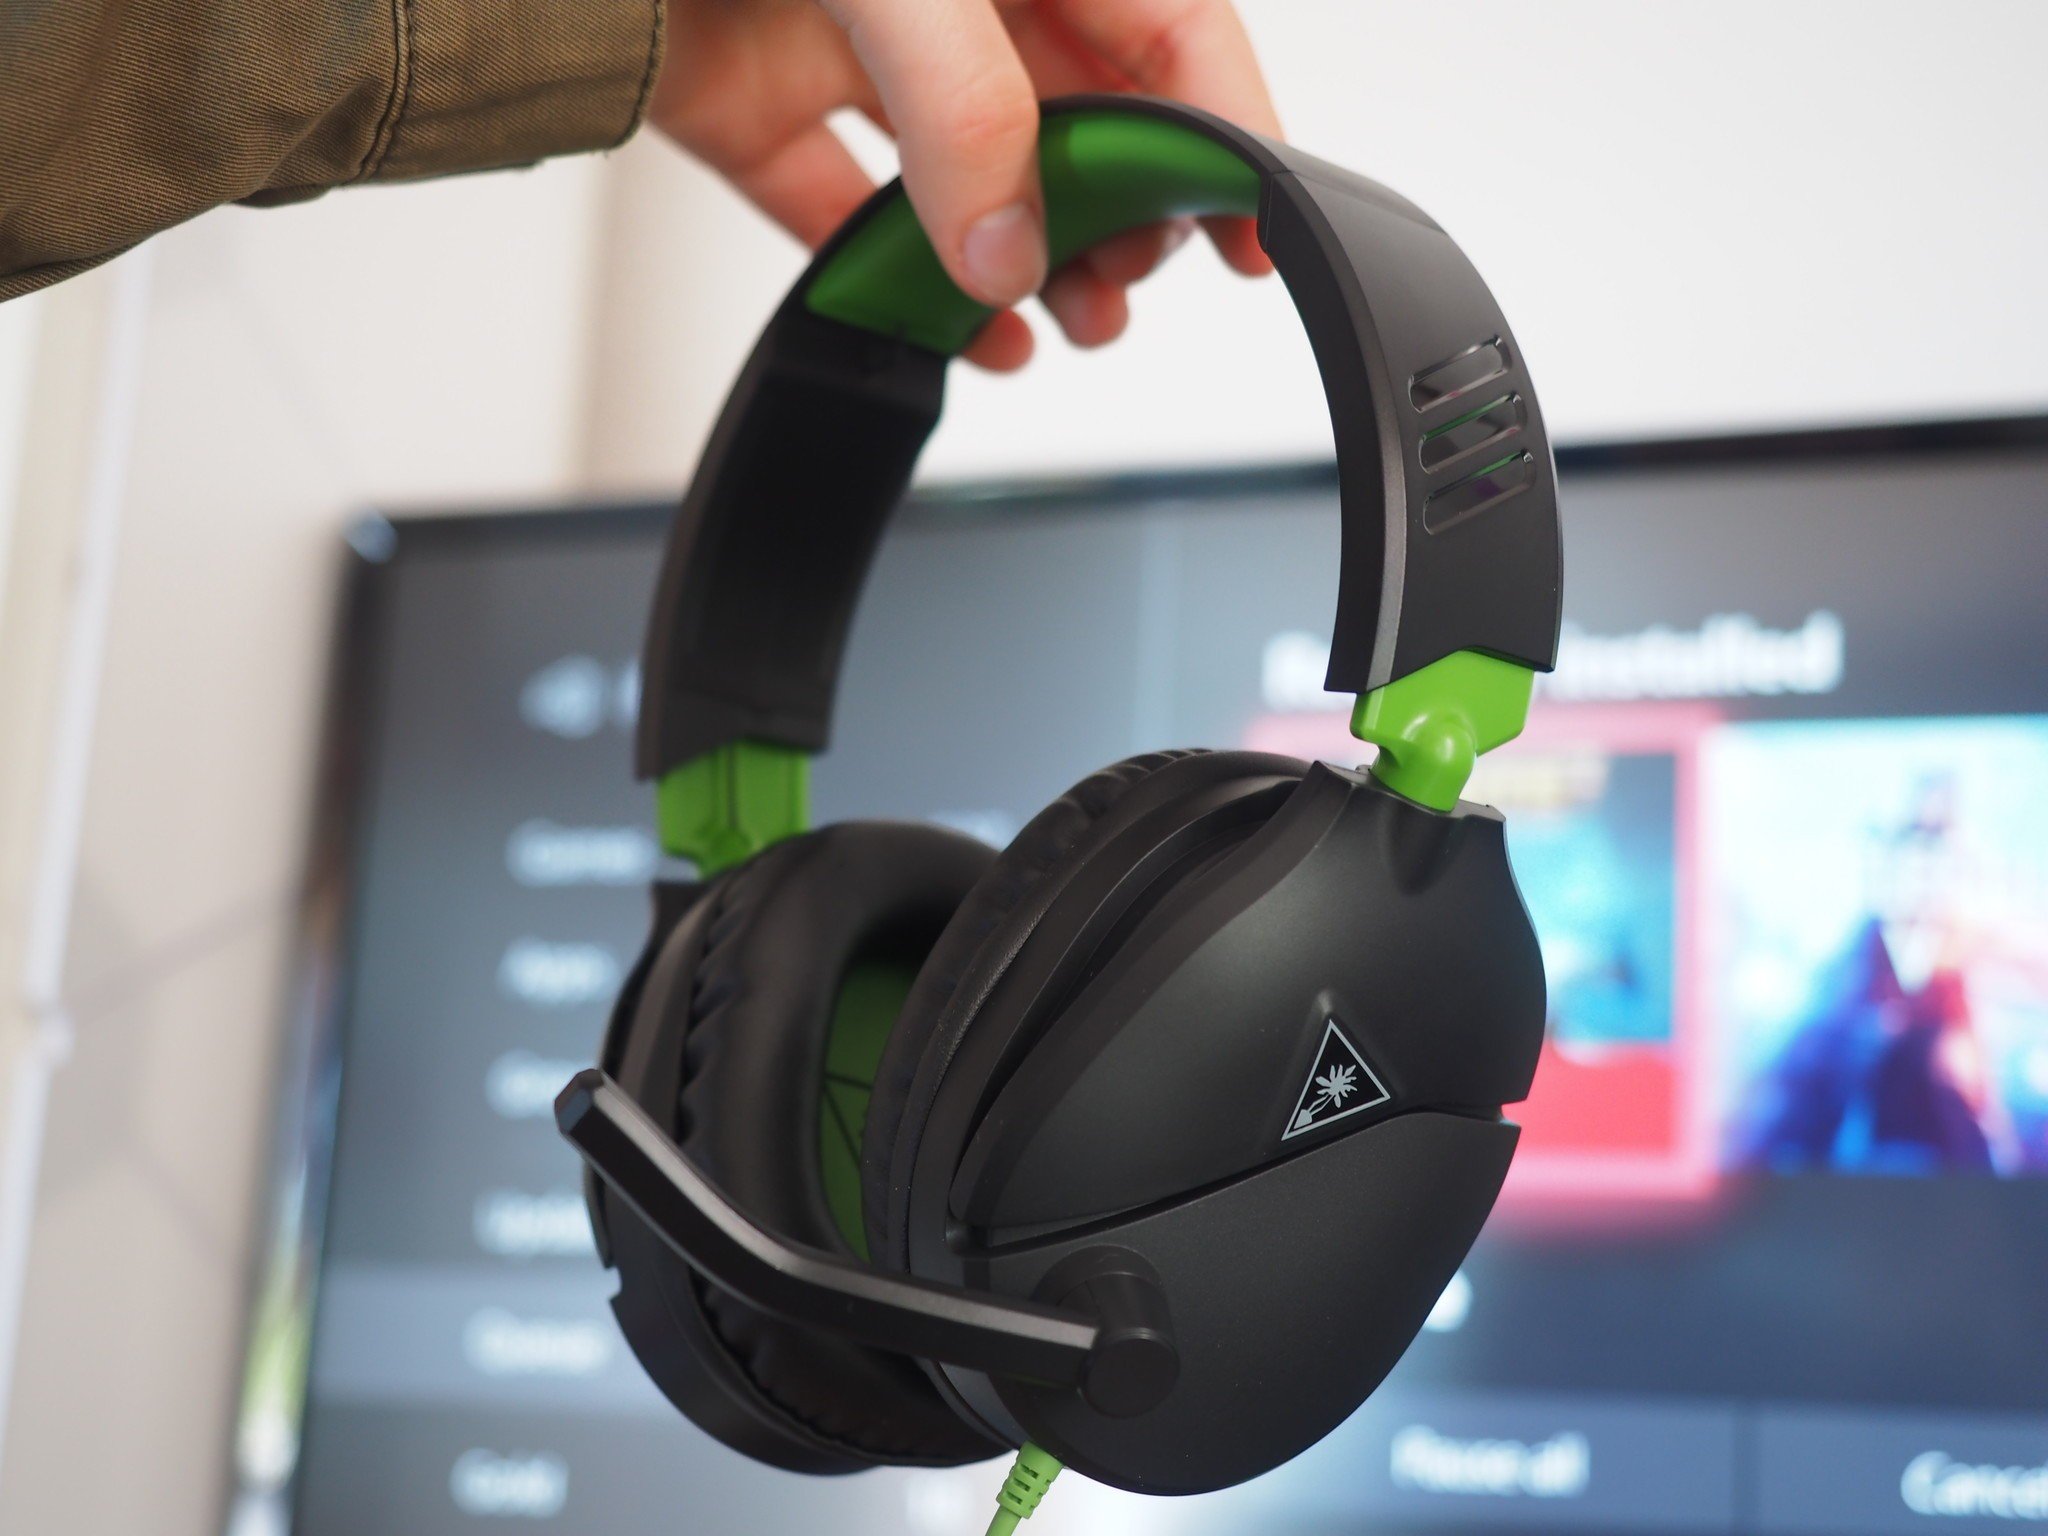
Are you a gamer looking to enhance your gaming experience with an Xbox Turtle Beach headset? Look no further, as we’ve got you covered! Connecting your Xbox Turtle Beach headset is a simple process that can greatly improve the audio quality and immersion while playing your favorite games. In this article, we will guide you through the step-by-step process of connecting your Xbox Turtle Beach headset to your gaming console. Whether you’re a seasoned gamer or a newbie, this guide is designed to help you get your headset up and running in no time. So grab your Xbox controller, put on your headset, and get ready to take your gaming experience to the next level!
Inside This Article
- Overview
- Step 1: Prepare your Xbox and Turtle Beach Headset
- Step 2: Connect the Xbox Controller and Headset Adapter
- Step 3: Adjust the Headset Settings on the Xbox
- Step 4: Test the Connection and Adjust Audio Settings
- Conclusion
- FAQs
Overview
Are you ready to elevate your gaming experience with the Xbox Turtle Beach Headset? With its advanced features and immersive audio quality, this headset is a must-have for any avid gamer. In this article, we will guide you through the process of connecting your Xbox Turtle Beach Headset, so you can start enjoying crystal-clear sound and communicate with your teammates while dominating the virtual battlefield. Whether you’re a seasoned gamer or new to the world of gaming accessories, we’ve got you covered every step of the way.
Connecting your Xbox Turtle Beach Headset is a straightforward process that requires a few simple steps. You’ll need to connect the headset to your Xbox Wireless Controller and pair it with your Xbox console. Additionally, we will explore how to adjust the audio settings on your Xbox to optimize the performance of your Turtle Beach Headset. Finally, we’ll address some common connection issues and provide troubleshooting tips to ensure a seamless gaming experience.
Get ready to immerse yourself in the action and experience gaming like never before with the Xbox Turtle Beach Headset. Let’s dive into the details of how to connect your headset and unleash the full potential of your gaming experience.
Step 1: Prepare your Xbox and Turtle Beach Headset
Before you can connect your Turtle Beach headset to your Xbox, there are a few steps you need to take to ensure a smooth and successful setup. Follow these simple instructions to prepare your Xbox and Turtle Beach headset:
1. Check the compatibility: Ensure that your Turtle Beach headset is compatible with your Xbox console. Visit the Turtle Beach website or refer to the product manual to ensure compatibility.
2. Charge your headset: If your Turtle Beach headset is wireless, make sure it is fully charged before attempting to connect it to your Xbox. Connect the charging cable to the headset and plug it into a power source to charge it up.
3. Update your Xbox console: It’s always a good idea to keep your Xbox console up to date with the latest software. Check for any available system updates and install them before proceeding with the headset connection.
4. Turn on your Xbox: Power on your Xbox console and make sure it is connected to the TV or monitor. Ensure that your Xbox controller is also turned on and connected to the console.
5. Connect the headset to the Xbox controller: Take the audio cable included with your Turtle Beach headset and connect it to the headset port on the bottom of the Xbox wireless controller. Ensure that the cable is securely plugged in.
6. Adjust headset settings: On your Xbox controller, locate the audio settings button. This is typically represented by a small headset icon. Press the button to access the audio settings menu.
7. Test the headset: Once you have adjusted the audio settings, put on your Turtle Beach headset and test the audio output. Play a game or watch a video to ensure that the sound is coming through the headset and adjust the volume accordingly.
By following these steps, you will have successfully prepared your Xbox and Turtle Beach headset for connection. Now, let’s move on to the next step and learn how to pair your Turtle Beach headset with your Xbox console.
Step 2: Connect the Xbox Controller and Headset Adapter
Once you have your Xbox Turtle Beach headset and headset adapter ready, it’s time to connect them to your Xbox controller. Follow these simple steps:
1. Locate the 3.5mm headset jack on your Xbox wireless controller. It is usually located at the bottom of the controller, next to the expansion port.
2. Take the 3.5mm audio cable from your headset adapter and plug one end into the headset jack on the Xbox controller.
3. Connect the other end of the audio cable to the headset adapter, making sure it is securely plugged in.
4. If your headset has a separate chat cable, plug one end into the chat port on the headset adapter. This will allow you to communicate with other players during gameplay.
5. Finally, make sure the headset adapter is securely attached to the bottom of the Xbox controller.
Once you have completed these steps, your Xbox controller and headset adapter should be properly connected. This will allow you to enjoy immersive audio and seamless voice communication while gaming on your Xbox console.
Step 3: Adjust the Headset Settings on the Xbox
Once you have successfully connected your Turtle Beach headset to your Xbox console and controller, the next step is to adjust the headset settings on the Xbox. This will ensure that you have the best audio experience while using your headset for gaming or other activities on your Xbox.
To adjust the headset settings on your Xbox, follow these steps:
- Turn on your Xbox console and sign in to your Xbox account.
- Press the Xbox button on your controller to open the guide.
- Navigate to the “Profile & system” tab using the joystick or D-pad.
- Select “Settings” and then choose “General.”
- In the “General” settings, select “Volume & audio output.”
- Under the “Headset audio” section, you can adjust the following settings:
- Headset chat mixer: This option allows you to adjust the balance between game audio and chat audio. You can slide the bar towards “Chat” to hear more of your friends’ voices during gameplay, or towards “Game” to emphasize game audio.
- Headset format: Depending on your headset model and preferences, you can choose between stereo uncompressed or Windows Sonic for Headphones. Stereo uncompressed provides high-quality audio, while Windows Sonic for Headphones offers a virtual surround sound experience.
- Headset chat mixer: This option allows you to adjust the balance between game audio and chat audio. You can slide the bar towards “Chat” to hear more of your friends’ voices during gameplay, or towards “Game” to emphasize game audio.
- Headset volume: Use this setting to adjust the overall volume level of your headset.
- Microphone monitoring: If your Turtle Beach headset has a built-in microphone, you can enable or disable microphone monitoring. This feature allows you to hear your own voice through the headset, which can be useful for adjusting volume or avoiding shouting.
Make sure to test your headset after adjusting these settings to ensure everything is working properly. You can test the audio by going to the “Audio” tab in the Xbox settings and selecting “Test your headset.”
If you encounter any issues with the audio or microphone while using your Turtle Beach headset on Xbox, double-check the connections and settings. If the issue persists, consult the troubleshooting section in this guide for possible solutions.
Step 4: Test the Connection and Adjust Audio Settings
Once you have successfully connected your Turtle Beach headset to your Xbox console and wireless controller, it’s time to test the connection and adjust the audio settings to ensure optimal performance.
To test the connection, put on your headset and make sure it is securely placed on your head. Start by launching a game or an application that produces sound. You should immediately hear the audio coming through your headset. If you don’t hear anything, double-check the connection and make sure the headset is properly plugged in.
If you can hear the audio but it’s not at the desired level, you can easily adjust the volume using the controls on your headset. Most Turtle Beach headsets have volume control options, either on the headset earcups or on the cable itself. Experiment with different volume levels until you find the one that suits your preferences.
In addition to volume control, many Turtle Beach headsets offer customizable audio settings. These settings allow you to fine-tune the audio experience according to your preferences. You can typically adjust the bass, treble, and overall sound balance to create a personalized and immersive gaming experience. Refer to the user manual or instructions provided with your specific Turtle Beach headset to learn how to adjust these settings.
Another important aspect to consider is chat audio. If you’re playing multiplayer games and want to communicate with other players, you need to ensure that the chat audio is properly balanced with the game audio. Most Turtle Beach headsets have separate volume controls for chat and game audio. Adjust these settings to achieve the desired balance, ensuring that you can hear your teammates clearly while still enjoying the game’s sound effects and music.
If you encounter any issues while testing the connection or adjusting the audio settings, refer to the troubleshooting section in the user manual or visit the official Turtle Beach support website for assistance. They have a wealth of resources and troubleshooting guides to help you resolve common issues and optimize your headset’s performance.
Once you have successfully tested the connection and adjusted the audio settings to your liking, you are ready to fully immerse yourself in your gaming experience with the Turtle Beach headset.
Conclusion
Connecting your Xbox Turtle Beach headset is a straightforward process that allows you to enjoy an immersive gaming experience with high-quality audio. By following the steps outlined in this guide, you can easily connect your headset to the Xbox console and start enjoying crystal-clear sound, precise communication, and deep bass.
Remember to choose the connection method that best suits your needs, whether it’s using a wired connection or opting for a wireless setup. Make sure to check for any firmware updates on your headset to ensure optimal performance.
With your Xbox Turtle Beach headset connected, you’ll be able to fully immerse yourself in the gaming world, hear the slightest details, communicate efficiently with your teammates, and gain a competitive edge. Get ready to elevate your gaming experience to new heights!
So don’t wait any longer. Follow the steps outlined in this guide, and start enjoying the incredible audio performance that your Xbox Turtle Beach headset has to offer!
FAQs
1. Can I connect my Xbox Turtle Beach headset wirelessly?
Unfortunately, most Turtle Beach headsets for Xbox do not have built-in wireless functionality. However, you can still enjoy high-quality audio by connecting your headset to the Xbox controller using a 3.5mm cable.
2. What do I need to connect my Xbox Turtle Beach headset?
To connect your Xbox Turtle Beach headset, you will need the following:
- An Xbox controller with a 3.5mm audio port
- A compatible Turtle Beach headset with a 3.5mm jack or an Xbox-specific headset adapter (if your headset uses a different connector)
- A 3.5mm audio cable (if your headset does not come with one)
3. How do I set up my Xbox Turtle Beach headset?
Setting up your Xbox Turtle Beach headset is easy! Follow these steps:
- Connect the headset to the Xbox controller using the 3.5mm cable.
- Power on your console and sign in to your Xbox profile.
- Go to the Home screen and navigate to the “Settings” menu.
- Select “Audio” or “Sound” settings.
- Adjust the audio settings according to your preferences.
4. Do I need any additional software to use my Xbox Turtle Beach headset?
No, you do not need any additional software to use your Xbox Turtle Beach headset. Once you have connected the headset to your Xbox controller and adjusted the audio settings, you are ready to enjoy immersive gaming audio.
5. My Xbox Turtle Beach headset is not working. What should I do?
If you are experiencing issues with your Xbox Turtle Beach headset, try the following troubleshooting steps:
- Check the connections between the headset and the controller to ensure they are secure.
- Make sure the volume is turned up on both the headset and your Xbox console.
- Try using the headset with a different controller or console to determine if the issue is device-specific.
- If the problem persists, reach out to Turtle Beach customer support for further assistance.