
Are you in need of capturing a screenshot on your iPad? Whether you want to save a funny meme, share an important conversation, or document an issue for troubleshooting, taking a screenshot is a handy feature. However, if you’re not familiar with how to get a screenshot on iPad, it can be a bit confusing at first.
In this article, we will guide you through the four best ways to capture screenshots on your iPad in 2023. From the traditional method using the physical buttons to the newly introduced gesture-based techniques, we’ve got you covered. We’ll also provide step-by-step instructions for each method and share some useful tips to enhance your screenshot-taking experience.
So, without further ado, let’s dive into the world of iPad screenshots and learn how to capture those memorable moments with ease!
Inside This Article
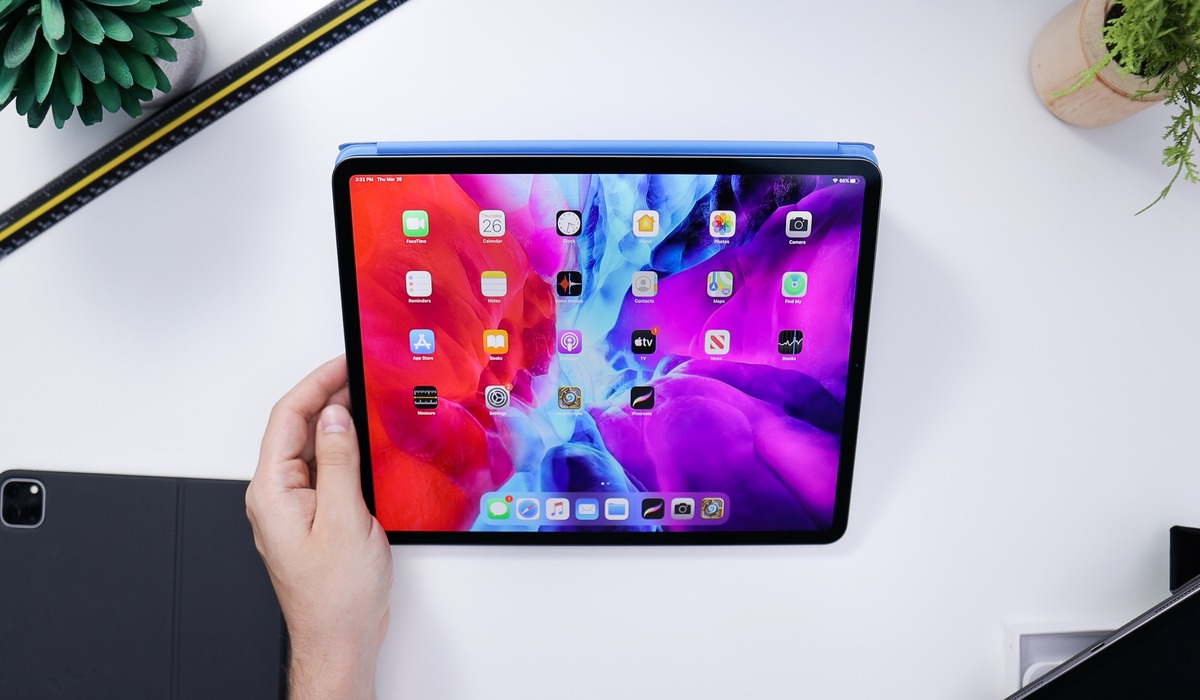
How to Get a Screenshot on iPad: The 4 Best Ways (2023)
Getting a screenshot on your iPad is a useful way to capture and save important information, memorable moments, or even just for troubleshooting purposes. In this article, we will explore the four best ways to get a screenshot on your iPad in 2023. Whether you have the latest iPad model or an older version, these methods are guaranteed to work and help you capture the content you desire. Let’s dive in!
1. Capture a Screenshot Using the Home and Power Buttons
One of the simplest and most commonly used methods to take a screenshot on an iPad is by using the home and power buttons simultaneously. Here’s how:
- Locate the content or screen you want to capture on your iPad.
- Press and hold the power button, which is usually located on the top or side of your iPad, depending on the model.
- Immediately press the home button, the round button located at the bottom center of your iPad’s screen.
- You will see a flash animation and hear a camera shutter sound, confirming that the screenshot has been taken.
- Find your screenshot in the Photos app’s “Screenshots” album or in the main “Photos” album.
Using the home and power buttons simultaneously is a quick and convenient way to capture a screenshot on your iPad.
2. Take a Screenshot with Assistive Touch
If you prefer a more accessible method, you can use Assistive Touch to capture a screenshot on your iPad. Here’s how:
- Open the “Settings” app on your iPad and go to “Accessibility.”
- Tap on “Touch” and select “AssistiveTouch.”
- Toggle on the AssistiveTouch option to enable it.
- A small floating button will appear on your screen; tap it to open the AssistiveTouch menu.
- Tap on “Device” and then “More.”
- Finally, tap on “Screenshot” to capture the screen of your iPad.
- Find your screenshot in the Photos app’s “Screenshots” album or in the main “Photos” album.
Using Assistive Touch provides an alternative method for taking screenshots on your iPad, especially if you have difficulty simultaneously pressing the home and power buttons.
3. Use Apple Pencil to Capture a Screenshot
If you own an Apple Pencil, you can conveniently use it to capture screenshots on your iPad. Here’s how:
- Hold the Apple Pencil above the screen of your iPad, near the content or screen you want to capture.
- Press the bottom button on the Apple Pencil.
- You will hear a camera shutter sound and see a flash animation, indicating that the screenshot has been taken.
- Find your screenshot in the Photos app’s “Screenshots” album or in the main “Photos” album.
Using the Apple Pencil offers a seamless and precise way to capture screenshots on your iPad, especially if you frequently use your Pencil for digital note-taking or drawing.
4. Utilize the Instant Markup Feature for Screenshots
Another great way to get a screenshot on your iPad is by utilizing the Instant Markup feature. This feature allows you to edit and annotate your screenshots right after capturing them. Here’s how:
- Capture a screenshot using any of the previously mentioned methods.
- Immediately tap the screenshot thumbnail that appears in the bottom left corner of your screen.
- The screenshot will open with the Instant Markup toolbar at the bottom of the screen.
- Using the toolbar, you can draw, write, highlight, or add text to your screenshot.
- Once you’re done editing, tap “Done” to save your edited screenshot.
- Find your edited screenshot in the Photos app’s “Screenshots” album or in the main “Photos” album.
The Instant Markup feature adds an extra level of functionality to your screenshots, allowing you to make quick edits and annotations before saving or sharing them.
Conclusion
In conclusion, taking a screenshot on your iPad has never been easier with the variety of methods available. Whether you prefer the traditional method of using buttons or the convenience of using Apple Pencil or gestures, you have options that suit your preferences.
Remember, screenshots are not only useful for capturing memorable moments, but they can also be a handy tool for sharing information, troubleshooting issues, and documenting important details. With the 4 best ways we discussed in this article, you can easily capture and share screenshots on your iPad.
So, whether you need to capture a funny conversation, save a recipe, or document an important meeting, now you know the best ways to get a screenshot on your iPad. Start using these methods and make the most out of your iPad’s capabilities!
FAQs
1. Can I get a screenshot on my iPad?
Yes, definitely! You can easily take screenshots on your iPad to capture important moments or save information. It’s a handy feature that comes built-in with your iPad.
2. How do I take a screenshot on my iPad?
There are several methods to take a screenshot on an iPad. The most common method is to simultaneously press the home button and the power button. Alternatively, you can use the AssistiveTouch feature or utilize the Apple Pencil if you have one.
3. Where can I find my screenshots on my iPad?
After taking a screenshot on your iPad, you can find it in the Photos app. Open the app, go to the “Albums” tab, and look for the “Screenshots” album. Your screenshots will be stored there.
4. Can I edit my screenshots on my iPad?
Yes, you can! The Photos app on your iPad provides basic editing tools that allow you to crop, rotate, add text, or annotate your screenshots. Additionally, you can also use third-party photo editing apps available on the App Store for more advanced editing options.
5. Is there a way to take a screenshot of a specific portion of the screen?
Absolutely! With the introduction of iOS 11, Apple added a powerful feature that allows you to take screenshots of a specific portion of the screen. After initiating the screenshot process, you’ll be able to drag the corners of the screenshot preview to select the desired section.