
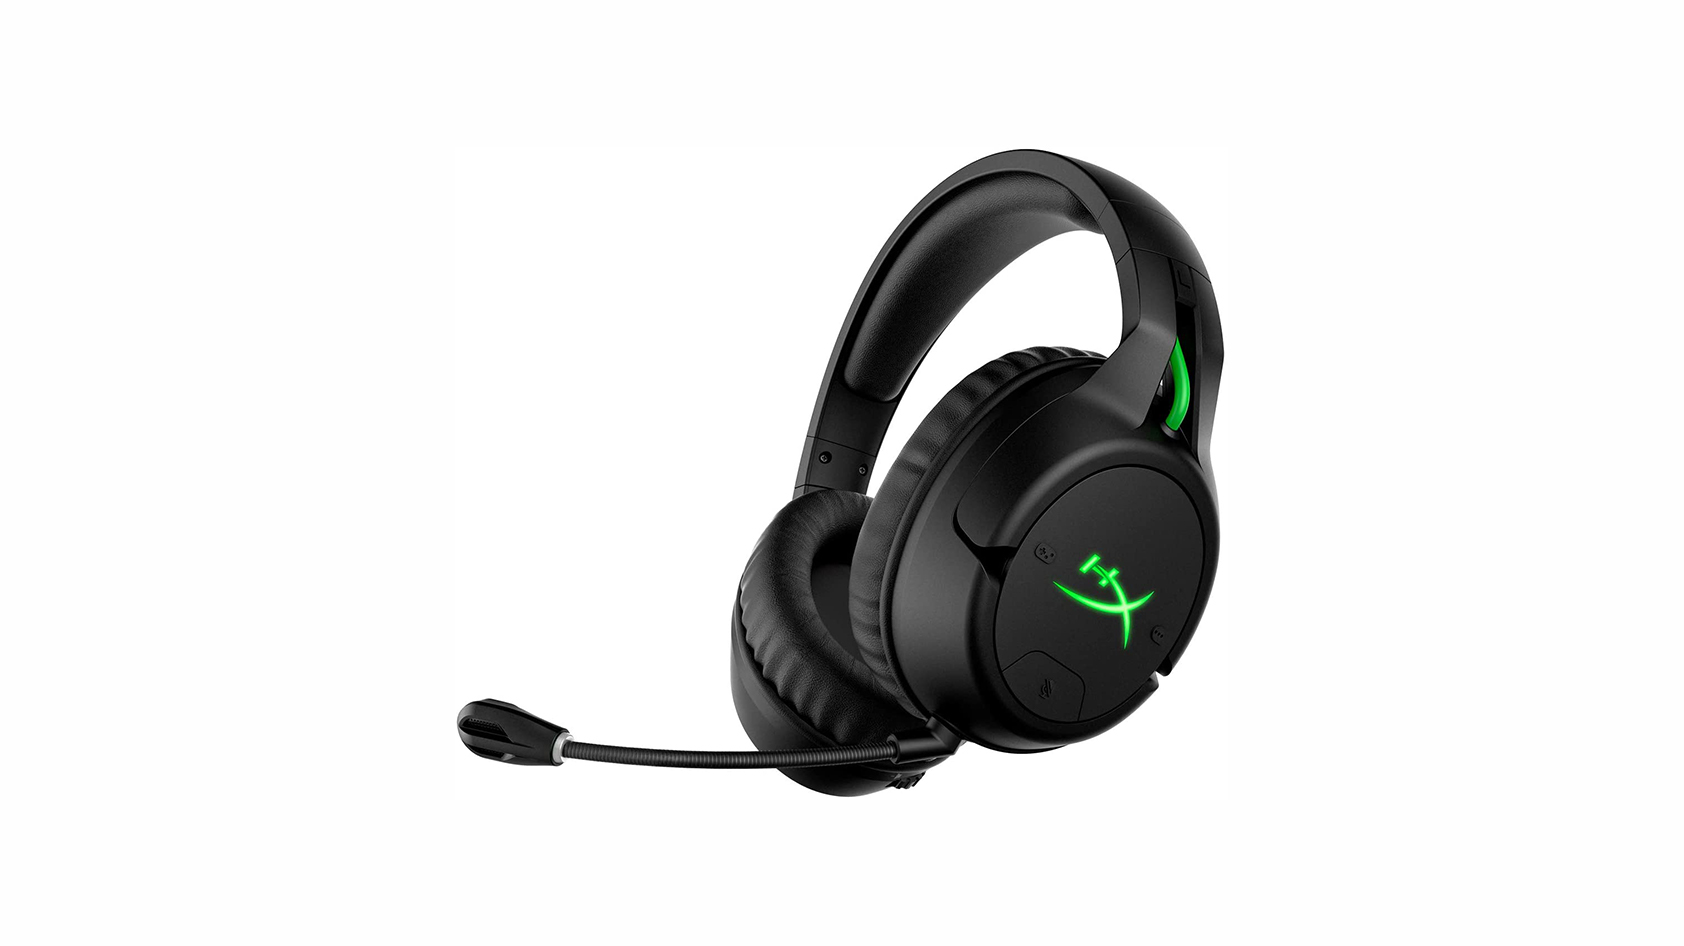
Are you a gaming enthusiast who loves playing Xbox One games? If so, then you know how important it is to have a headset that allows for clear communication and enhances your gaming experience. Among the various headsets available for Xbox One, the chat headset is a popular choice for its simplicity and ease of use. Whether you’re playing multiplayer games with friends or engaging in online voice chats, the chat headset is a must-have accessory.
Now let’s dive into how to use a chat headset for Xbox One, including how to set it up, adjust the audio settings, and troubleshoot common issues. By the end of this article, you’ll be ready to level up your gaming experience with your new chat headset!
Inside This Article
- Setting up the Chat Headset
- Adjusting Audio Settings on Xbox One
- Using the Chat Headset for Online Communication
- Troubleshooting Common Issues
- Conclusion
- FAQs
Setting up the Chat Headset
If you’re an avid Xbox One gamer, having a reliable chat headset is essential for clear communication with your friends and teammates. Setting up your chat headset is a simple process that ensures you’re ready to jump into online gaming without any issues. Here’s a step-by-step guide to help you get started:
- Start by plugging the 3.5mm audio jack of the chat headset into the bottom of your Xbox One controller. The audio jack is located just below the Xbox button.
- Next, firmly insert the headset adapter into the controller’s expansion port. This adapter allows you to control the volume and mute function of the chat headset.
- If your chat headset has a flexible boom microphone, carefully position it near your mouth to ensure clear voice transmission.
- Power on your Xbox One console and sign in to your profile.
- Press the Xbox button on your controller to open the guide menu.
- Navigate to the “System” tab and select “Settings.”
- In the settings menu, go to the “Audio” section.
- Under the “Headset & Speakers” option, make sure the “Headset chat mixer” slider is positioned in the center for balanced audio.
- If you prefer to hear more chat audio or game audio, you can adjust the “Headset volume” and “Chat mixer” settings accordingly.
- You can also enable the “Mic Monitoring” feature to listen to your own voice through the headset.
- Once you’ve made the desired audio adjustments, exit the settings menu and you’re ready to use your chat headset.
With your chat headset successfully set up, you can now enjoy crystal-clear communication during online gaming sessions. Whether you’re coordinating strategies with your team or engaging in friendly banter, your chat headset will ensure every word is heard.
Adjusting Audio Settings on Xbox One
When using a chat headset on your Xbox One, it’s important to ensure that the audio settings are properly adjusted to enhance your gaming experience. Here are some steps to help you adjust the audio settings:
1. Go to the Home Screen: Press the Xbox button on your controller to open the Guide, then navigate to the “Home” tab.
2. Access the Settings: Scroll left on the Guide and select the “Settings” option. It is represented by a gear icon.
3. Open the Audio Settings: In the Settings menu, go to the “General” tab and select the “Volume & audio output” option.
4. Adjust the Headset Volume: Under the “Headset” option, you can adjust the volume level of your chat headset. Use the volume slider to increase or decrease the volume to your desired level.
5. Enable Mic Monitoring: If you want to hear your own voice in the headset, you can enable the “Mic Monitoring” feature. This allows you to hear yourself speak and adjust your voice volume accordingly. Simply toggle the switch to enable or disable this feature.
6. Set Headset Chat Mixer: The “Headset Chat Mixer” setting allows you to balance the audio between the game and the chat headset. You can adjust the slider to favor the game audio or the chat audio, depending on your preference.
7. Test the Audio: After making any adjustments, it’s a good idea to test the audio to ensure everything sounds as desired. You can do this by selecting the “Test your audio” option under the “Headset” settings. Follow the on-screen instructions to complete the test.
By following these steps, you can easily adjust the audio settings on your Xbox One, ensuring that your chat headset provides clear and immersive sound during your gaming sessions.
Using the Chat Headset for Online Communication
Once you have successfully set up your chat headset on Xbox One, you can start using it for online communication with your friends, teammates, or other players. The chat headset allows you to voice chat, strategize, and coordinate your gameplay effectively. Here are some essential tips and tricks for using the chat headset for online communication:
1. Ensure the Headset is Properly Connected: Before you start using the chat headset, make sure it is securely connected to your Xbox One controller. Double-check that the 3.5mm audio jack is plugged in completely to ensure clear communication.
2. Adjust the Chat/Volume Balance: The Xbox One allows you to adjust the balance between game audio and chat audio. Press the Xbox button on your controller to open the guide, go to Settings, and select Audio. From there, you can adjust the Chat Mixer to prioritize game audio or chat audio according to your preference.
3. Mute or Unmute Your Microphone: Want to take a break from talking or avoid background noise? The chat headset comes with a mute option. To quickly mute or unmute your microphone, simply press the mute button located on the audio adapter or the controller if it has a built-in audio jack.
4. Use Party Chat: Xbox One provides a Party Chat feature that allows you to create or join a party with your friends. This enables you to communicate with multiple players at the same time, ensuring seamless teamwork and coordination during multiplayer games.
5. Be Respectful and Mindful: When using the chat headset for online communication, remember to be respectful to other players. Avoid using offensive language, engaging in inappropriate behavior, or causing disturbances. Create a positive and enjoyable gaming environment for everyone.
6. Coordinate with Your Teammates: In team-based games, effective communication is crucial for success. Use the chat headset to coordinate strategies, call out enemy positions, and provide crucial information to your teammates. Clear and concise communication can make a significant difference in your gameplay.
7. Take Breaks and Protect Your Hearing: Extended gaming sessions with a chat headset can put strain on your ears. Remember to take regular breaks to rest your ears and protect your hearing. Additionally, avoid setting the volume too high to prevent any potential hearing damage.
By following these tips and utilizing the chat headset for online communication, you can enhance your gaming experience, form strong connections with other players, and improve your overall performance in multiplayer games. Enjoy the benefits of seamless communication and teamwork with the chat headset on Xbox One.
Troubleshooting Common Issues
Using a chat headset on Xbox One can greatly enhance your gaming experience by allowing you to communicate with friends or teammates. However, like any electronic device, chat headsets can encounter issues from time to time. Here are some common problems you may encounter and how to troubleshoot them:
No Sound or Poor Quality Sound: If you’re experiencing no sound or poor quality sound through your chat headset, check the audio settings on your Xbox One. Ensure that the chat mixer is not set to zero and that the headset volume is adjusted appropriately. You can also try plugging the headset into a different controller or using a different headset to narrow down the issue.
Mic Not Working: If your microphone is not picking up your voice or is producing distorted sound, check the microphone settings on your Xbox One. Make sure the microphone is not muted and that the microphone volume is properly adjusted. Additionally, ensure that the headset is securely plugged into the controller, as a loose connection can prevent the microphone from functioning correctly.
Echo or Feedback: If you or other players are hearing an echo or feedback when using the chat headset, it may be caused by audio settings. Check the volume levels of both the headset and TV or speakers to ensure they are not too high. You can also try adjusting the chat mixer settings or turning down the volume on your headset to eliminate the echo.
Interference or Static Noise: If you’re experiencing interference or static noise through your chat headset, it could be due to wireless interference or a faulty connection. Try moving closer to the Xbox One console to improve the wireless signal. If using a wireless headset, ensure that the battery is fully charged and that there are no obstructions between the headset and the console. If using a wired headset, check the cable for any damage or looseness.
Chat Adapter Not Recognized: If your Xbox One chat adapter is not being recognized, check the connection between the adapter and the controller. Ensure that it is securely plugged in and that there are no bent or damaged pins. You can also try using the adapter with a different controller to determine if the issue is with the adapter or the controller.
General Troubleshooting: If you’re experiencing issues that have not been mentioned, try the following general troubleshooting steps:
- Restart your Xbox One console and controller.
- Disconnect and reconnect the chat headset.
- Update your Xbox One controller firmware.
- Check for any available system updates for your Xbox One.
- Reset your Xbox One to factory settings (note: this will erase all data).
If the above steps do not resolve the issue, it may be necessary to contact Xbox support or the manufacturer of your chat headset for further assistance.
Conclusion
Using a chat headset on your Xbox One can greatly enhance your gaming experience, allowing you to communicate with friends and teammates seamlessly. Whether you’re coordinating strategies in multiplayer games or engaging in lively conversations, having a reliable chat headset is essential.
By following the steps outlined in this guide, you can easily set up and use a chat headset on your Xbox One. Remember to select a reliable and compatible headset that suits your preferences and gaming needs. With the right headset, you’ll enjoy crystal-clear voice communication and immerse yourself even further in the gaming world.
So, don’t miss out on the opportunity to enhance your gaming experience. Get yourself a chat headset, and start enjoying seamless communication while immersing yourself in the exciting world of Xbox One gaming.
FAQs
1. Can I use a mobile phone charger for my Xbox One chat headset?
2. How do I connect the chat headset to my Xbox One controller?
3. Can I use a different brand of chat headset with my Xbox One?
4. Is the Xbox One chat headset compatible with other devices?
5. How do I troubleshoot issues with my Xbox One chat headset?