
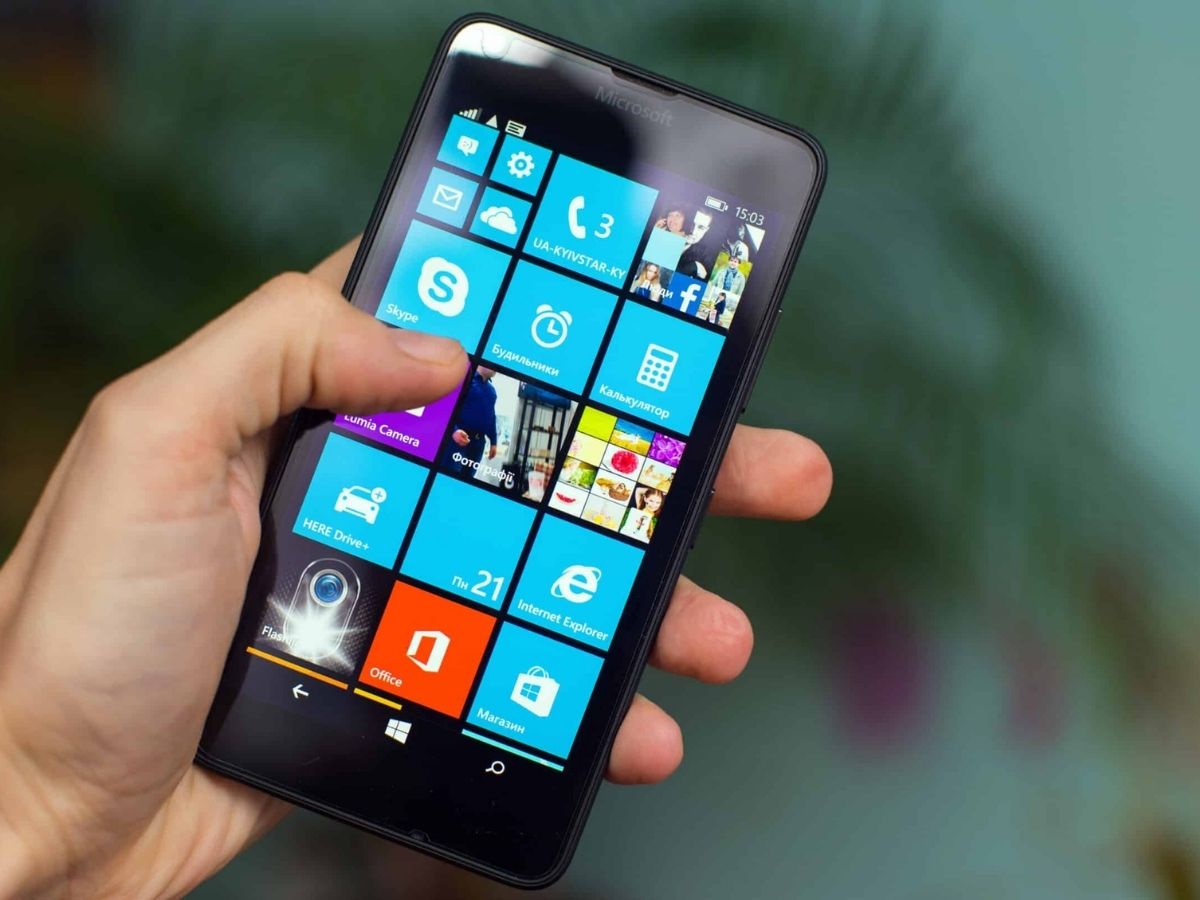
If you’re using a Windows Phone, you may need to remove your SIM card for various reasons, such as switching to a new device or swapping out your SIM for another carrier. Removing a SIM card from a Windows Phone is a straightforward process, but it’s essential to know the proper steps to avoid any potential damage.
In this article, we’ll guide you on how to remove the SIM card from your Windows Phone safely. Whether you’re a seasoned Windows Phone user or new to the platform, our step-by-step instructions will ensure a hassle-free SIM card removal process. So, let’s dive in and learn how to remove a SIM card from a Windows Phone!
Inside This Article
- Subtitle: Why Remove the SIM Card?
- Steps to Remove the SIM Card from a Windows Phone
- Additional Tips and Precautions
- Conclusion
- FAQs
Subtitle: Why Remove the SIM Card?
Removing the SIM card from a Windows Phone is a common task that many users need to perform at some point. There are several reasons why you might want to remove the SIM card from your device:
- Switching to a new phone: If you are upgrading to a new Windows Phone, you will need to transfer your SIM card to the new device to ensure that you can make and receive calls, send texts, and access mobile data.
- Changing carriers: If you are switching mobile carriers, you will need to remove the SIM card from your Windows Phone and replace it with a new SIM card provided by your new carrier.
- Troubleshooting network issues: In some cases, removing and reinserting the SIM card can help resolve network-related problems such as poor signal strength or connectivity issues.
- Protecting personal information: If you are selling or giving away your Windows Phone, removing the SIM card ensures that your personal information and contacts are not accessible to the new owner.
Regardless of the reason, removing the SIM card from a Windows Phone is a relatively simple task that can be done in just a few steps. Let’s take a look at how to do it.
Steps to Remove the SIM Card from a Windows Phone
Removing the SIM card from a Windows Phone is a simple and straightforward process. Follow the steps below to safely remove the SIM card from your Windows Phone:
- Power off your Windows Phone by pressing and holding the power button until the power options menu appears.
- Select the “Power off” option to turn off your device completely.
- Locate the SIM card tray on your Windows Phone. It is usually located either on the side or the top of the device.
- Take the SIM eject tool, which usually comes with your Windows Phone, or a small paperclip and insert the tool into the small hole near the SIM card tray.
- Apply gentle pressure until the SIM card tray pops out.
- Remove the SIM card tray from the device.
- Take out the SIM card from the tray by gently pushing on the card and sliding it out.
- Inspect the SIM card for any damage or dirt. If needed, clean the SIM card with a soft, lint-free cloth.
- Before reinserting the SIM card, make sure the metal contacts on the card align with the contacts in the SIM card tray.
- Insert the SIM card back into the tray, making sure it fits securely and snugly.
- Gently push the SIM card tray back into the device until it clicks into place.
- Power on your Windows Phone by pressing and holding the power button until the device turns on.
That’s it! You have successfully removed and reinserted the SIM card in your Windows Phone. Remember, it’s important to handle the SIM card with care to prevent any damage. If you ever need to replace or upgrade your SIM card, simply follow these same steps.
Additional Tips and Precautions
When it comes to removing the SIM card from your Windows phone, there are a few additional tips and precautions you should keep in mind:
1. Power off your Windows phone: Before attempting to remove the SIM card, make sure to power off your device. This will prevent any potential damage or data loss.
2. Use a SIM eject tool: Many Windows phones come with a SIM eject tool. This small pin-like tool can be inserted into the SIM card tray to easily remove the SIM card. If you don’t have a SIM eject tool, you can use a small paperclip or a needle instead. Just make sure to be gentle while inserting it into the pinhole.
3. Be aware of the SIM card orientation: Take note of how the SIM card is inserted into the tray before removing it. This will ensure you insert it correctly when you need to reinsert it or switch to a new device.
4. Handle the SIM card with care: SIM cards are delicate and can be easily damaged if mishandled. Avoid touching the metal contacts and handle the SIM card by its edges. Keep the SIM card away from water, extreme temperatures, and exposure to magnetic fields.
5. Keep track of your SIM card: SIM cards are small and can easily get misplaced. Before removing the SIM card, make sure you have a designated place to store it safely. This will help prevent the frustration of searching for it when you need to reinsert it or switch to a different device.
6. Consider backing up your data: If you are planning to switch to a new Windows phone or perform a factory reset, it’s a good idea to back up your data beforehand. This will ensure that you don’t lose any important information stored on your device.
7. Consult the user manual: If you have any doubts or concerns about removing the SIM card from your specific Windows phone model, refer to the user manual or manufacturer’s website for instructions and guidance.
By following these additional tips and precautions, you can safely and efficiently remove the SIM card from your Windows phone without any hassle or potential damage.
Conclusion
In conclusion, removing a SIM card from a Windows phone is a simple process that can be done in a few easy steps. By following the instructions provided in this guide, you can safely remove and replace your SIM card without damaging your device.
Remember to always power off your phone before removing the SIM card to avoid any potential data loss or damage. Additionally, make sure to handle the SIM card with care and keep it in a safe place when it’s not in use.
Whether you need to switch to a new SIM card, troubleshoot connectivity issues, or upgrade your device, knowing how to remove a SIM card from your Windows phone is a valuable skill. By mastering this process, you can confidently manage your phone’s connectivity and ensure smooth operation.
So go ahead and give it a try! With a little practice, removing a SIM card will become a quick and effortless task in managing your Windows phone.
FAQs
1. How do I remove the SIM card from my Windows Phone?
To remove the SIM card from your Windows Phone, follow these steps:
- Power off your phone by holding down the power button.
- Locate the SIM card slot, which is usually located on the side or top of the phone.
- Insert the SIM card removal tool into the small hole next to the SIM card slot. If you don’t have a SIM card removal tool, you can use a paperclip or a small pin.
- Gently push the tool or paperclip into the hole until the SIM tray pops out.
- Remove the SIM card from the tray and place it in a safe location.
- Slide the SIM tray back into the phone until it clicks into place.
- Power on your phone and you’re done!
2. Can I use a different SIM card with my Windows Phone?
Yes, you can use a different SIM card with your Windows Phone. Windows Phones are usually unlocked, which means they can be used with SIM cards from different carriers. However, it’s important to note that your phone may need to be compatible with the frequency bands and technologies used by the carrier you want to switch to. It’s always best to check with your new carrier to ensure compatibility before inserting a different SIM card.
3. What do I do if my SIM card is stuck in my Windows Phone?
If your SIM card is stuck in your Windows Phone, try the following methods to remove it:
- Use a pair of tweezers to gently pull out the SIM card.
- Apply a small amount of adhesive tape to the SIM card and gently pull it out.
- Contact your phone manufacturer or carrier for assistance.
4. Can removing the SIM card from my Windows Phone erase my data?
No, removing the SIM card from your Windows Phone will not erase your data. The SIM card is primarily used for cellular connectivity, such as making calls and accessing mobile data. Your personal data, such as contacts, photos, and apps, are stored on the internal storage of your phone. However, it’s always a good idea to back up your data regularly to avoid any potential loss.
5. Why would I need to remove the SIM card from my Windows Phone?
There are several reasons why you might need to remove the SIM card from your Windows Phone:
- To switch to a different SIM card from another carrier.
- To replace a damaged or faulty SIM card.
- To insert a new SIM card when traveling to a different country.
- To troubleshoot network connectivity issues.