
Are you struggling to figure out how to add a phone number to your iPhone? Look no further, as we have the answers you need! Adding a phone number to your iPhone is a simple and essential task that allows you to make calls, send messages, and stay connected with people around the world. Whether you’re a new iPhone user or simply need a refresher on the process, this article will guide you through the steps to add a phone number to your iPhone effortlessly. We’ll explore various methods, including adding a new contact, importing contacts from your SIM card, or syncing your contacts from your computer or iCloud. By the end of this article, you’ll have the knowledge and confidence to add phone numbers to your iPhone with ease!
Inside This Article
- Adding a Phone Number to your iPhone
- Apple ID and iCloud – Signing in with your Apple ID – Enabling iCloud sync
- iCloud Contacts – Accessing iCloud Contacts – Exporting contacts from another device – Importing contacts to iCloud
- SIM Card Installation – Locating the SIM card tray – Inserting the SIM card correctly – Activating the SIM card
- Adding a Phone Number – Opening the Settings app – Selecting “Phone” – Tapping on “My Number” – Entering the desired phone number
- Conclusion
- FAQs
Adding a Phone Number to your iPhone
Are you wondering how to add a phone number to your iPhone? Whether you’ve got a new number or just want to update the existing one, it’s a straightforward process. In this article, we’ll guide you through the steps to add a phone number to your iPhone effortlessly.
The first thing you’ll need is your Apple ID and iCloud account set up on your iPhone. If you haven’t done so already, sign in with your Apple ID or create a new one. This will ensure that your phone number is associated with your Apple ID, making it easier for you to connect with others through various Apple services.
Once you’ve signed in with your Apple ID, it’s important to enable iCloud sync for your contacts. This will allow you to seamlessly transfer your phone number between different devices, ensuring that your contacts are always up to date. To enable iCloud sync, go to “Settings,” tap on your name at the top, select “iCloud,” and turn on the “Contacts” option.
Next, you’ll want to access your iCloud Contacts. Open the Contacts app on your iPhone, and you should see all your contacts synced from iCloud. If you already have the phone number you want to add saved on another device, you can export it from there and import it into your iCloud Contacts. This way, you won’t have to manually enter the number again.
If you’re using a new SIM card with a different phone number, you’ll need to install it in your iPhone. The SIM card tray is usually located on the side or top of the device. Use a SIM card ejector tool or a small paperclip to gently push into the small hole on the tray. The tray will pop out, allowing you to remove the old SIM card and insert the new one.
Make sure you insert the SIM card correctly, aligning the notched corner of the SIM card with the corresponding corner on the tray. Once the SIM card is securely in place, push the tray back into the iPhone until it clicks. Your iPhone may prompt you to activate the new SIM card, so follow the on-screen instructions to complete the activation process.
To add the desired phone number to your iPhone, open the Settings app and scroll down until you see the “Phone” option. Tap on it, and you’ll find various phone settings. Look for the “My Number” field, and tap on it. This is where you can enter or edit your phone number.
In the “My Number” field, enter the phone number you want to add to your iPhone. Make sure to include the country code, area code, and the actual phone number. Once you’ve entered the number, simply exit the settings, and your new phone number will be saved on your iPhone.
That’s all there is to it! You have successfully added a phone number to your iPhone. Now you can make calls, send messages, and use various communication apps with your newly added phone number. Remember, having the correct phone number on your iPhone ensures that your contacts can reach you effortlessly.
Adding a phone number to your iPhone is a simple process that can be done in just a few minutes. Whether you’re updating your existing number or adding a new one, following these steps will ensure that your iPhone is ready to connect with others and keep you in touch with your contacts.
Apple ID and iCloud – Signing in with your Apple ID – Enabling iCloud sync
When setting up your iPhone, it’s important to sign in with your Apple ID to ensure you have access to all the features and services provided by Apple. Your Apple ID is the account that you use to access the App Store, iCloud, iMessage, and other Apple services.
To sign in with your Apple ID, you can follow these steps:
- Open the Settings app on your iPhone
- Scroll down and tap on “Sign in to your iPhone”
- Enter your Apple ID and password
- Tap on “Sign In”
Once you have signed in with your Apple ID, you can enable iCloud sync to keep your contacts, calendars, and other data up to date across all your Apple devices. iCloud sync ensures that any changes you make to your contacts or calendars on your iPhone are automatically reflected on your other Apple devices, such as your iPad or Mac.
To enable iCloud sync on your iPhone, follow these simple steps:
- Go to the Settings app on your iPhone
- Scroll down and tap on “iCloud”
- Tap on “Contacts” to enable syncing of your contacts
- Toggle on “Calendars” to enable syncing of your calendars
- You can also toggle on other options like “Notes”, “Reminders”, and “Photos” if you want to sync those as well
By enabling iCloud sync, you can ensure that your important information is always backed up and easily accessible on all your Apple devices. This seamless integration allows you to stay organized and connected wherever you go.
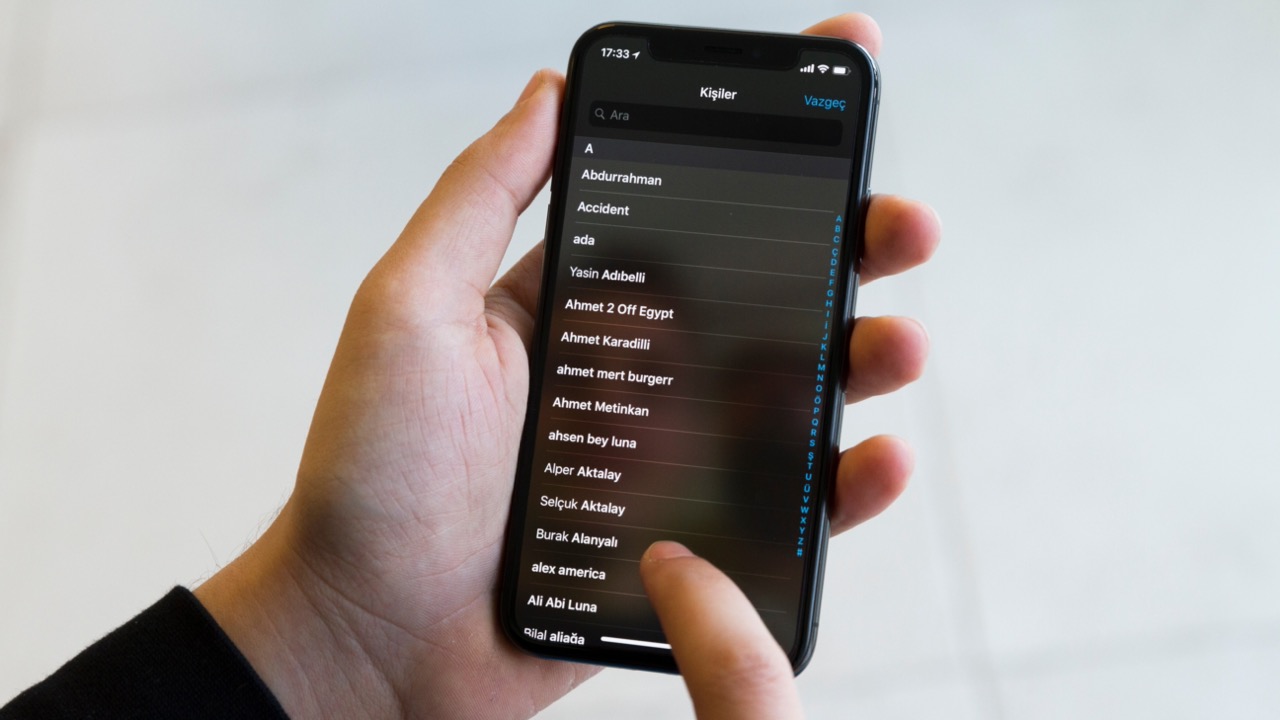
iCloud Contacts – Accessing iCloud Contacts – Exporting contacts from another device – Importing contacts to iCloud
Accessing your iCloud contacts is a breeze, as it allows you to conveniently manage and sync your contacts across multiple devices. Whether you’re switching to a new iPhone or want to access your contacts from another Apple device, iCloud makes it simple and seamless. Here’s how you can access, export, and import contacts using iCloud.
Accessing iCloud Contacts
To access your iCloud contacts, you’ll need to ensure that you’re signed in with your Apple ID on your iPhone or other Apple devices. Once you’ve done that, follow these steps:
- Open the Contacts app on your device.
- Tap on the “Groups” option at the top-left corner of the screen.
- Make sure the toggle next to “All iCloud” is enabled.
- Your iCloud contacts will now be displayed, and you can browse through them or search for specific contacts.
Exporting Contacts from Another Device
If you have contacts saved on another device or a different platform, such as an Android phone or a computer, you can export them to a file and then import them into iCloud. Here’s how you can export your contacts from another device:
- On the device where your contacts are stored, open the contacts app or the address book.
- Look for the option to export or share contacts.
- Select the export format, such as vCard (a standard file format for contacts) or CSV (comma-separated values).
- Choose the destination for the exported file, such as your email or cloud storage.
- Send the exported file to yourself or save it to a location where you can easily access it from your iPhone or iCloud.
Importing Contacts to iCloud
After exporting your contacts from another device, you can import them into iCloud. Follow these steps to import contacts to iCloud:
- On your iPhone or other Apple device, open the Settings app.
- Scroll down and tap on your Apple ID, then select “iCloud.”
- Make sure the toggle next to “Contacts” is enabled.
- If prompted, choose whether you want to merge or replace the existing contacts with the imported ones.
- Tap on “Merge” or “Replace” to start the import process.
- Your contacts will now be imported into iCloud and synced across all your devices connected to the same Apple ID.
With iCloud’s seamless integration, you can effortlessly access, export, and import your contacts, ensuring that they are always up to date and accessible across all your Apple devices. Take advantage of this easy-to-use feature to keep your important contacts organized and readily available.
SIM Card Installation – Locating the SIM card tray – Inserting the SIM card correctly – Activating the SIM card
If you’ve just purchased a new iPhone or switched to a different model, one of the first things you need to do is install the SIM card. The SIM card is an essential component that allows your phone to connect to the cellular network and make calls. Here’s how to properly install and activate the SIM card on your iPhone:
Locating the SIM card tray:
The SIM card tray is usually located on the side of your iPhone. The exact position may vary depending on the model, but you can typically find it on the right side or top of the device. Look for a small, rectangular-shaped cutout with a pinhole next to it. This is where you’ll insert the SIM card.
Inserting the SIM card correctly:
Once you’ve located the SIM card tray, you’ll need a SIM card removal tool or a small paperclip to open it. Insert the tool into the pinhole and gently push until the tray pops out. Carefully remove the tray and place the SIM card into the designated slot. Ensure that the gold contacts on the SIM card are facing downwards and align with the contacts in the tray. Gently push the tray back into the iPhone until it clicks into place.
Activating the SIM card:
After inserting the SIM card, your iPhone will prompt you to activate it. If you have a new SIM card, you may need to contact your network provider to complete the activation process. They will guide you through the necessary steps, which may include verifying your account information and entering any required activation codes. Once the activation is complete, you’ll be ready to use your iPhone with your new phone number.
Remember to power off your iPhone before inserting or removing the SIM card to avoid any potential damage to the device. By following these simple steps, you’ll have your SIM card installed and activated on your iPhone in no time, ensuring that you can make calls and stay connected to the cellular network.
Adding a Phone Number – Opening the Settings app – Selecting “Phone” – Tapping on “My Number” – Entering the desired phone number
Adding a phone number to your iPhone is a quick and simple process. By following a few easy steps, you can ensure that your device is ready to make and receive calls. Here’s a step-by-step guide on how to add a phone number to your iPhone:
1. Start by opening the Settings app on your iPhone. This can be done by tapping on the “Settings” icon on your home screen.
2. Once you’re in the Settings app, scroll down until you find the “Phone” option. Tap on it to access the phone settings.
3. In the “Phone” settings menu, you will see various options related to your phone service. Look for the “My Number” field, which should display your current phone number. Tap on it to edit the number.
4. A popup window will appear, allowing you to enter the desired phone number. Use the on-screen keyboard to input the new number. Remember to include the full area code and any necessary prefix for international numbers.
5. Once you’ve entered the new phone number, tap on “Done” to save the changes. Your iPhone will update the settings and associate the new number with your device.
That’s it! You have successfully added a phone number to your iPhone. You can now use this number for making and receiving calls, as well as for other phone-related functions on your device.
It’s worth noting that this process is applicable to iPhones that use traditional SIM cards. If you have an eSIM-enabled device, the steps to add a phone number may differ slightly. Consult your device’s manual or the manufacturer’s website for specific instructions.
Adding your phone number to your iPhone allows you to keep your personal and professional contacts separate, making it easier to manage your communication on the device. With this feature, you can make calls and send messages using the designated phone number associated with your iPhone.
Conclusion
In conclusion, adding a phone number to your iPhone is a simple and straightforward process that can greatly enhance your communication capabilities. Whether you need to add a personal number, a work number, or a temporary number for a specific purpose, the iPhone’s settings offer various options to accommodate your needs.
By accessing the Phone app or the Contacts app, you can easily add and manage phone numbers on your device. Additionally, iCloud and syncing features allow you to keep your numbers up to date across multiple devices. Taking advantage of features like favorites, voicemail, and call forwarding can also improve your phone usage experience.
Remember to consider privacy and security settings when adding phone numbers to your iPhone, especially if you are sharing your device with others or using your phone for work purposes. With these considerations in mind, you can confidently and seamlessly integrate phone numbers into your iPhone, making it even more versatile and efficient in meeting your communication needs.
FAQs
Below are some frequently asked questions about adding a phone number to an iPhone:
1. How do I add a phone number to my iPhone?
To add a phone number to your iPhone, follow these steps:
1. Go to the “Settings” app on your iPhone.
2. Scroll down and tap on “Phone”.
3. Select “My Number”.
4. Tap on the current number displayed and enter the new phone number.
5. Click “Save” to save the changes.
Your new phone number will now be associated with your iPhone.
2. Can I have multiple phone numbers on my iPhone?
Yes, you can have multiple phone numbers on your iPhone. This is particularly useful if you have a work number and a personal number or if you want to separate business calls from personal calls. To add multiple phone numbers to your iPhone, you can do it through various options like adding an additional SIM card or adding a virtual phone number through third-party apps.
3. What should I do if I can’t add a phone number to my iPhone?
If you encounter any difficulties while trying to add a phone number to your iPhone, here are a few things you can try:
– Make sure you have a stable internet connection.
– Restart your iPhone and try again.
– Update your iPhone to the latest software version.
– Contact your mobile service provider to ensure there are no issues on their end.
If the problem persists, it’s recommended to visit an Apple Store or contact Apple Support for further assistance.
4. Will adding a new phone number to my iPhone affect my existing contacts and messages?
No, adding a new phone number to your iPhone will not affect your existing contacts and messages. Your contacts and messages are stored in your iPhone’s internal memory or synced with iCloud. Adding a new phone number will only update the phone number associated with your device, while keeping your contacts and messages intact.
5. Is it possible to remove a phone number from my iPhone?
Yes, it’s possible to remove a phone number from your iPhone. To remove a phone number, follow these steps:
1. Go to the “Settings” app on your iPhone.
2. Scroll down and tap on “Phone”.
3. Select “My Number”.
4. Tap on the current number displayed and clear the phone number.
5. Click “Save” to remove the number from your iPhone.
Please note that removing a phone number does not cancel your cellular service, and you may need to contact your mobile service provider to request deactivation of the number.