
**
**The eSIM technology has revolutionized the way we use mobile devices, offering convenience and flexibility. However, there are instances when you may need to remove the eSIM from your iPhone 14, whether it's for troubleshooting, switching carriers, or upgrading your device. Understanding the process of removing the eSIM from your iPhone 14 can be invaluable, especially when navigating through various mobile connectivity needs. In this comprehensive guide, we will delve into the step-by-step process of removing the eSIM from your iPhone 14, offering insights and tips to ensure a seamless experience. Whether you're a tech enthusiast or simply seeking to troubleshoot your device, this guide will equip you with the knowledge to effectively manage your eSIM on the iPhone 14.
Inside This Article
- Precautions before Removing eSIM
- Steps to Remove eSIM from iPhone 14
- What to Do after Removing eSIM
- Conclusion
- FAQs
**
Precautions before Removing eSIM
**
Before you proceed with removing the eSIM from your iPhone 14, it’s crucial to take a few precautions to ensure a smooth and safe process. Here are some essential steps to consider before removing the eSIM:
1. Backup Your Data: Before making any changes to your device, it’s always wise to back up your data. This ensures that your important information, such as contacts, messages, and photos, remains safe and accessible in case of any unexpected issues during the eSIM removal process.
2. Disable Find My iPhone: To prevent any complications, it’s advisable to disable the “Find My iPhone” feature on your device. This can be done by navigating to Settings, tapping on your Apple ID, selecting “Find My,” and then turning off the “Find My iPhone” option. Disabling this feature can help streamline the eSIM removal process.
3. Ensure a Stable Connection: It’s essential to have a stable internet connection before you begin the eSIM removal process. A stable connection can help prevent any interruptions during the procedure, ensuring that the eSIM removal is completed successfully without any connectivity issues.
4. Familiarize Yourself with the Process: Take the time to familiarize yourself with the steps involved in removing the eSIM from your iPhone 14. Reading through the official guidelines provided by Apple or consulting reliable sources can help you understand the process better and avoid any potential errors.
Steps to Remove eSIM from iPhone 14
Removing an eSIM from your iPhone 14 is a straightforward process, but it’s essential to follow the correct steps to avoid any issues. Here’s a simple guide to help you through the process:
1. Start by unlocking your iPhone 14 and navigating to the Settings app on the home screen. The icon resembles a set of gears and is typically located on the first page of your apps.
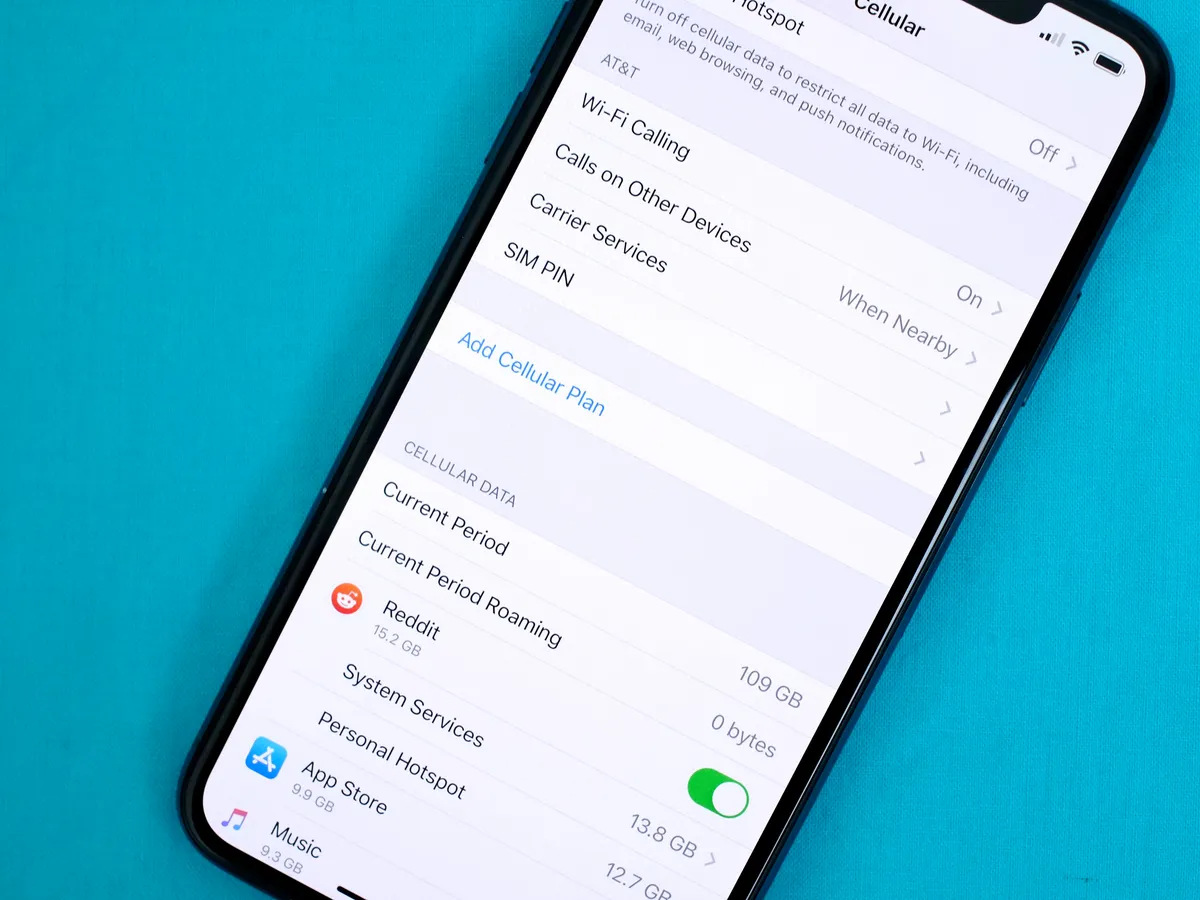
2. Once in the Settings app, scroll down and tap on “Cellular.” This option is usually represented by a signal bar icon and can be found among the various settings listed in the menu.
3. In the Cellular menu, you should see an “Cellular Plans” option. Tap on it to access the list of available cellular plans, including the eSIM you want to remove from your device.
4. Select the eSIM you wish to remove from the list of cellular plans. This will open a new window with detailed information about the selected eSIM, including the option to remove it from your iPhone 14.
5. Look for the “Remove Cellular Plan” or “Remove eSIM” option within the detailed information window. Tap on this option to initiate the removal process.
6. A confirmation prompt will appear, asking you to confirm the removal of the eSIM. Verify that you have selected the correct eSIM, and then proceed to confirm the removal by tapping “Remove” or “Confirm.”
7. Once confirmed, the selected eSIM will be removed from your iPhone 14, and you will no longer be able to use it for cellular connectivity. Your device will revert to using any remaining physical SIM card or another eSIM, if available.
Following these steps will ensure that you safely remove the eSIM from your iPhone 14 without encountering any issues. It’s important to handle the eSIM removal process with care to avoid any disruptions to your cellular service.
What to Do after Removing eSIM
After removing the eSIM from your iPhone 14, it’s essential to store it in a safe place. The eSIM is a tiny chip, so it’s easy to misplace. Consider using a small container or a labeled envelope to keep it secure. This will prevent any damage or loss that could disrupt your mobile service.
Once the eSIM is safely stored, you can proceed to insert a new eSIM if needed. This process involves contacting your mobile service provider to obtain a new eSIM QR code. Follow the provider’s instructions to activate the new eSIM and ensure seamless connectivity on your iPhone 14.
Remember to update your eSIM information with your mobile service provider. This may involve providing the new eSIM details, such as the ICCID and EID, to ensure that your device is correctly registered on the network. Keeping this information up to date is crucial for uninterrupted mobile service.
Lastly, it’s a good idea to restart your iPhone 14 after removing the eSIM. This simple step can help refresh the device’s network settings and ensure that the changes related to the eSIM removal are properly implemented. A quick restart can often resolve any connectivity issues that may arise.
Removing an eSIM from your iPhone 14 is a straightforward process that can be completed with just a few simple steps. Whether you’re switching to a new device or making changes to your mobile plan, understanding how to remove the eSIM ensures a smooth transition. By accessing the settings menu and selecting the cellular option, you can easily manage your eSIM and make any necessary adjustments. Remember to consult your carrier or Apple support if you encounter any challenges during the process. With the flexibility and convenience offered by eSIM technology, you can seamlessly adapt your mobile connectivity to suit your evolving needs.
FAQs
Q: Can I remove the eSIM from my iPhone 14?
A: Yes, you can remove the eSIM from your iPhone 14. The process involves accessing the settings and choosing the option to remove the eSIM.
Q: Will removing the eSIM affect my phone service?
A: Removing the eSIM will deactivate the cellular service associated with it. However, if you have a physical SIM card installed, your phone service will continue to function using that SIM card.
Q: Can I reinsert the eSIM after removing it?
A: Yes, you can reinsert the eSIM after removing it. Simply follow the steps to add an eSIM in the settings menu.
Q: What precautions should I take before removing the eSIM?
A: Before removing the eSIM, ensure that you have an alternative means of communication, such as a physical SIM card, to avoid any disruption in your phone service.
Q: Will removing the eSIM delete any data from my phone?
A: No, removing the eSIM will not delete any data from your phone. It only deactivates the cellular service associated with the eSIM.