
Unlocking a note on your iPhone may become necessary for various reasons, such as forgetting the password, sharing the note with others, or simply wanting to remove the lock for convenience. The Notes app on your iPhone provides a built-in feature that allows you to secure your important notes with a password or Face ID, but it also offers a straightforward method to remove the lock when needed.
In this article, we will guide you through the process of removing a lock from a note on your iPhone in the Notes app. Whether you’re using an older iPhone model or the latest iPhone 13, the steps remain the same. So, let’s explore how you can regain access to your locked notes and manage your privacy settings effortlessly.
Inside This Article
- Prerequisites
- Step 1: Opening the Notes App – Launching the Notes app from the home screen – Navigating to the list of notes or folders where the locked note is located
- Step 2: Selecting the Locked Note – Locating the locked note in the list or folder – Tapping on the locked note to open it and reveal the lock icon
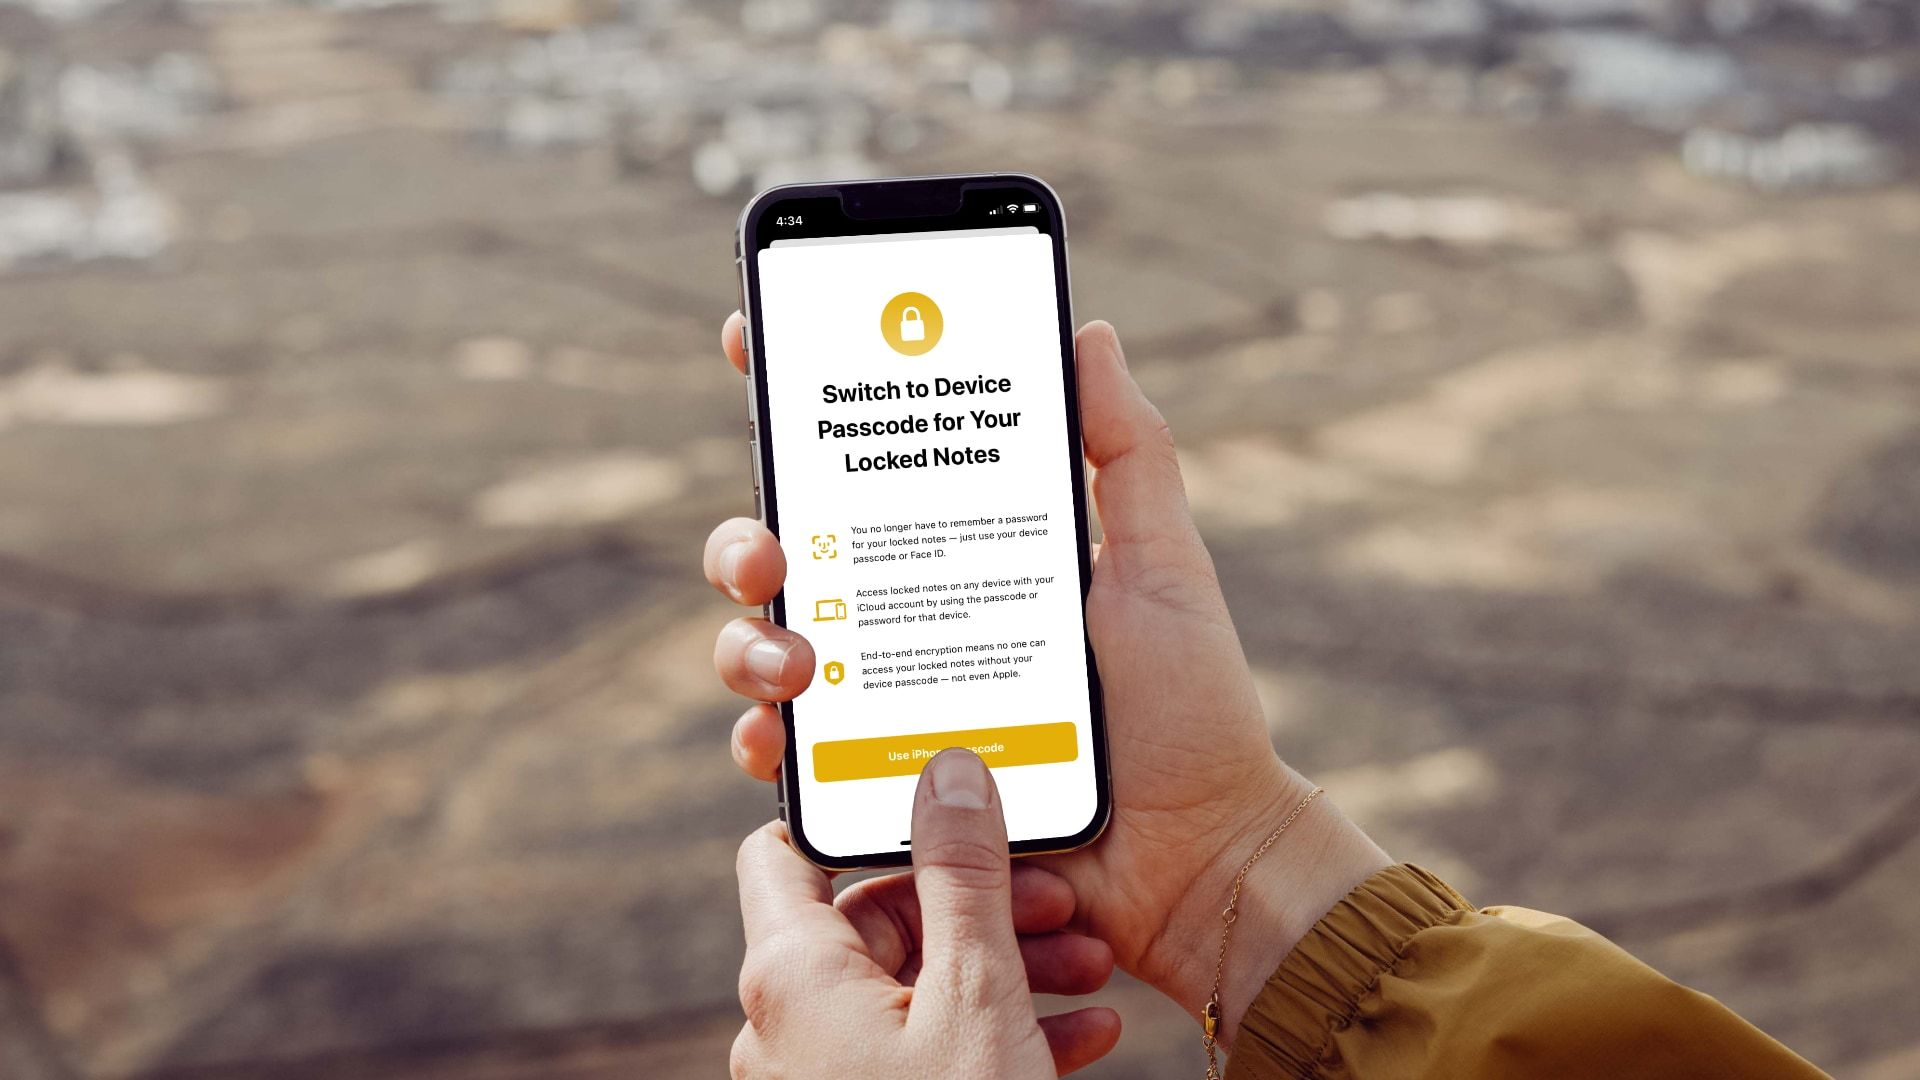
- Step 3: Removing the Lock – Tapping on the lock icon to bring up the passcode or biometric authentication prompt – Entering the passcode or using Touch ID/Face ID to unlock the note
- Additional Tips and Troubleshooting
- Conclusion
- FAQs
Prerequisites
Before you begin the process of removing a lock from a note on your iPhone using the Notes app, there are a few prerequisites that you need to ensure:
Firstly, make sure that your iPhone is running on iOS 15 or a later version. The process of removing locks from notes may vary depending on the operating system, so it’s important to have the latest iOS update to access the most up-to-date features and functionalities.
Secondly, ensure that the Notes app is updated to the latest version. Updating the app guarantees that you have the most recent bug fixes, enhancements, and security patches, providing a smooth and seamless user experience.
Lastly, you need to have access to the locked note and the necessary passcode or biometric authentication. This means that you should know the passcode set for the locked note or have enabled Touch ID or Face ID on your iPhone to provide the necessary biometric authentication.
Step 1: Opening the Notes App – Launching the Notes app from the home screen – Navigating to the list of notes or folders where the locked note is located
Before you can remove the lock from a note on your iPhone, you need to open the Notes app. Here’s a step-by-step guide on how to do it:
- Start by unlocking your iPhone and locating the Notes app on your home screen. The Notes app icon looks like a yellow notepad with a pencil.
- Tap on the Notes app to launch it. The app will open, and you will be taken to the main Notes interface.
- In the Notes app, you will see a list of your notes, organized by folders if you have created any. If you haven’t organized your notes into folders, they will appear in the default “All iCloud” folder.
- If you know that the locked note is in a specific folder, navigate to that folder by tapping on it. This will allow you to access the locked note directly.
- If you’re not sure which folder the locked note is in, you can simply scroll through the list of notes until you find it. The notes are arranged in reverse chronological order, with the most recent note at the top.
- When you find the locked note, tap on it to open it. You will see a preview of the note, along with a lock icon indicating that it is locked.
Opening the Notes app and navigating to the list of notes or folders where the locked note is located is the first step towards removing the lock and accessing the contents of the note. Once you have successfully opened the Notes app and located the locked note, you can proceed to the next steps in the process.
Step 2: Selecting the Locked Note – Locating the locked note in the list or folder – Tapping on the locked note to open it and reveal the lock icon
Now that you have opened the Notes app on your iPhone, it’s time to locate the locked note and proceed with removing the lock. Follow these simple steps to select the locked note:
1. Start by navigating to the list or folder where the locked note is located. You can do this by swiping through the list of notes or tapping on the folder icon at the top-left corner of the screen.
2. Once you have found the list or folder where the locked note resides, scroll through the list to locate the specific note you want to unlock. Keep an eye out for a lock icon next to the note’s title, which indicates that it is locked.
3. When you have identified the locked note, tap on it to open it. As soon as you do, you will notice the lock icon displayed prominently at the top of the note, reminding you that it is currently locked.
4. At this point, you are just one step away from removing the lock from the note. Proceed to the next step to learn how to unlock the note and regain access to its contents.
Step 3: Removing the Lock – Tapping on the lock icon to bring up the passcode or biometric authentication prompt – Entering the passcode or using Touch ID/Face ID to unlock the note
Once you have located the locked note in the Notes app, it’s time to remove the lock and gain access to its contents. This can be done by tapping on the lock icon, which will initiate the passcode or biometric authentication prompt.
When you tap on the lock icon, the Notes app will prompt you to enter the passcode that was set for the note. If your iPhone supports it, you can also use Touch ID (fingerprint recognition) or Face ID (facial recognition) to unlock the note.
If you have set a passcode for the note, simply enter it into the prompt using the on-screen keyboard. Make sure to enter the correct passcode to successfully unlock the note. If you are using Touch ID or Face ID, the prompt will authenticate your biometric data and automatically unlock the note if it matches.
Once the passcode or biometric authentication is verified, the lock icon on the note will disappear, indicating that the note is now unlocked. You can now freely access and edit the contents of the note without any restrictions.
It is worth noting that if you enter an incorrect passcode multiple times, the Notes app may temporarily disable access to the locked note. In such cases, you may need to wait for a period of time or use an alternate authentication method, such as Touch ID or Face ID, to regain access to the note.
Remember, removing the lock from a note should only be done if you have the necessary authorization or permission to access its contents. Be mindful of the sensitivity of the information contained in the note and ensure you are following proper security protocols while using the Notes app on your iPhone.
Additional Tips and Troubleshooting
When it comes to managing locked notes and strengthening security on your iPhone, there are a few additional tips and suggestions you should keep in mind. These recommendations will not only help you make the most out of the Notes app’s lock feature but also enhance the overall privacy of your sensitive information.
1. Use Strong Passcodes: To ensure the highest level of security, it is essential to set strong and unique passcodes for your iPhone. Avoid using easily guessable combinations and consider using a longer passcode with a mix of numbers, letters, and special characters.
2. Enable Biometric Authentication: Taking advantage of biometric authentication, such as Touch ID or Face ID, adds an extra layer of convenience and security to your locked notes. Set up and enable these features to unlock your notes effortlessly using your fingerprint or facial recognition.
3. Regularly Update iOS and the Notes App: Keeping your iPhone’s operating system and the Notes app up to date is crucial for maintaining the overall security of your device. Software updates often include bug fixes and security enhancements, so make sure to install them as soon as they become available.
4. Backup Your Notes: It’s always a good idea to back up your notes regularly. This ensures that even if you encounter any issues or errors during the lock removal process, you won’t lose any important information. You can back up your notes using iCloud, or consider using third-party note-taking apps that offer their own backup solutions.
5. Be Mindful of Sharing: Exercise caution when sharing your locked notes with others. While the lock feature adds an extra layer of security, it doesn’t fully protect your notes if someone has physical access to your device and knows your passcode or biometric authentication method. Be mindful of sharing locked notes and restrict access to trusted individuals.
Common Issues and Troubleshooting:
Issue 1: Forgot Passcode: If you forget the passcode for your locked note, unfortunately, there is no built-in way to recover it. Consider creating a backup of your notes and then deleting the locked note if you can’t remember the passcode. You can then restore your notes from the backup and create a new lock on the note if desired.
Issue 2: Touch ID/Face ID Not Working: If you’re having trouble using Touch ID or Face ID to unlock your locked notes, ensure that these features are properly set up in your iPhone settings. Make sure your fingerprint or face is properly registered, and try restarting your device if the issue persists.
Issue 3: Unable to Remove Lock: In rare cases, you may encounter a situation where you’re unable to remove the lock from a note even with the correct passcode or biometric authentication. In such instances, try closing and reopening the Notes app, restarting your device, or updating the iOS and Notes app to the latest versions.
By following these additional tips and troubleshooting suggestions, you can effectively manage your locked notes and enhance the security of your sensitive information on your iPhone. Remember, it’s crucial to strike a balance between convenience and privacy when utilizing the lock feature in the Notes app.
The Notes app on iPhone is a powerful tool for keeping track of important information, ideas, and reminders. However, if you find yourself needing to remove a lock from a note, it can be a cumbersome process. In this article, we have explored several methods to help you easily remove a lock from a note on your iPhone, whether you have forgotten the password or simply no longer need the lock.
By following the steps outlined in this article, you can gain access to your locked notes and manage your information more effectively. Remember to always use caution when removing locks from notes, as it may result in unauthorized access to sensitive information.
With the knowledge gained from this article, you can confidently navigate the Notes app on your iPhone and make the most of its features. Unlock your notes and unlock the potential of your device!
FAQs
Here are some frequently asked questions about removing a lock from a note on iPhone in the Notes app:
1. Can I remove a lock from a note on iPhone?
Yes, you can remove a lock from a note on iPhone. The Notes app on iPhone allows you to lock individual notes with a password or biometric authentication. If you want to remove the lock from a note, you can easily do so following a few simple steps.
2. Why would I want to remove a lock from a note?
There could be various reasons for wanting to remove a lock from a note. Perhaps you no longer need to keep the information in that note secure, or you may have simply forgotten the password or authentication method. Removing the lock gives you unrestricted access to the note without any additional steps or barriers.
3. How do I remove a lock from a note on iPhone?
To remove a lock from a note on iPhone, follow these steps:
- Open the Notes app on your iPhone.
- Find the locked note you want to remove the lock from.
- Tap on the note to open it.
- Tap on the lock icon or the “View Note” button.
- If the note is secured with a password, enter the password to unlock it.
- Once the note is unlocked, tap on the share icon located at the top-right corner of the screen.
- Scroll down and tap on “Remove Lock” from the options.
- Confirm the action by tapping on “Remove” when prompted.
4. Will removing the lock from a note delete its content?
No, removing the lock from a note will not delete its content. It simply removes the lock, allowing you unrestricted access to the note. All the information, text, and media within the note will remain intact.
5. Can I add a lock to a note again after removing it?
Yes, you can add a lock to a note again after removing it. To do so, follow the steps to edit the note, then tap on the share icon and select “Lock Note.” You can then set a new password or choose to use biometric authentication to secure the note once again.
Remember, the process of removing a lock from a note may slightly vary depending on the version of your iPhone’s operating system and the Notes app.