
Introduction:
With the advancements in technology, the way we make payments has undergone a significant transformation. Gone are the days when we had to carry around cash or bulky wallets full of cards. Now, with just a few taps on our smartphones, we can conveniently make payments using mobile apps like Google Pay. Developed by Google, Google Pay has revolutionized the way we transact, offering a seamless and secure payment solution.
In this article, we will explore how to use Google Pay and its additional feature, Google Pay Send. Whether you want to make payments at stores, transfer money to friends and family, or even split bills, Google Pay simplifies the process and provides a convenient way to manage your finances. Let’s delve into the world of Google Pay and discover how it can revolutionize the way you handle your day-to-day transactions.
Inside This Article
- Getting started with Google Pay
- Setting up Google Pay on your device
- Making payments with Google Pay
- Sending money with Google Pay Send
- Conclusion
- FAQs
Getting started with Google Pay
Google Pay is a mobile payment service that allows you to make secure, contactless payments using your Android device. Whether you want to pay for groceries, shop online, or send money to a friend, Google Pay makes it quick and easy.
To get started with Google Pay, you’ll need to follow these steps:
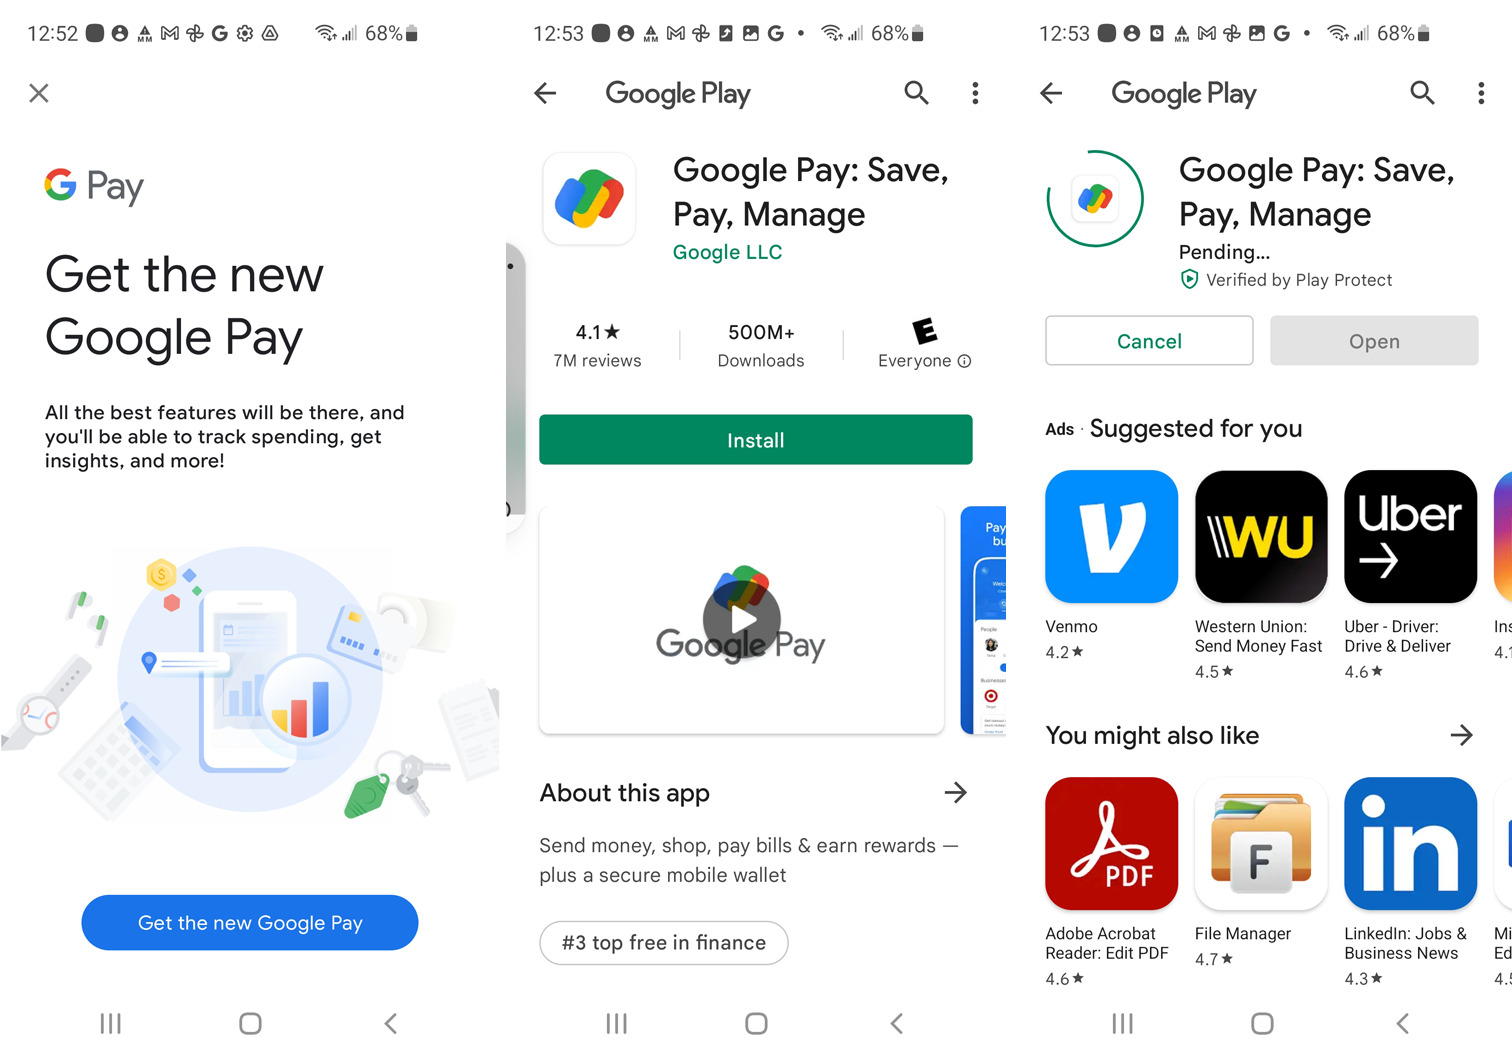
- Download and install the Google Pay app from the Google Play Store. Make sure you have a compatible Android device running Android 5.0 (Lollipop) or later.
- Launch the Google Pay app and sign in with your Google account. If you don’t have one, you’ll be prompted to create one.
- Once you’re signed in, you’ll need to add a payment method. Google Pay supports linking credit and debit cards from major payment networks, as well as select mobile wallets.
- To add a payment method, tap on the “Payment” tab in the app and then select “Add Payment Method”. Follow the on-screen instructions to enter your card details or add a mobile wallet.
- After adding a payment method, you may need to verify it. Google Pay will guide you through any additional steps required by your bank or card issuer.
- Once your payment method is set up, you can start using Google Pay to make payments at supported retailers or online merchants. Look for the Google Pay logo or the contactless payment symbol at checkout.
With Google Pay, you can also store loyalty cards, gift cards, and boarding passes, making it a convenient all-in-one mobile wallet. Simply add these digital items under the “Passes” tab in the app, and they’ll be accessible whenever you need them.
It’s important to note that Google Pay uses multiple layers of security to protect your payment information. When you make a payment, your card details are replaced with a tokenized virtual account number, keeping your actual card data secure.
With the convenience and security offered by Google Pay, you can leave your wallet at home and pay with just a tap of your Android device. It’s time to embrace the future of mobile payments!
Setting up Google Pay on your device
Setting up Google Pay on your device is a quick and easy process. By following a few simple steps, you can start using this convenient and secure payment method in no time. Whether you’re using an Android or iOS device, the setup process is relatively similar. Here’s a step-by-step guide to help you get started:
Step 1: Download the Google Pay app
The first step is to download the Google Pay app from the Google Play Store for Android devices or the App Store for iOS devices. Simply search for “Google Pay” and tap on the download button to install the app.
Step 2: Open the Google Pay app
After the app has finished installing, locate the Google Pay icon on your device’s home screen or app drawer and tap on it to open the app.
Step 3: Sign in or create a Google account
If you already have a Google account, sign in using your existing credentials. If not, you’ll need to create a Google account by following the on-screen instructions. This account will be used to sync your payment information securely.
Step 4: Add a payment method
Once you’re signed in, tap on the “Payment” tab within the app. From here, you’ll have the option to add a payment method. Google Pay supports various options, including credit/debit cards, bank accounts, and even PayPal. Follow the prompts to enter the necessary information and verify your payment method.
Step 5: Set Google Pay as your default payment method
If you’d like to use Google Pay as your default payment method, navigate to your device’s settings and select “Payment options” or a similar option. From there, choose Google Pay as the default payment method.
Step 6: Enable Google Pay for apps and websites
To make the most of Google Pay, you can enable it for use with apps and websites that support this payment method. Open the Google Pay app and select “Settings.” From there, turn on the switch for “Use Google Pay for apps and web.” This will allow you to make seamless payments within supported apps and websites.
Step 7: Set up additional security features
To enhance the security of your Google Pay transactions, consider setting up additional security features such as fingerprint or face recognition. These options can be found in the app’s settings under the “Security” section.
Step 8: Start using Google Pay
Now that you have Google Pay set up on your device, you’re ready to start using it for secure and convenient payments. Simply look for the Google Pay logo or tap-and-pay symbol at supported merchants, and use your device to make payments effortlessly.
Remember to keep your device locked and secure, as Google Pay relies on the security measures of your device to protect your payment information. By following these steps, you can enjoy the convenience and simplicity of Google Pay on your device.
Making payments with Google Pay
Google Pay is a convenient and secure mobile payment platform that allows you to make payments with just a few taps on your smartphone. Whether you’re shopping online, ordering food, or paying for goods and services in-store, Google Pay simplifies the payment process, making it faster and easier than ever before.
Here’s how you can make payments using Google Pay:
- Add a payment method: To get started, you’ll need to add a payment method to your Google Pay account. This can be done by linking a credit or debit card, or by adding your bank account details. Google Pay securely stores this information so you can make payments without having to enter your card or account details every time.
- Choose Google Pay at checkout: When making a purchase online or in-app, look for the Google Pay option at the checkout page. Selecting this option will initiate the payment process through Google Pay.
- Unlock your device: Ensure that your smartphone is unlocked and ready for payments. This may involve using your fingerprint, face recognition, or entering a PIN or pattern depending on your device’s security settings.
- Hold your device near the payment terminal: For in-store payments, simply hold your smartphone near the contactless payment terminal. Google Pay uses near-field communication (NFC) technology to securely transmit payment information to the terminal.
- Verify your payment: In some cases, you may need to authenticate your payment for added security. This can be done by providing your fingerprint, entering your device PIN, or following any other biometric or security measures set up on your device.
- Confirmation: Once your payment is authorized, you will receive a confirmation message on your device, indicating that the payment was successful. You may also receive an email or receipt from the merchant.
It’s important to note that Google Pay is widely accepted at numerous retailers, both online and offline. From large retailers to local businesses, you can use Google Pay to make payments wherever contactless payments are accepted. Additionally, Google Pay offers a simple and secure way to manage your receipts and transaction history, allowing you to keep track of your spending effortlessly.
With the convenience and security that Google Pay provides, making payments has never been easier. So, why not give it a try and experience the seamless and efficient way to pay for your purchases.
Sending money with Google Pay Send
Google Pay Send, formerly known as Google Wallet, allows you to easily send money to family and friends with just a few taps on your phone. Whether you need to split a bill, pay someone back, or send a gift, Google Pay Send makes it quick and convenient.
To send money with Google Pay Send, follow these simple steps:
- Open the Google Pay Send app: If you haven’t already, download and install the app from the Google Play Store or the Apple App Store. Once installed, open the app on your device.
- Sign in with your Google Account: Sign in to the app using your Google Account credentials. If you don’t have a Google Account, you can easily create one within the app.
- Add a payment method: Before you can send money, you’ll need to add a payment method to your Google Pay Send account. You can link a debit or credit card, or even add your PayPal account.
- Select a recipient: Enter the email address or phone number of the person you want to send money to. If the recipient already has a Google Pay Send account, they’ll receive the funds directly. Otherwise, they’ll receive an email or text message with instructions on how to claim the money.
- Enter the amount: Specify the amount you want to send. You can also include a note to let the recipient know what the payment is for.
- Confirm and send: Double-check all the details and click the “Send” button to complete the transaction. Google Pay Send will securely send the money to the recipient in a matter of seconds.
- Track your transactions: The Google Pay Send app keeps a record of all your transactions, making it easy to keep track of your money transfers.
With Google Pay Send, you can send money to anyone in the United States for free. However, note that there are certain limits on the amount you can send and receive within a specific timeframe. These limits may vary based on factors such as your account age and verification status.
So, next time you need to pay someone back or send money to a loved one, consider using Google Pay Send for a fast and hassle-free experience. Say goodbye to writing checks or withdrawing cash—Google Pay Send makes sending money as easy as sending a text message.
Conclusion
In conclusion, Google Pay and Google Pay Send offer a convenient and secure way to make payments and send money using your mobile device. With their user-friendly interfaces and seamless integration with various payment methods, these apps have become increasingly popular among smartphone users.
By utilizing the power of technology, Google Pay and Google Pay Send have revolutionized the way we handle financial transactions. Whether you’re shopping online, paying for groceries, splitting bills with friends, or sending money to family members, these apps provide a hassle-free experience.
With their advanced security features, such as encryption and tokenization, you can rest assured that your personal and financial information is kept safe. Additionally, the ability to store loyalty cards and make contactless payments adds further convenience to these digital wallets.
Whether you’re a frequent shopper or someone who wants to streamline their money transfer process, Google Pay and Google Pay Send are definitely worth exploring. Download these apps today and discover the ease and convenience they bring to your mobile payment experience.
FAQs
1. How do I set up Google Pay on my mobile device?
To set up Google Pay on your mobile device, follow these steps:
- Download the Google Pay app from the Google Play Store for Android devices, or the App Store for iOS devices.
- Open the app and sign in with your Google account.
- Follow the prompts to add a payment method, such as a credit or debit card.
- Verify your payment method by following the verification process.
- Once your payment method is verified, you can start using Google Pay to make purchases.
2. Can I use Google Pay to send money to my friends or family?
Yes, you can use Google Pay to send money to your friends or family through a feature called Google Pay Send. To send money, simply follow these steps:
- Open the Google Pay app.
- Tap on the “Send” button.
- Enter the amount you want to send.
- Select the recipient from your contacts list, or enter their email address or phone number.
- Tap on “Send” to complete the transaction.
Please note that both the sender and the recipient need to have Google Pay set up and linked to their bank accounts or debit cards.
3. Is Google Pay safe to use for online transactions?
Yes, Google Pay is designed with security in mind to protect your payment information. It uses multiple layers of security, including encryption and tokenization, to safeguard your financial data. Additionally, Google Pay does not share your actual card number with merchants when you make a purchase, adding an extra layer of protection.
4. What happens if I lose my mobile device with Google Pay installed?
If you lose your mobile device with Google Pay installed, your payment information remains secure. Google Pay does not store your actual card number, just a unique encrypted token. You can remotely disable the use of Google Pay on your lost device by visiting the Google Account Help Center. You can also remotely wipe your device to ensure your personal data is not compromised.
5. Can I use Google Pay outside of my country?
The availability of Google Pay varies by country, so it’s important to check if Google Pay is supported in the country you plan to visit or use it in. Some countries may have specific requirements or restrictions for using Google Pay, such as needing a local bank account or supported payment method. It’s recommended to check with Google Pay’s official website or contact their customer support for the most up-to-date information.