
Are you tired of your standard Caller ID showing up every time you make a phone call from your Android device? Well, you’re in luck! Changing your Caller ID on Android is actually quite simple, and this article will guide you through the process step by step.
Whether you want to personalize your Caller ID with a fun nickname or keep your number hidden for privacy reasons, we’ve got you covered. With a few adjustments in your Android settings, you can easily change your Caller ID display to suit your preferences.
In this comprehensive guide, we will explain different methods to change Caller ID on Android devices, including built-in settings, third-party apps, and even some tips and tricks to enhance your customization options. So, without further ado, let’s dive right in and explore the world of Caller ID customization on Android!
Inside This Article
- # How to Change Caller ID on Android
- Setting Up a Caller ID Provider
- Changing the Caller ID Name
- Changing the Caller ID Number
- Verifying Caller ID Changes
- Conclusion
- FAQs
# How to Change Caller ID on Android
Changing your Caller ID on Android can be a useful feature to have, whether you want to personalize your outgoing calls or keep your identity private. In this article, we will guide you through the process of changing your Caller ID on Android so that you can customize how your calls appear to the recipients.
Setting Up a Caller ID Provider
The first step in changing your Caller ID on Android is to set up a Caller ID provider. This provider will allow you to control how your Caller ID shows up when making calls. There are several Caller ID providers available, such as Google Voice, Sideline, or your mobile carrier’s Caller ID service.
Changing the Caller ID Name
To change the name that is displayed on your outgoing calls, follow these steps:
- Open the Phone app on your Android device.
- Tap on the three dots or the menu button to open the settings menu.
- Select “Settings” or “Call settings” from the menu options.
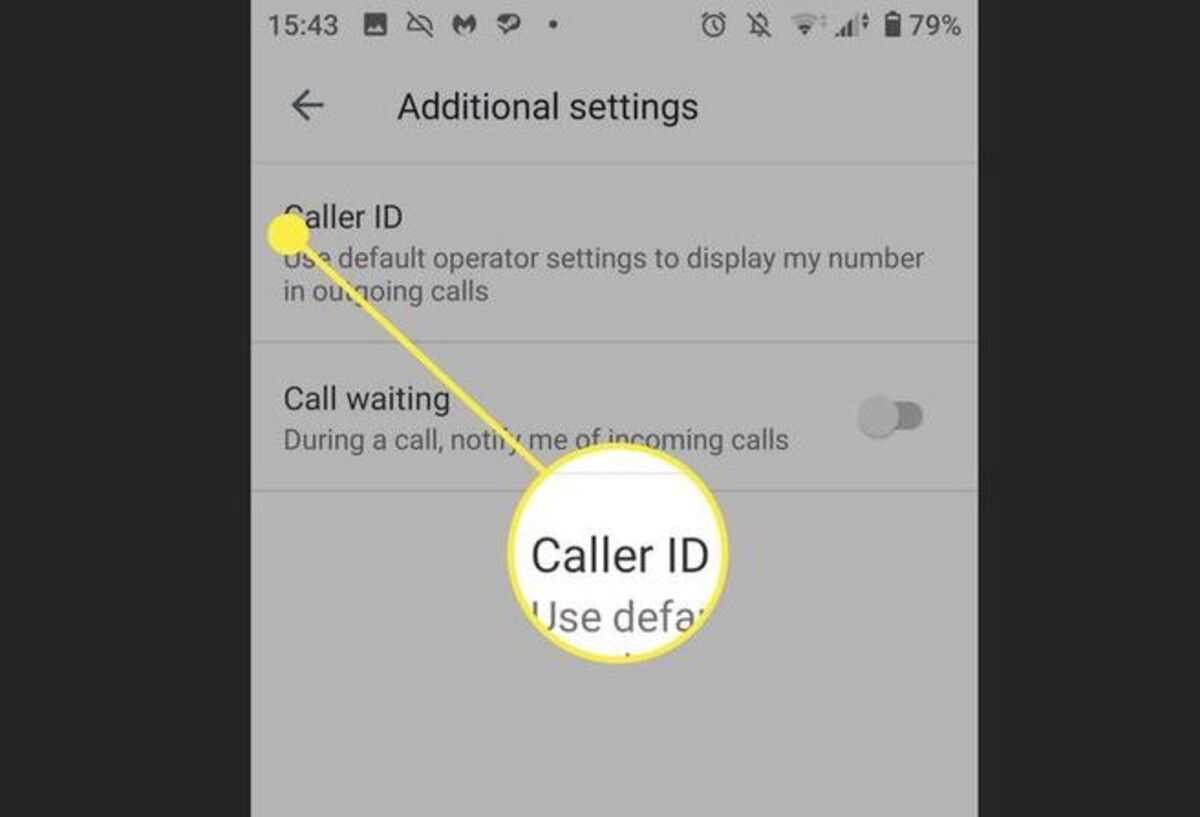
- Look for the “Caller ID” or “Outgoing Caller ID” option.
- Choose the desired option, such as “Hide my name” or “Display my name.”
- Save the changes and exit the settings menu.
Please note that the exact steps may vary depending on the make and model of your Android device and the version of the Android operating system.
Changing the Caller ID Number
If you want to change the phone number that is displayed as your Caller ID, you will typically need to contact your mobile carrier. Most mobile carriers allow you to request a Caller ID change by contacting their customer service or visiting their website. They will usually require some information and might charge a fee for the change.
Verifying Caller ID Changes
After making any changes to your Caller ID on Android, it is important to verify that the changes have been successfully implemented. You can do this by making a test call to another phone or by asking someone you know to call you back. Check the name and number displayed on the recipient’s phone to ensure that it reflects the changes you made.
By following these steps, you can easily change your Caller ID on Android and customize how your outgoing calls appear. Whether you want to personalize your calls or protect your privacy, being able to control your Caller ID can be a useful feature to have on your Android device.
Setting Up a Caller ID Provider
Having the ability to change your Caller ID on Android can be useful in many situations. Whether you want to protect your privacy, display a professional business name, or simply have a bit of fun, setting up a Caller ID provider is the first step.
There are various Caller ID provider services available, both free and paid. One popular option is Google Voice, which offers a range of features including the ability to change your Caller ID name and number. To set up a Caller ID provider, follow these steps:
- Download and install the Google Voice app from the Play Store.
- Open the app and sign in with your Google account. If you don’t have one, you can create a new account for free.
- Follow the prompts to set up your Google Voice number. You can choose to use your existing mobile number or get a new Google Voice number.
- Once your Google Voice number is set up, go to the app’s settings and select “Calls” or “Phone” settings.
- Look for the option to “Display my Google Voice number as Caller ID” and enable it. This will allow you to change your Caller ID name and number.
Setting up a Caller ID provider gives you the flexibility to change your Caller ID information whenever you need to. Remember, different providers may have different setup processes, so make sure to follow the specific instructions for the service you choose.
Changing the Caller ID Name
Are you tired of having your phone display an incorrect or generic name when making calls? Maybe you want to personalize your caller ID to reflect your business name or a nickname. Fortunately, changing the caller ID name on your Android device is a simple process. Follow these steps to make your caller ID name reflect your desired identity:
- Open the Phone app on your Android device. The Phone app may be located on your home screen or within the app drawer.
- Access the settings menu by tapping on the three dots or lines usually located in the top-right corner of the screen.
- Scroll down and find the option labeled “Caller ID” or “Call settings.” The naming may vary depending on your device and Android version.
- Tap on the “Caller ID” or “Call settings” option to proceed.
- You will likely see a dropdown menu with different options for your caller ID. Select the option that allows you to customize your caller ID name.
- Once you have selected the customization option, a text box will appear. Tap on the text box and enter your desired caller ID name.
- Double-check the entered caller ID name for any spelling or formatting errors.
- Save the changes by tapping on the “Save” or “OK” button to apply the new caller ID name.
It’s important to note that not all carriers or service providers allow the customization of caller ID names. In some cases, the option to change the caller ID name may not be available, or you may need to contact your service provider directly to make the change.
Additionally, changing the caller ID name on your Android device only affects outgoing calls that display your name to call recipients. Incoming calls will still display the name associated with the SIM card or the contact saved in your phonebook.
By following these steps, you can easily change the caller ID name on your Android device and have it reflect your desired identity when making outgoing calls.
Changing the Caller ID Number
Are you looking to change your Caller ID number on your Android device? Whether you want to protect your privacy, keep your personal number separate from your business calls, or prank your friends with a different number, changing your Caller ID number is a useful feature to have.
Here’s how you can change your Caller ID number on Android:
- Firstly, you need to find a reliable Caller ID provider. There are several apps available on the Google Play Store that offer this service. Look for apps with positive reviews and high ratings to ensure a smooth experience.
- Once you have chosen an app, download and install it on your Android device. Open the app and follow the on-screen instructions to set up your Caller ID.
- During the setup process, you will be prompted to provide a new Caller ID number. Enter the number you want to display when making outbound calls.
- After entering the number, the app will verify its availability. If the number is already in use, you may need to choose a different one.
- Once the number is verified and accepted, you can start using it as your new Caller ID number. Your outgoing calls will now display this new number instead of your original one.
It’s important to note that changing your Caller ID number may come with certain limitations or fees, depending on the provider you choose. Some apps may offer this service for free, while others may require a subscription or charge per use. Make sure to review all the terms and conditions before committing to a specific Caller ID provider.
Remember, changing your Caller ID number only affects the number displayed to the recipient of your calls. Your original mobile number remains the same, and incoming calls to your mobile number will still reach you.
By following these steps, you can easily change your Caller ID number on your Android device. Enjoy the flexibility and control over your outbound calls, and make the most out of this feature!
Verifying Caller ID Changes
After making changes to your Caller ID on your Android device, it’s important to verify that the changes have taken effect. Here are a few steps to ensure that your Caller ID changes have been successfully implemented:
1. Make a test call: Dial a phone number using your Android device and observe the Caller ID information displayed on the recipient’s phone. Ensure that the updated Caller ID name or number is visible. If not, you may need to check your settings or contact your Caller ID provider for further assistance.
2. Ask for feedback: Reach out to friends or family members and ask them to make a test call to your phone. Verify if your updated Caller ID information is being displayed correctly on their end. Their feedback will help confirm that the changes you made are reflected when your phone receives calls.
3. Contact your service provider: If you have made changes to your Caller ID but are still experiencing issues, it may be necessary to reach out to your cellular service provider. They can provide guidance and troubleshoot any potential issues with your Caller ID settings.
4. Test across different networks: To ensure the accuracy of your Caller ID changes, try making test calls on different cellular networks or landline phones. This will help you determine if the changes are consistently displayed across various platforms.
5. Reboot your device: Sometimes, a simple reboot can help resolve any lingering issues with the Caller ID settings. Restart your Android device and make test calls again to verify if the changes have taken effect.
Remember, the verification process is crucial to ensure that your updated Caller ID information is seen correctly by the people you’re calling. If you encounter any difficulties or inconsistencies, don’t hesitate to seek assistance from your service provider for a resolution.
Conclusion
In conclusion, changing the caller ID on your Android device can be a helpful way to personalize your outgoing calls and protect your privacy. Whether you want to display your phone number, an alternate number, or even a custom name, Android provides options to customize your caller ID settings.
By following the steps outlined in this article, you can easily change your caller ID on Android. Remember to check your device and carrier compatibility before making any changes. Additionally, it’s important to respect privacy and adhere to local laws and regulations when modifying your caller ID information.
So go ahead and take control of your caller ID on Android today. Whether you’re looking to make a professional impression or simply want to protect your privacy, changing your caller ID is a useful feature that can enhance your overall calling experience.
FAQs
1. Can I change the caller ID on my Android phone?
Yes, you can change the caller ID on your Android phone. Android provides various options and settings that allow you to customize your caller ID according to your preferences.
2. How do I change the caller ID on my Android phone?
To change the caller ID on your Android phone, follow these steps:
– Open the Phone app on your Android device.
– Tap on the three-dot menu icon to access the settings.
– Select “Settings” or “Caller ID & spam” from the menu.
– Look for the “Caller ID” or a similar option in the settings.
– Choose the desired caller ID option or enter a custom name if available.
– Confirm your changes by tapping on “Save” or a similar button.
These steps may vary slightly depending on your Android device model and software version.
3. Can I hide my caller ID on Android?
Yes, you can hide your caller ID on Android. This feature is often referred to as “Private Number” or “Hide My Number.” To enable this feature, follow the steps below:
– Open the Phone app on your Android device.
– Tap on the three-dot menu icon to access the settings.
– Select “Settings” or “Caller ID & spam” from the menu.
– Look for the “Caller ID” or a similar option in the settings.
– Choose the “Hide number” or “Private number” option.
– Confirm your changes by tapping on “Save” or a similar button.
Again, please note that the steps might differ slightly depending on your Android device.
4. Why can’t I change my caller ID on Android?
If you are unable to change your caller ID on Android, it could be due to various reasons. One possibility is that your carrier may not support the feature to change the caller ID. Another reason could be that your Android device’s software version may not have the option available. Additionally, some carrier plans may have restrictions on modifying the caller ID. It is recommended to contact your carrier or check their website for more information.
5. Will changing my caller ID affect incoming calls?
No, changing your caller ID on Android should not affect incoming calls. The change in caller ID settings only affects how your outbound calls are displayed to recipients. Incoming calls will still be received normally, and the caller ID displayed for incoming calls will depend on the caller’s information.