
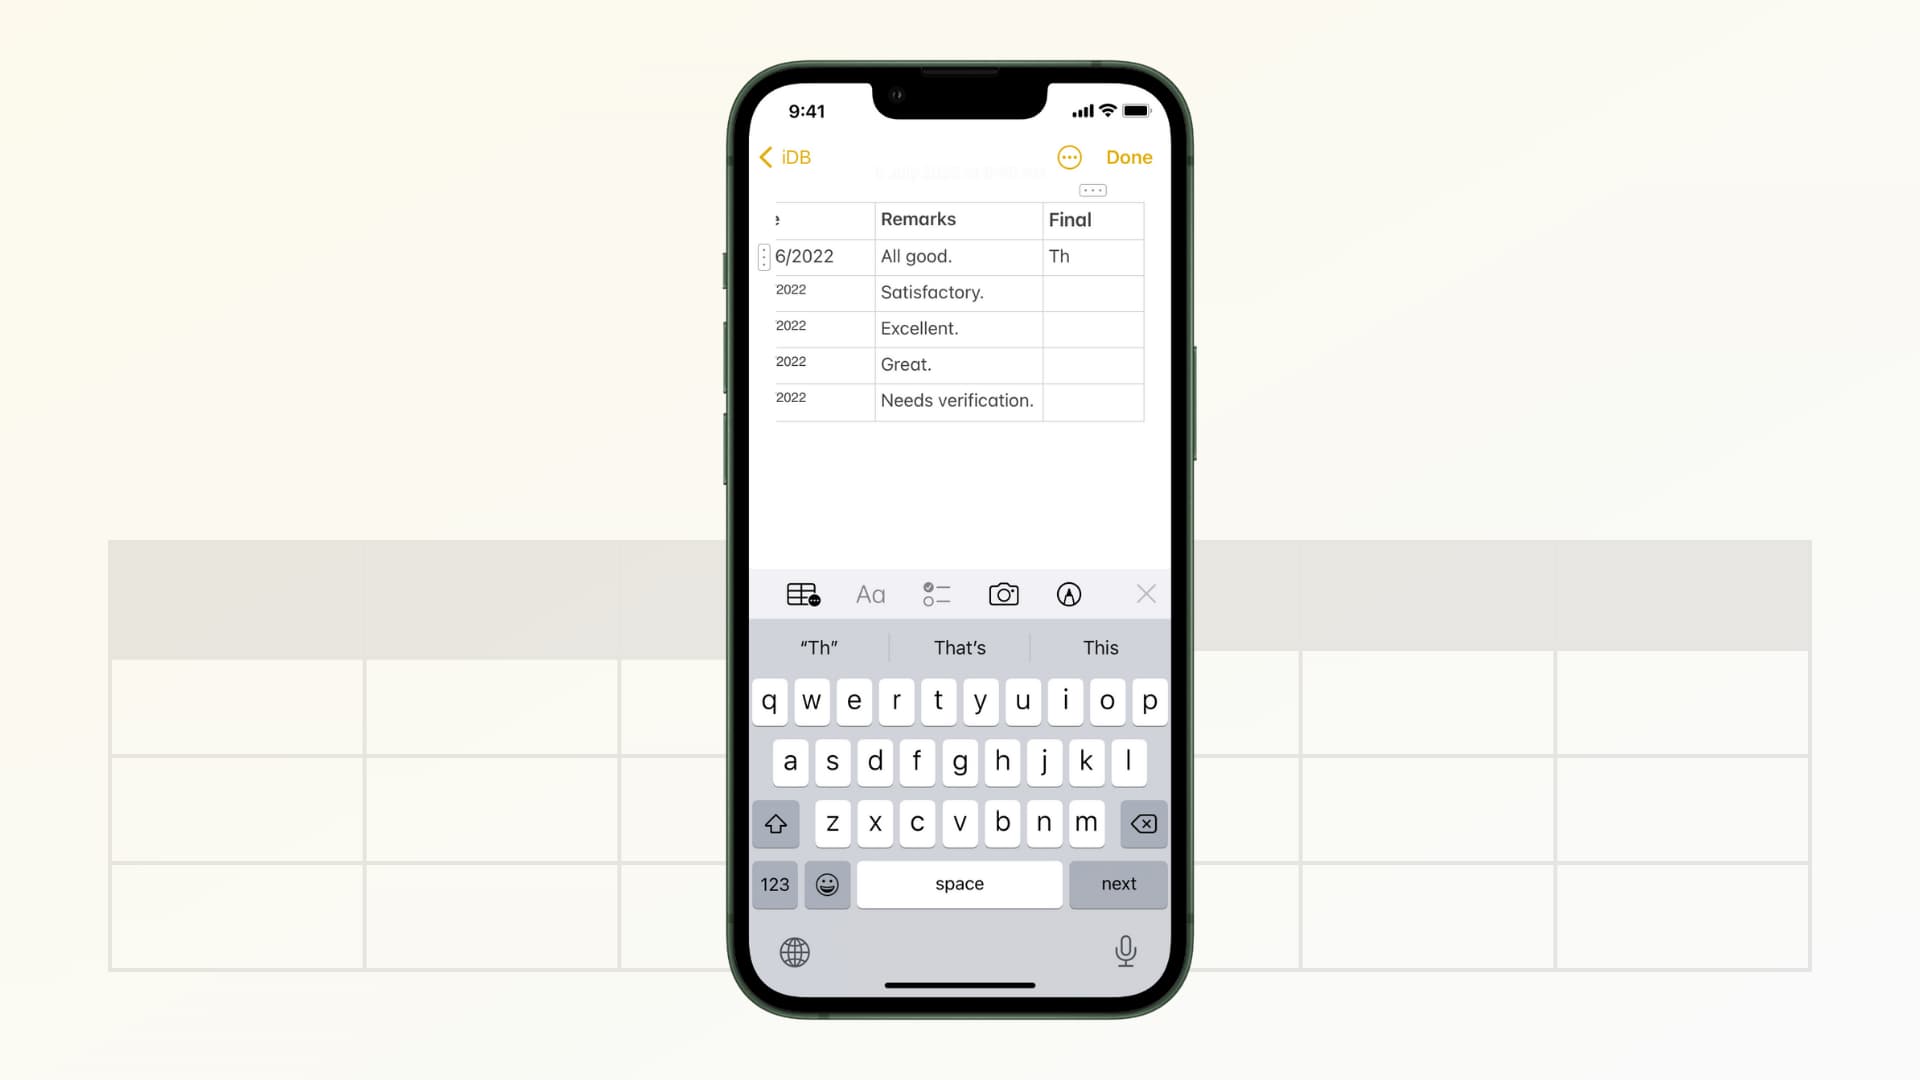
With the release of iOS 11, users of the iPhone have been treated to a host of new features and improvements. One such feature is the ability to add tables to notes directly from the Notes app. This simple yet valuable addition allows users to organize information in a more structured and visually appealing manner.
Adding tables to notes can be particularly useful when keeping track of data, creating to-do lists, or even planning events. Whether you’re a student, a professional, or simply someone who likes to stay organized, this feature can greatly enhance your note-taking experience.
In this article, we will guide you through the steps to add a table to notes on your iPhone using iOS 11. Whether you’re a seasoned iOS user or just getting started, you’ll find the information and tips provided here invaluable. So let’s dive in and discover how to make the most of this new feature!
Inside This Article
- How to Add a Table to Notes with iOS 11 on iPhone
- Open the Notes App
- Create a New Note
- Tap on the “+” Button
- Select Table from the Formatting Options
- Conclusion
- FAQs
How to Add a Table to Notes with iOS 11 on iPhone
Do you often find yourself needing to organize information in a table format on your iPhone? With iOS 11, you can easily add tables to your notes using the built-in Notes app. Whether you want to create a to-do list, track expenses, or keep track of project milestones, adding a table to your notes can help you stay organized and visually present your data.
Here’s a step-by-step guide on how to add a table to Notes with iOS 11 on your iPhone:
1. Open the Notes App
First, locate the Notes app on your iPhone’s home screen and tap on it to open the app. The Notes app is represented by a white notepad icon with a yellow pen.
2. Create a New Note
To add a table, you’ll need to create a new note in the Notes app. Tap on the “+” button located at the bottom center of the screen to create a new note. You can also open an existing note where you want to add a table.
3. Tap on the “+” Button
Once you have created a new note or opened an existing one, tap on the “+” button again, located at the bottom center of the note editing screen. This will open up the formatting options for the note.
4. Select Table from the Formatting Options
Among the formatting options, you will find the “Table” option represented by a grid icon. Tap on it to add a table to your note.
Once you have selected the “Table” option, you can customize your table by adding rows and columns. To add a row, tap on the “+” button located above the table. Similarly, to add a column, tap on the “+” button located to the right of the table. You can also adjust the width and height of the cells by dragging the edges of the cells.
Once your table is created, you can start adding content to each cell by tapping on the respective cell and typing in the information. You can also format the text within the cells using the formatting options available in the toolbar above the keyboard.
And there you have it! You now know how to add a table to Notes with iOS 11 on your iPhone. Say goodbye to messy information and hello to organized tables in your notes.
So, the next time you need to create a table to keep track of projects, create a schedule, or simply stay organized, follow these simple steps and let your iPhone do the work for you.
Open the Notes App
Opening the Notes app on your iPhone is the first step to adding a table to your notes with iOS 11. The Notes app is a built-in application that comes pre-installed on all iOS devices. It allows you to create and manage notes, making it convenient for jotting down ideas, reminders, and important information.
To open the Notes app, simply locate the app icon on your home screen. The Notes app icon is a yellow square with a white pen and paper icon in the center. Tap on the icon to launch the app.
If you can’t find the Notes app on your home screen, you can use the Spotlight search feature to locate it. Swipe down on your home screen to show the Search bar at the top of the screen. Type “Notes” in the search bar and the Notes app should appear in the search results. Tap on the app to open it.
Once you have successfully opened the Notes app, you are ready to create a new note and add a table to it using the formatting options available in iOS 11.
Create a New Note
Once you have opened the Notes app on your iPhone, it’s time to create a new note. To do this, follow these simple steps:
1. Tap on the “New Note” button, usually located at the bottom right corner of the screen. This will open a blank note where you can start typing or adding content.
2. Alternatively, you can swipe down on the screen to create a new note from the list view. This allows you to quickly access the new note feature without having to go back to the main screen.
3. You can also create a new note by pressing and holding the “+” button in the bottom center of the screen. This will give you options for creating a new note, scanning a document, or adding a photo or video.
4. Once you have tapped on the “New Note” button, you will be taken to a blank note where you can start inputting your text or other content. You can also add attachments like images, sketches, or documents by tapping on the corresponding icons at the bottom of the note.
5. You can now start adding the table to your new note by following the next steps in this guide.
Creating a new note in the Notes app on iOS 11 is a simple process that allows you to jot down your thoughts, make to-do lists, or organize your ideas. With the ability to add tables to your notes, you can now have a more structured and efficient way of organizing information.
Tap on the “+” Button
Once you have created a new note, you can add a table by tapping on the “+” button. This button is located at the bottom of the note, and it allows you to insert different types of content into your note.
When you tap on the “+” button, a menu will appear with various formatting options. These options include adding photos, sketches, checklists, and more. To add a table, you need to select the “Table” option from the menu.
By tapping on the “Table” option, you will be able to insert a table directly into your note. You can choose the number of rows and columns you want in the table, allowing you to customize it according to your needs.
Once you have selected the desired number of rows and columns, the table will be added to your note. You can then tap on each cell to enter text or adjust the formatting of the table.
The table feature in the Notes app with iOS 11 is a convenient way to organize information, make lists, or create charts within your notes. Whether you are planning a project, making a to-do list, or simply jotting down ideas, the table feature can elevate the organization and clarity of your notes.
With just a few taps on the “+” button, you can transform a plain note into a well-structured table that enhances productivity and readability. So go ahead and explore the table feature in the Notes app on your iPhone to make your notes more organized and visually appealing.
Select Table from the Formatting Options
Once you have created a new note in the Notes app on your iPhone, it’s time to add a table to it. To do this, tap on the “+” button located at the bottom center of the screen to open the formatting options.
Within the formatting options, you will see various tools to enhance your note, such as font styles, text formatting, and more. Scroll through the options until you find “Table” and tap on it.
By selecting “Table,” you are indicating that you want to add a table to your note. This action will bring up a grid-like interface where you can define the number of rows and columns for your table.
Tap on the desired number of rows and columns to create your table. Don’t worry if you need to adjust the size later, as you can easily resize and modify your table once it’s added to your note.
After selecting the desired number of rows and columns, the table will be inserted into your note at the location of your cursor. You can now start entering content into the table cells. Simply tap on a cell and begin typing.
To navigate through the table, you can use your finger to swipe across the screen, moving from cell to cell. This makes it easy to fill out your table with information and data.
Once you have added content to your table, you can also format it further. You can change the font style, font size, and alignment of the text within each cell. These formatting options can be accessed by selecting the table and tapping on the formatting options once again.
Adding tables to your notes can be incredibly useful when organizing information or creating structured lists. Whether you need it for work, school, or personal use, the ability to add a table in the Notes app on your iPhone with iOS 11 provides a convenient and versatile tool.
Now that you know how to add a table to your notes, you can start creating visually appealing and organized content to enhance your productivity and make your notes more engaging.
In conclusion, adding a table to your Notes app on iOS 11 is a simple and useful feature that allows you to organize and structure your information effectively. With just a few steps, you can create a table with multiple rows and columns, making it easier to input and view data.
Whether you need to create a to-do list, track expenses, or manage project details, the table feature in Notes provides a convenient way to stay organized and stay on top of your tasks. It’s a great tool for both personal and professional use.
So go ahead and start utilizing this handy feature to enhance your note-taking experience on iPhone. With tables in Notes, you’ll have the power to seamlessly organize, categorize, and access information whenever and wherever you need it.
FAQs
Here are some frequently asked questions about adding a table to notes with iOS 11 on iPhone:
1. How do I add a table to my notes on iPhone?
Adding a table to your notes with iOS 11 on iPhone is straightforward. Within the Notes app, open the note where you want to add the table. Tap the “+” icon to access the toolbar and select the “Table” option. From there, choose the desired number of rows and columns for your table.
2. Can I customize the appearance of the table in my notes?
Yes, you can customize the appearance of the table in your notes. After adding the table, you can tap anywhere within the table to access the table tools. With these tools, you can adjust the width of columns, resize rows, change text alignment, and even add and delete rows and columns as needed.
3. Is it possible to format the text within the table cells?
Absolutely! iOS 11 allows you to format text within the table cells. Simply double-tap on any cell and you will see the formatting options. You can change the font style, size, color, and apply different text formatting such as bold, italics, and underline.
4. Will the table formatting be preserved if I share my note with others?
Yes, when you share a note with a table, the formatting of the table will be retained. Whether you share the note via email, messaging apps, or any other sharing method supported by iOS, the table will appear properly formatted to the recipients.
5. Can I add images or other media within the table cells?
Unfortunately, iOS 11 does not currently support adding images or other media directly within table cells. However, you can add images or media to the note itself and position them alongside the table as needed.