
Welcome to the exciting world of mobile technology with your brand new iPhone! Whether you’re upgrading from an older model or making the switch from a different smartphone, setting up your new iPhone is the first step towards unlocking its full potential. With its sleek design, cutting-edge features, and powerful performance, your iPhone is a device that can enhance your communication, productivity, and entertainment experience.
This comprehensive guide will walk you through the process of setting up your new iPhone, from initial activation to customizing your settings and downloading your favorite apps. So, grab your new iPhone, follow along, and get ready to dive into the world of endless possibilities!
Inside This Article
- Getting Started with Your New iPhone
- Unboxing Your iPhone
- Turning On Your iPhone
- Setting Up Your iPhone with iCloud
- Adding Your Apple ID and Personalizing Your iPhone
- Conclusion
- FAQs
Getting Started with Your New iPhone
Congratulations on your new iPhone! Whether it’s your very first iPhone or an upgrade from a previous model, setting up your new device is an exciting experience. In this guide, we’ll walk you through the essential steps to get your iPhone up and running smoothly.
1. Unboxing Your iPhone: The first step is to unbox your brand new iPhone. Carefully remove the protective packaging and accessories from the box. You’ll find your iPhone, a charging cable, and a pair of earphones.
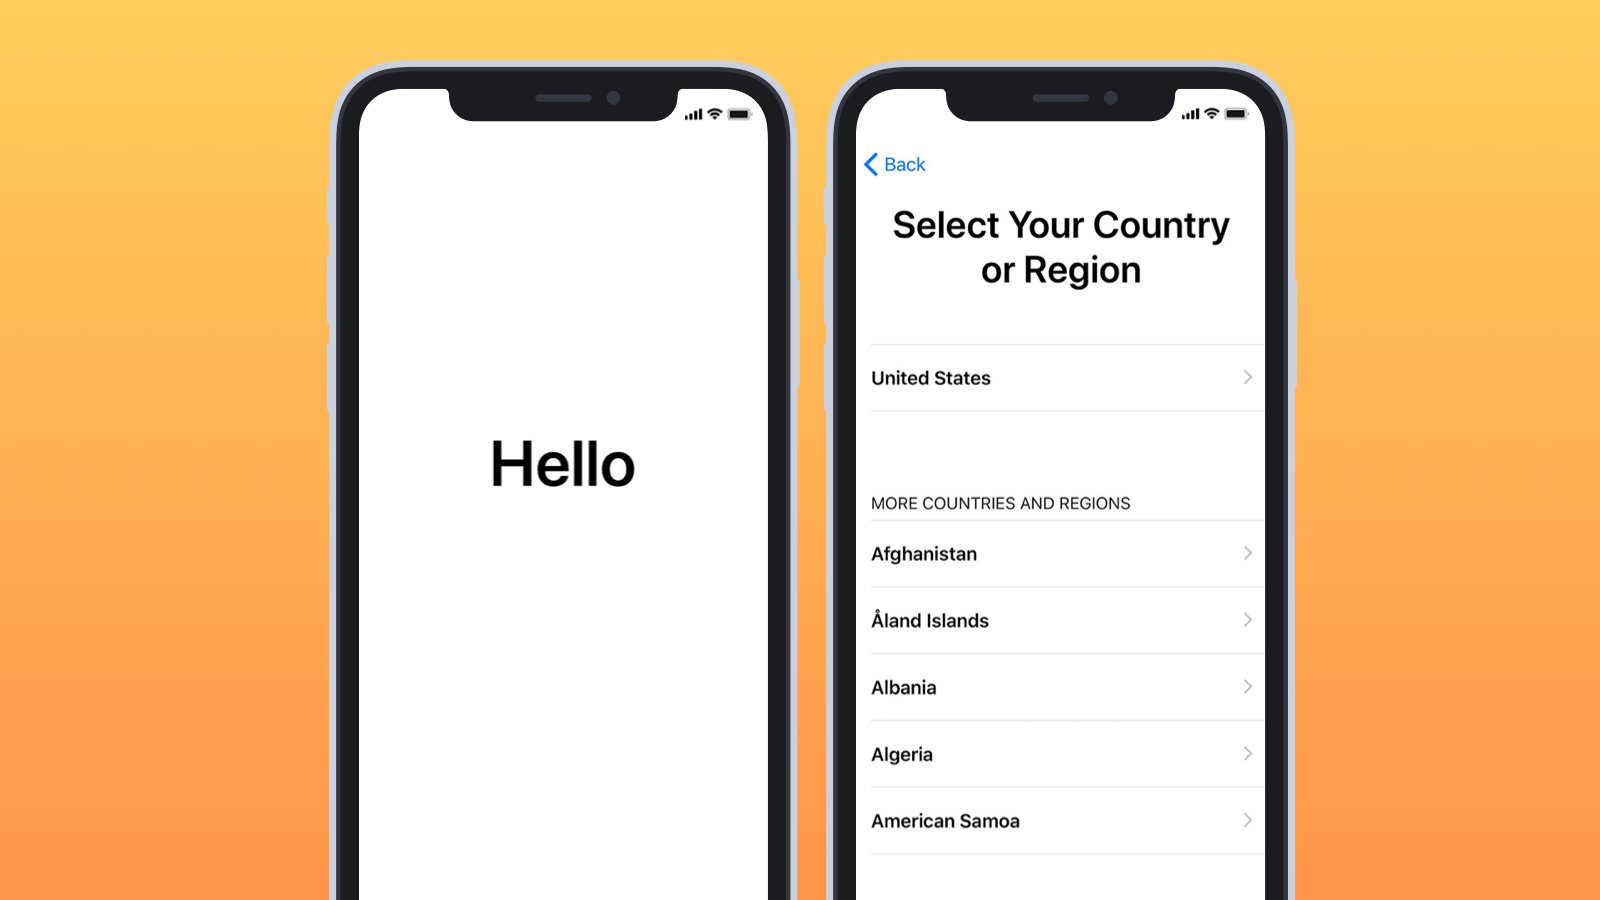
2. Turning On Your iPhone: To turn on your iPhone, press and hold the power button located on the side or top of the device. As soon as you see the Apple logo appear on the screen, release the button. Your iPhone will then boot up and guide you through the setup process.
3. Setting Up Your iPhone with iCloud: When prompted, select your language and region preferences. Next, you’ll have the option to connect to a Wi-Fi network. It’s recommended to connect to a stable Wi-Fi network to ensure a smooth and fast setup process.
4. Adding Your Apple ID and Personalizing Your iPhone: To fully enjoy the features and benefits of your iPhone, you’ll need to add your Apple ID. If you don’t have an Apple ID, you can create one during the setup process. Your Apple ID allows you to access the App Store, iCloud, and other Apple services. Additionally, take the time to personalize your iPhone by choosing your preferred settings for notifications, display brightness, wallpaper, and more.
With these essential steps completed, you’re well on your way to exploring all the amazing features and capabilities of your new iPhone. Don’t forget to download your favorite apps, set up your email accounts, and sync your contacts and calendars. Welcome to the world of iPhones, where convenience and innovation are at your fingertips!
Unboxing Your iPhone
Congratulations on your new iPhone! Unboxing a new phone is always an exciting experience. In this section, we will guide you through the process of unboxing your iPhone and getting it ready for use.
When you receive your iPhone, it will come in a sleek and compact box. Carefully remove the plastic wrap and lift the lid of the box. Inside, you will find your iPhone nestled snugly within a protective foam case.
Gently lift the iPhone out of the box and set it aside. Underneath the phone, you’ll find a small compartment that houses the charging cable, wall adapter, and any other accessories that come with your specific iPhone model.
Take a moment to remove the accessories from their packaging. The charging cable is used to connect your iPhone to a power source, while the wall adapter allows you to charge your device by plugging it into a standard electrical outlet.
Before proceeding, make sure that all components are in good condition and free from any damage. If you notice any defects, it is best to contact Apple support or your retailer for assistance.
Now that you have unboxed your iPhone and inspected the accessories, you are ready to move on to the next step – turning on your iPhone! Remember to keep all the packaging materials in case you need them for warranty purposes or if you decide to sell your iPhone in the future.
Unboxing your iPhone is just the first step in your journey with your new device. Next, we will guide you through the process of turning on your iPhone and setting it up for the ultimate mobile experience.
Turning On Your iPhone
After unboxing your brand-new iPhone, the next step is to turn it on and get it ready for use. The process is quite simple and can be done in just a few steps:
1. Locate the power button. On most iPhone models, the power button is located on the right-hand side of the device, towards the top. It is usually a small button that you can press down.
2. Press and hold the power button. Hold down the power button until you see the Apple logo appear on the screen. This indicates that your iPhone is booting up.
3. Set up your device. Once your iPhone has powered on, you will be greeted with a setup screen. Follow the on-screen instructions to select your language, region, and connect to a Wi-Fi network. You will also have the option to enable Location Services and set up Face ID or Touch ID for added security.
4. Sign in with your Apple ID. If you already have an Apple ID, you can sign in during the setup process. This will allow you to access your iCloud, App Store, and other Apple services. If you don’t have an Apple ID, you can create one by following the on-screen prompts.
5. Restore from a backup (optional). If you previously had an iPhone and made a backup using iCloud or iTunes, you can choose to restore your data onto your new iPhone during the setup process. This will transfer your apps, settings, and other data to your new device.
6. Set up Apple Pay (optional). If you plan on using Apple Pay for contactless payments, you can set it up during the initial setup or at a later time. This feature allows you to securely make payments using your iPhone without the need for physical cards.
Once you have completed these steps, your iPhone will be all set up and ready for you to start exploring its features and downloading your favorite apps. Make sure to keep your iPhone charged and protected to ensure optimal performance and longevity.
Setting Up Your iPhone with iCloud
After turning on your new iPhone, the next step is to set it up with iCloud. iCloud is Apple’s cloud storage and computing service that allows you to backup and sync your data across all your Apple devices.
Setting up your iPhone with iCloud ensures that you can access your photos, contacts, emails, calendars, and more, from any device connected to your iCloud account. Here’s how you can do it:
Step 1: Connect to Wi-Fi
Before setting up iCloud, make sure your iPhone is connected to a Wi-Fi network. This is important to ensure a smooth and uninterrupted setup process.
Step 2: Sign in with your Apple ID
If you already have an Apple ID, use it to sign in to your iPhone. If you don’t have an Apple ID, you can create one during the setup process. Your Apple ID will be used to access iCloud and other Apple services.
Step 3: Enable iCloud Backup
iCloud Backup automatically backs up your iPhone’s data to iCloud, making it easy to restore your settings, apps, and other data if you ever switch devices or need to restore your iPhone. To enable iCloud Backup, go to Settings, tap on your name at the top, select iCloud, and then tap on iCloud Backup. Toggle the switch to turn it on.
Step 4: Choose iCloud Services
During the setup process, you’ll be prompted to choose which iCloud services you want to enable. These include iCloud Drive, Contacts, Calendars, Reminders, Safari, iCloud Keychain, and more. You can select the services based on your preferences and needs.
Step 5: Syncing Data with iCloud
After setting up iCloud, your iPhone will start syncing your data across all your Apple devices. This means that any changes you make to your contacts, calendars, notes, and documents will be automatically updated on all your devices.
Step 6: Checking iCloud Storage
It’s important to keep an eye on your iCloud storage to ensure that you have enough space to backup your data. If you find that you’re running out of storage, you can upgrade your iCloud storage plan to accommodate more data.
Once you’ve completed the setup process and enabled iCloud, your iPhone will be seamlessly integrated with your Apple ecosystem. You’ll be able to access your data from any device connected to your iCloud account, making it convenient and hassle-free.
Adding Your Apple ID and Personalizing Your iPhone
Once you have turned on your new iPhone and completed the initial setup, the next step is to add your Apple ID and personalize your device. Your Apple ID is essential as it allows you to access various Apple services such as iCloud, the App Store, and Apple Music. Here’s how you can add your Apple ID and make your iPhone reflect your unique personality.
1. Open the “Settings” app on your iPhone. It is represented by a gear icon and can usually be found on your home screen.
2. Scroll down and tap on “Sign in to your iPhone.” If you don’t have an Apple ID, tap on “Don’t have an Apple ID or forgot it?” to create a new one.
3. Enter your Apple ID and password in the provided fields. If you have two-factor authentication enabled, you might be prompted to enter a verification code sent to your trusted device or phone number.
4. Once you have successfully signed in with your Apple ID, you will be presented with several options to personalize your iPhone. These options include selecting your preferred language, enabling Siri, setting up Face ID or Touch ID for authentication, and choosing whether to share app analytics with developers. Take your time to go through these settings and customize them according to your preferences.
5. Additionally, you can further personalize your iPhone by customizing the display settings, wallpaper, and sounds. To change the wallpaper, go to “Settings” > “Wallpaper” > “Choose a New Wallpaper,” and select an image from your photo library or choose from the available options. You can also change the theme of your iPhone by going to “Settings” > “Display & Brightness” > “Appearance” and selecting either Light or Dark mode.
6. Another way to add a personal touch to your iPhone is by rearranging the app icons on your home screen. Simply tap and hold an app until it starts to jiggle, then drag it to a new position. You can also create folders by dragging one app on top of another. This allows you to organize your apps based on categories or preferences.
7. Lastly, don’t forget to explore the App Store to download and install your favorite apps. The App Store offers a wide range of applications for various purposes, from productivity and social media to gaming and entertainment. Find apps that align with your interests and enhance your iPhone experience.
By adding your Apple ID and personalizing your iPhone, you can fully unleash its potential and make it truly yours. Take the time to explore all the customization options available and enjoy the seamless integration of your Apple services.
Setting up a new iPhone can be an exciting and slightly overwhelming experience, but with the right knowledge and guidance, it becomes a breeze. In this article, we explored the step-by-step process of setting up a new iPhone, from powering it on to customizing settings and transferring data.
By following these instructions, you can ensure that your new iPhone is personalized to your preferences, equipped with your necessary apps and data, and ready to use in no time. Don’t forget to take advantage of the many features and functionalities that your iPhone offers, such as Siri, Apple Pay, and iCloud backups, to make your mobile experience even more seamless and convenient.
Remember, if you ever need assistance during the setup process or with any other aspect of your iPhone, Apple Support is just a click or call away. So, go ahead and start enjoying your new iPhone, and don’t hesitate to delve into the endless possibilities that this device has to offer!
FAQs
1. How do I set up a new iPhone for the first time?
Setting up a new iPhone is easy! Simply turn on your iPhone by pressing and holding the power button. Follow the on-screen instructions to connect to a Wi-Fi network, sign in to your Apple ID, and set up features like Face ID or Touch ID. You can also restore your data from an iCloud or iTunes backup during the setup process.
2. What apps should I install on my new iPhone?
The apps you choose to install on your new iPhone depend on your personal preferences and needs. However, there are several essential apps that most users find useful. Some popular ones include social media apps like Facebook and Instagram, messaging apps like WhatsApp or Telegram, entertainment apps like Netflix or Spotify, and productivity apps like Microsoft Office or Google Drive.
3. How can I transfer data from my old phone to my new iPhone?
There are a few different methods for transferring data from your old phone to your new iPhone. One option is to use the “Quick Start” feature, which allows you to transfer data wirelessly using your iCloud account. Another option is to use the “Move to iOS” app if you’re switching from an Android device. Alternatively, you can manually transfer your data by backing up your old phone to iCloud or iTunes and then restoring the backup on your new iPhone.
4. Can I customize the look and feel of my iPhone?
Absolutely! You can customize various aspects of your iPhone to suit your preferences. For instance, you can change the wallpaper by going to the “Settings” app, selecting “Wallpaper,” and choosing from the available options or using your own photo. You can also customize the home screen layout by rearranging and organizing app icons, creating folders, and even hiding apps you don’t use. Additionally, you can customize the control center, notification settings, and more.
5. How can I improve the battery life of my iPhone?
To prolong the battery life of your new iPhone, you can follow a few simple tips. First, adjust the screen brightness and enable auto-brightness to optimize power consumption. Additionally, close unused apps running in the background, disable unnecessary push notifications, and switch to Wi-Fi when available instead of using cellular data. You can also enable low power mode in the settings to conserve battery during periods of heavy use.