
Are you excited about the release of the new iPhone 13? Well, get ready to take your iPhone experience to the next level with the revolutionary feature of setting up 2 Face ID on your device. Face ID has become an integral part of the iPhone, allowing users to conveniently unlock their phones and authenticate various actions. But with the iPhone 13, Apple has taken things a step further by introducing the ability to set up 2 Face IDs. This means you can now add two different facial profiles to your device, which opens up a whole new world of possibilities for multitasking, convenience, and security. In this article, we will walk you through the process of setting up 2 Face IDs on your iPhone 13 and explore the benefits it brings to your everyday usage. So, let’s dive in and unlock the full potential of your device!
Inside This Article
- Step 1: Enable Face ID on iPhone 13
- Step 2: Set up the first Face ID on iPhone 13
- Step 3: Set up the second Face ID on iPhone 13
- Bonus Tip: Face ID Usage on iPhone 13
- Conclusion
- FAQs
Step 1: Enable Face ID on iPhone 13
Face ID is a highly secure and convenient authentication feature available on iPhone 13. By enabling Face ID, you can unlock your device, authenticate app purchases, and access sensitive information with just a glance.
Here’s how you can enable Face ID on your iPhone 13:
- Open the “Settings” app on your iPhone 13.
- Scroll down and tap on “Face ID & Passcode”.
- If prompted, enter your passcode to proceed.
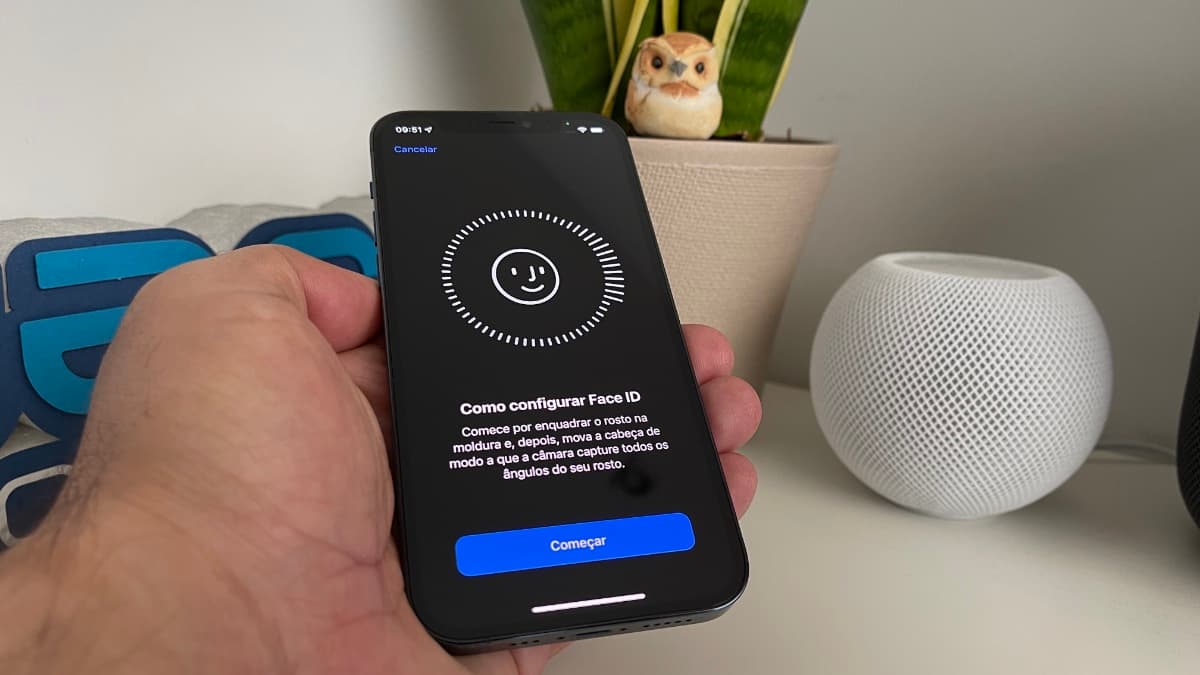
- In the “Face ID” section, tap “Set Up Face ID”.
- Follow the on-screen instructions to position your face within the frame.
- Move your head in a circular motion to complete the face scan.
- Once the scan is complete, tap “Continue”.
- You can then choose to enable Face ID for unlocking your iPhone, using Face ID for Apple Pay, or both.
- Tap on the desired options to enable them. You may be required to enter your Apple ID password for certain functionalities.
With Face ID enabled on your iPhone 13, you can enjoy a seamless and secure way to access your device and authenticate various actions. It uses advanced technology to map your facial features and create a unique biometric signature that is incredibly difficult to replicate.
Note that Face ID requires good lighting conditions for accurate scans. It works best in well-lit environments, so make sure you are in a brightly lit area when setting up Face ID on your iPhone 13.
Now that you have successfully enabled Face ID, you can move on to the next step of setting up the first Face ID on your iPhone 13.
Step 2: Set up the first Face ID on iPhone 13
Setting up Face ID on your iPhone 13 is a simple process that ensures a secure and personalized authentication experience. Follow these steps to set up the first Face ID on your device:
1. Open the “Settings” app on your iPhone 13.
2. Scroll down and tap on “Face ID & Passcode”.
3. Enter your device passcode when prompted.
4. Tap on “Set Up Face ID” to begin the process.
5. Position your face within the frame on the screen and ensure your face is fully visible.
6. Follow the on-screen instructions to move your head in a circular motion, allowing the TrueDepth camera to capture your facial features from different angles.
7. Once the initial scan is complete, tap on “Continue” to perform a second scan for better accuracy.
8. Again, move your head in a circular motion as instructed to capture additional facial data.
9. After the second scan is finished, tap on “Done”.
10. Face ID is now successfully set up on your iPhone 13.
It’s worth noting that Face ID is designed to learn and adapt to changes in your appearance, such as different hairstyles, facial hair, or wearing glasses. It also works in various lighting conditions, ensuring a consistent and reliable authentication experience.
With Face ID set up on your iPhone 13, you can securely unlock your device, authenticate App Store purchases, and access various apps and services that support Face ID authentication.
Continue reading to learn how to set up a second Face ID on your iPhone 13 for even more convenience and flexibility.
Step 3: Set up the second Face ID on iPhone 13
Now that you have successfully set up the first Face ID on your iPhone 13, you might be wondering how to set up a second Face ID. The good news is that the process is quite similar to setting up the first one. Just follow these simple steps:
- Go to “Settings” on your iPhone 13 and tap on “Face ID & Passcode.”
- Enter your passcode to access the Face ID settings.
- Tap on “Set Up an Alternate Appearance.”
- Position your face within the frame and follow the on-screen instructions to complete the scan. Make sure to move your head slightly for a more accurate capture.
- Once the scanning process is complete, tap on “Continue.”
- Repeat the process of scanning your face from different angles until your second face capture is successful.
- Tap on “Done” to complete the setup process.
By setting up a second Face ID on your iPhone 13, you can provide access to another individual to unlock your device using their face. This can be useful in scenarios where you want to give a trusted family member or friend the ability to use your iPhone without sharing your passcode.
Keep in mind that both Face IDs will have equal access to your device and its features. This means that both faces will be able to unlock the iPhone, authorize payments, and access secure apps and data. It’s important to consider the privacy implications and ensure that you only add trusted individuals to your alternate Face ID.
Having a second Face ID on your iPhone 13 can offer convenience and flexibility in managing your device. Whether it’s sharing your phone with a family member or having an alternative face registered for different situations, the dual Face ID feature provides an extra layer of security and ease of use.
With the second Face ID set up, it’s time to explore the various ways you can make use of Face ID on your iPhone 13.
Bonus Tip: Face ID Usage on iPhone 13
Face ID is a revolutionary biometric authentication feature that allows you to unlock your iPhone 13 with just a glance. But did you know that Face ID has some additional features that can enhance your iPhone experience? In this bonus tip, we will explore some of the cool ways you can utilize Face ID on your iPhone 13.
1. App Authentication: With Face ID, you can securely authenticate various apps on your iPhone 13. Instead of entering a password or using Touch ID, simply use your face to unlock your favorite apps like banking apps, password managers, and more. This adds an extra layer of security and convenience, as you don’t have to type in your password every time.
2. Apple Pay: Face ID makes using Apple Pay a breeze. When making payments in-store or online, simply double-click the side button, glance at your iPhone 13, and the transaction will be authorized. No need to fumble with your wallet or enter your card details again. It’s quick, secure, and hassle-free.
3. Password Autofill: Face ID integrates seamlessly with the password autofill feature on your iPhone 13. When you encounter a login screen or enter a password, Face ID automatically recognizes your face and suggests the appropriate credentials. This makes logging in to websites and apps a seamless experience.
4. Privacy and Security: Face ID ensures your privacy and security by using advanced facial recognition technology. It creates a mathematical model of your face and stores it securely on the A15 Bionic chip within the iPhone 13. This information is never stored on Apple servers or shared with third parties, providing you with peace of mind.
5. Alternate Appearance: Face ID on the iPhone 13 allows you to set up an alternate appearance. This feature is particularly handy if you frequently wear sunglasses or a hat that may slightly alter your appearance. By setting up an alternate appearance, Face ID will recognize your face even with these accessories, making the unlocking process seamless.
With these bonus tips, you can make the most out of Face ID on your iPhone 13. Enjoy the convenience, security, and time-saving benefits it offers, and unlock a world of possibilities with just a glance.
Conclusion
Setting up 2 Face ID on the iPhone 13 is a powerful feature for those looking to enhance the security and convenience of their device. By following the simple steps outlined in this guide, you can easily enable Face ID for multiple users, allowing for seamless authentication and personalized experiences.
Whether you want to share your iPhone with a family member or have different Face ID profiles for various use cases, the ability to set up 2 Face ID on the iPhone 13 provides a new level of versatility. This feature ensures that your device remains secure while granting access to trusted individuals.
Remember that Face ID requires a strong, well-lit facial recognition environment to function accurately. Also, it’s important to regularly update your Face ID settings and keep your device’s software up to date to ensure the best performance and security.
With 2 Face ID enabled on your iPhone 13, you can take full advantage of the device’s advanced security features while enjoying the convenience of personalized access. Embrace the future of smartphone authentication and unlock a whole new level of convenience and privacy with this cutting-edge technology.
FAQs
1. Can I set up 2 Face ID on the iPhone 13?
Absolutely! The iPhone 13 allows you to set up 2 Face ID profiles. This means that you can register your face along with the face of another individual, such as your spouse or family member, to unlock your device using Face ID.
2. How do I set up 2 Face ID on my iPhone 13?
To set up 2 Face ID profiles on your iPhone 13, follow these steps:
1. Open the “Settings” app on your iPhone 13.
2. Scroll down and tap on “Face ID & Passcode”.
3. Enter your device passcode.
4. Tap on “Set Up an Alternate Appearance”.
5. Follow the on-screen instructions to register the second face.
Once the setup is complete, you will have 2 Face ID profiles registered on your iPhone 13.
3. How does the iPhone 13 handle multiple Face ID profiles?
The iPhone 13 allows you to switch between Face ID profiles seamlessly. When you raise your iPhone and the screen wakes up, it will automatically attempt to recognize the face closest to the camera. If it recognizes the face, it will unlock the device associated with that specific Face ID profile.
4. Can both Face ID profiles have the same access privileges?
Yes, both Face ID profiles on the iPhone 13 can have the same access privileges. Both profiles can be granted access to unlock the device, make purchases using Apple Pay, approve App Store downloads, and provide authentication for various apps and services.
5. Can I remove one of the Face ID profiles from my iPhone 13?
Certainly! If you wish to remove one of the Face ID profiles from your iPhone 13, follow these steps:
1. Go to the “Settings” app on your iPhone 13.
2. Scroll down and tap on “Face ID & Passcode”.
3. Enter your device passcode.
4. Tap on the Face ID profile you want to remove.
5. Select “Reset Face ID” and confirm your choice.
The selected Face ID profile will be removed from your iPhone 13.